Totorial editor by adobe photoshop lightroom

Hey everyone, @khairilakbar2, welcome back to #LightroomLessons. In today’s lesson I’m going to show you how to shoot and edit HDR photos in Lightroom mobile. HDR stands for “High Dynamic Range”. If a scene has very bright areas and very dark areas (for example, shooting something silhouetted against the sun), it’s said to have high dynamic range. Pictures of high dynamic range scenes often don’t turn out very well, but shooting in HDR mode in Lightroom mobile solves this problem. Swipe through to see the mini-tutorial!
•
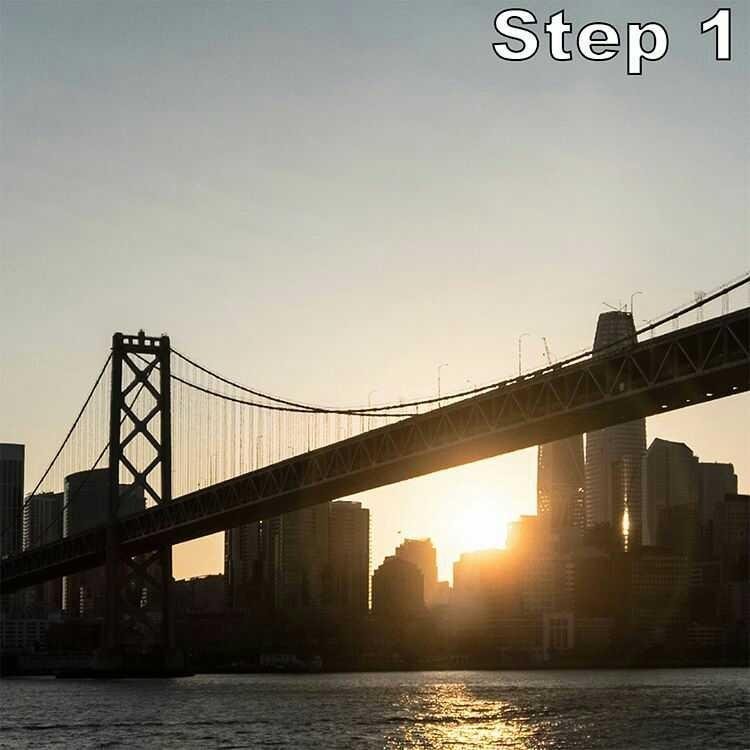
Step 1: Here’s what this picture would have looked like as a regular photo. It looks nice, but the area around the sun is very bright, with no detail, and there is also very little detail in the dark areas of the skyline and bridge. What if I want my photo to show detail in these areas?
• 
Step 2: Let’s take an HDR photo! When you’re in Album view or Grid view, tap the camera icon in the lower right corner.
• 
Step 3: Next to the shutter button, tap where it says “Auto”…
• 
Step 4:…and then select “High Dynamic Range”.
• 
Step 5: Press the shutter button to take a picture, and Lightroom quickly takes three pictures at three different exposures, and combines them into one. It takes a moment for Lightroom to process the HDR photo. If you exit the camera function and tap the cloud icon, you can see the processing progress indicator. The HDR files that Lightroom saves are raw files, which are much higher quality and can be edited much more extensively without degrading.
• 
Step 6: Once the HDR photo has finished processing and appears in the grid view, tap it to enter the loupe view, and make sure you’re in Edit mode.
• 
Step 7: Tap the Light button to access the controls for editing the light in your image (exposure, contrast, etc.). 
•
Step 8: Lightroom automatically applies some edits to bring out the potential of HDR photos, but you can bring down the highlights to show more detail in bright areas, and bring up the shadows to show more detail in dark areas.
• 
Step 9: Sometimes bringing up shadows and taking down highlights can make the photo look sort of flat, so to restore some “pop” I bring up the contrast, or take down the blacks, or both.


Your voting will force your voice to give me strength.
thanks.
Note to my dear readers, friends and followers: Please understand that I am unable to answer all of your comments because if I was to do that, I'd not have any time left for creating the series and the rest of my extensive Steemit-related work. The amount of comments is overwhelming. It is beautiful to see that my work is appreciated and that it inspires so many people. I read all of your comments before going to sleep. It is my evening routine. Thank you so much for your support!