Tutorial : Biped creation and positionning bones for animation purposes.
In this post i will go over the process of creating a 3DSMax biped, positionning and scaling the bones in a character (skin / model)I'm using biped for this, it's way easier than to start creating bones and ik constraints yourself, but Blender has very powerfull tools that almost rigg your models for yourself, i will just show you how i proceed with biped nonetheless.
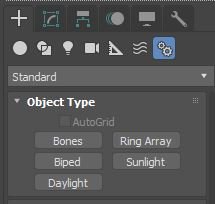
Ok so, of course we need our "human" model, or creature model / polys finished before going through this, and create a biped from the "system" menu.
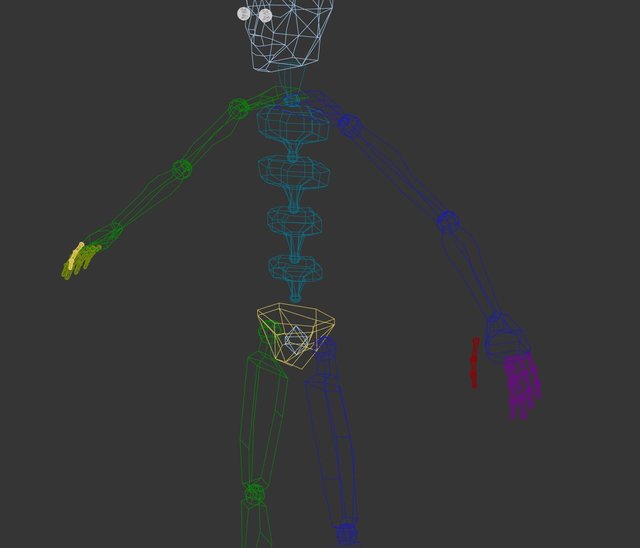
You will be able to click in the scene and drag to create the initial height of the biped, i would recommend going in orthographic "front" view and do that in front of your character / model to make a first good "base" of height for the biped, as we are going to change the size and height and rotation of almost every bones manually anyway.
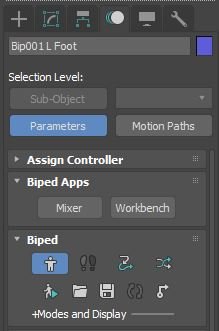
Okay, in the animation rollout / menu, don't forget to be in "FIGURE" mode to configure the starting position of the bones, the skeletton needs to be configured in an initial state following closely the position of your mesh at it's initial stage / pose. just keep the figure mode until every bones are configured / scaled / positionned and rotated correctly.
(the figure mode is represented by the character in a "T" pose )
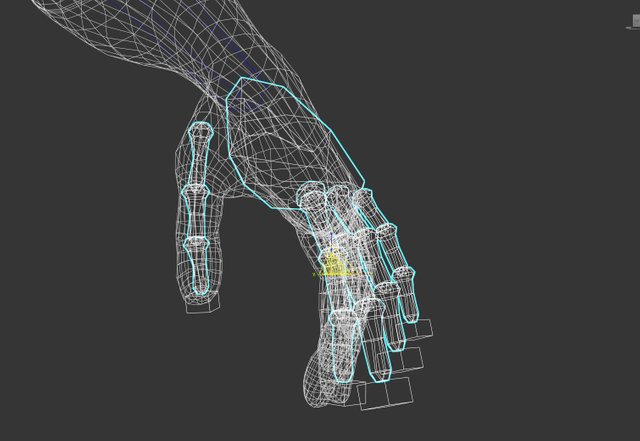
As everything is made the same way for almost every bones i will focus on the most difficult part of a rigging, for me at least, the finger bones. (oh and don't forget to add to the skeletton structure, at least 5 fingers and 3 finger bones to match human hands )
Now we are going to use move, rotate, and a little bit of scale tools to place every single joints / finger in place.
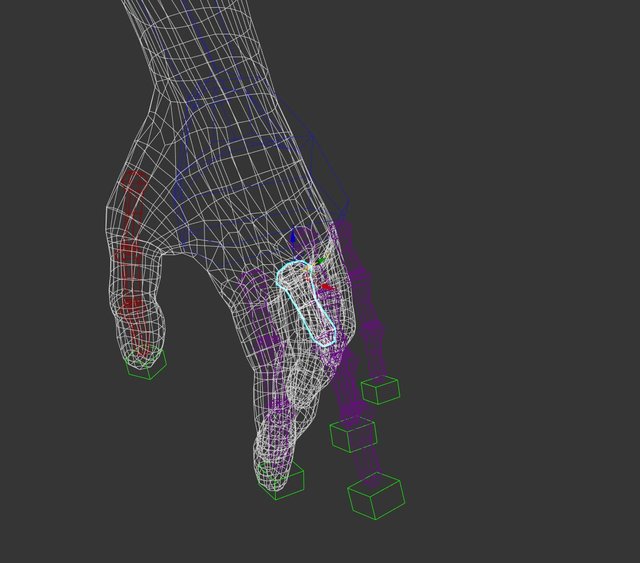
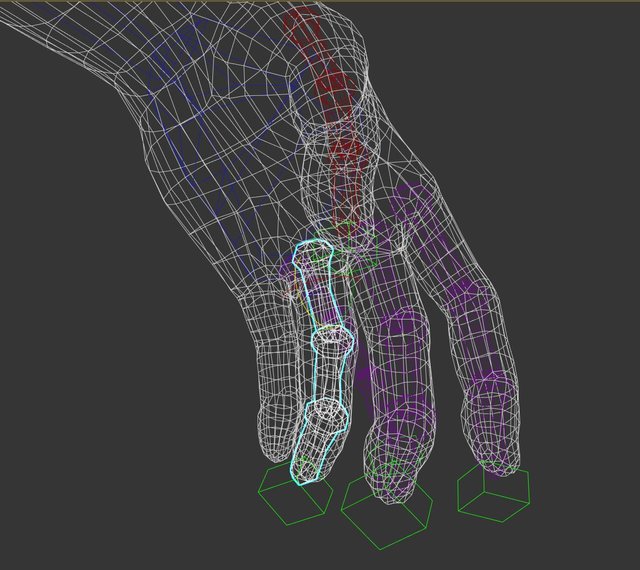
This is the most tedious part of the rigging, it can take some time to get used to but you need to follow the shape and position of the mesh and put the joints / articulation right in the middle of the area that will "bend" between two bones.
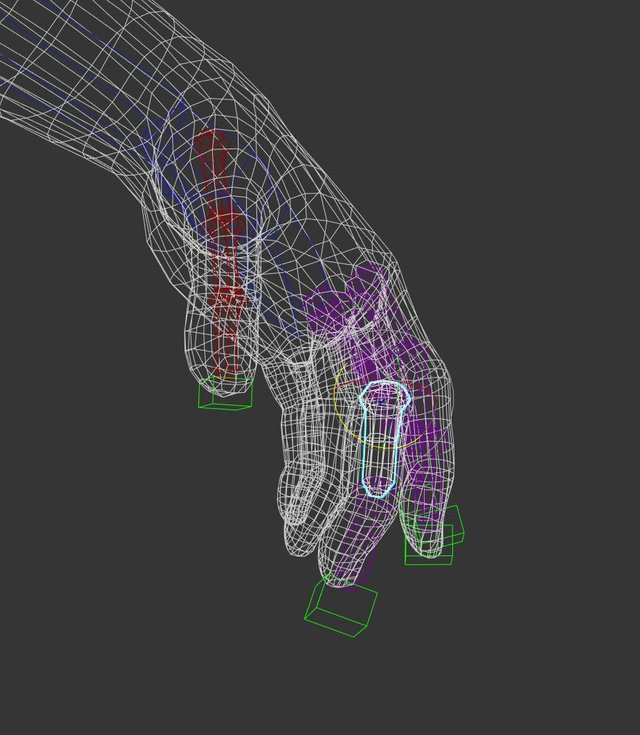
So, we are doing that for each and every finger / phalange. positionning, rotating, and slightly scaling them to fit the model.
Finger after finger, etc...
From the top to the last one.
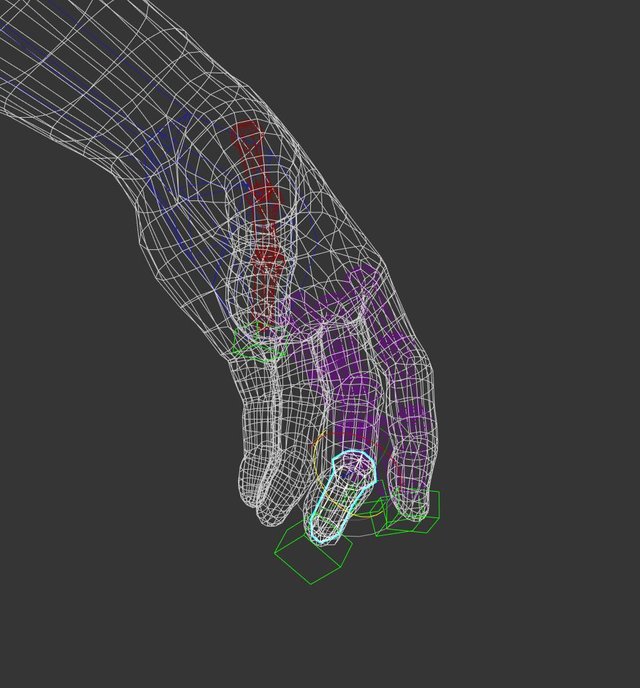
Rince and repeat the operation for the next ones.
Again :3
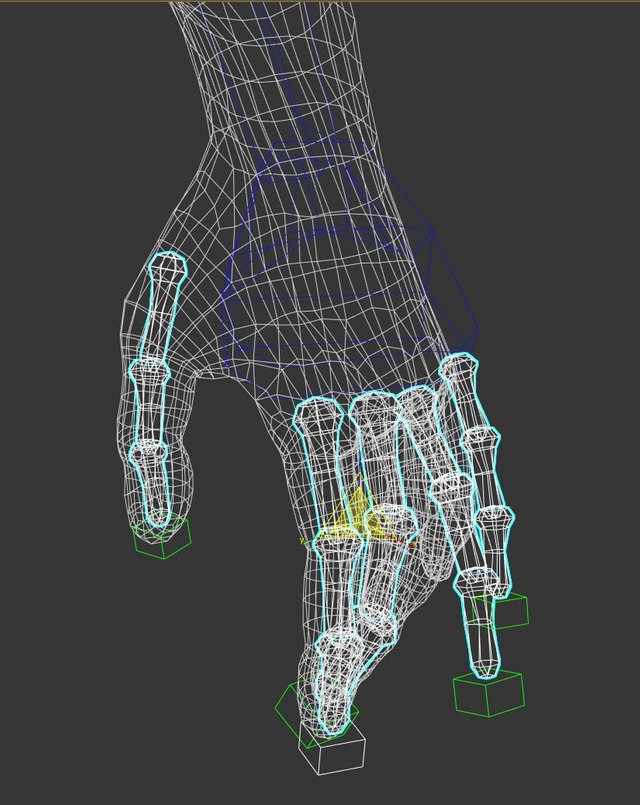
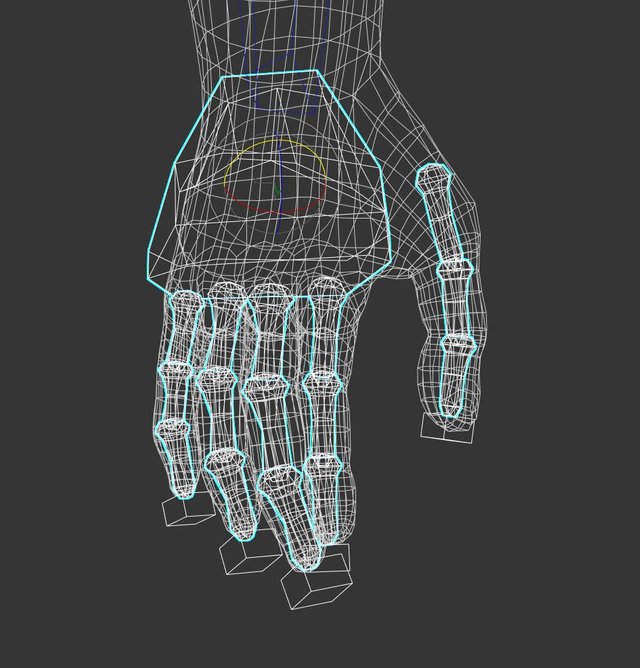
Okay, it looks pretty good like this, now we have to set up the other side...
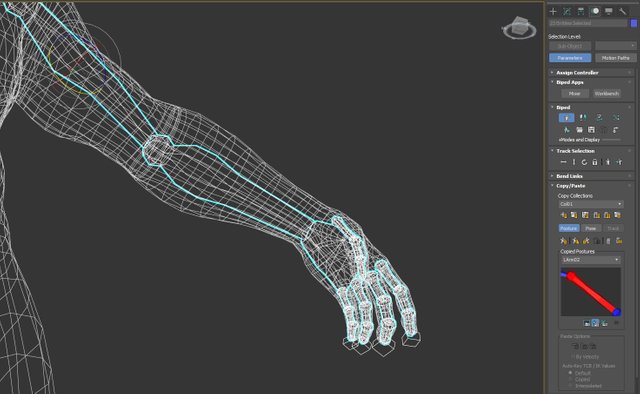
No, don't worry, as the model is symetrical we just have to copy and paste the left posture to the right bones ^^ by selecting all the bones that have been modified and copy the posture in the biped animation tools :
Just like this :
and press : paste to opposite ( it will paste all the bone informations from one side to the other )
And here's the proof it has done it's job, as the bones have adopted / adapted to the same position on the other side :
Now let's position other bones but this is going to be an example / sample of what you have to do for every bone of the biped, you could already tell with the hand that we have to match the character more or less to make a good animation afterwards :
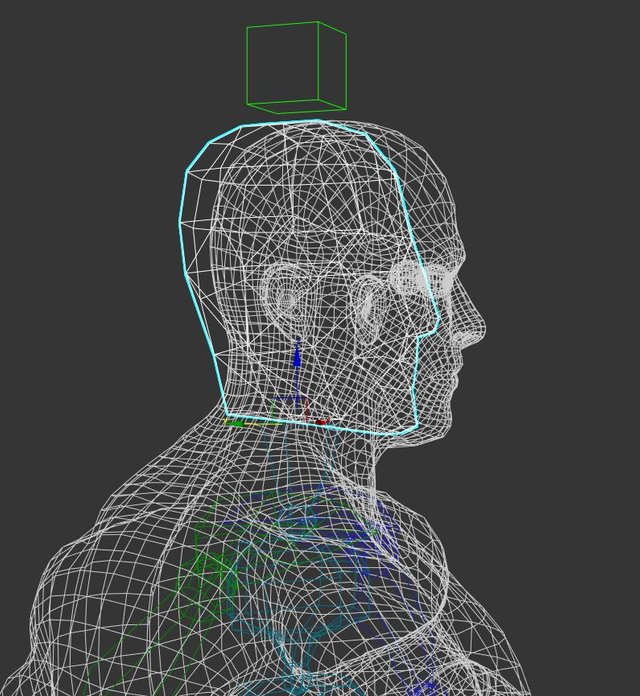
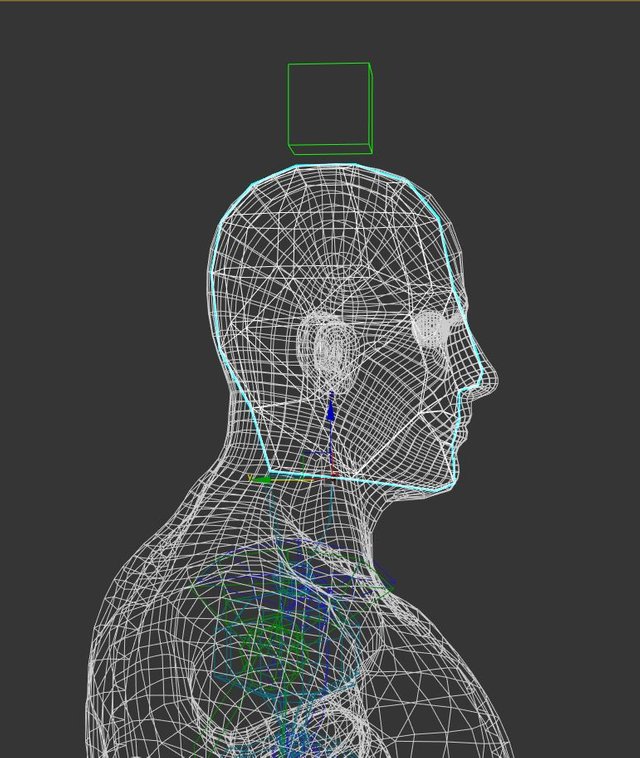
juste reposition and scaling of the head bone so it fits better the model :
See, that's how it's done !
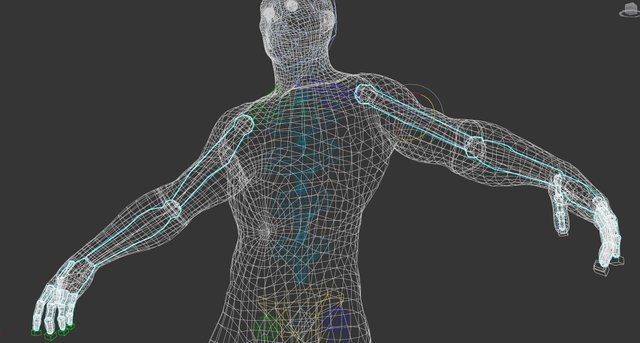
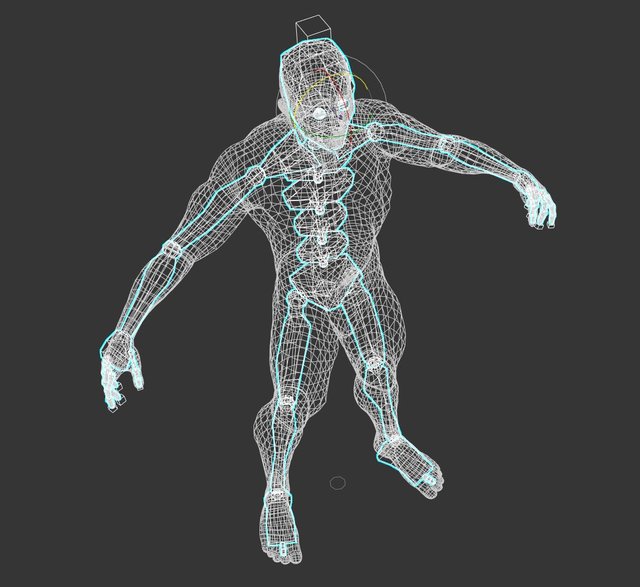
You repeat this on every bones until you think they are well positionned for every parts / limbs / etc and it should look like this inside your model :



The amount of detail with making bones is incredible and I am loving continuing to watch the animation process!