How to use div tags in Steemit Post Layouts - Pull Right and Left.
This post will tell you how to use the div tags to make pictures in post float to the left or to the right, to give more visual interest and variety in your blog. It's done at the request made yesterday by @joeyknowsbest asked a question of my Rare Replay review.
You need to do a guide on how to get the pictures next to the text like that. Mine posts always comes out all wacky looking when I try to do that.
@mattclarke chimed in asking for help too. So here is how to do it!
Example 1: Pull Right
I'm going to re-use a block of text from the most recent review in order to demonstrate below:
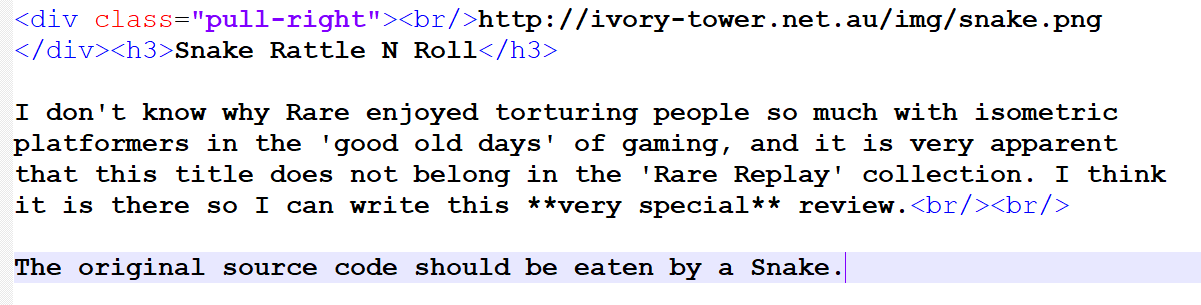
The line breaks (br tags) help to space the text and the images to make a more natural, spacey layout. Without them, it would look very compressed, and the text wouldn't flow all that well, like this sentence.
This 'code' produces the following result:
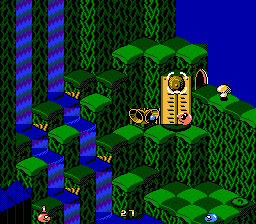
Snake Rattle N Roll
I don't know why Rare enjoyed torturing people so much with isometric platformers in the 'good old days' of gaming, and it is very apparent that this title does not belong in the 'Rare Replay' collection. I think it is there so I can write this very special review.
The original source code should be eaten by a Snake.
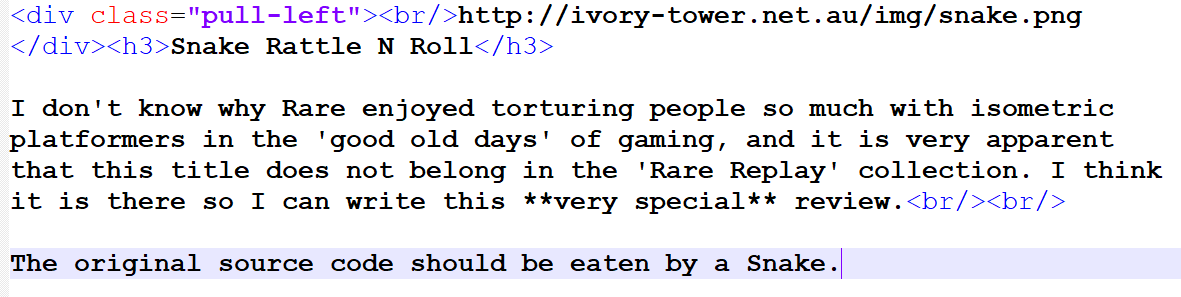
Example 2: Pull Left
The same, but we change one word:
Snake Rattle N Roll
I don't know why Rare enjoyed torturing people so much with isometric platformers in the 'good old days' of gaming, and it is very apparent that this title does not belong in the 'Rare Replay' collection. I think it is there so I can write this very special review.
The original source code should be eaten by a Snake.
Example the Third! Captions!
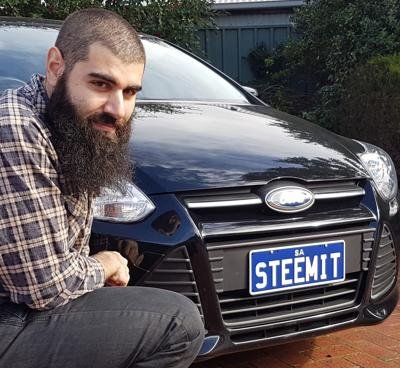
I'm going to use some new material here, shamelessly promoting my steemit number plates for my car, again. Deal with it.
OMG another Title
holoz0r writes about gaming, movies, and other stuff that he finds interesting. He doesn't believe in F4F (except when F stands for ... nevermind) and he enjoys writing stuff for Steemit even though it is sometimes not very interesting. He also has to start a new paragraph.
Here's a new paragraph of random text to fill the space next to the picture where he kind of looks like a lumberjack.
And the code:
The key is to use the br tags to add spacing within the div so you don't get a garbled mess. Captions look best when they're centered, and I decided to make it smaller using the "sub" tag.
This post is waffling on, so here's one final example, and a tribute to a fellow Steemian, @lauralemons, who drew the comic of me below:
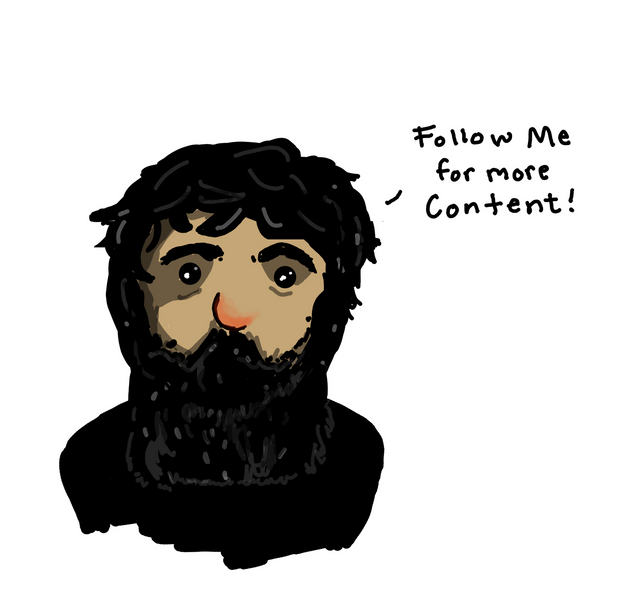
She writes about what she likes. It is interesting and challenging and confronting at times, unlike these crappy rhymes.
More words for the space, beside my drawn face.
And the code:
The layouts that really challenged me where the adaptation of some of the academic material that I had written in the past for Steemit. The layout for this post really challenged me.
You can find out more about how to do this stuff properly, if my post here isn't all that clear via: "Mastering Markdown" - hopefully my examples helped.
This is exceptionally useful. I hope it still applies a year later :)
It sure does!
sweet! i will follow youze now :)
Thank you! One of the few accounts that was active over a year ago, and still is now!
are the extra < br/> 's at the end of each of your examples simply to get the text to the end of the image (sorry for not using terms correctly, it is only because i dont know them) :)
Hi, thank you, great job! I was just looking for this, couldn't find it in " Mastering Markdown" manual
Glad to be of assistance! :)
Well that was quick. Thank you very much for this and your speedy response. Another upvote and a follow from me sir. I wish as a younger man(I'm 32 almost 33 now haha) I would have spent more time learning these codes and stuff. It was much easier to learn back then it seems. I used to know how to program in Basic and Quick Basic and I dabbled in C++ but didn't get to far. Thank you I will resteem this so I will be able to find it later when I need it again.
I'll be 30 in a few weeks so I know how it feels. Doesn't get easier as you get older. :) Just gets more confusing with every moment. Thanks for the follow!
Posted this an hour ago but it didn't show up. Trying again:
Nice, thanks for this. I'll need to start adding this to my posts soon - last time I tried it, the divs disappeared (?) after an edit. Thanks for the tip on the captions too.
Quick one: how did you do that quote right after the first paragraph of this post?
Cheers mate.
Quote is using the
<blockquote>tag :)Nice and simple - thanks.
Thanks for this eh! I think you are torturing us a bit by having the code in an image so we cant copy-paste, forced to type out your examples by hand, i see what you did! Cheers though!
Best to learn by typing the code yourself :p
and that would be 100% correct!
My bookmarks bar is full...shit
This code upsets me so much! I just want to whack in a freaking
display: inline-blockon a couple of divs! And<caption>tags inside<picture>tags! XDNice explanation using what's available to make visual interest :)
Yeah, I was sad when those things didn't work at all... I know the feels. It made me feel like I was 10 all over again, learning basic html and the marquee tag. :P
LoL! Did you ever do blink and marquee at the same time? I've told off a cousin's friend for that and every single bloody javascript gimmick there was at the time tacked onto the one page XD
(it looked hella professional and loaded much quicker after I was done dragging him over the coals though XD)
Of course. Multiple marquees. When I found out how to flash the background colour via javascript, it was straight into detention because I set the homepage of every computer at school to marquees with flashing backgrounds.
Back when Internet Security was "The kids will never know how to do this"
Thanks holoz0r.
I never would have thought to include the caption in the same command area as the image. It looks so strange that you've got all those text and commands (including that hyperlink), and then halfway through the paragraph is your title. I get it now. Thankyou.
Ask and ye shall get!
Thank you ! I super appreciate the help!
Great post @holoz0r! Thank you!
Is it possible to control image size as well?
I found a roundabout way to do this ---every time you cascade the
<div>tag, the image gets resized by 50%.For example:
<div class="pull-left"><div class="pull-left">http://basebandtech.com/wp-content/uploads/admin.png</div></div>