Fusion360 Setting up Blueprints
Fusion has a very good feature where you can insert an image and then calibrate it to a certain size, I really like that idea.
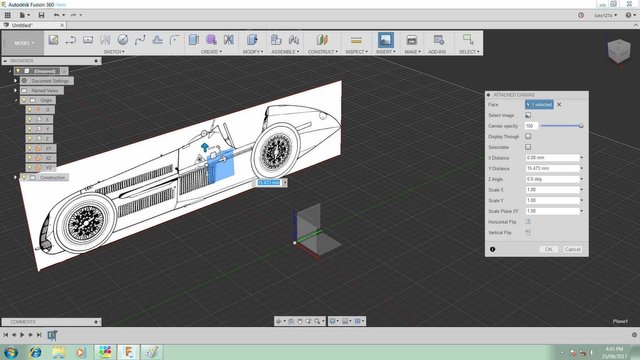
But for some reason when inserting an image you can only move it around on 2 axis, and if your new to Fusion you put it on the default plane and thats it, you get something like this:-
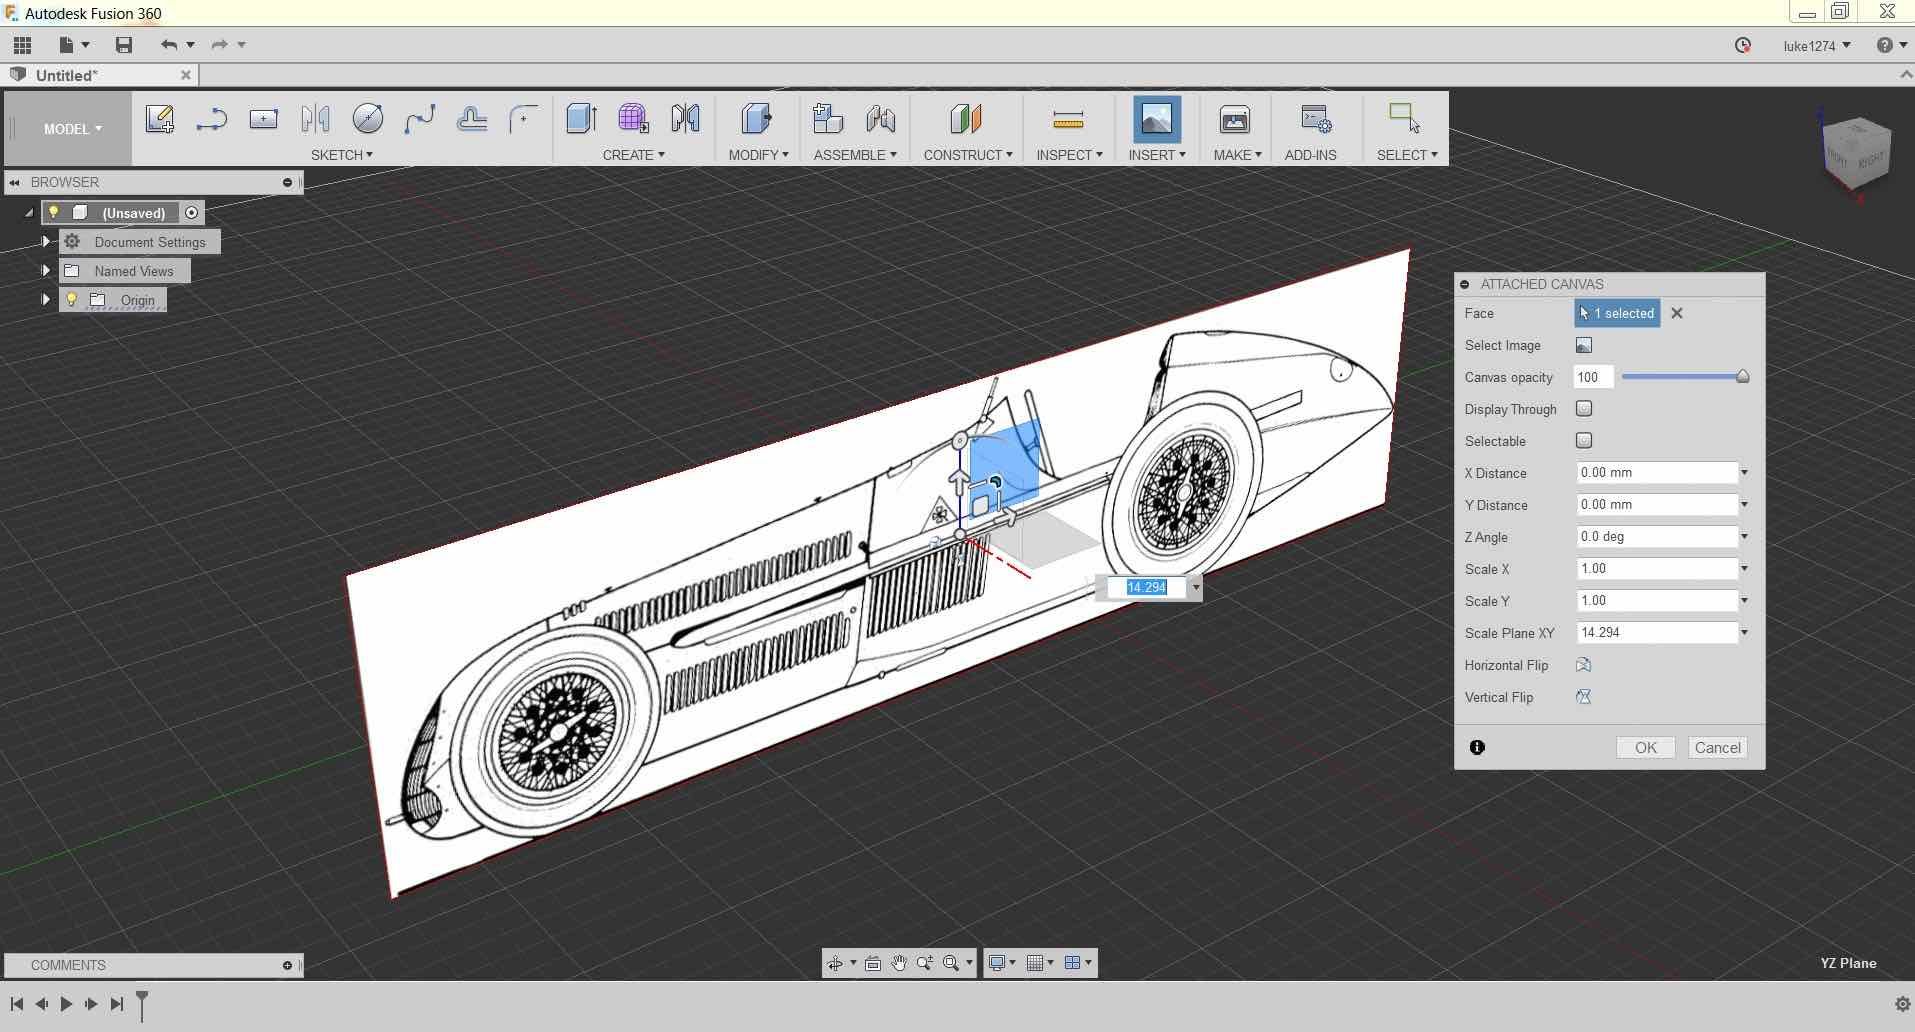
It's ok but not ideal as you have to model over the top of the blueprint. You can make the image transparent but still it gets in the way.
Your stuck with this postion very difficult to model around.
I like to be able to move the blue print out of the way so I can see what I am doing. If you try to edit the image and move it Fusion won't let you move it in 3 dimensions only 2 for some reason.
So lets learn about planes, when I first got Fusion I stayed away from this menu as it was not something I was used to, but as I worked with them more I realised they can be very useful.
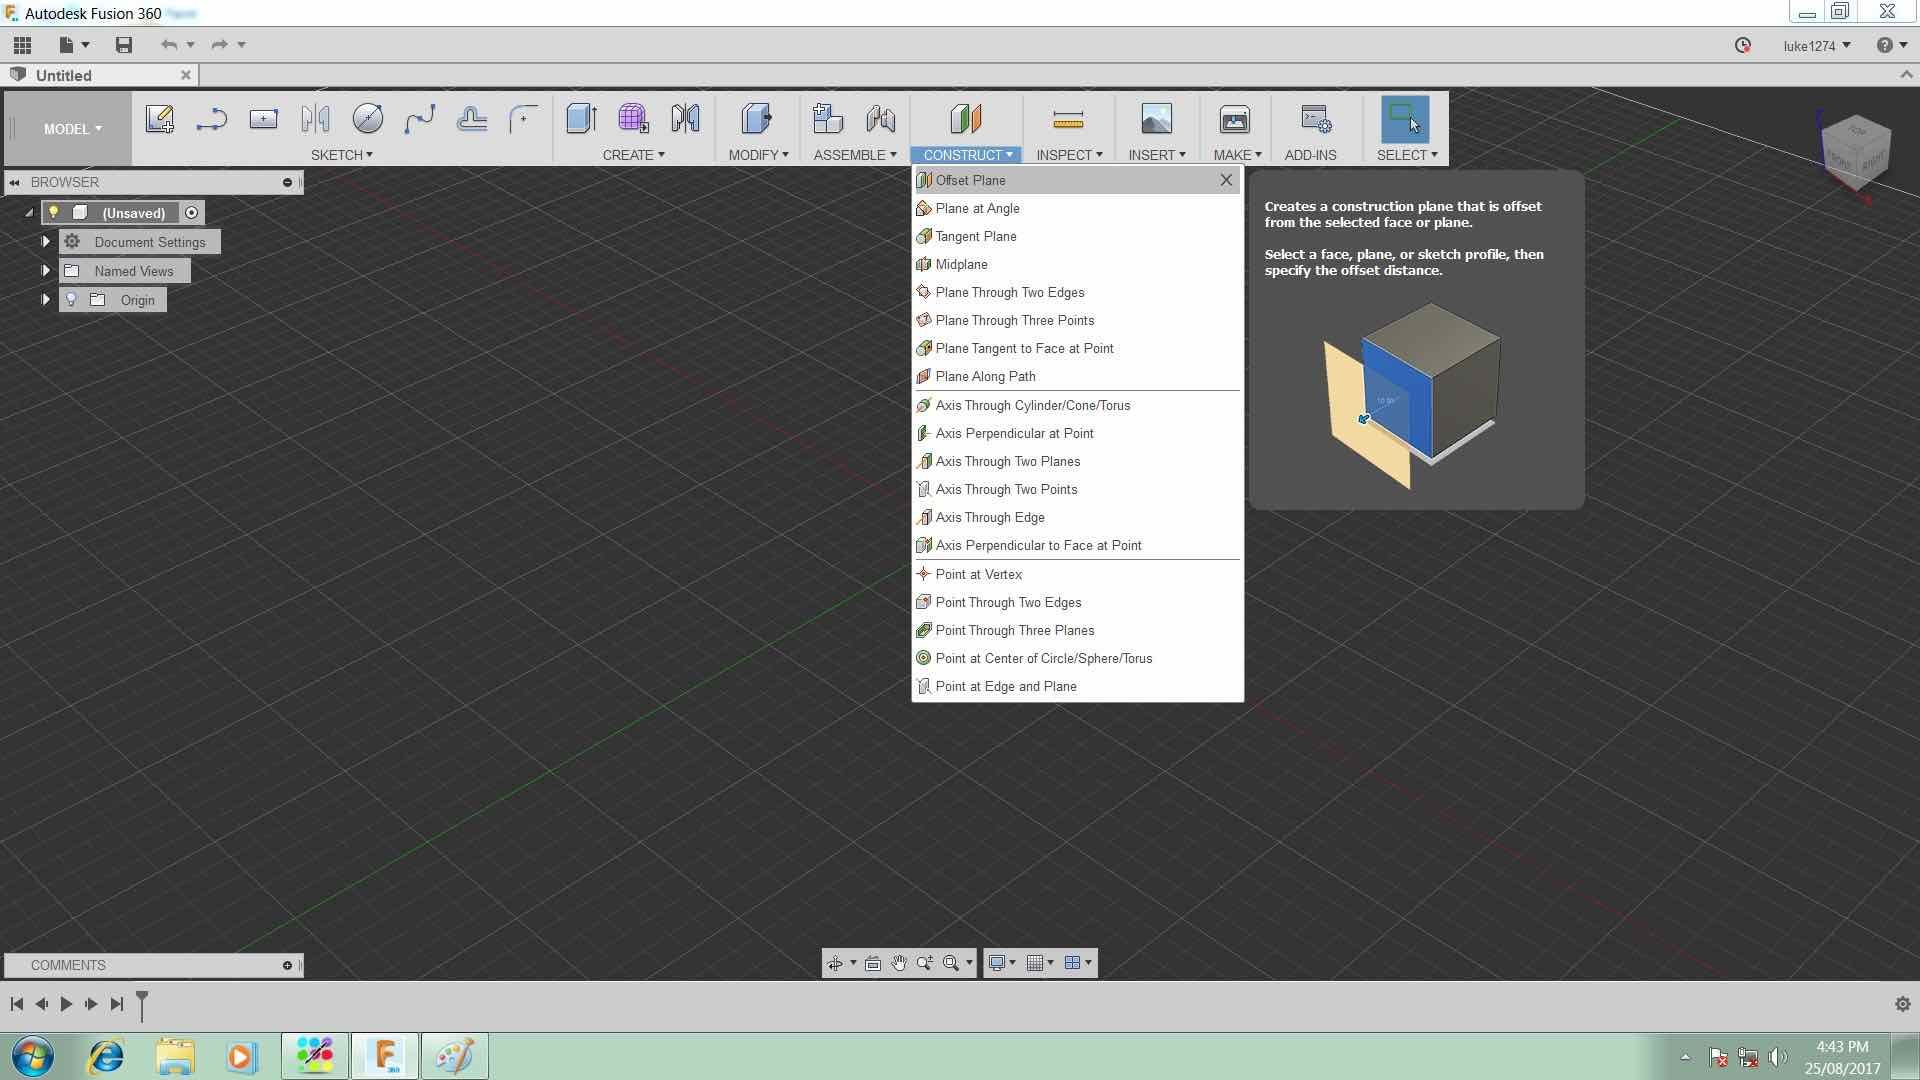
I had the idea I needed to add a plane so I could move the blueprint out of the way.
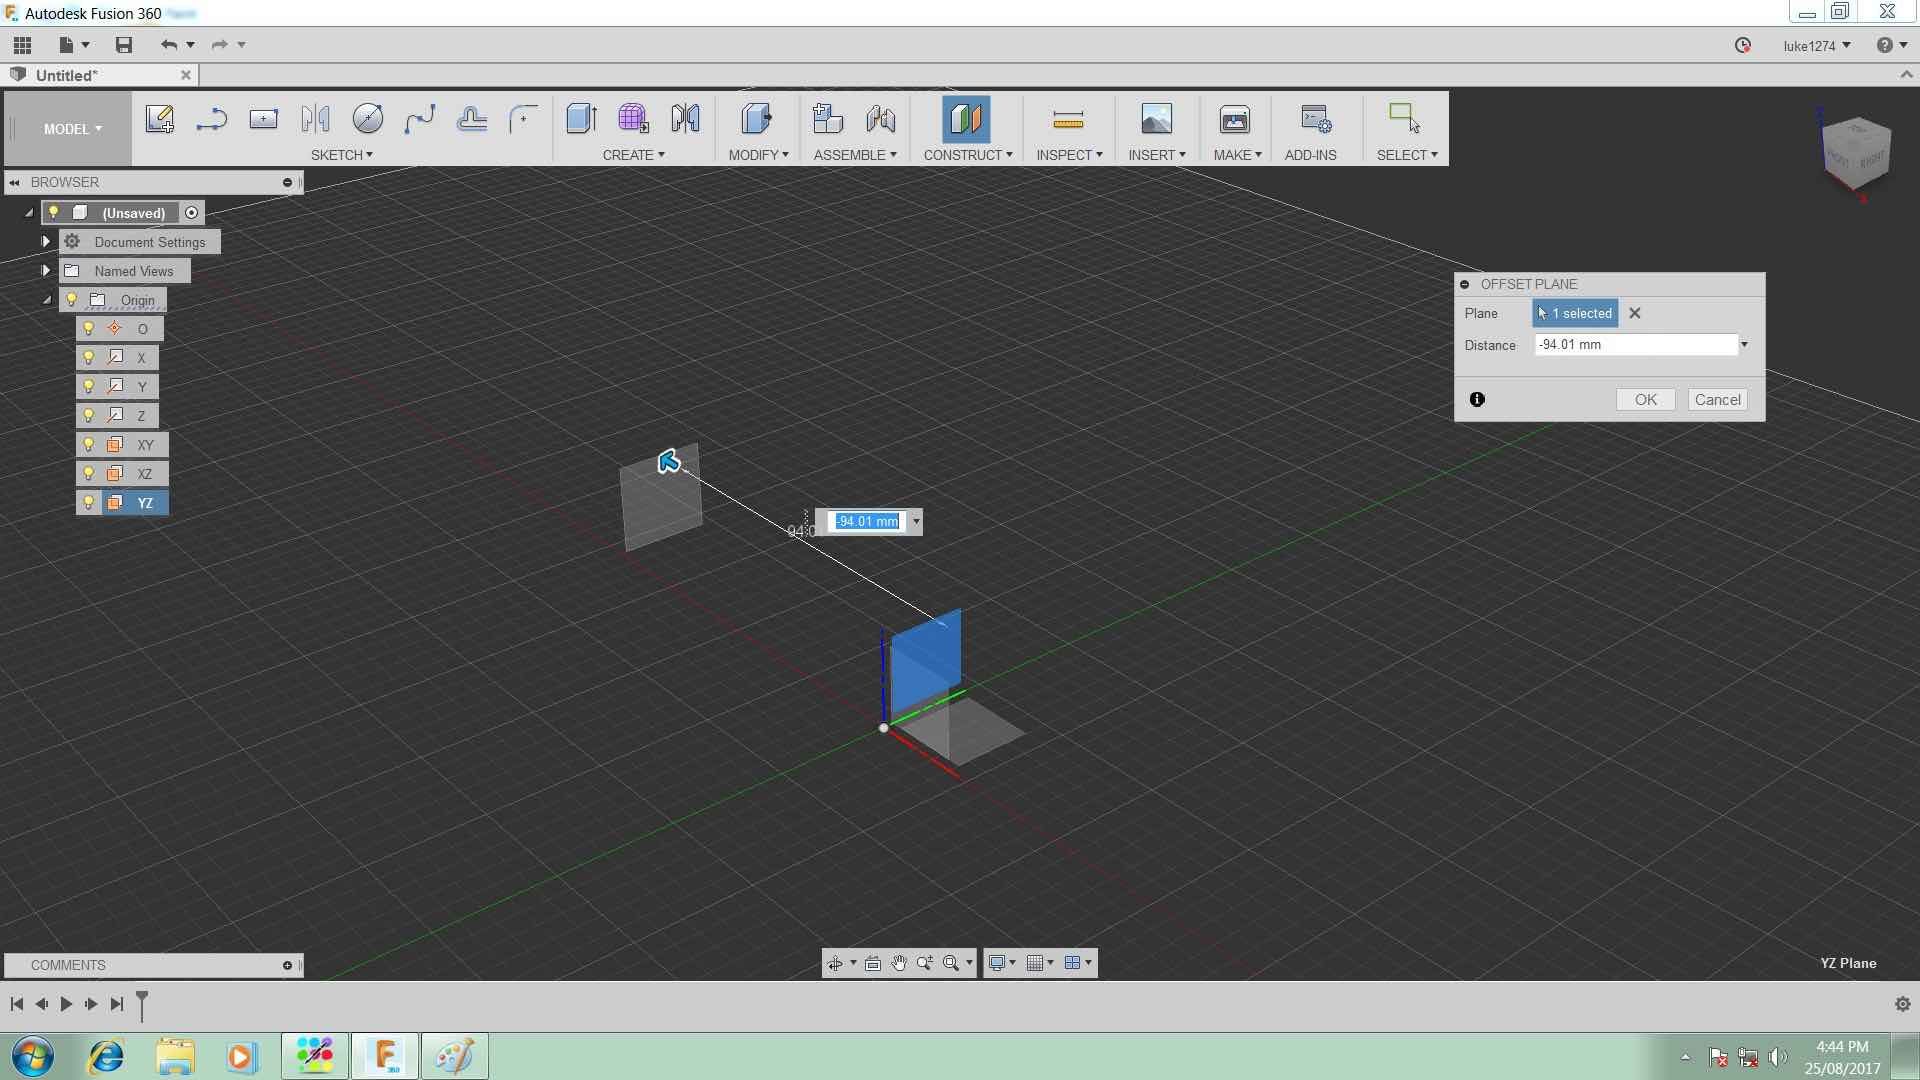
Select the construct menu and choose Offset Plane, make sure the light bulb next to origin is selected so you can see the default planes.
Click on the YZ plane.
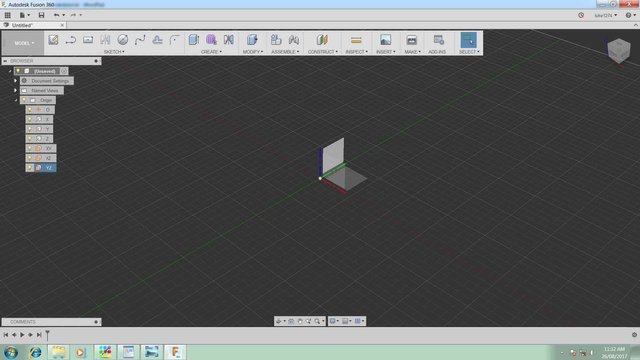
Then drag out a suitable distance for your blueprint.
You can now insert an image onto this new construction plane.
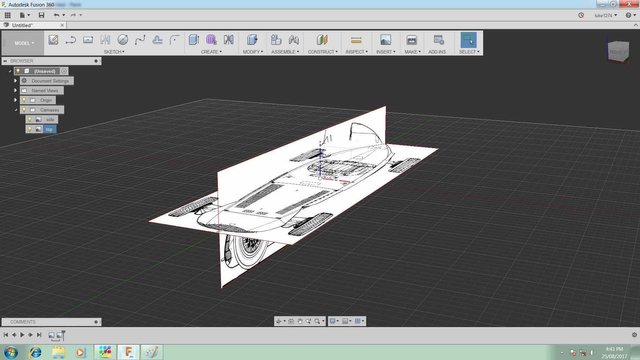
Repeat the process for each view and you should have something like this:-
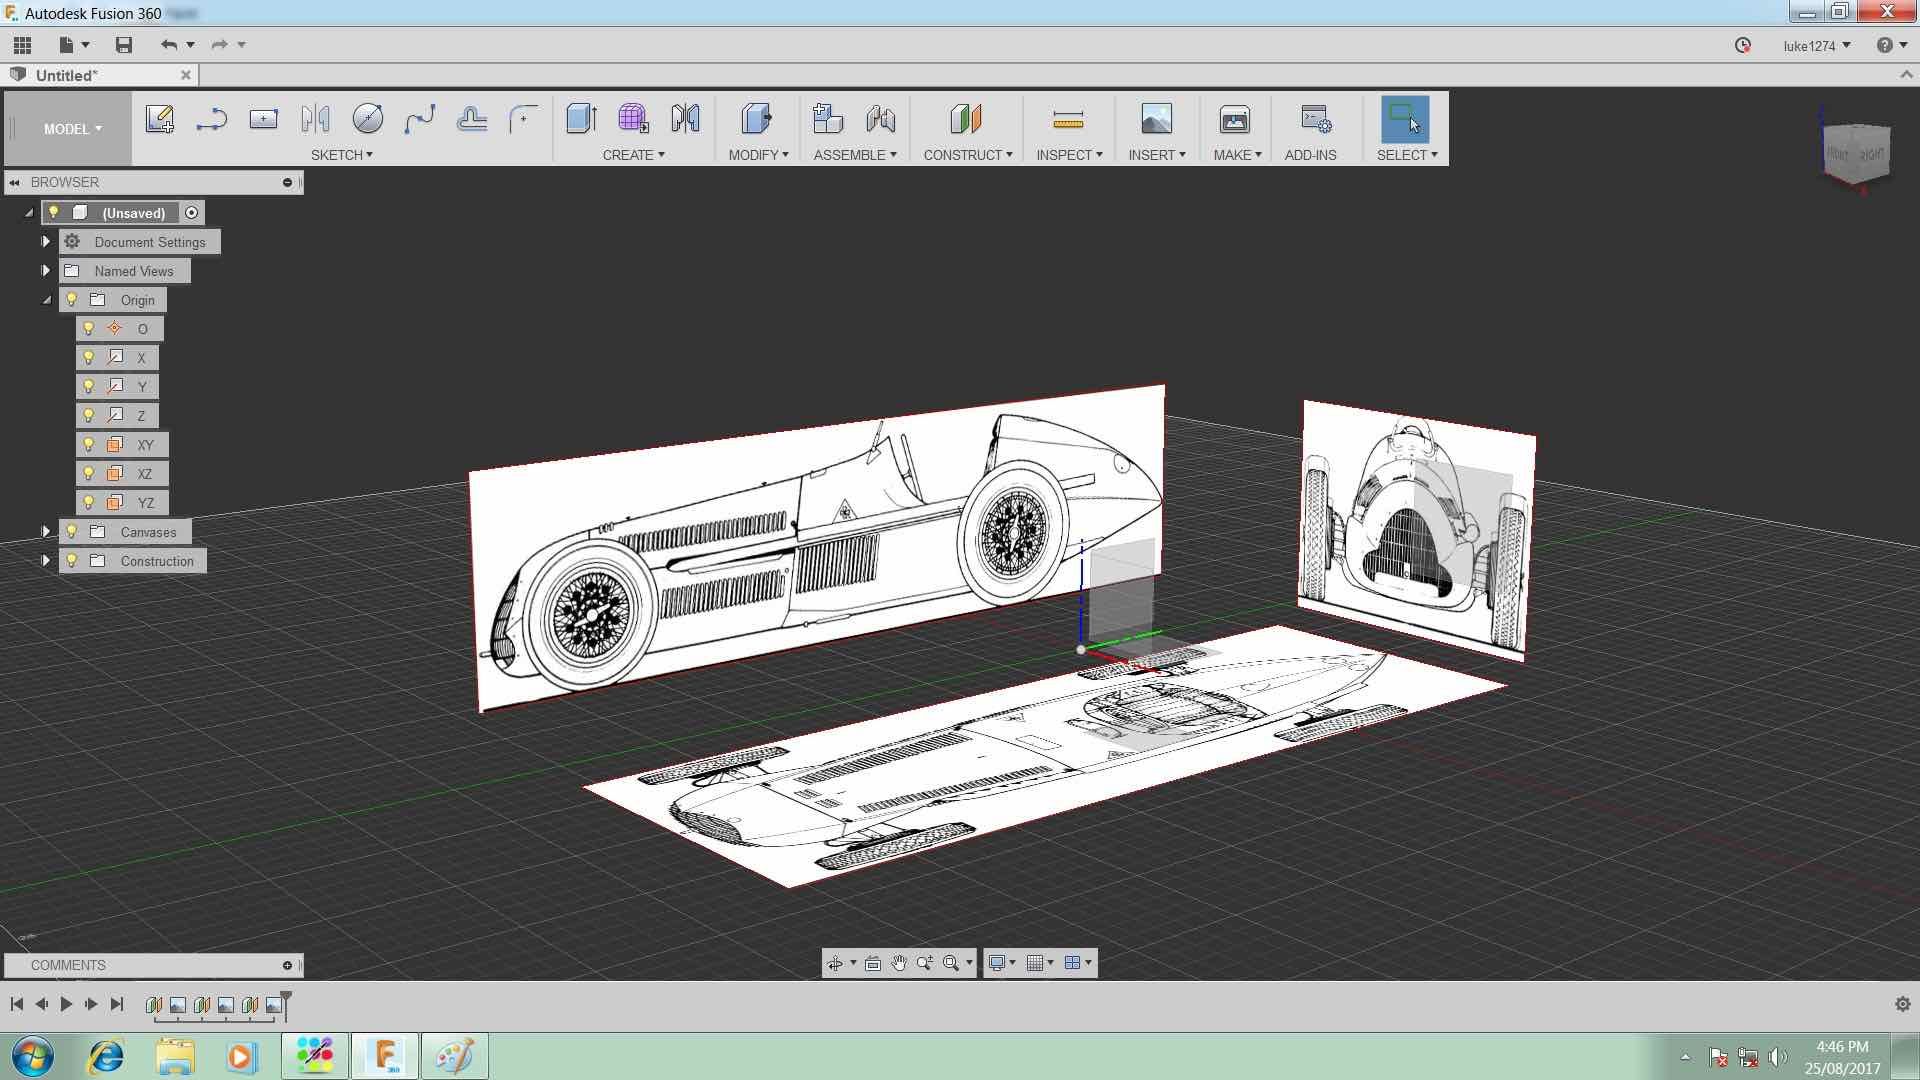
You can now model around the blueprints and be able to see what you are doing without them getting in the way. You can also go back at any time and move the new planes around so they all line up properly.
please follow , voting and reply me