How to Install the Facebook Pixel on a Self Hosted WordPress Blog
![]()
Today, I am going to show you how to easily install the Facebook pixel and Standard Event codes in WordPress.
Find your Facebook Pixel ID
The first thing you need to know is your Facebook pixel ID. In the Facebook Ads Manager go to the “All Tools” link to show all menus and click “Pixels.”
![]()
You will see this screen. At the right is your Pixel ID.
![]()
Your Pixel ID is a series of numbers like this “123456789”. You have to copy it and use it with the plugin I am going to show you now.
Install this WordPress Plugin
There are lots of WordPress plugins that can help you insert code in any page of your blog, but the easiest to use I have found is “PixelYourSite.”
This is a plugin completely designed to insert the Facebook pixel in your self-hosted WordPress blog, and also insert “Standard Events” in specific pages to track conversion.
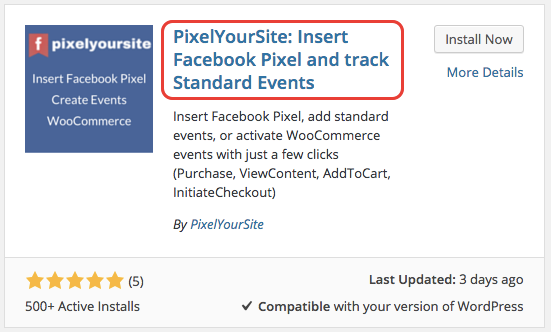
The Free version is sufficient for what you want to do. Go to your "Add plugin" section and search for “PixelYourSite.”
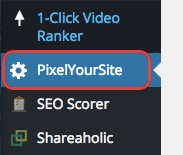
After installing the plugin, go to the left menu and locate the link “PixelYourSite.”
Click the link to access the setting page. The first tab is where you enter your Facebook Pixel ID.
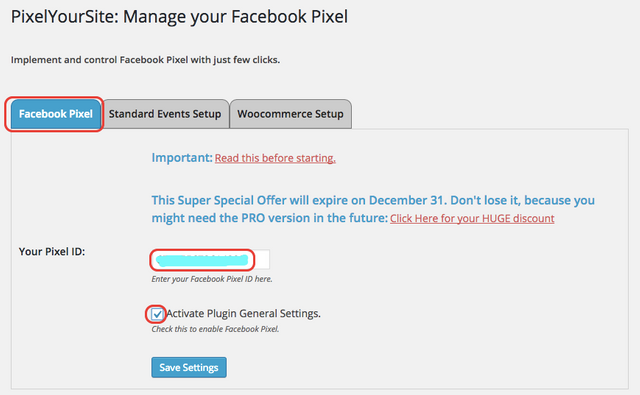
Remember that it is only a series of number like “123456789” that you have to enter there, not the whole code as it is already present within the plugin. Check the “Activate Plugin General Setting” box and save.
The Facebook Pixel is now installed on all your pages and posts of your blog and you can now create an audience in the Facebook Ads Manager, if you wish, for retargeting purpose.
The second step is used if you are running Facebook ads and want to track conversions for different events like view, lead and purchase.
This is the list of all events you can now track in Facebook.
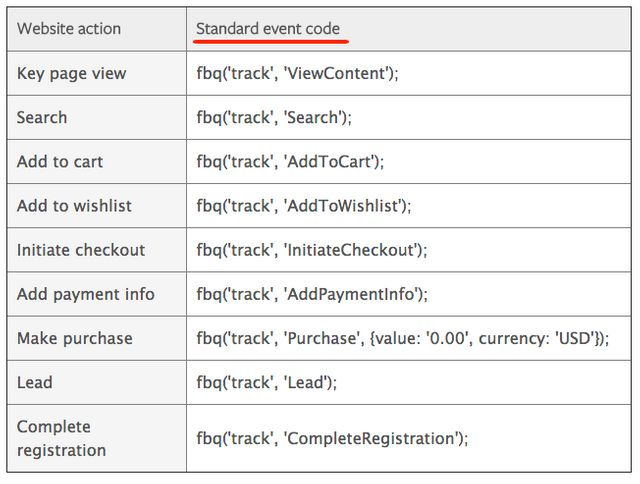
Let’s say you want to run a Facebook conversion ad to send people to a specific page on your blog.

What you have to do according to Facebook’s documentation is to add a string of code like this fbq(‘track’, ‘ViewContent’);
This can be challenging to add it on only one page if you don’t have a plugin with the option.
“PixelYourSite” can do it easily and you have to use the second tab “Standard Events Setup.”
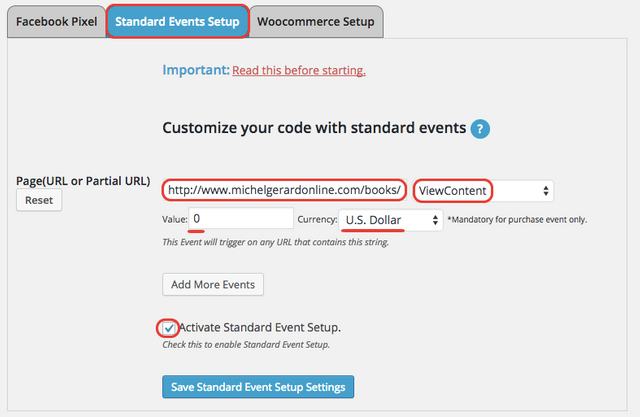
Copy and paste the URL of the page you want to track on your blog and select the standard event you need.
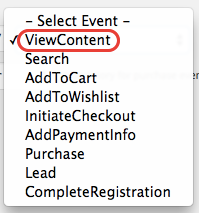
In this example I selected “ViewContent” because I want to track how many people view the page as a result of the Facebook ad. You can set a value of 0 in US Dollar, because you don’t sell anything on the page at this point.
Check the “Activate Standard Event Setup” box and save. The Standard event is now installed in the page you specified. You can add several Standard Events if you wish.

This is for example a “Thank You” page when people have subscribed to my newsletter. You can give it a value, here, one lead is worth $1 to me.

If you are promoting a particular product you can enter the “purchase” page, select the “Purchase” Standard Event and enter the real value of the product in the correct currency.
If you enjoyed reading this post, please upvote and follow me for more like this.
Michel Gerard
Congratulations @gmichelbkk! You have completed some achievement on Steemit and have been rewarded with new badge(s) :
Click on any badge to view your own Board of Honor on SteemitBoard.
For more information about SteemitBoard, click here
If you no longer want to receive notifications, reply to this comment with the word
STOP