How to make a beautiful blue light effect
Today, I'm going to show you how you can make this picture with very few means :
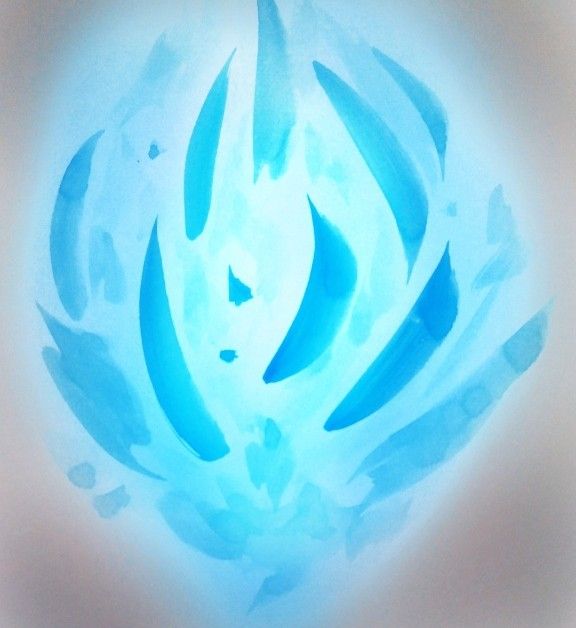
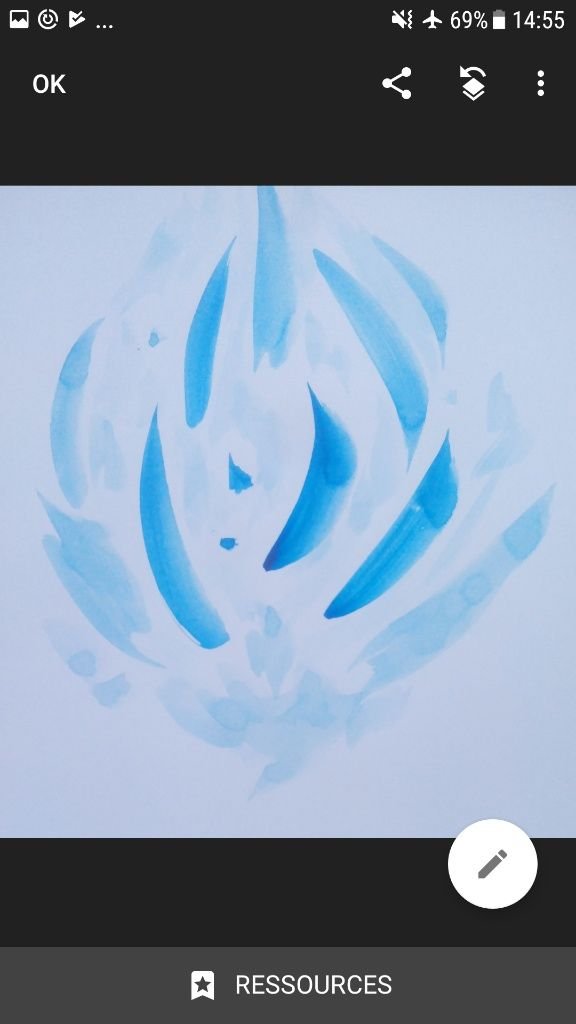
starting from this :
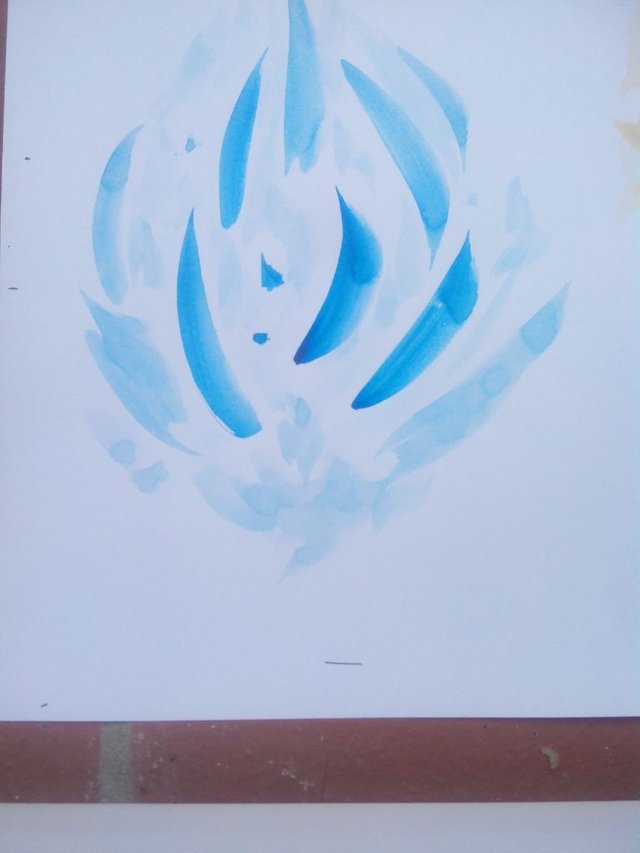 simply by using your phone. I'm going to use Snapseed app under Android (it is also available on iPhone). The app will be in french, so the screenshots may differ a little from what you've got, but it should be easy to make the correspondance with your own Snapseed app.
I did not test a lot of others similar apps, so maybe there are other easier ways, feel free to tell me in the comments.
So, first of all, take a picture of your drawing/paint that you made. It has to be either blue or orange or a mix of these colours, else it will not work!
I personally painted this simple blue "flower / crystal" shape with watercolor on a standard bristol paper sheet (i.e a bit more thick than standard ones but any paper will do the important steps are after the drawing).
Then using your favorite file browser open your pic with Snapseed or share it from your favorite picture/gallery viewer (below an exemple of sharing a file to Snapseed through file browser)
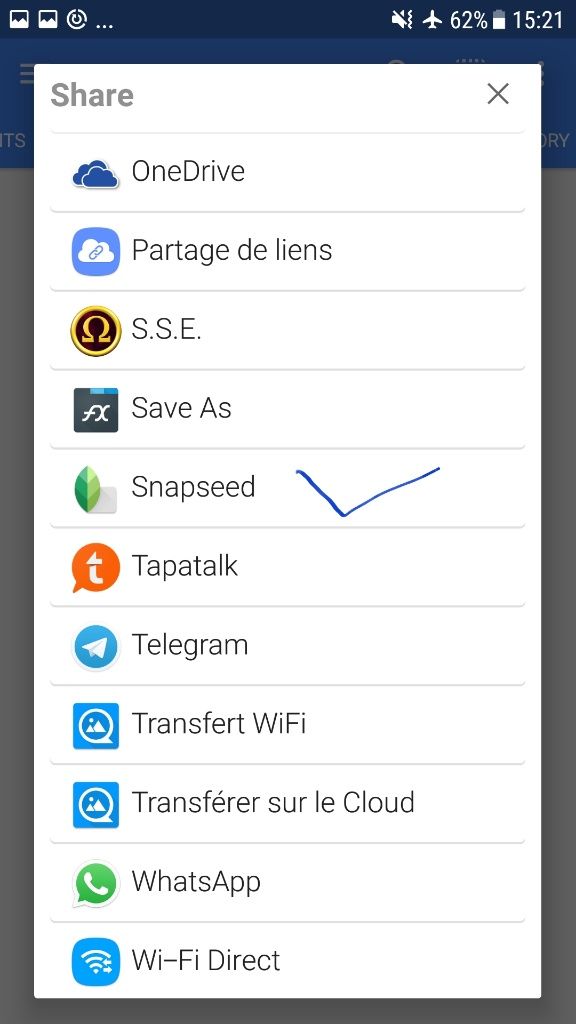
The first thing we're going to do is crop/resize the picture to remove what we don't want from the photo.
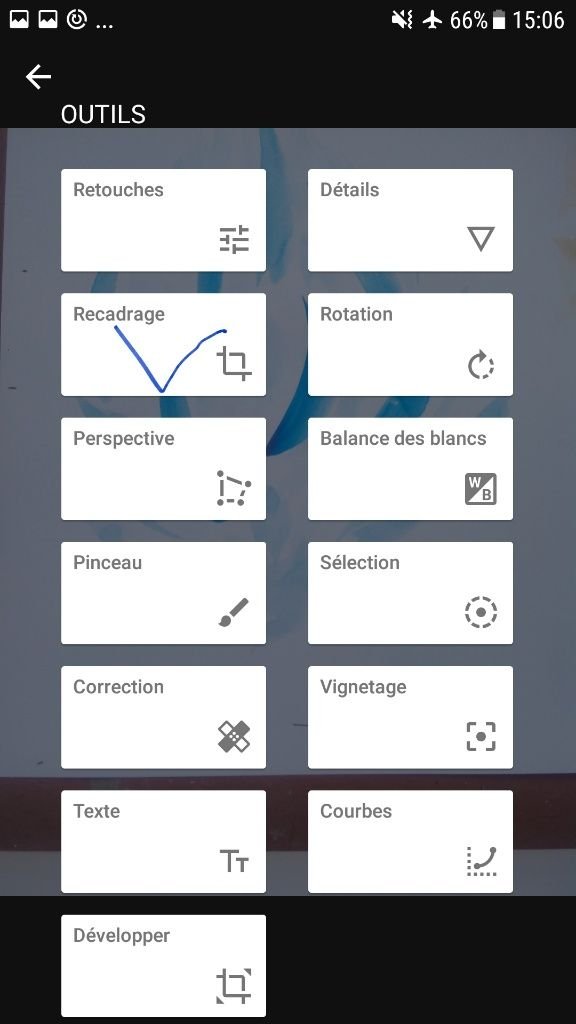
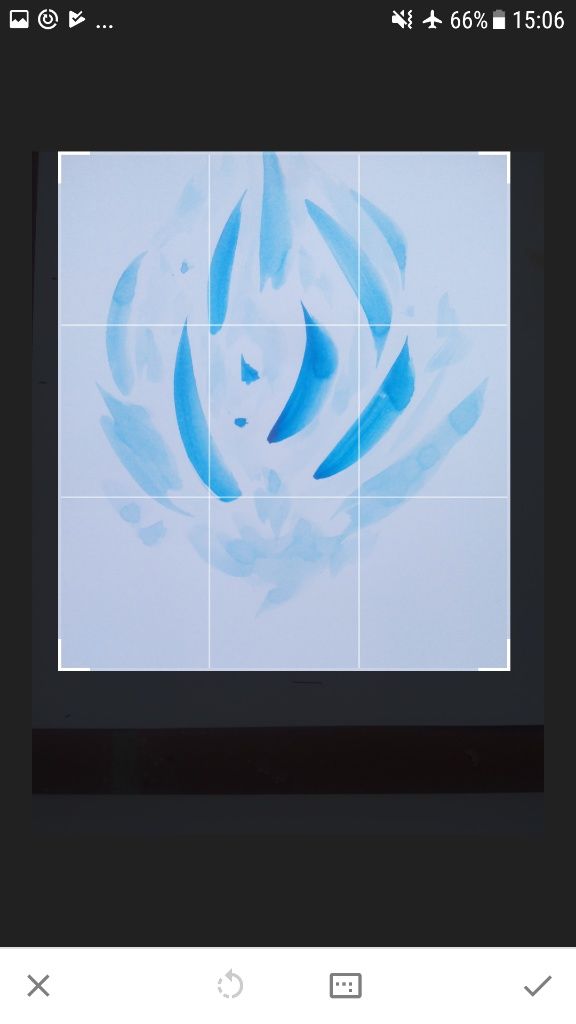
Then, I usually perform a manual white balance.

Here the picture a bit too much cold (blue), so I increase the temperature to get a more satisfying overall temperature and white balance.
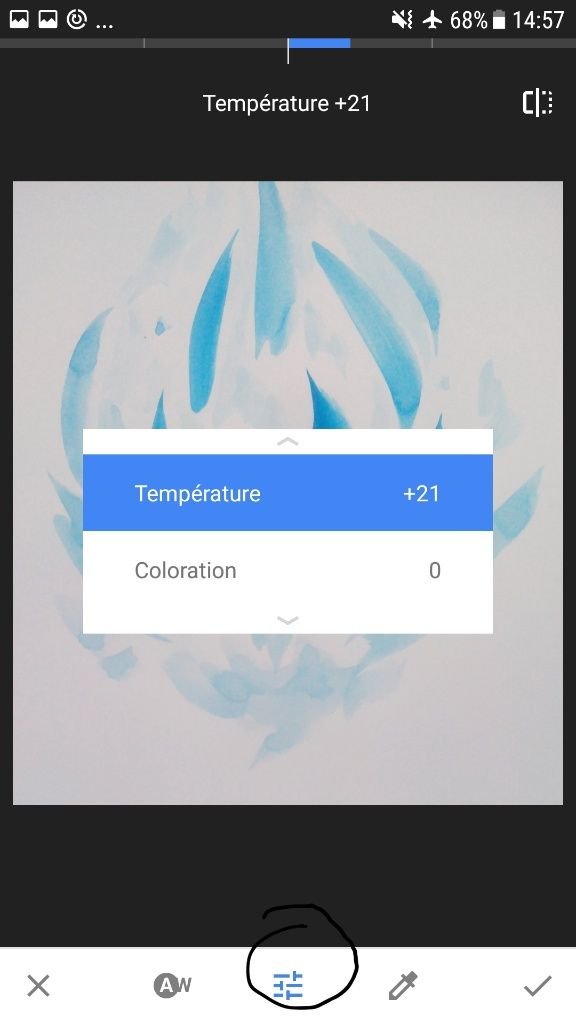
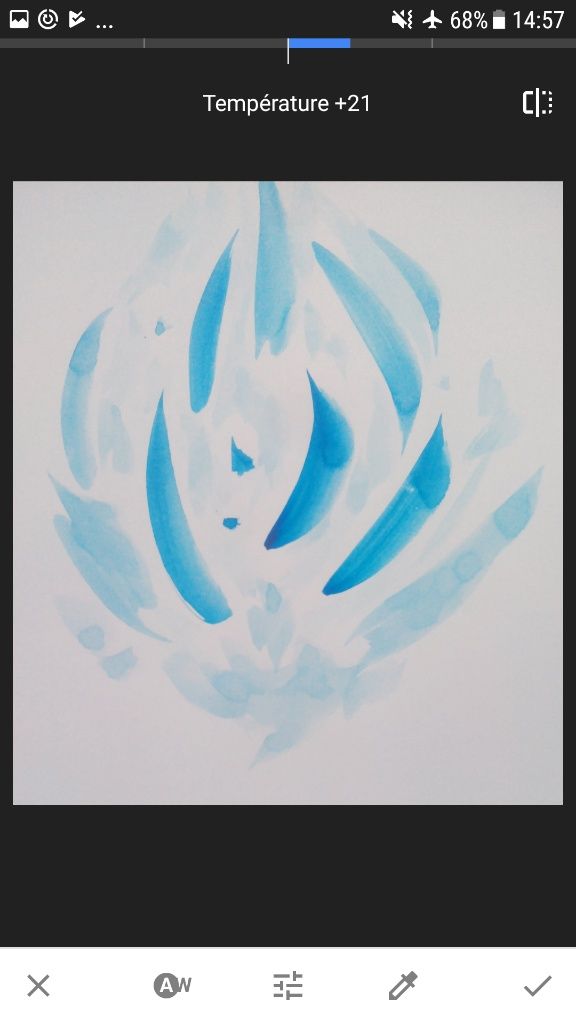
Now this is where the real fun begins :)
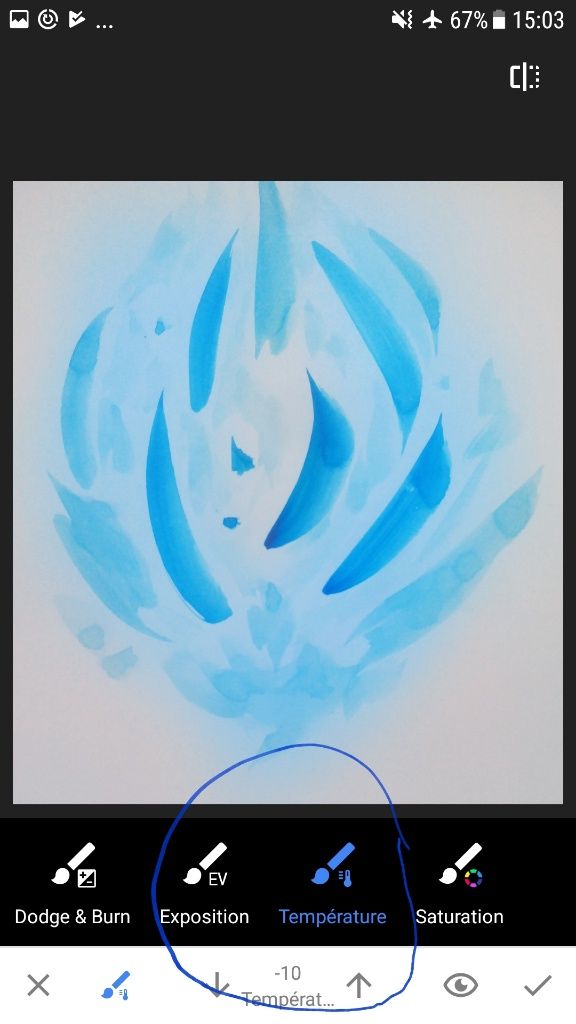
Take the paintbrush tool and modify with your finger the color of the regions.
There is only 2 modifications possible : colder or warmer (hence the modifications are only possible in blue or orange).
Here you can see I added a smooth blue around the center using the temperature brush and my finger.
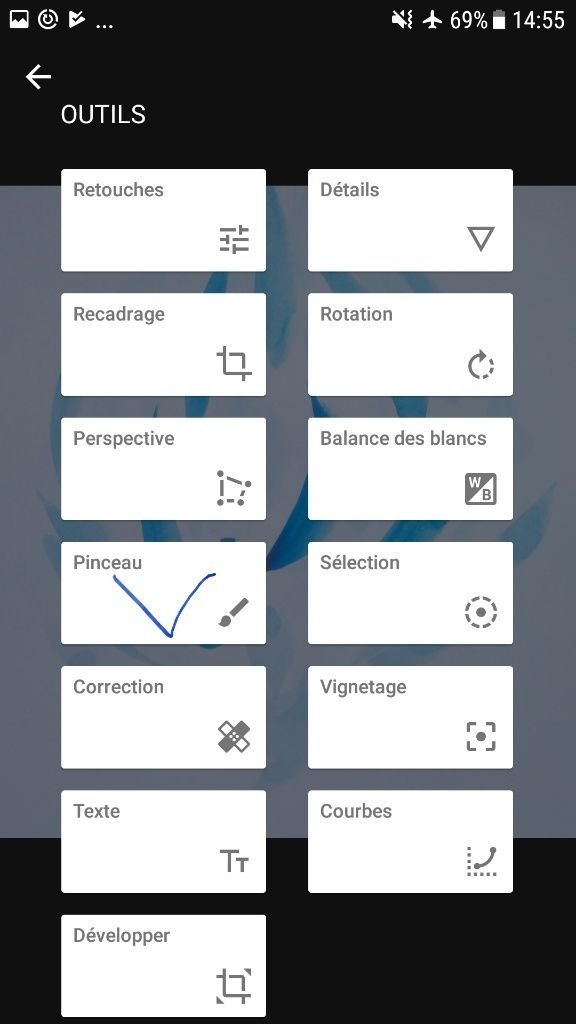
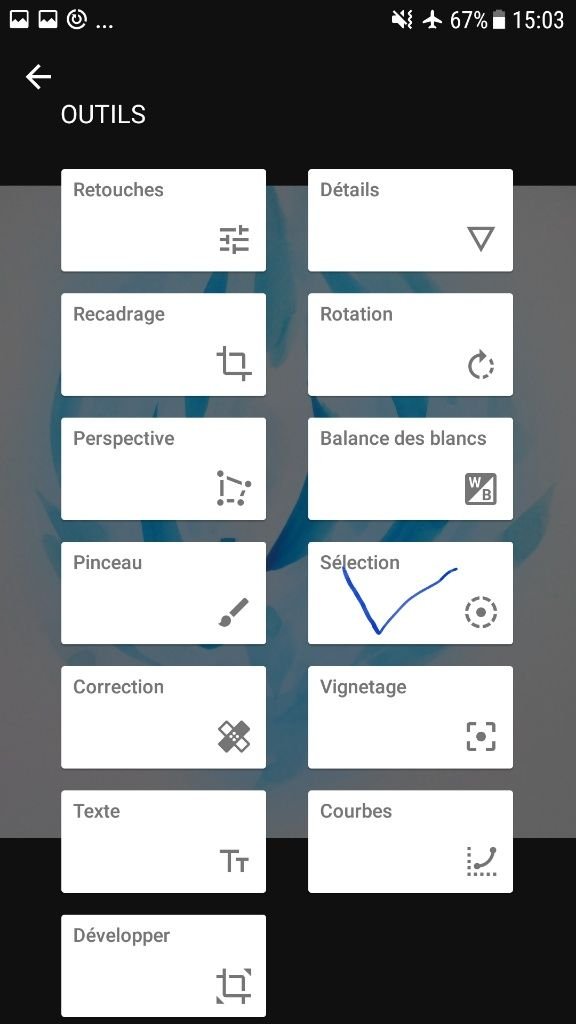
Then, we're going to add a lightning effect, with the "selection" tool (strange name for a lightning tool, maybe it is a bad translation in french...).
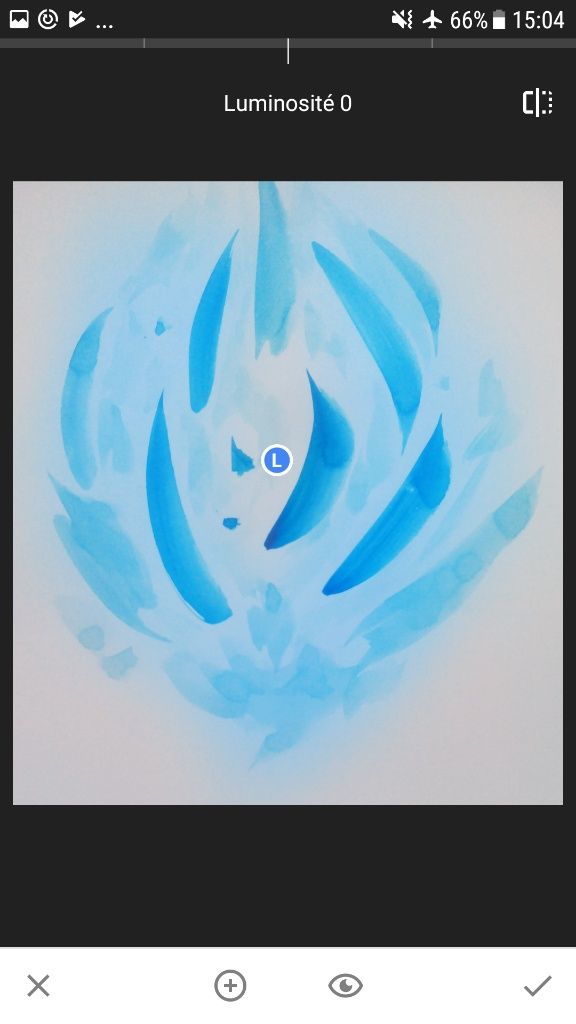
Put a light right in the middle and adjust its power by sweeping left or right.
You can put several lights each with their light level. Also the light can cast shadow around it instead of light, but here I just keep it simple and use one light.
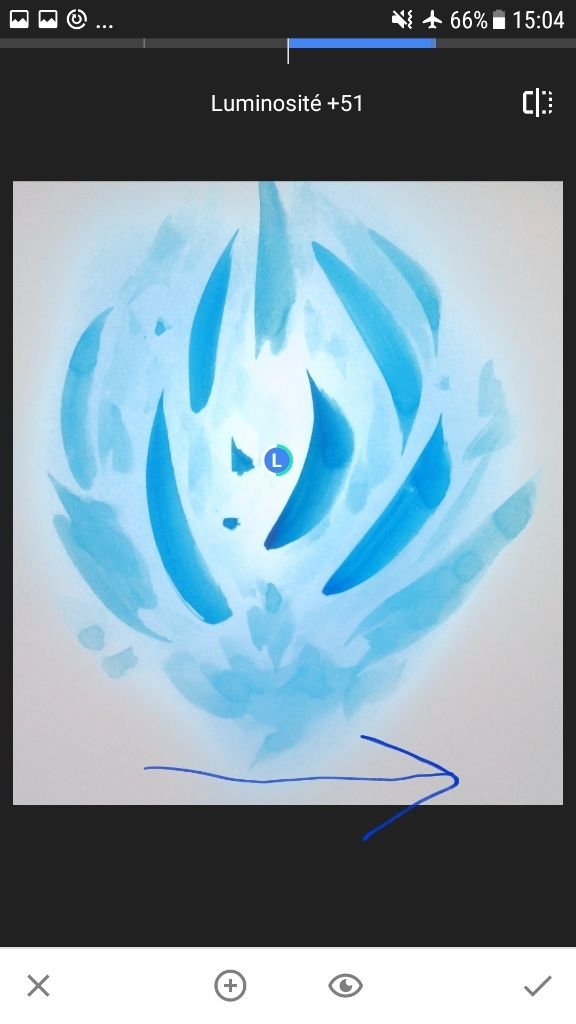
Then, from here, just paint again with the paintbrush tool and adjust with light. I made this several times until I was satisfied.
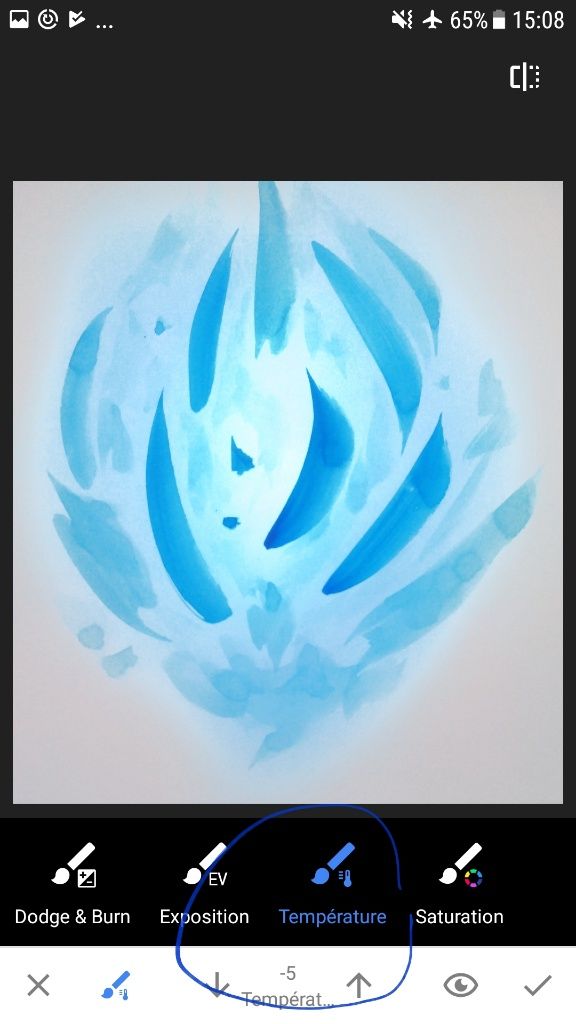
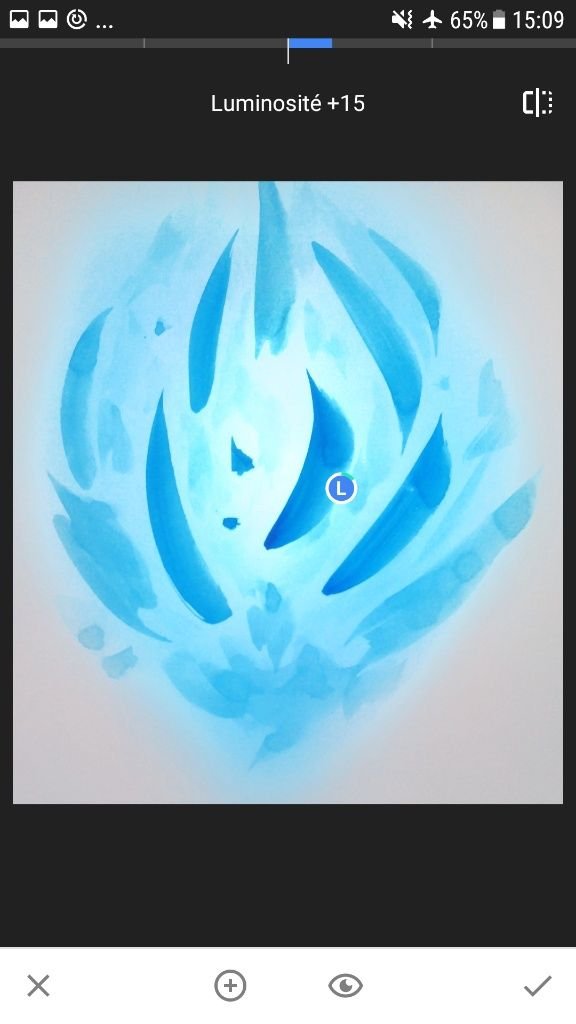
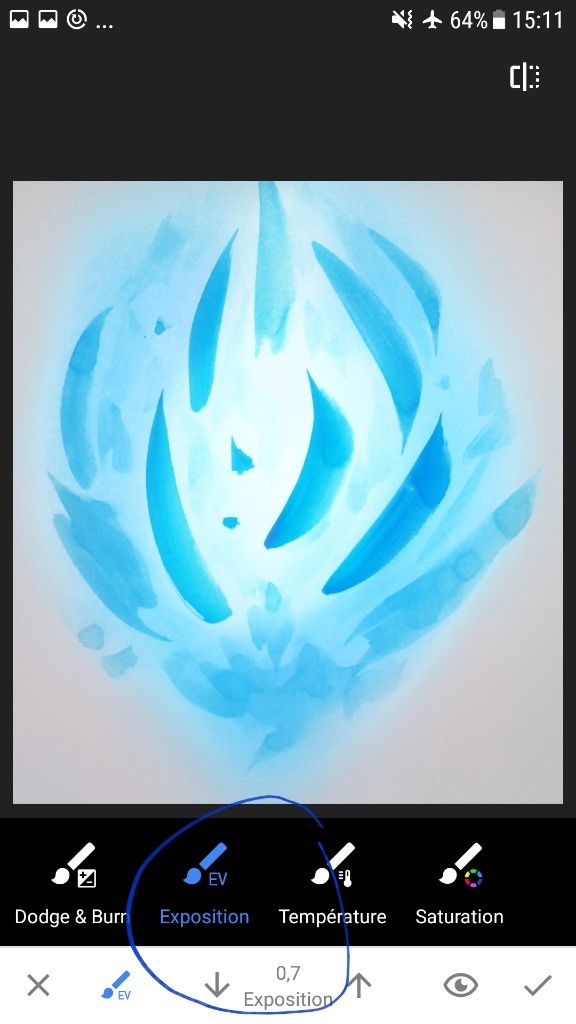
Also you can use the exposition and doge/burn tool which gives a different lightning.
Lastly I used the doge/burn tool with negative value to darken the edges manually.
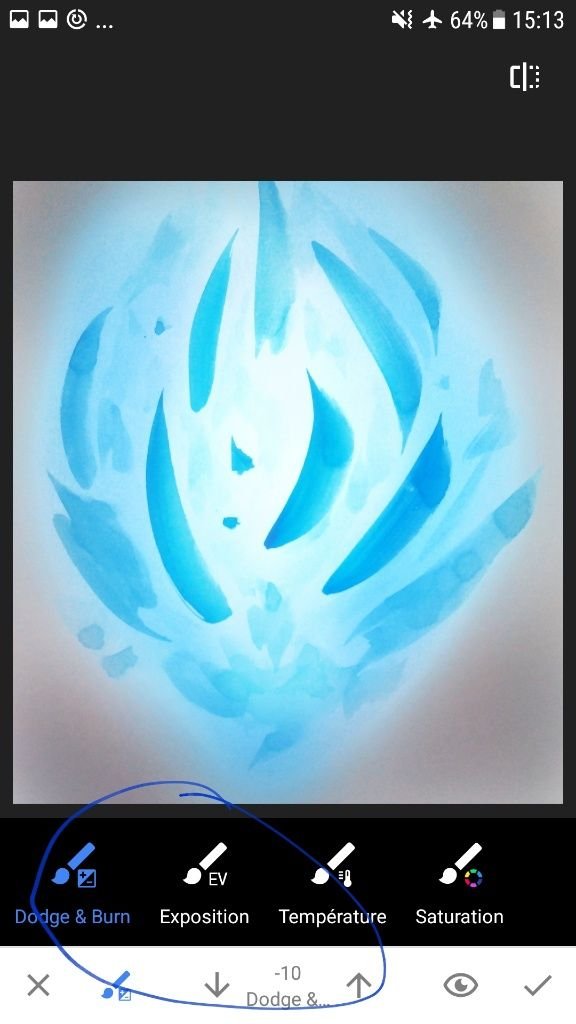
Et voila! After a few iterations, I get this cool result, although my picture of the beginning wasn't very exciting. It is really about using the right tools for postproceesing.

I hope you enjoyed this tutorial.
If you make a drawing with this technique, I'd be happy to see the results, just post a link here in the comments!
Until then, see you!
@originalworks