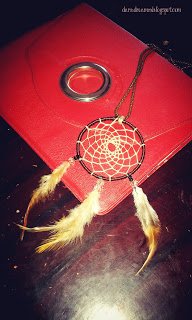
DIY Dream Catcher
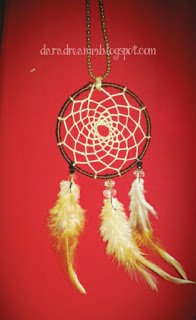.jpg)
Well Hello People!
Today, I will share tutorials to make accessories from used stuff. Special for you girls! I will share how to create Dream Catcher. Maybe there are still among you who do not know what is Dream Catcher? And how to make it?
First, I want to give a little flash about the history of Dream Catcher. Yup! This object is one of the craft that comes from ancient Indian tribes. This object is believed to dispel bad dreams and capture beautiful dreams. Along with the development of the times, the accessories manufacturers take advantage of this object as a unique and distinctive fashion item. Starting from the hanger on the window of the room, now the object has been embossed into necklaces, earrings, bracelets and other accessories are very exotic.
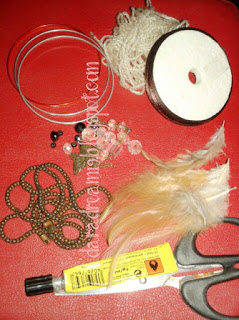
Making dream catcher not too difficult, all you need is accuracy, patience and a little bit touched of art. Well, the materials that need to be prepared among thus:
- Used bracelets or anything that can form a circle, whether of wood, iron, rattan or plastic.
-Wool yarn for the net in the middle of the circle (bracelet).
-Wool yarn, ribbon or rope to wrap around the circle (bracelet).
-The chain of used necklaces or can also use wool yarn as a necklace
-The beads as decoration (depending on which you like)
-Feathers (I take from the duster)
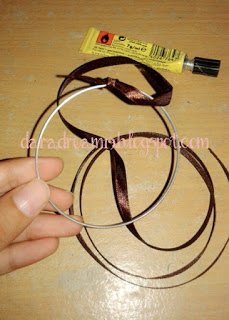
The first thing in making Dream Catcher is wrapped around a bracelet with ribbon. Actually, it would be nice to wear a rope suide (leather strap), but because in my town is hard to find, so just take advantage of what is there.
Don't forget to apply glue when it will wrap around the ribbon, so that the ribbon is strongly sticky.
The next step is making a net in the middle of a circle. This step that takes the longest time because it requires precision to make the net look neat. Use a needle to make it easy to make a net.
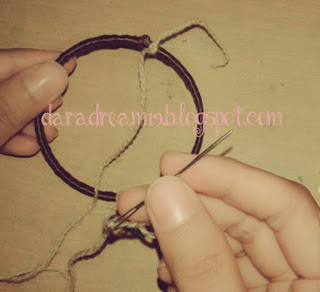
Start by tying the ends of the yarn on the tape ribs. Stretch the yarn a few centimeters down the circle. Enter the yarn on the strain.
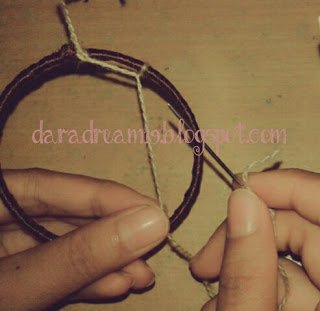
Hold the end of the yarn and weave under the circle. Continue weaving until the first net is formed around the circle.
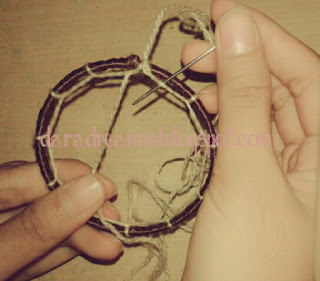
After creating the first row, slowly continue weaving the yarn between the newly created rows . This circle will shrink until it reaches the midpoint of the circle. Leave a little circle in the middle of the circle, then knot the yarn.
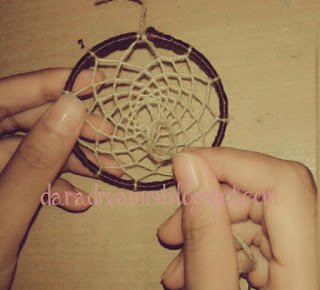
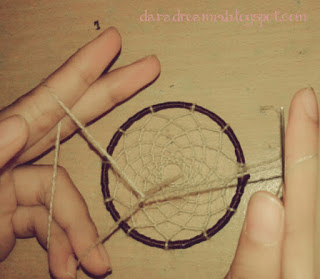
Having managed to make the hardest move, now it's time to decorate the dream catcher with beads and feathers. Well, this part is where your creativity is needed. Here, I use the beads from the old accessories.
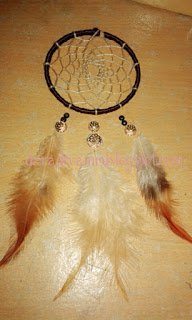
Use a sewing needle and yarn to bind the beads at the bottom of the circle.
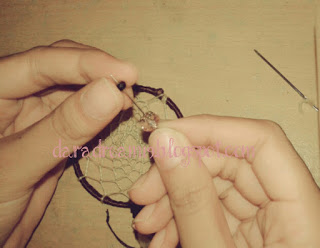
Finally, tie or knot necklace chain. Or you can also just tie a little rope, if you want to hang it in your bedroom.
Well that's the tutorial to make your own dream catcher. Hopefully useful for youguys, See you.... ^ _ ^ *
