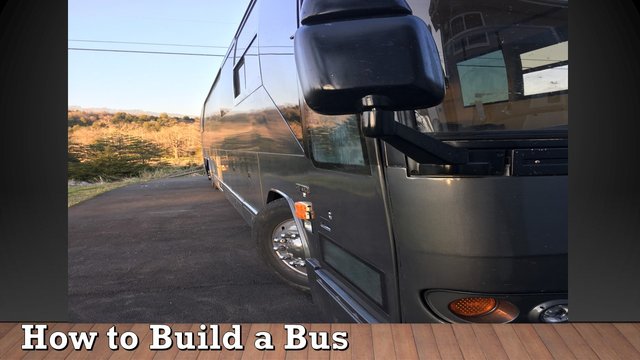
How to Build a Bus- Episode 11
 ... And we're back with episode 11 of this amazing journey! For those who are just joining us on this adventure, my family and I have been building a home for all 8 of us that currently travel and sing together, inside of a 45-foot Prevost shell. Ever since our last bus, an MCI was totaled in December of last year, this has been our project.
It's been interesting living in a van and trailer, hotels and friends houses, and an unfinished work-zone of a bus. But that's just life for me. Moving on, this is the 11th episode in a series quickly coming to a close as the bus progresses to a finishing point. I'm skipping through a bit of the mundane work and jumping to the next major things to be accomplished on the bus building project!
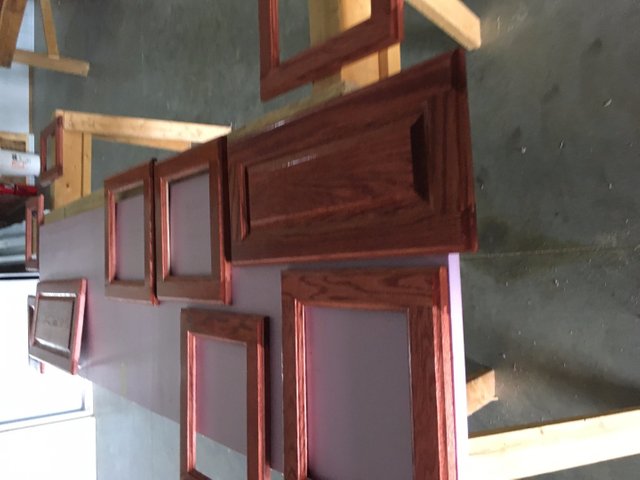
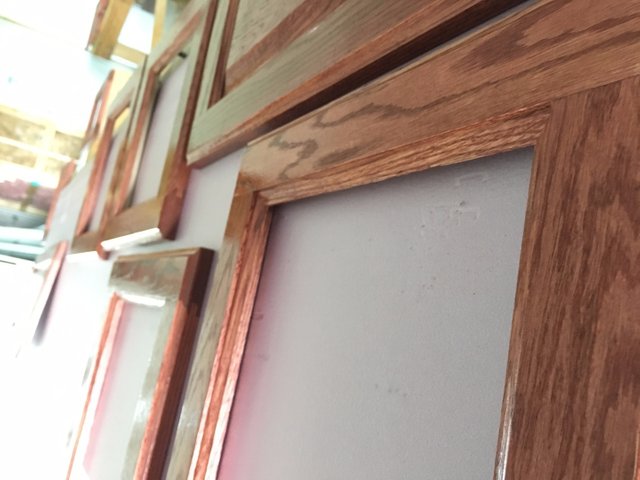
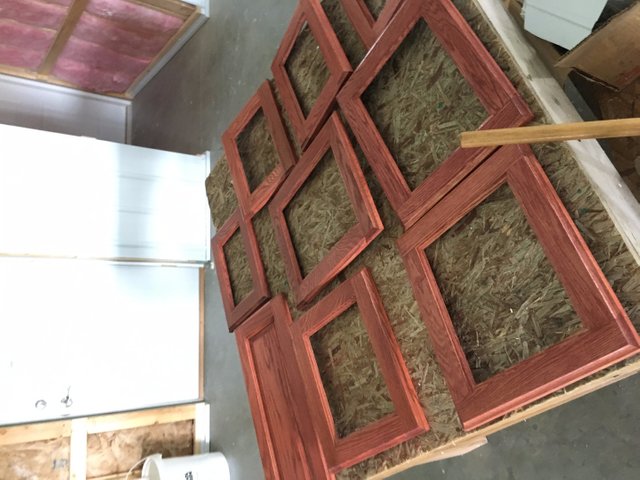
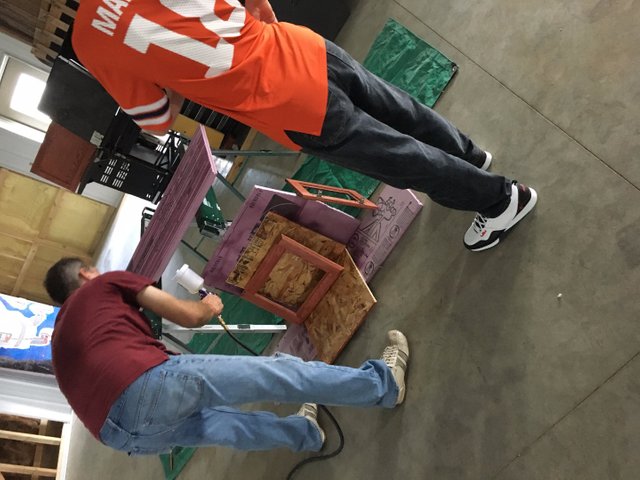
Stain and varnish. We have close to 50 doors for closets, cabinets, and drawer facings that are soon to be mounted into the bus. However, before that happens, every single one of them, front and back needs to be stained and given a double coat of varnish for a high gloss look and feel. Hurrah... I'm being sarcastic.
As you can see, many of the cabinet doors have gaping holes in the center, those will be filled by mirrors. When you have 8 people living in a bus full time, three of which are females and there are only two bathrooms, you need a few extra mirrors to get ready for concerts and such. So, most of the doors will house mirrors in them.
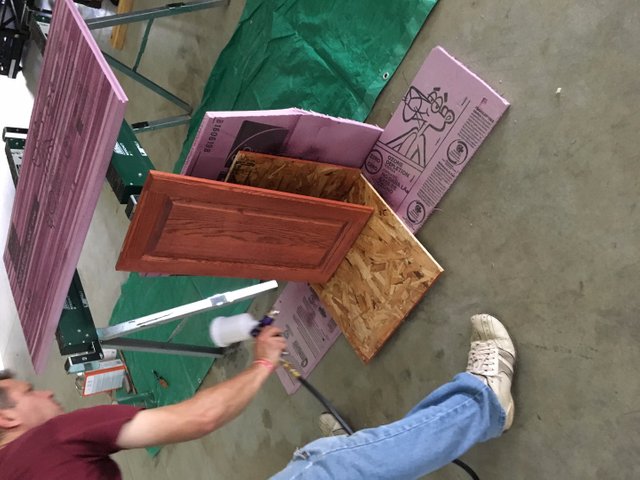
This is the system for varnishing the doors. You hook the dispenser gun up to an air compressor and it works like those old car wash extensions for a water house to hooks the soap into the water spray... except this one doesn't leak all over your hand and it actually does a decent job.
Once they are sprayed with a coat of varnish they are carried away and set aside to dry and others are brought in. There is only one other minor element to the process and that is a smoothing pad which resembles a sponge but with a thick, soft foam on one side and low grain sand paper on the other. The pad is using to sand out imperfections after the gloss and then smooth the sanding off.
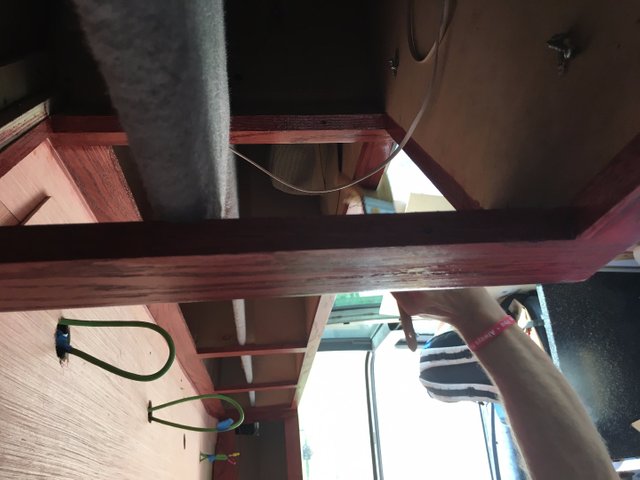
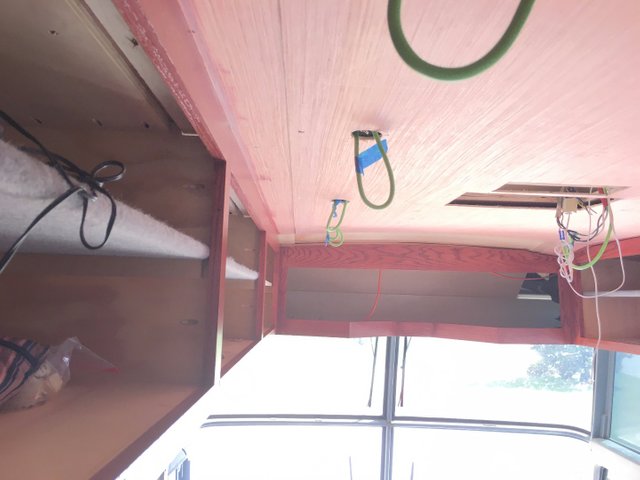
That method was all fine and good for the doors, but the face frames already mounted in the bus required the use of brushes to apply the stain and varnish.
In addition to doors and face frames, we had one other item to get the same treatment: trim work!
The trim work on the inside of these cabinet opening were easier to stain and varnish but they were just one more thing to add to the list. They aren't simply for looks, the smooth surface helps the doors open and close quietly and without damaging the wallpaper or the doors themselves.
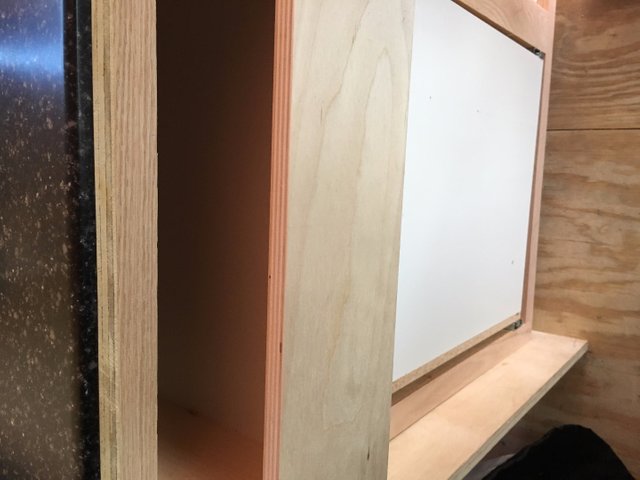
With the occasion to finish the doors, we thought we might build something to put them on. These are the cabinet and drawer set for the kitchen. The drawer will house cutler and cooking utensils, while the cabinet, which is actually just a very large drawer, is home to the garbage can. The doors without holes in the center will be for the front of these.
That was all in a few days work, but it was fun while it lasted. Stay tuned for more update on what and how we're doing! It's an exciting adventure!
