sketches of human anatomy ... how to sketches step by step
HOW TO IMPROVE FASTER SKETCHES STEP BY STEP

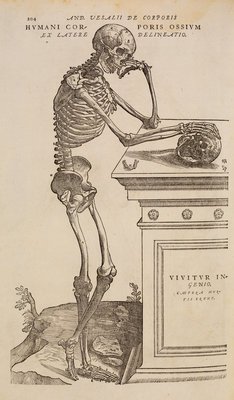
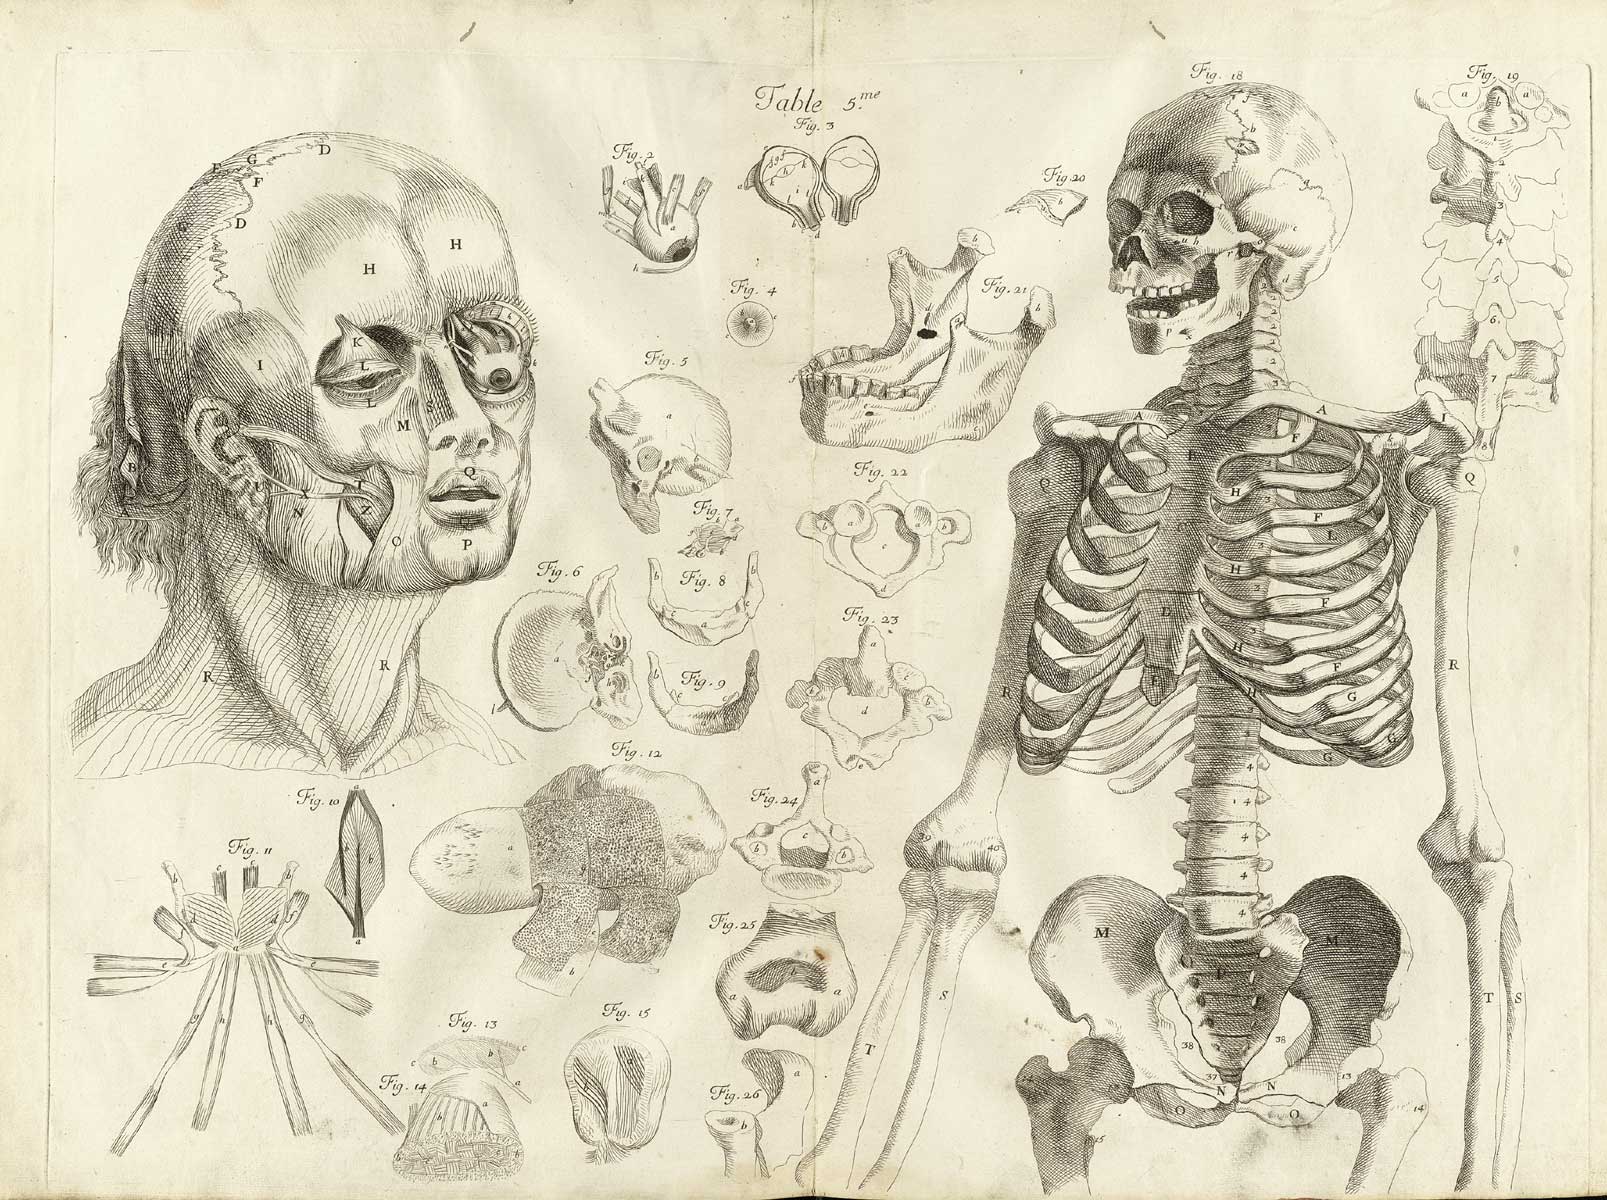
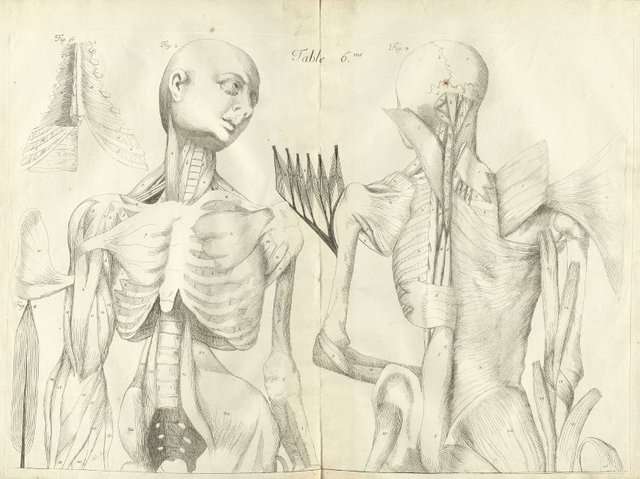
Do you know how to draw human figures, but do you want to shrink your anatomy skills? Or do you never know the anatomy, are you tired of trusting your imagination? Did you notice that you created disproportion in your drawings?
If the artist you are asking is already there and you already have your own style, you might think that you do not need a guide, but you are mistaken. You have to learn the basic principles before overcoming the rate of humanity and starting to create your own style.
This little guide is the result of a proper research and is a 5-year high art school and created for those who want to learn something new or just want to do a useful review.
Already for art educators, the suggestion is to go to step 6 and try to repeat all the steps in Digital format.
STEP 1
First of all, if you want to learn faster, you need to draw using traditional tools. It may seem like a stupid or common rule, but it is not.
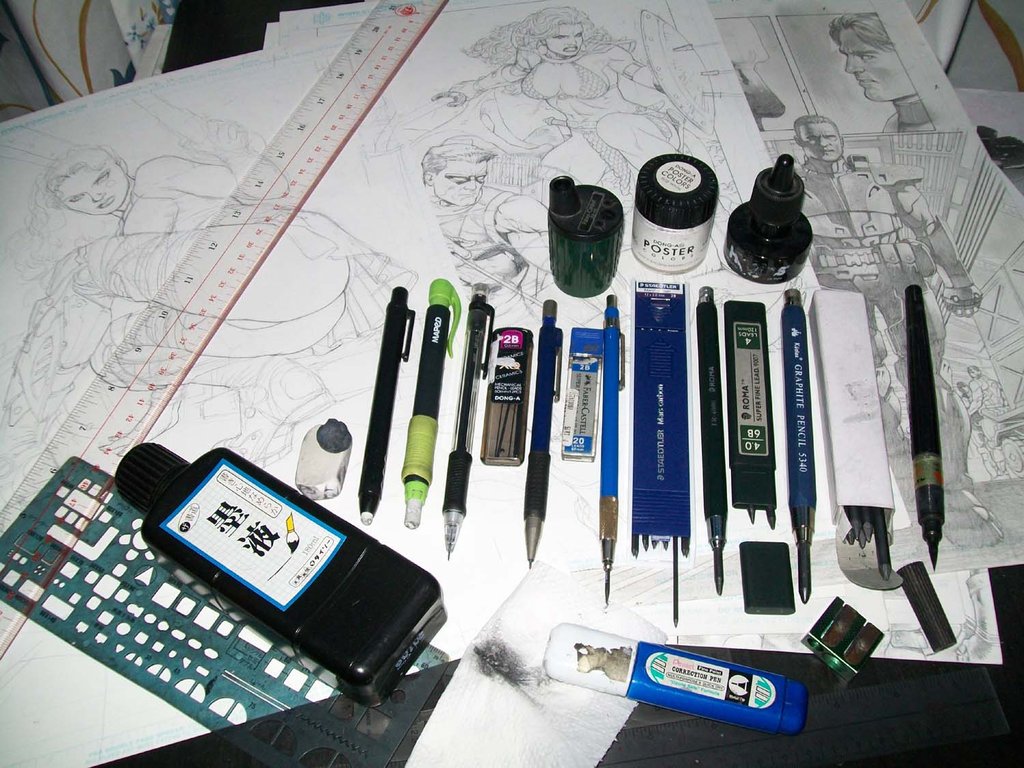
A piece of paper and a pen, preferably medium-hard pen or HB ("H", "hardness", "B" means "dark"). With this hard drawing tool you are already familiar with it, instead you can get different soft pencils: B, 2B and 4B will be good. A putty rubber and a good brand of white rubber will work well.
However, I am not here to define what tools are better for drawing in the traditional way, and an anchor for me will work well: it's a passion of respect!
Now you have a pen and F4 paper (F2 is less stable and you can ruin it if you delete it a lot, so F4 is ideal) you can start your business. You can also go with normal thick A4 paper, otherwise you will pass the page if you use a hard metal (or if your hand is too heavy, if you know what I mean ...).
Well, if you take tools at the moment, if you take your pencil to a shiny spot on your home, preferably on a sloping surface (otherwise the future drawing will appear in perspective and you will not be satisfied at all!) And you do not use it to copy manually. You do not want to delete too much. Try to conceptualize the structure of your hand only with the many sketches you need to draw the lines of your hand and your fingers; you must forgot a moment of shadowing.
Fill the paper with different poses with your drawings in your hand and add your ankles if possible. Continue your exercise program every 2/3 days (preferably daily) for 2 weeks, what did I say? Do it until you see important improvements!
Write the date in every work you do and be careful without rubbing. The first step to becoming a good artist is to value your works. When Elin does not really look like a hand, and when a lot looks like a sausage, you're ready for Step 2.
The result is similar, only the folds of the meats and the contours of the hands should be visible.
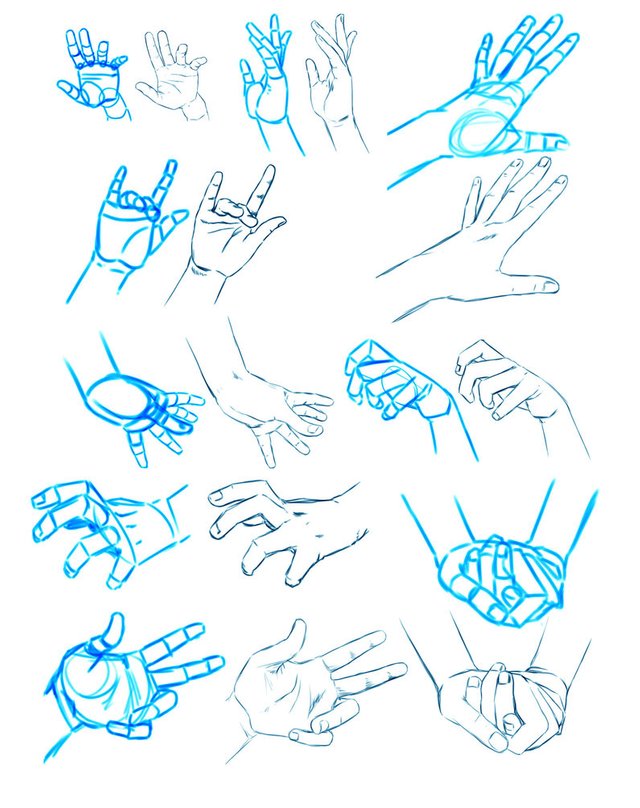
Hand proportions work this way...
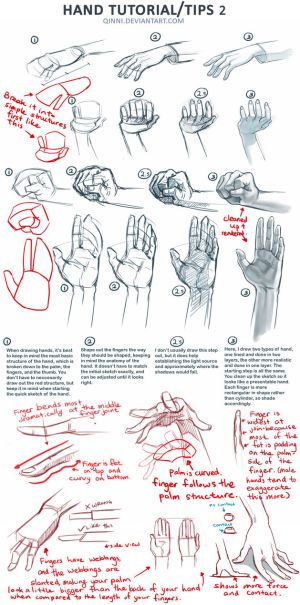
STEP 2
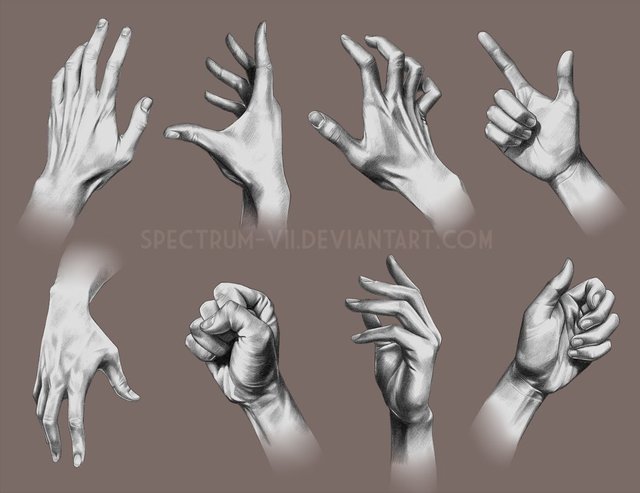
So now we better move to the second point. Ok guys, do you remember your own hand? That hand you copied so many times, that fist, that cramp that came while you deformed it? Here you are, you should repeat the procedure but this time you will not have to copy only the outlines of your fingers. You must work hard and point on your hand the dramatic light of a lamp, because this time you should draw your hand and shade it.
If you are drawing using a HB pencil then shade using a B or 2B. You will realize soon that it is not so difficult to find the darkest points: the hard part is not to make the whole drawing uniformly black or uniformly gray and creating well balanced halftones.
You may find some difficulties, yeah right! all normal, because in fact you're seeing your hand in colors (as long as you're not color blind) and you're just simplifying your hand colors using the greyscale instead. So, don't give up! It was hard for everyone at the beginning.
Repeat this exercise every 2/3 days until you can see a clear difference between the first hand (remember to write the date on the drawings!) and the last hand you drew. Are you satisfied with your improvemente? Good, because you will have more fun following STEP 3.
These are practical examples of a good result.
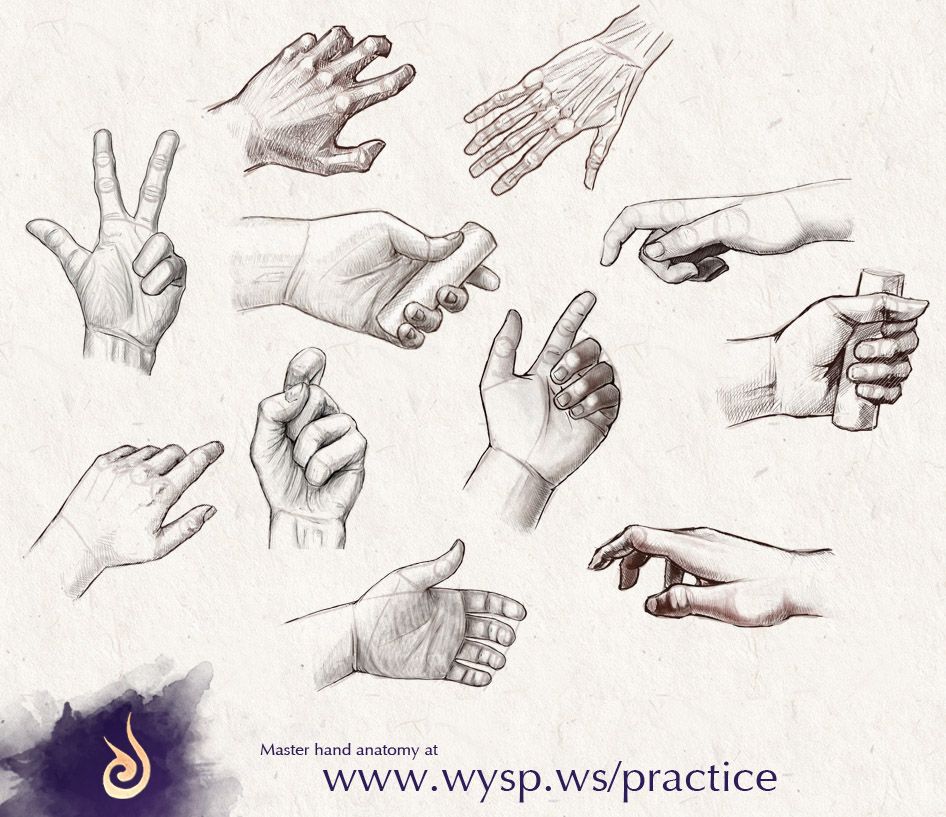
STEP 3
Since you are already conversant with your left hand (or right that it is) and you say you know it by heart (if you say so...), now I'm asking you to take your colored pencils and do an experiment. This time I'm asking you NOT to do a preliminary sketch in pencil of your drawing: just draw one or both of your feet, using colored pencils only on semi rough paper F4 of different colors (I recommend a white, a grey, a blue and a black for a good start). Again, do not stop until the result satisfies you. Write the date on the work because now the interesting part begins.
The result should be similar to these, of course in colors.
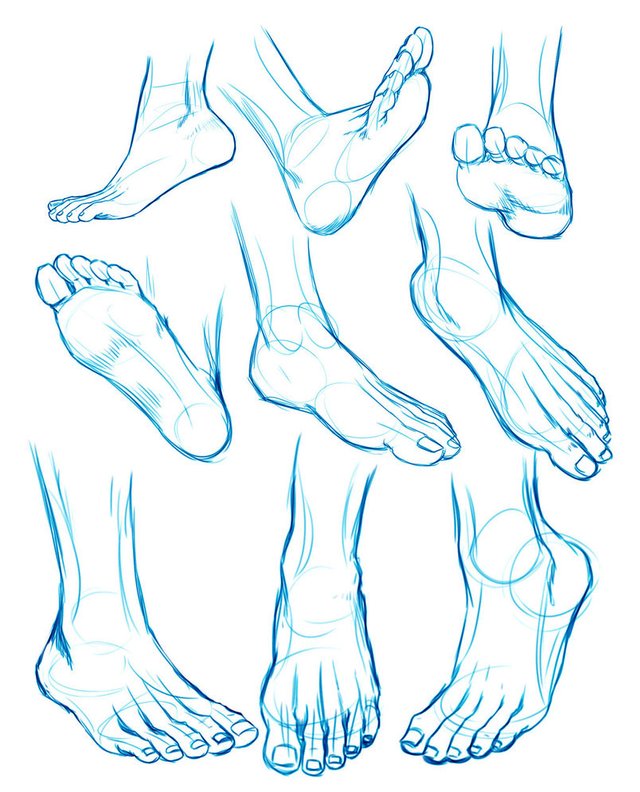
Feet proportions works this way...
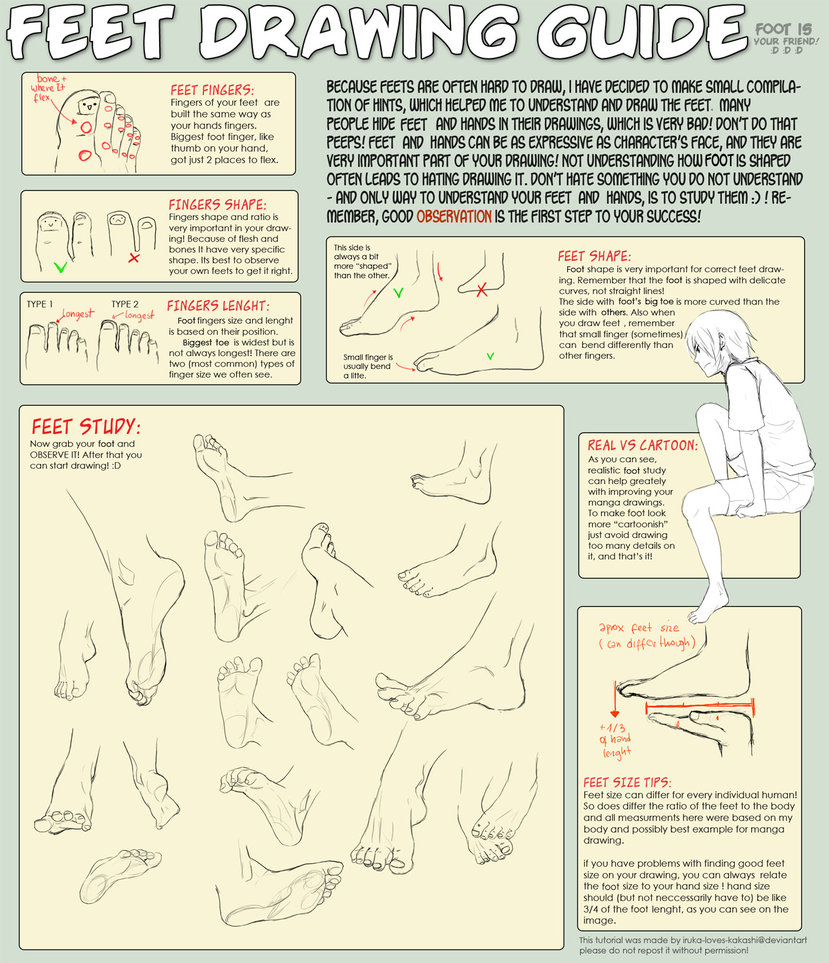
STEP 4
Now that you have experimented with various techniques and you quite understand how your hands and feet are made, you need a model for understanding how the face works.
Ask one of your friends, your parents, if nobody wants to pose for you then use a picture (but it's always better to do life drawings first!). As tools you will need a ballpoint pen, preferably black or blue, and a white smooth paper (A4 copy paper is fine too). Now make a copy of the person in front of you (face, neck and shoulders), and remember well that you can not/must not erase this time! Yes, I'm evil. Try to do several sessions of the same person until the drawing is really similar to the original and recognizable from others.
Begin with a front and profile view, then try out 3/4.
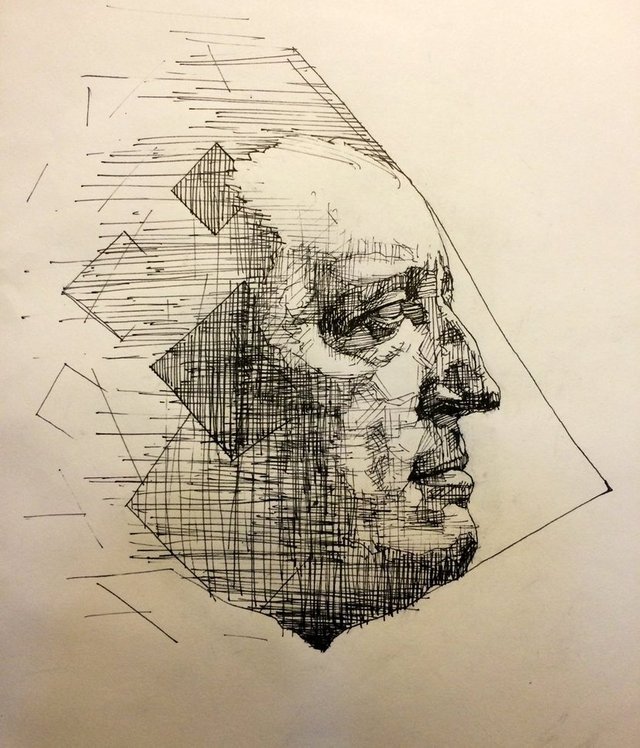
'Cacophony' by Anapath
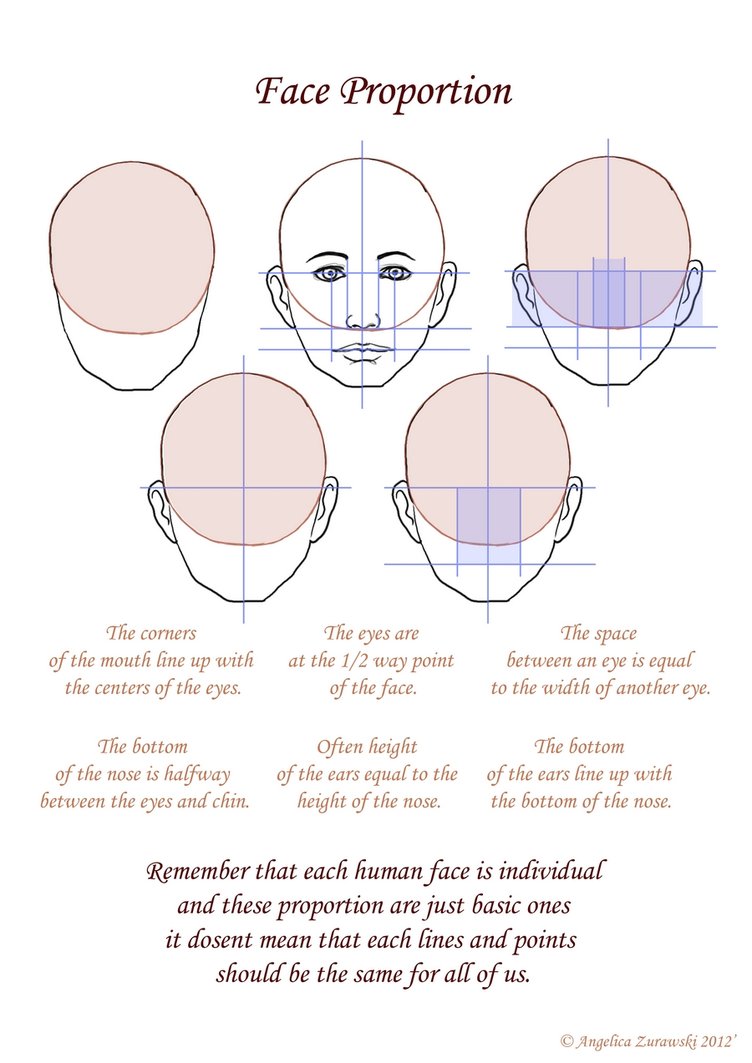
The proportions of the human face work this way...
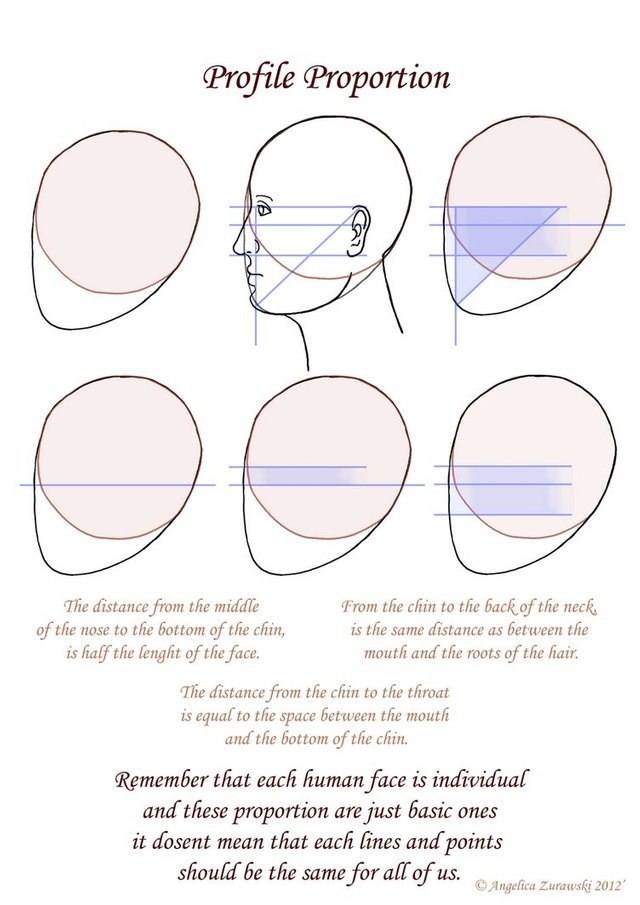
STEP 5
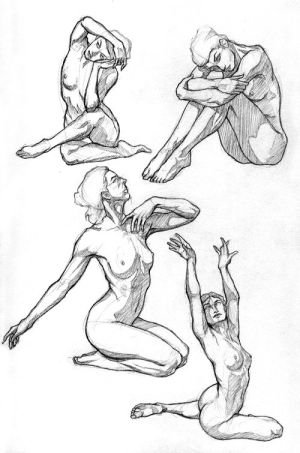
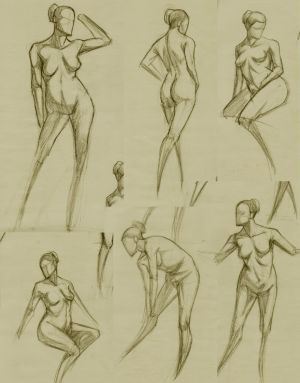
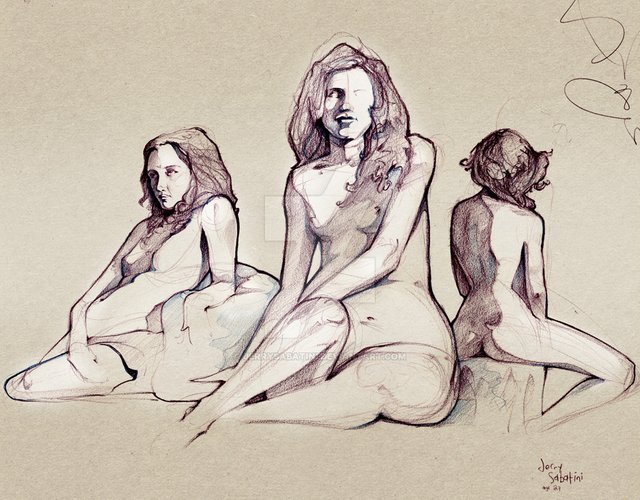
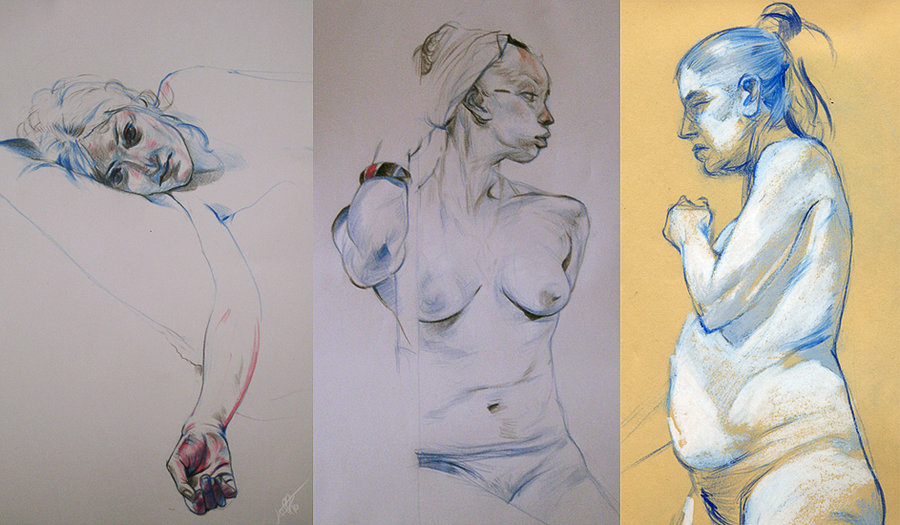
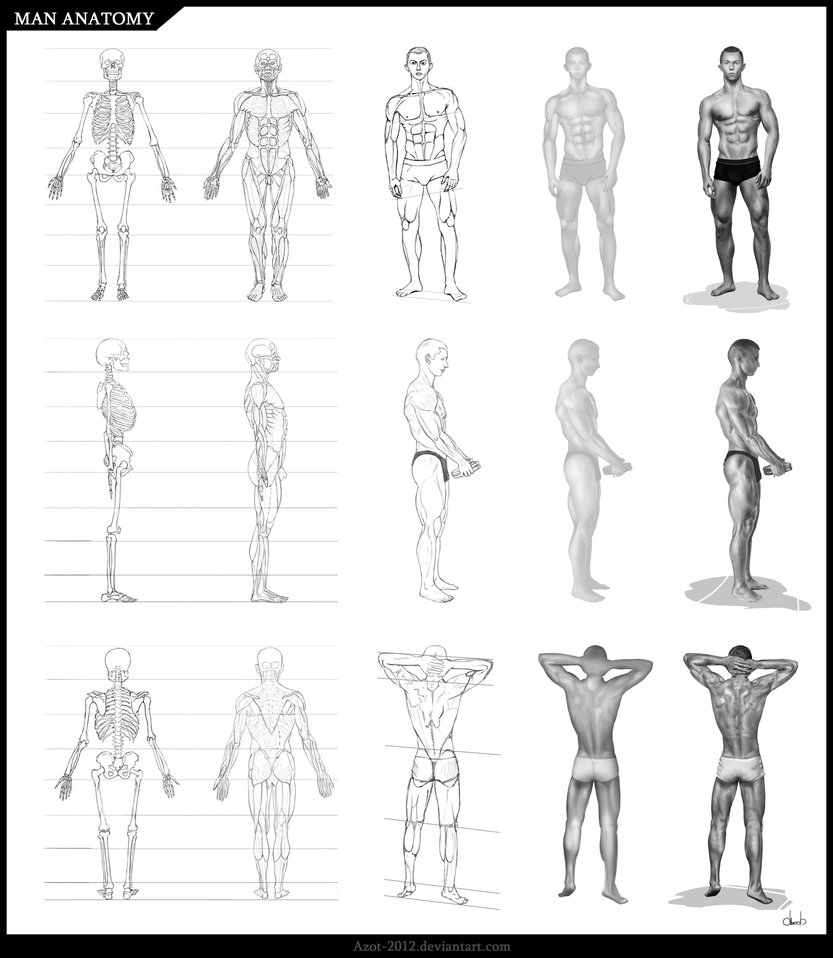
It 's time to understand how the human proportions work. A tip? Never stop taking references from the human figure (as long as you're learning) or you will make a lot of mistakes or exaggerate many anatomical features without even noticed it!
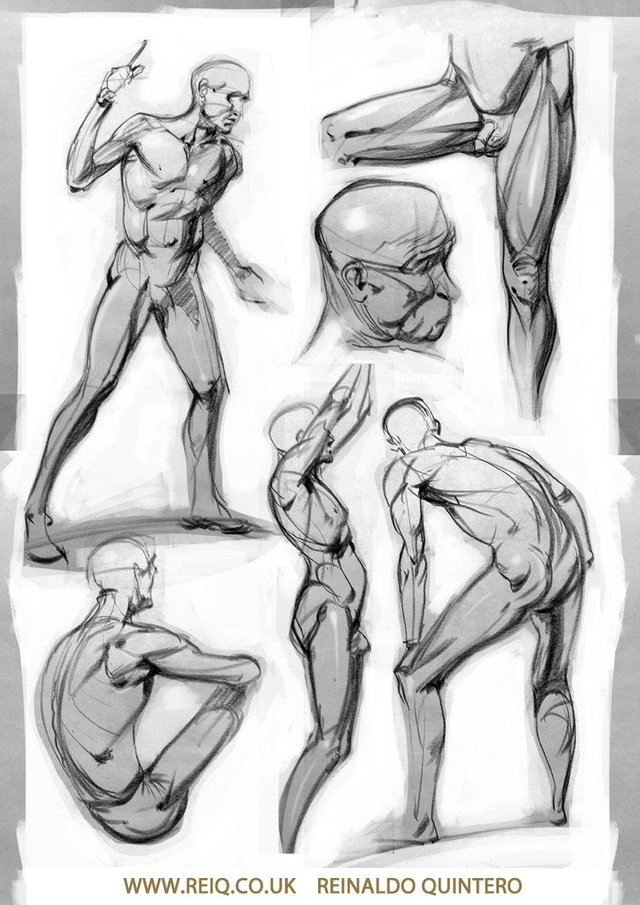
Now use your live model of choice, or look in fashion magazines and copy a full human figure in different poses, focusing on lines, shading, dynamism and execution speed.
To improve your speed you should first start with 15 minutes poses, then reduce the time to 10 minutes and 5 minutes at last. Use a timer: leave the drawing unfinished and start another one when the time elapses.
Do many of them, every day.
The results should be something like this...
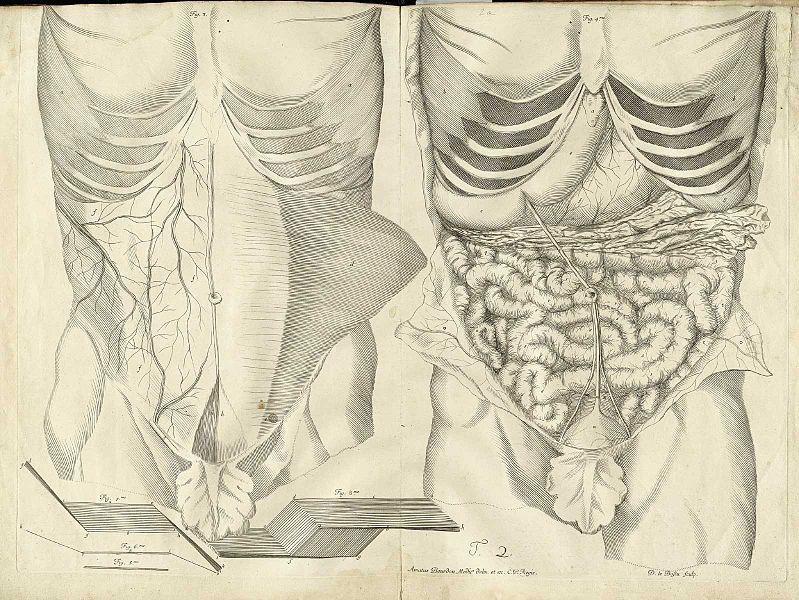
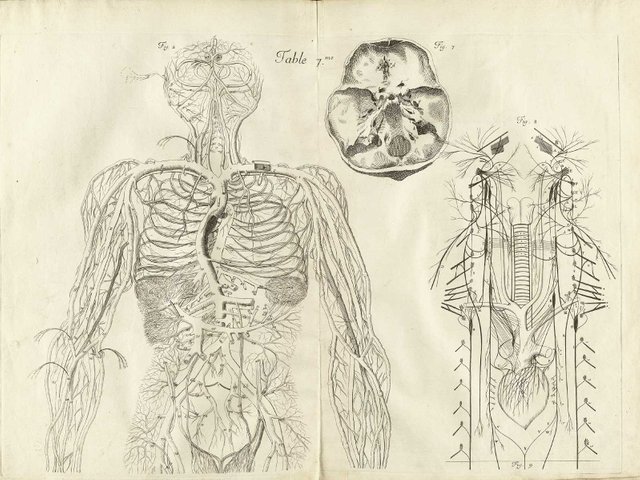
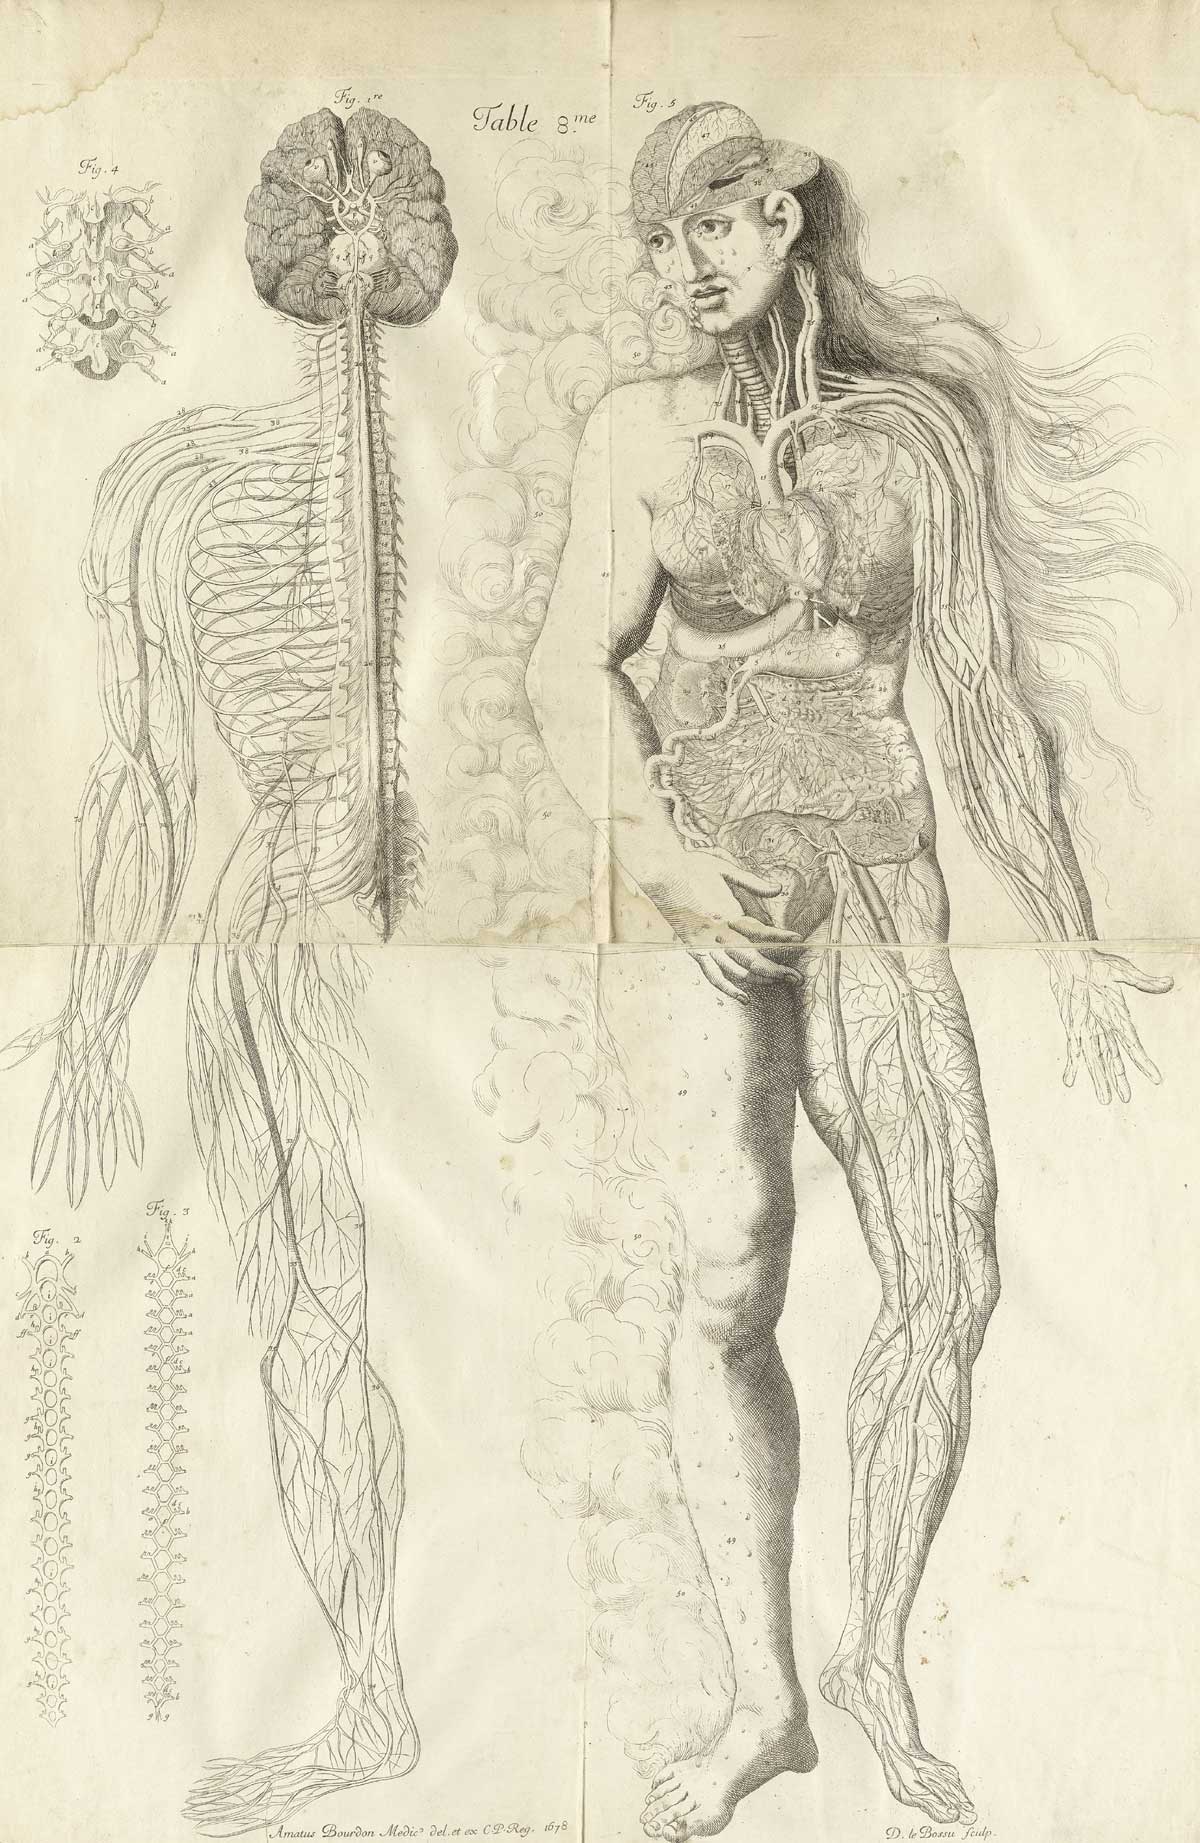
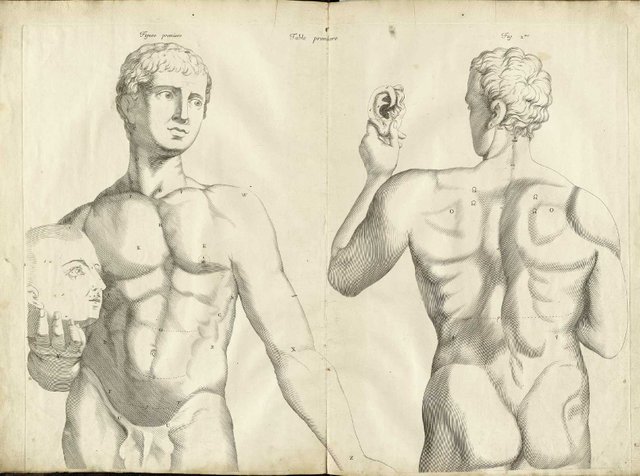
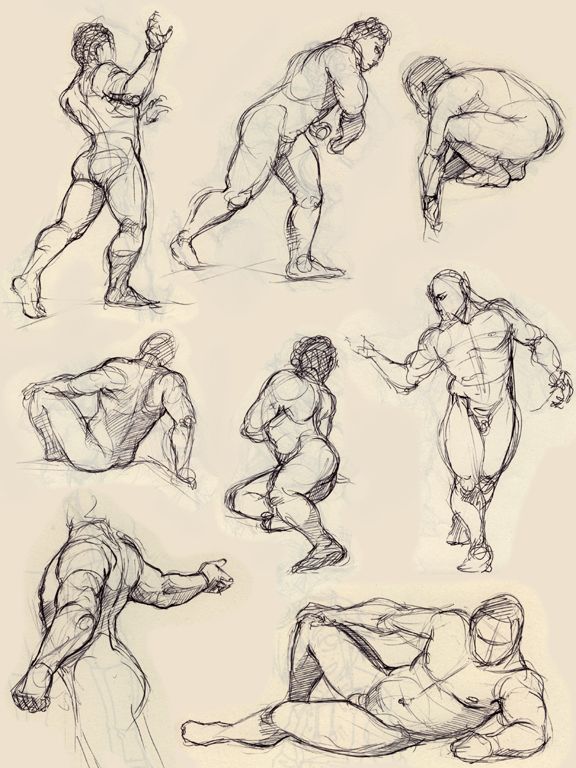
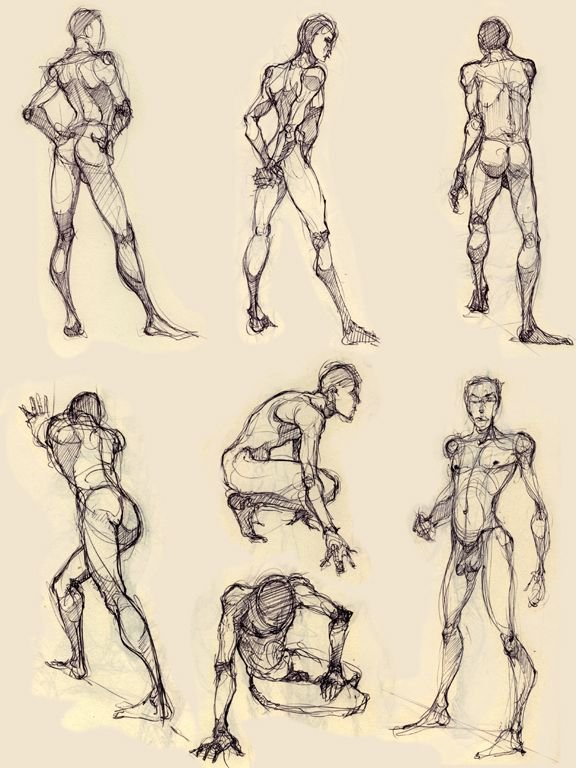
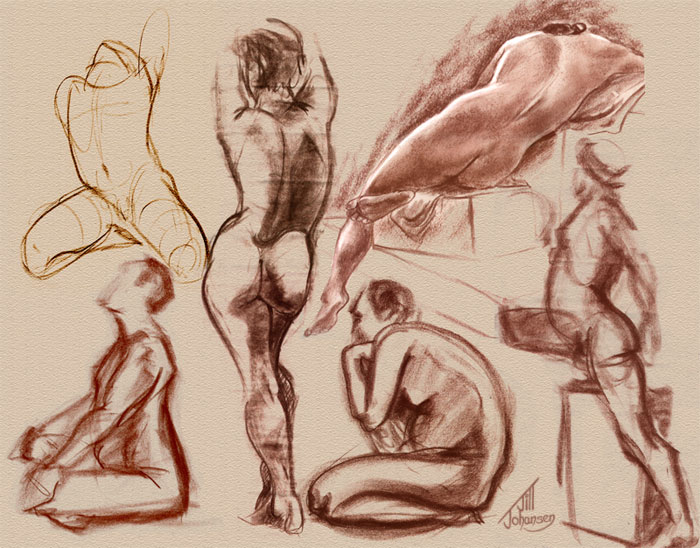
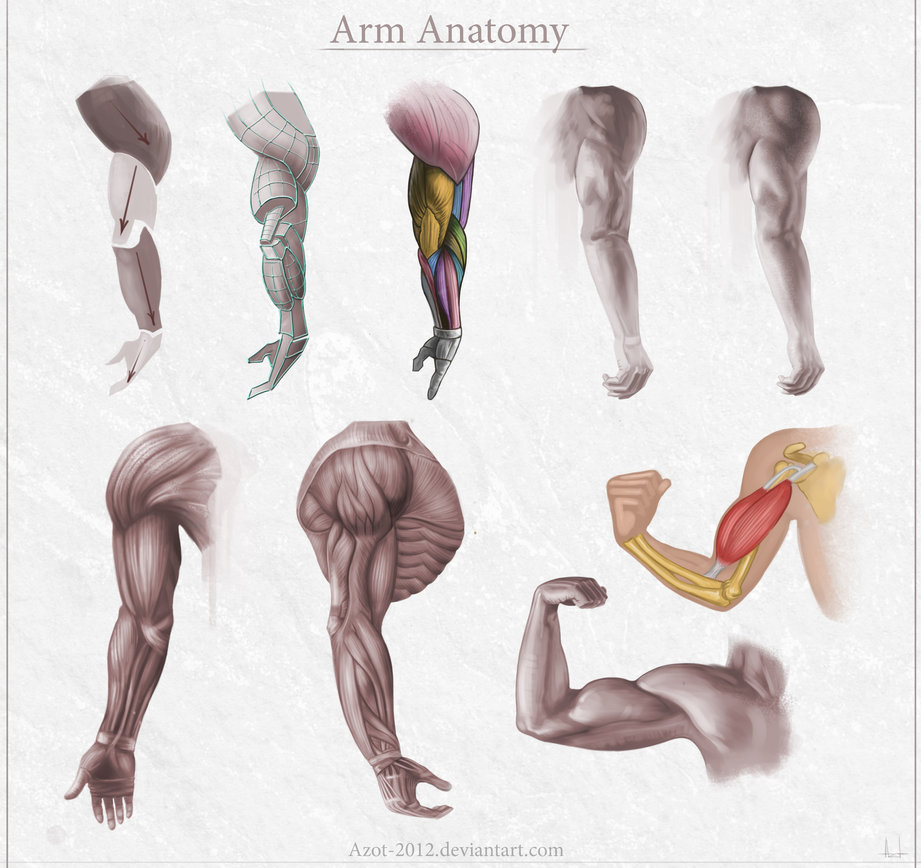
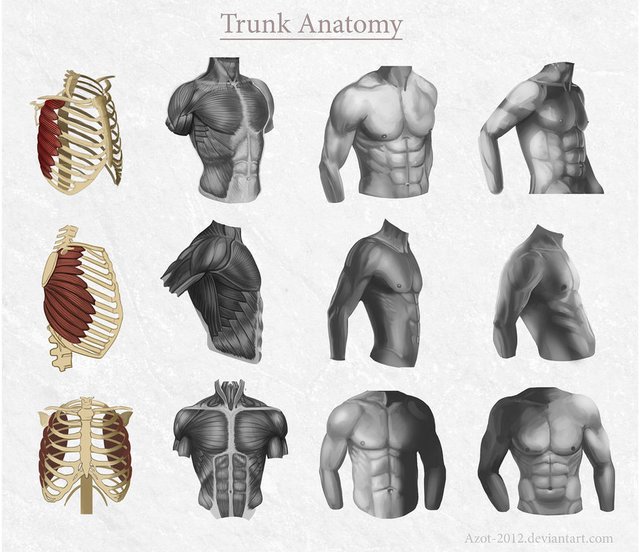
If you didn't understand how the anatomy works, you can study some good tutorials for the human body
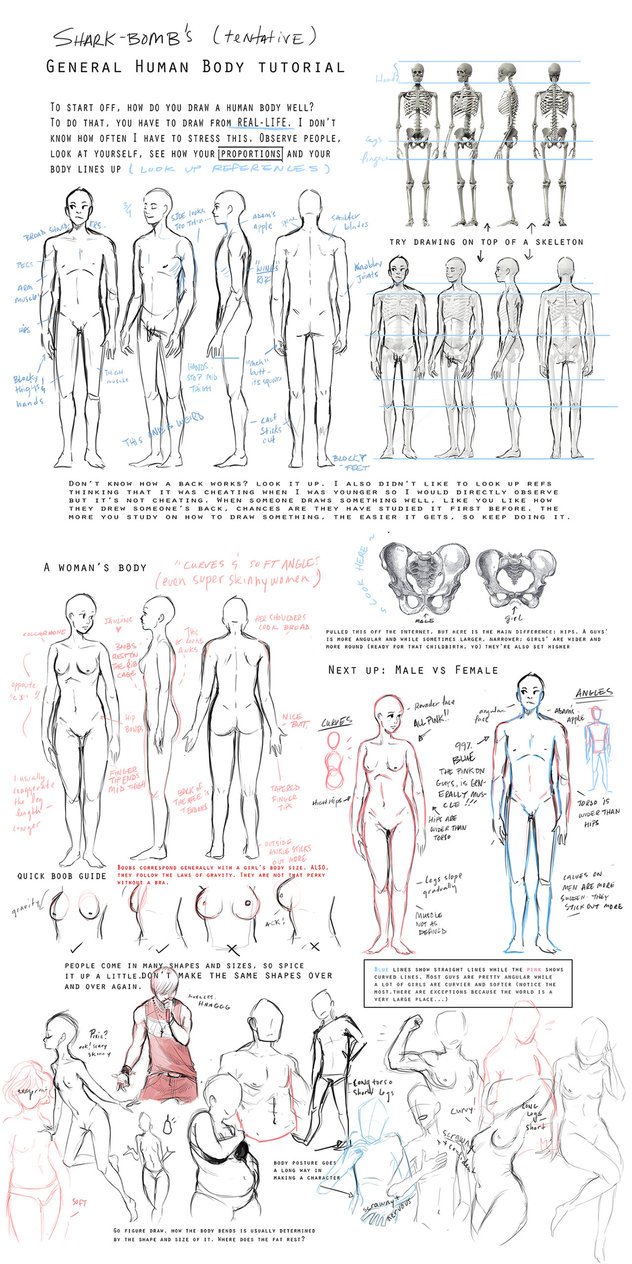
STEP 6
The time has came. It is time to finish something guys! You should be really excited: you reached execution speed and some anatomy skills but you lack accuracy.
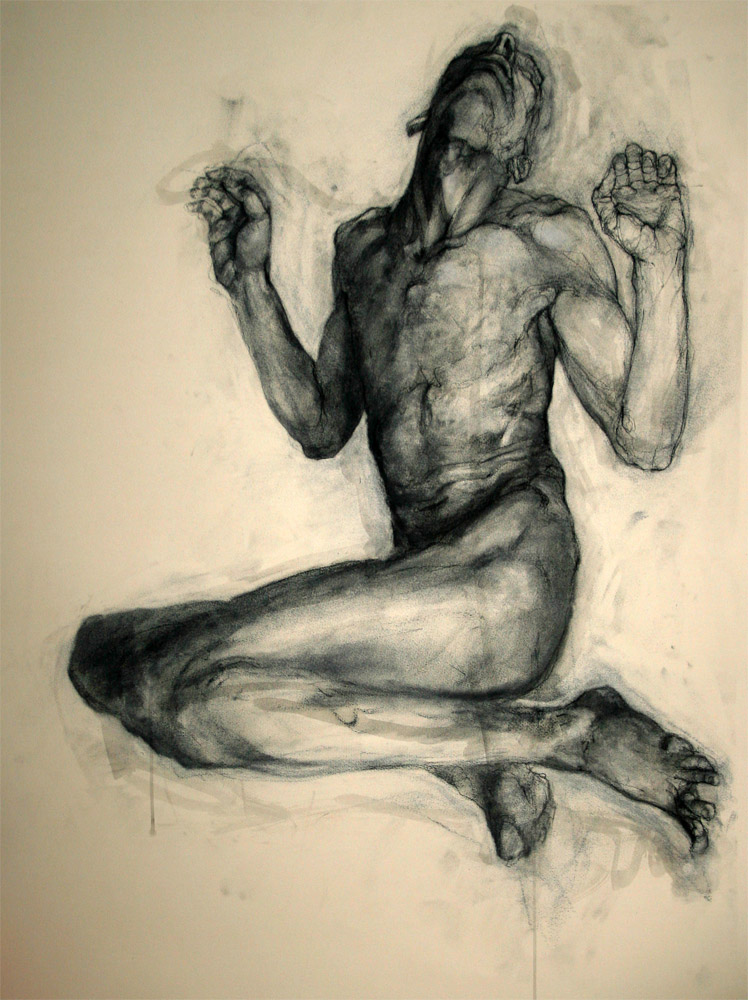
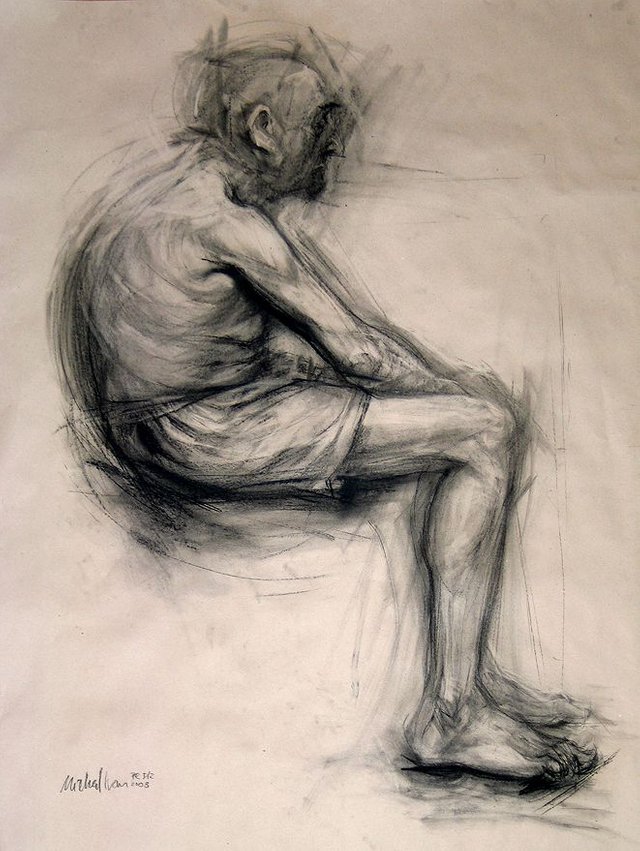
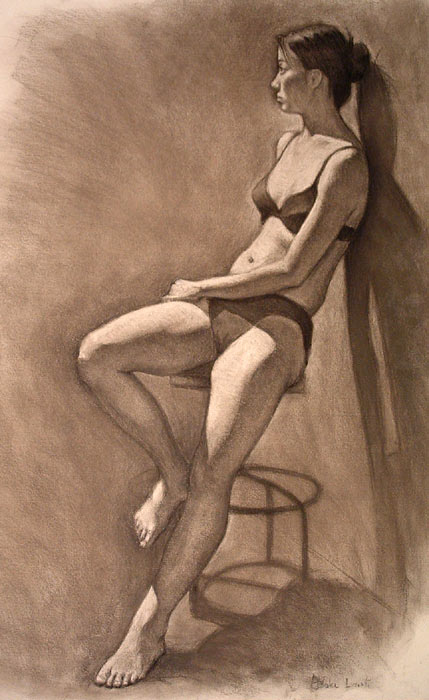
Use your awesome live model again and ask him to pose for a longer session (2/3 hours minimum). Use the tools you like the most, sit comfortably, tools in the hand and start your session.
Here are some good results you may find inspiring.
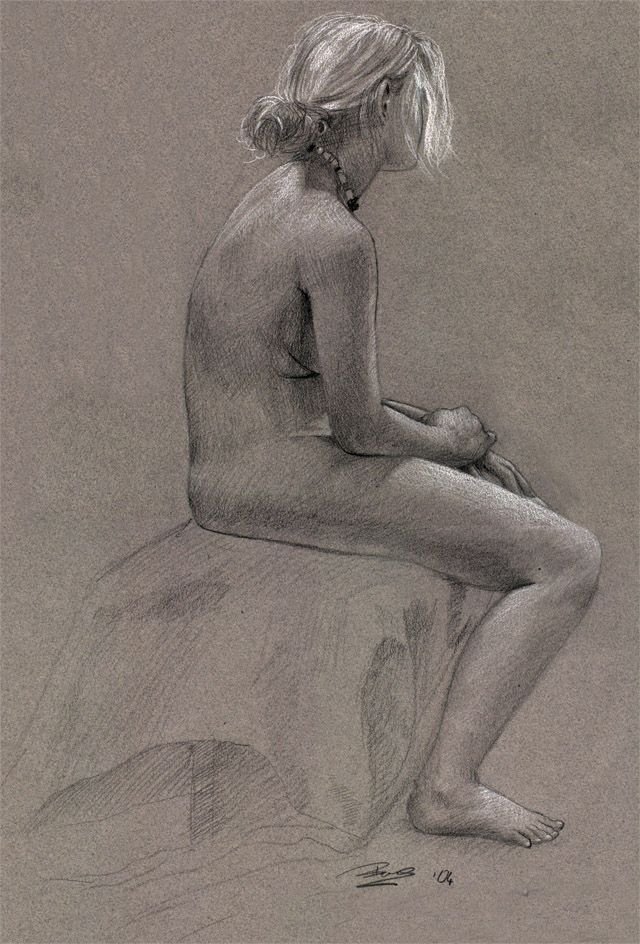



I hope you find this article useful and hope you enjoy the journey.
Wow! Super cool.
thank you dear friend .
This post has received gratitude of 1.00 % from @jout
@jout (56) stop spamming the same comment on every post. You are fishing for votes and follows. One flag from a whale will destroy your reputation.
spam yazı yazmayın lütfen ... stop spam please