My Underground Shelter Build - Part 2
As promised from before, my fellow Steemians, here is the final post about my underground shelter build on our Tennessee hilltop property...
I'm going to start out here on this post showing you all my detailed work building food storage into the underground shelter:
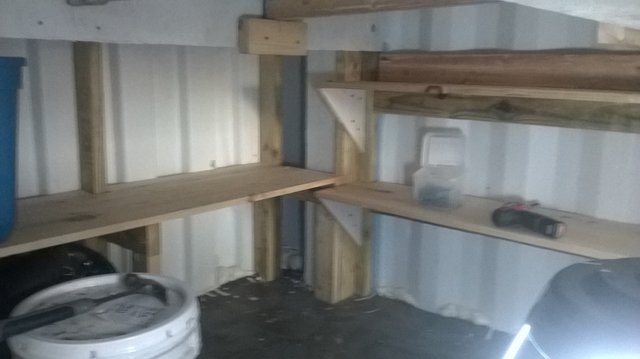
Storage shelving being added under the lofted bunk area
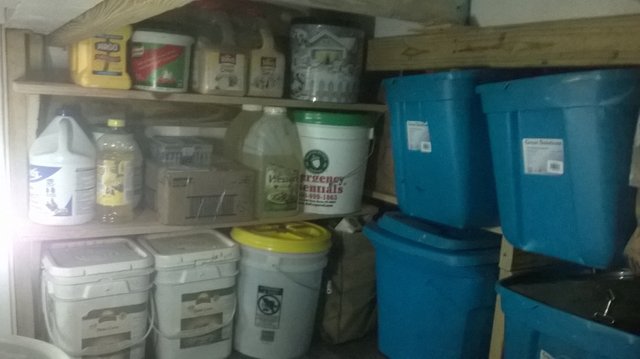
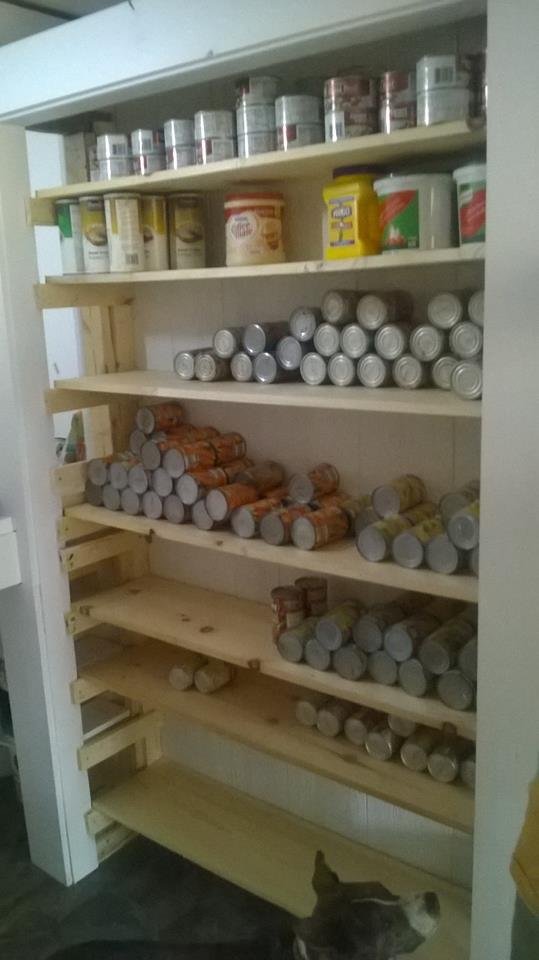
Food storage and other stuff loaded up onto the shelves created under the lofted bunk area
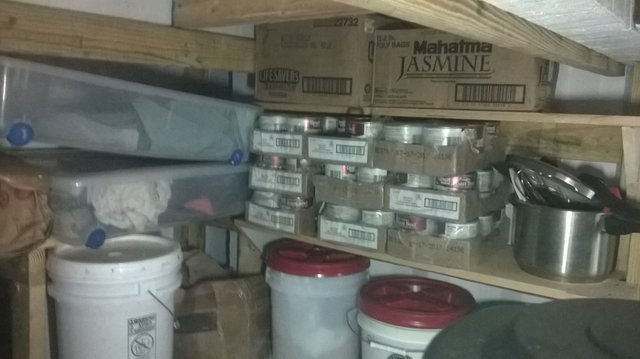
Another view of the storage shelves loaded up under the lofted bunk area

Everything organized under the lofted bunk area for maximum usage of the space
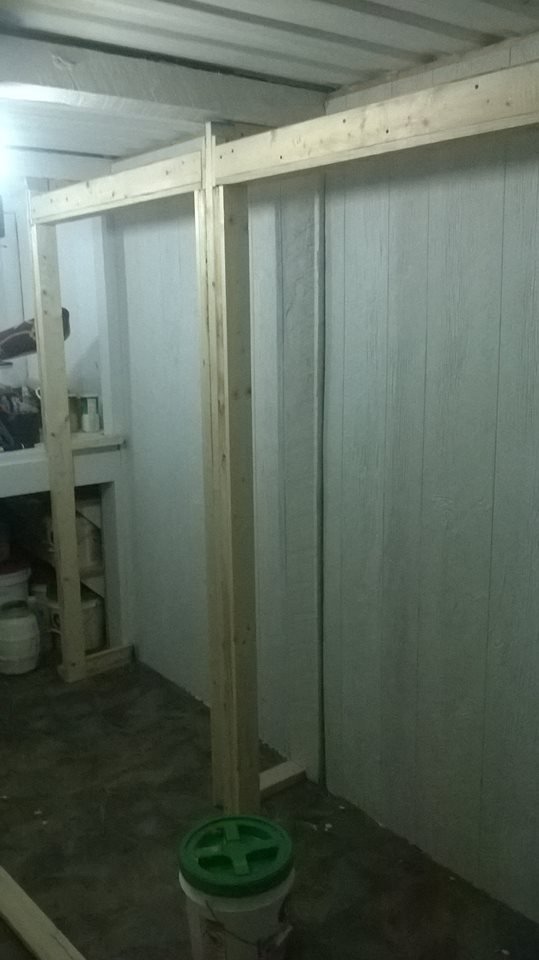
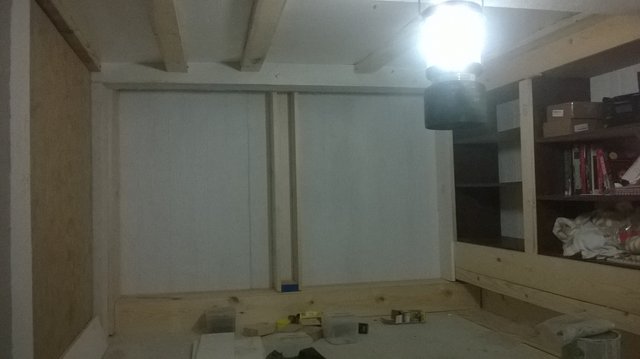
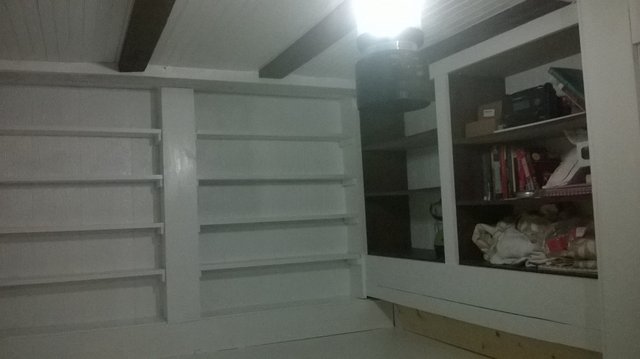
My framework for the storage closets in the underground shelter

Next, shelves were added and the closet framework and trim painted
My wife wasted no time in load'n 'er up with all sorts of food storage and canned goods
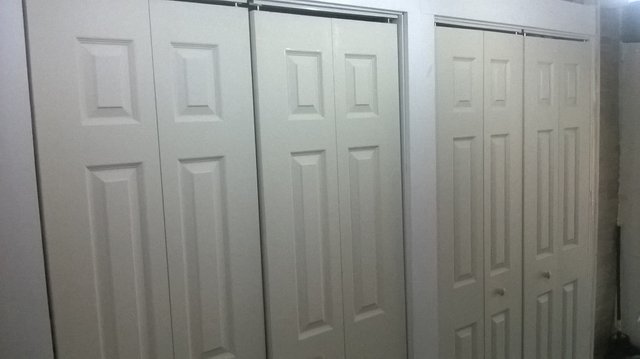
Closet doors were added next to give it a clean look to the storage closet

Food storage closet with the closet doors opened
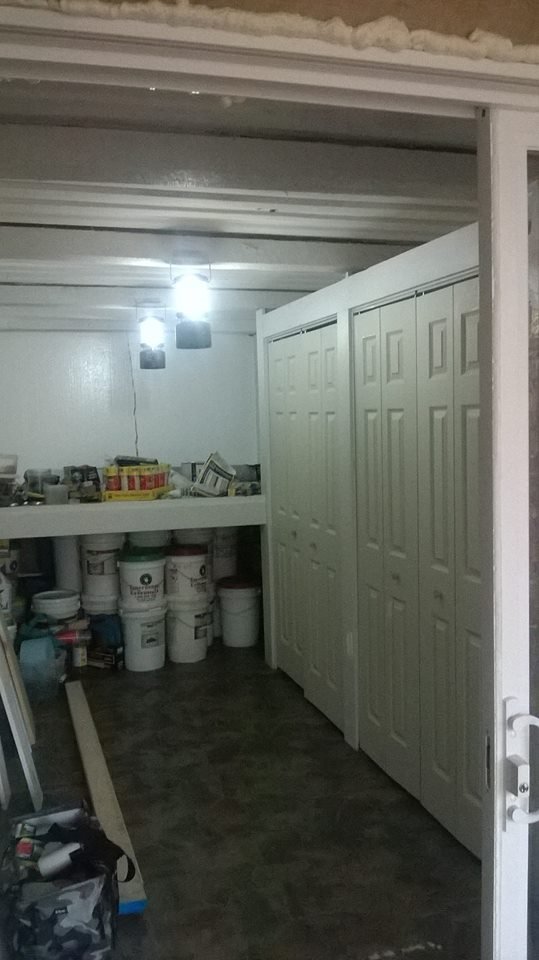
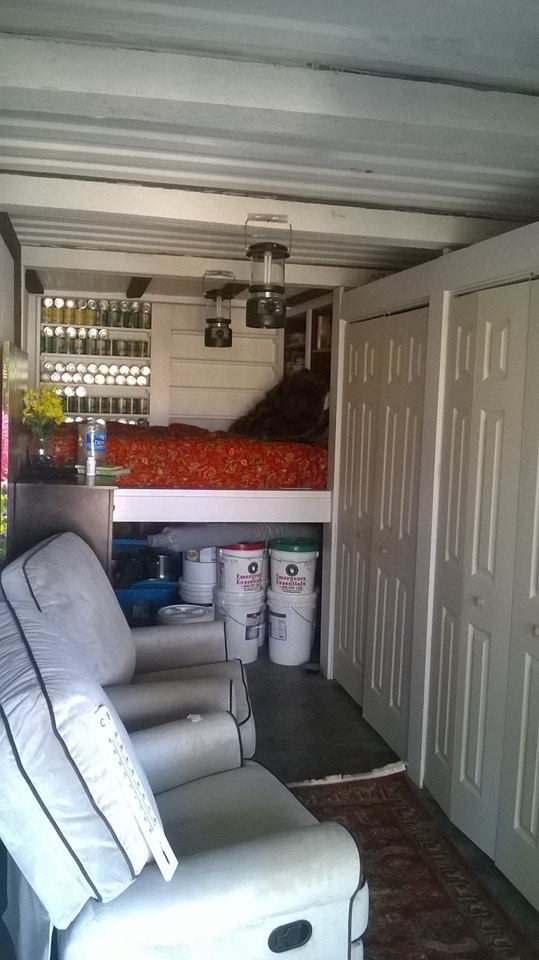
A look inside the underground container shelter with the finished closets and under the bunk storage
Next was to frame out the bunk area storage and finish the bed area
Shelving in the bunk area completed - the shelves in the back are for use for additional food storage
A little fold-down table was added near the entrance into the underground shelter
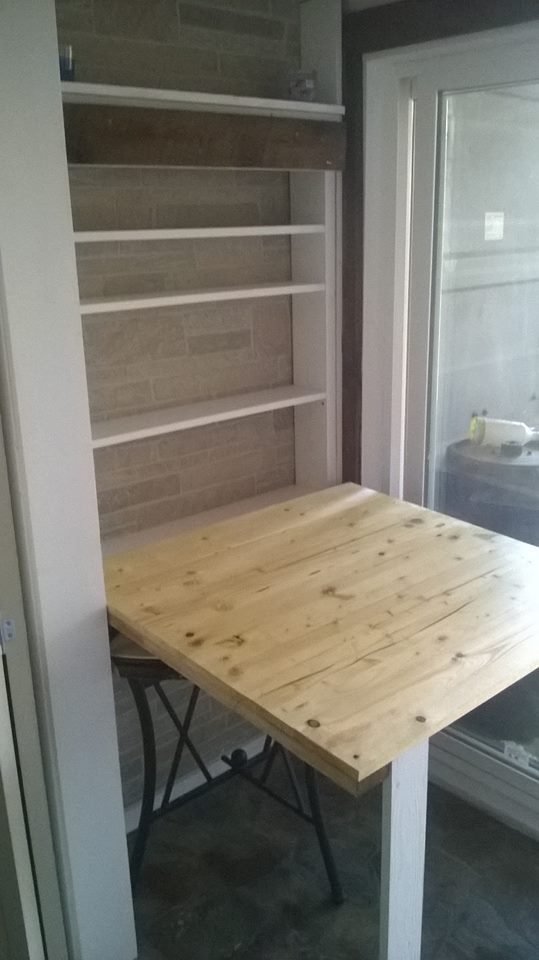
And, of course, it's not complete without its own additional storage shelving behind the fold-down table!

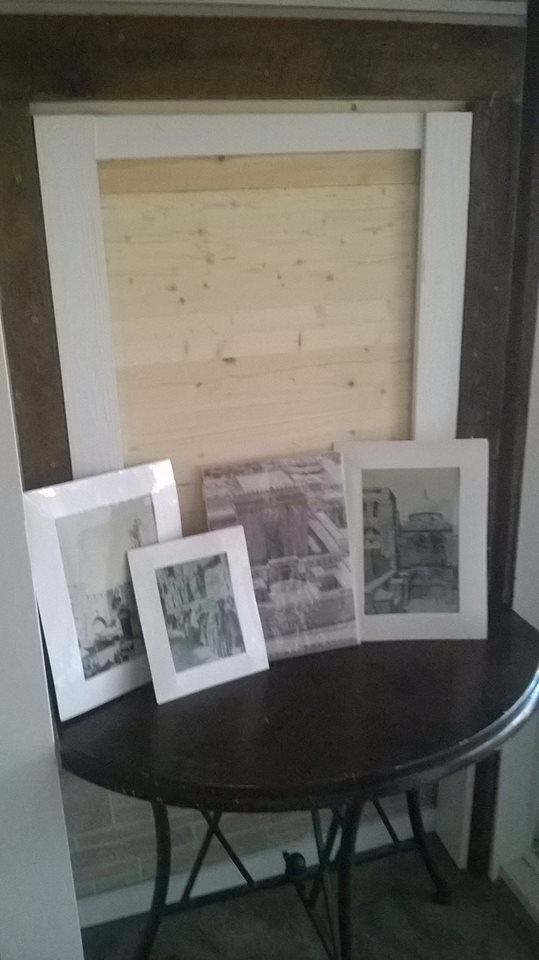
Fold-down table all stowed away and neatly decorated with photo souvenirs from our Israel trip
And, now.... for the FINISH revill:

Underground shelter finished work1

Underground shelter finished work2 - bunk is very cozy and comfortable
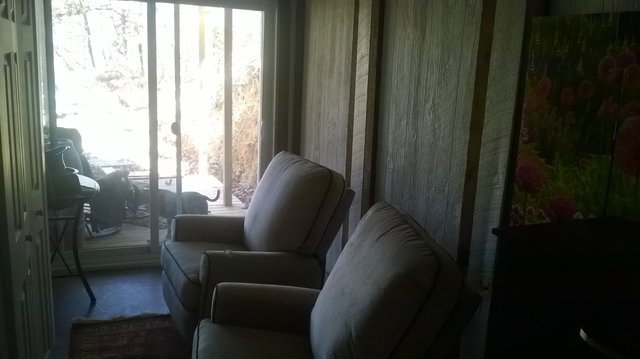
Underground shelter finished work3: Looking out to the sliding glass door from the sleeping loft area - showing the paneling detailed work around the support beams
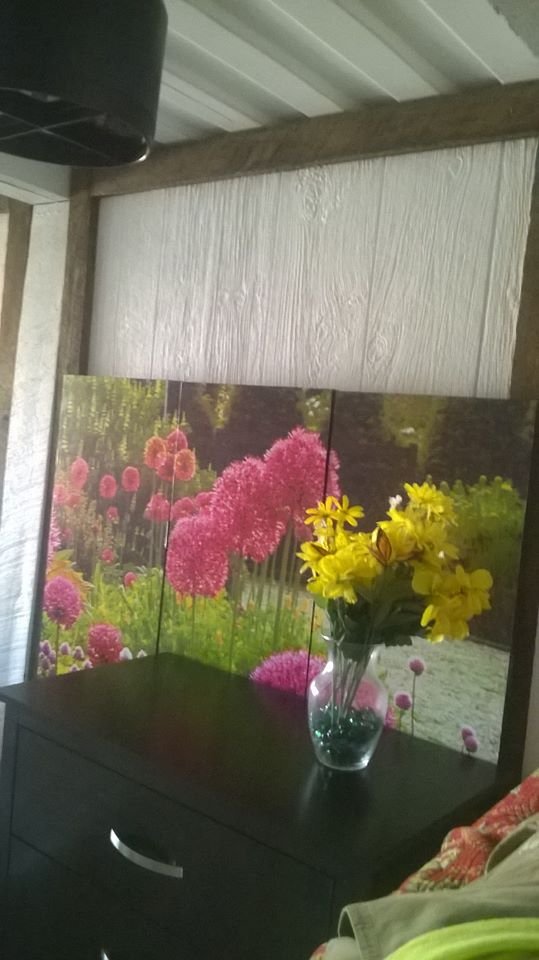
A small chest of drawers added and a colorful shoshi screen added to "brighten" it up in the underground home
Another view of the finished underground shelter
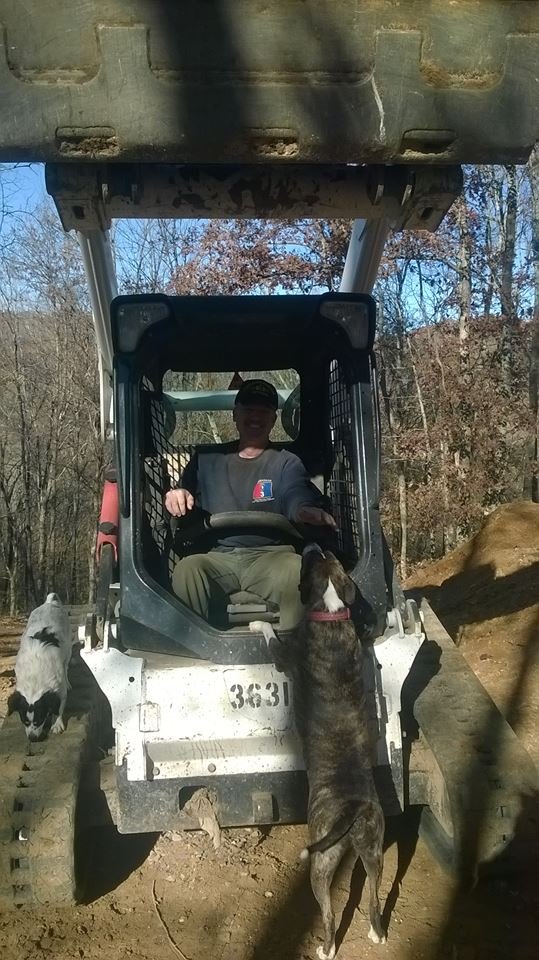
Last, but not least, me... using a Bobcat dozer to fill in dirt on top of the underground shelter - our dogs had to get in on the action!
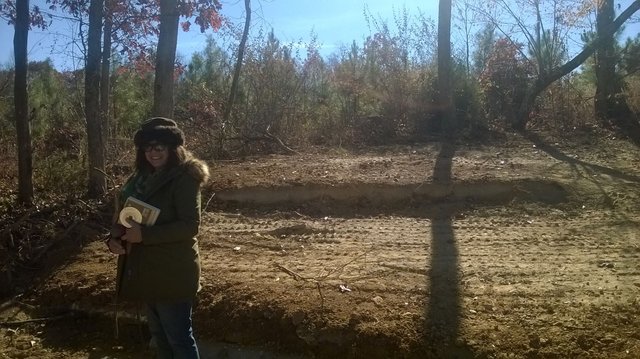
Because of the reinforcement improvements I made in and on top of the 20 ft shipping container, I was able to add about three feet of additional earth on top of the container! The temperature inside the container now stays cool in the hot summertime and warm during the cold wintertime! Well, that's all for now! Hope you all enjoyed my post about my underground shelter build... stay tuned and follow @tinyhousecryptos for more of my adventures!
Congratulations, your post has been selected to be included in my weekly Sustainability Curation Digest for the Minnow Support Project.
Compiler of the Homesteaders and Preppers on Steem list.
Compiler of the Homeschoolers & Unschoolers on Steem list.
Wow. You did great work there- and lots of it!
Posted using Partiko iOS
Thank you very much! It was fun building this project!
That is awesome! I would have never guessed you started with a shipping crate until you mentioned it in the post. Very nice looking!
I just found your post through @pennsif curation digest. First off I’m jealous. Lol. That’s such a beautiful set up. I wish we had the ability to have the space for that sort of thing here in the UK. Also scrolling through your feed it’s clear you have some great content so I’m definitely giving this a resteem and clicking follow so I can pop over to your blog every once in a while. Keep up the amazing work. :)