Tiny House Episode 13: Storage, Mechanical, and Fresh Air Intake
In this episode, I will cover a variety of topics. Some parts of the tiny house build aren't complicated enough to warrant their own full post but they shouldn't be ignored either.
The first thing is the bedroom loft shelving. As you might have noticed our tiny house has two lofts. The bedroom loft, the larger of the two, is 8'x7'7" and is over the kitchen. We needed some storage in this loft for our clothing and other personal items. We originally considered a dresser of some kind but we quickly realized that if we used a dresser the drawers when pulled out would have very little space between them and the queen sized mattress we planned to have.
We decided to use some sort of shelving and planned to integrate it in a way that would also act as a partition between the bedroom and the living area. Luckily, we ended up coming across a pine shelving unit, that was approximately the right size, at Ikea. I was quickly learning that building everything to custom specs was extremely time consuming and having something that only needed to be assembled was a welcome relief.
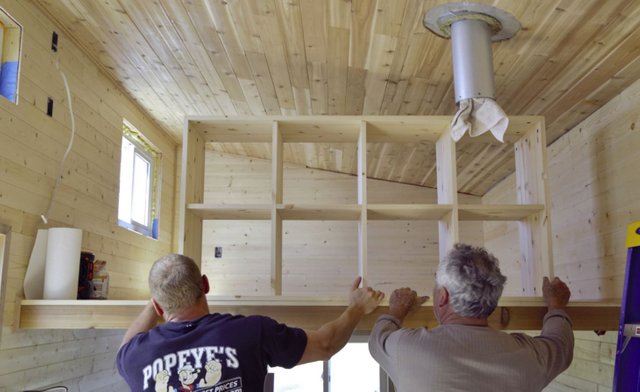
I had my dad help me put it into place temporarily so we could get a better idea of how it would fit. I didn't want to put it up permanently until we had our queen sized mattress up there. The back of the shelving was just particle board which obviously would have looked horrible so I left it off and decided to finish the back with more tongue and groove pine and tie it into the wall on the left side.
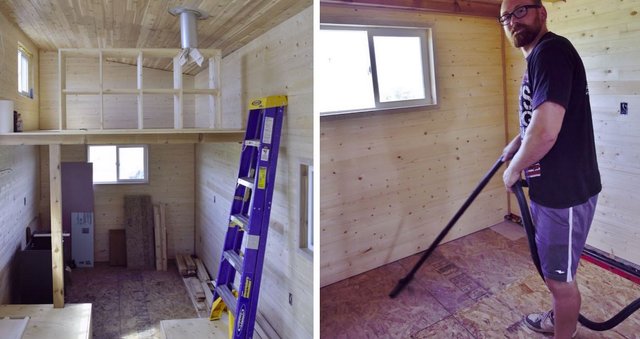 Left: The loft shelving sitting approximately where it would be permanently fixed. Right: I vacuumed often to keep the dirt and sawdust to a minimum.
At the last minute, we also decided to add a closet. When we first drew up the plans for the house we probably weren't thinking straight. I thought that we would leave everything open to give the house a more roomy feel but it was apparent that we were going to need more storage space for our clothes, especially nicer clothes that were more suitable for hanging.
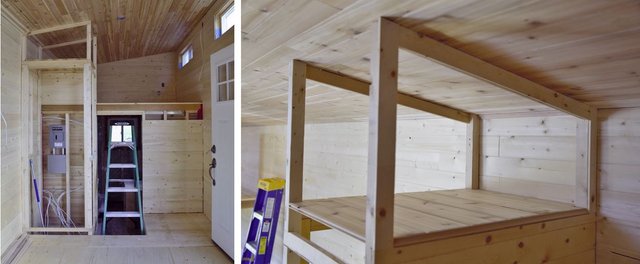
The frame of the closet was actually built entirely by my father (Thanks Dad!). There were a few things he helped me with and this was one of them. He did a pretty good job of building it with minimal material and attaching it to walls that had already been finished. The ceiling in the house is quite tall and we decided that the top portion of the closet would open into the loft area rather than the main living area so we wouldn't require a step stool to access it.
 The top of the closet as seen from the small loft.
The other thing you may have noticed is that the floor in the center of the house is higher than below the lofts. This is actually an idea I am pretty sure we have pioneered for tiny houses. The raised center area actually acts as a mechanical room, hiding the furnace, hot water tank, battery bank, duct work, trailer wheel wells, and a 150 gallon water bladder. All of our water lines also run through the raised floor keeping them the inside of the house so they won't freeze up when it's -30 °C in the winter. The closet even sinks down into floor allowing us to get two levels of hanging clothes!
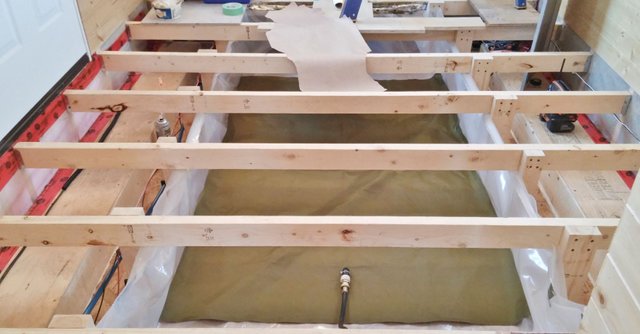 The 150 gallon water bladder under the floor joists of our raised center floor area.
The last thing I wanted to talk about is our fresh air intake. An important part of living in such a confined space is being aware that you don't deplete all of your oxygen and start producing carbon monoxide in it's place. Especially in our case since we planned to have both a propane range and a wood burning stove. Having a fresh air intake may seem like common sense but we found that not everyone in the tiny house movement is aware that they should have one. Our air intake was designed by my brother who is a ticketed HVAC professional. It features a cold air trap at the bottom that prevents unwanted drafts. Basically, it only allows air into the house when there is negative pressure or if the wind is blowing straight into it.
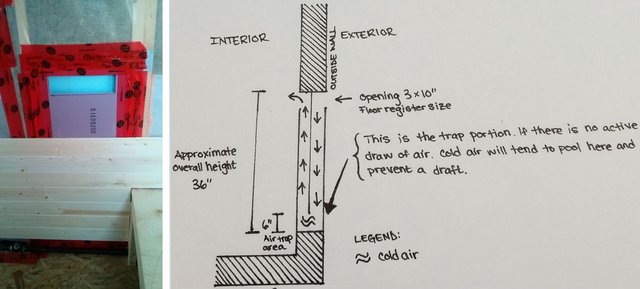 Left: The cold air intake half covered in pine paneling. Right: Aimee (Mrs. Canadian Renegade) drew this awesome diagram of the fresh air intake for me.
We have some friends that decided to install a miniature air exchanger in their tiny house. While this is a good idea, and would help to keep humidity down in the winter, it was a bit expensive for our tastes and a fresh air intake would have still been required for us because of the wood burning stove.
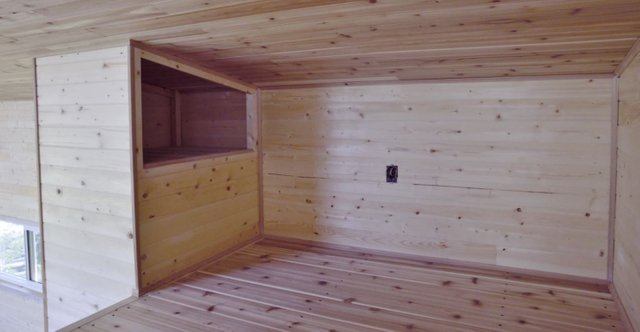
 Things are starting to look pretty decent. You can see the closet is finished and the majority of trim is on.
While the house looks like it is getting close to being done there is still a lot of work to do so stay tuned.
In this short video I briefly discuss the fresh air intake and range hood damper.
What did you use for insulation, and if you used an isoPine finish? what would be the R value of the finished product, or did you use a Ridgid (iso board) insulation and if so what was the thickness.?
I am not sure what you mean by IsoPine?
Our walls are R-17, Ceiling is R-25 and the floor is about R-30. We used a combination of Roxul batting and foam board. The full post on this.
IsoPine is like a finished pine like you have but it comes glued to foam board. Almost like a SIP's (structural insulated panel )
I am unfamiliar with it but it sounds like a decent product. We used the thin tongue and grove pine paneling that is common at most hardware stores.
Wow so cool, makes us dream a bit for the future. Looks good, as soon as I have more time I want to see the other episodes of your tiny house! It's inspiring
That's good. Hopefully you enjoy them!
How long does it take to prepare a house
Over a year.