Today I Learned How to Build a DIY No Harm Mouse Trap
No, that's not a ship. Yes, that's what I did this morning, as the encroaching winter sends many animals in search of a safe haven to survive. Last year there was no issue. But this year some have come, and might be gone now that I plugged up the holes they made.
The version I found online was with a metal coat-hanger, which I have not owned in at least a decade. So I improvised and made my own design, done with things laying around. No need for me to buy anything, just the way I like it LOL.

Click on the images to enlarge them.
Instructions
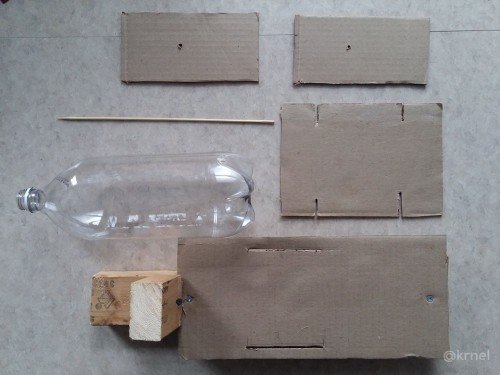
1. All of the pieces you need.
I already put together the thing before I thought of doing a DIY how-to with pictures, sorry. You need a 2x4 of sufficient length for the bottle and an additional 2.5 inches to cut off for the bottle stopper. Screw or nail some cardboard into the 2x4 to start.
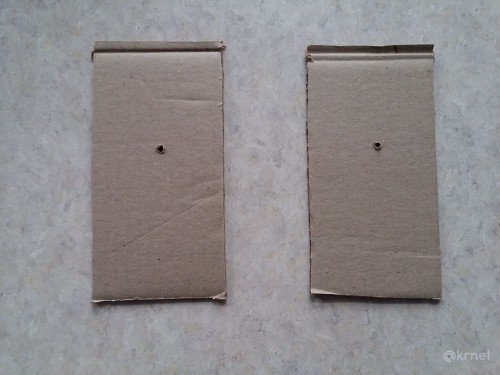
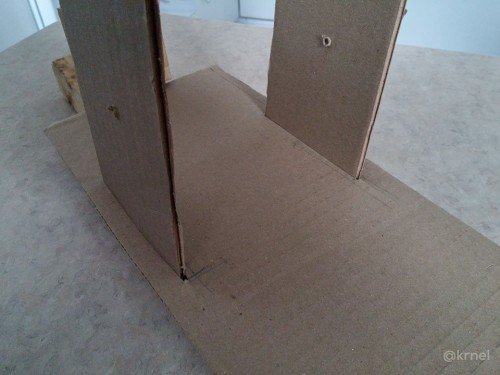
2. Two similar sized pieces for the side support.
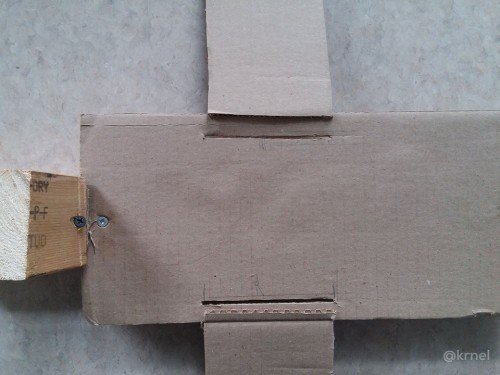
3. Measure and cut into the base.
Make your measurements smaller in width than the actual cardboard. You want it to be tight and not move. Also, make a little 1/8 inch extra length on each end for some shifting power to adjust later.
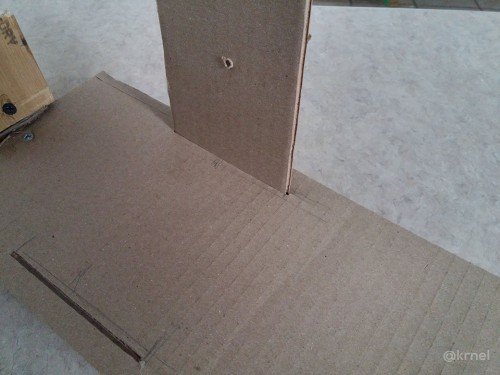
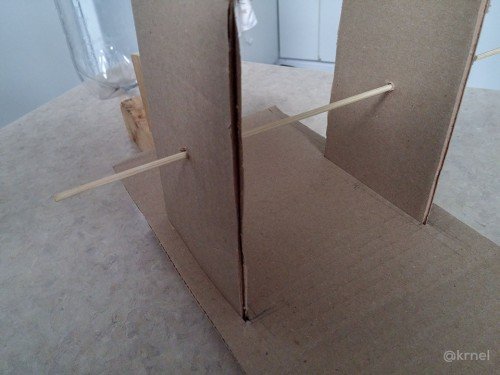
4. Put sides into cuts.
Just slide them in, they should be tight.
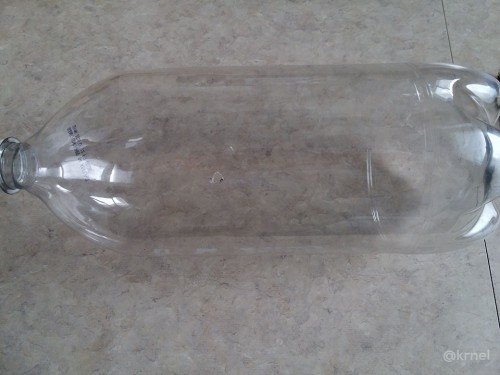
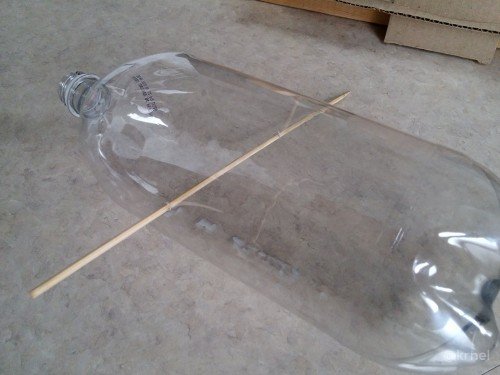
5. Make two holes in the bottle.
Where? You need to balance your bottle on a pencil to find the midpoint. From the midpoint, move 1/4 to 1/2 an inch towards the opening of the bottle, and that is your mark to make a hole. Line yourself up and make another hole on the opposite side.
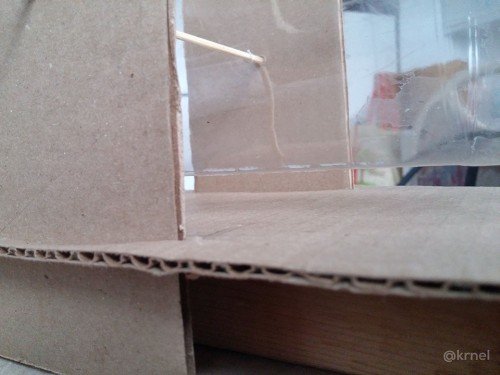
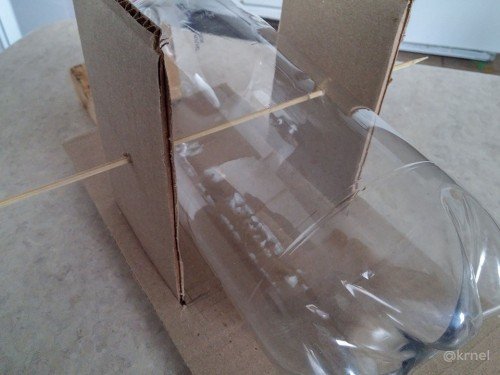
6. Make hole for shaft in support cardboard.
To get the proper height for the bottle placehold inthe trap, you need to have it 1/2 inch above the base for it to pivot.
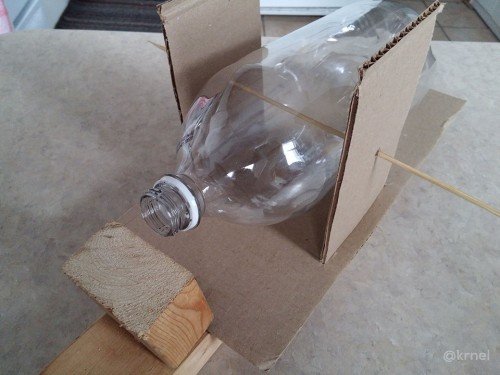
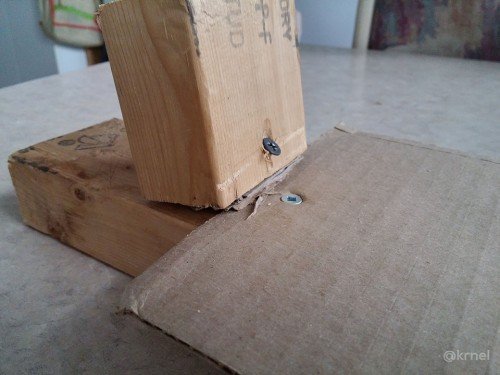
7. Add the block at the right angle.
This part was a bit annoying.
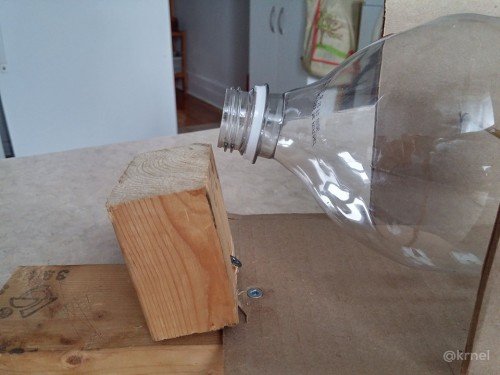
You have to angle the block parallel to the bottle opening when it's in the down position. You can't have it too close or else it will hit the block going up or down. So there is a sweet spot to find.
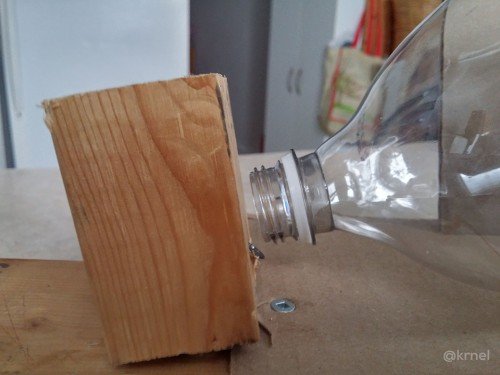
I used some extra cardboard and made a shimmy to adjust the angle of the block. Then I drilled a screw into the block to keep it place.
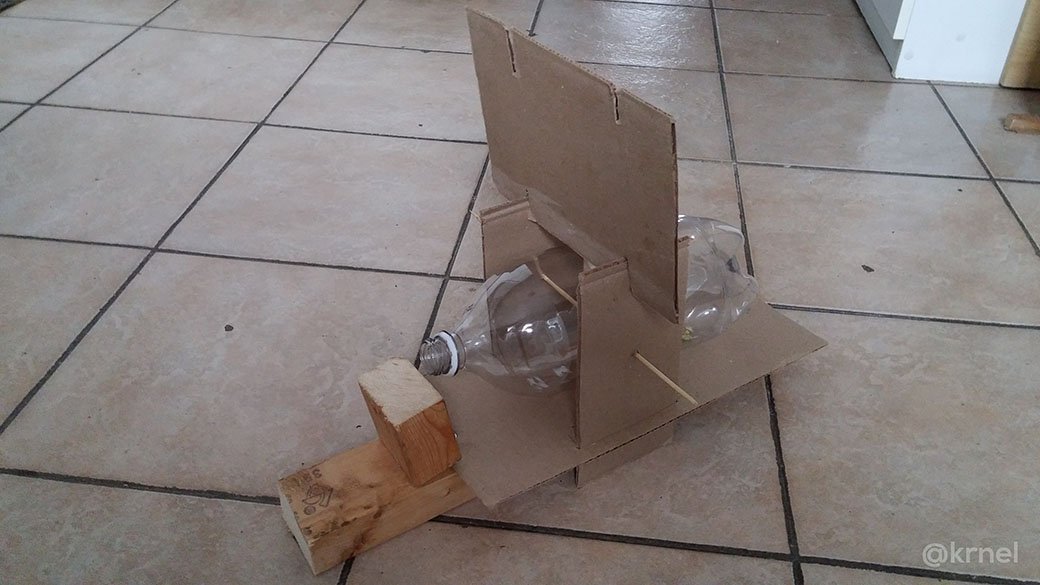
8. Final stability support brace on top.
(steemimg, limits 15 images per hour, sorry these are not medium size from another host)
Put a piece of cardboard on the top two supports that hold the shaft, and mark where they line up. Then cut it out. Again, make the cuts smaller, so that its tight. My first cut on one side was too loose, so I hade to o it better on the other.

Then you're ready to mount the top brace support so that the side support walls don't move around and wobble from the weight of the bottle.

This is what it looks like from the rear.

And once again from the front.
I hope you find this DIY how-to build a mouse trap useful :)
Last thing is to put some pieces of cracker in it, and find a place for it.
I caught one last night and let it outside. But it took me a while to corner it. Not fun to waste time on that. Definitely build one of these instead of catching a cornered mouse LOL. Let the mouse do the work and trap itself where you an easily release it outside.
Thank you for your time and attention! I appreciate the knowledge reaching more people. Take care. Peace.
If you appreciate and value the content, please consider:
Upvoting  , Sharing
  and Reblogging
  below.
 me for more content to come!
@krnel
2016-11-26, 1:33pm
That's pretty cool idea. Also extremely simple.
Hehe, yeah, thanks.
Very nice for those that don't want to harm the little critters. What is a good place to relocate them?
Well I just went outside to the grass, snow had melted, and let it out there. Good luck surviving :\ but I don't want you in my home, sorry... heh.
heh yea good point.
Make video of thiS post ,for more vote up
I would have needed to do that before, while I made it. Not something I can do after I post either... lol
Did you bait the trap & with what? Brilliant design, btw! Simple, elegant live trap. Good job & good luck with the hunt.
Few pieces of crackers. Thanks. Not a hunt though, just a relocation ;)
Interesting. Most folks use high value bait - cheese, peanut butter. Crackers make sense though as they seem to go for those first in cupboard.
Nice, I have a bit of a mice problem in my garage, will give this a try
Why not taking a cat? :D
Haha cool! Upvoted. Maybe it´s a silly question, but does the mouse step into the bottle just out of curiosity?
I'll edit the post and mention that I put some pieces of crackers inside. It's the only source of food lying around.
Cracker! Perfect. Thanks for getting back :-)
Awesome! I love people who take care not to hurt any animal needlessly.
How clever! In case it's not obvious to anyone, the trap is amazingly simple in its operation. The mouse climbs up the pedestal and enters the bottle. As it enters its weight causes the bottle to pivot, so the opening is blocked by the pedestal so it can't escape. Make sure you minimize the clearance between the bottle and the pedestal so the mouse can't squeeze out between them. I've read that mice have squeezed through openings as small as a pencil!
Ah damn! I think the power of my cardboard might not be enough to hold off the mice... they can probably get their nose or claws into the open space and push the frame back enough to squeeze out. I guess that's why the original video has it made from a metal clothes hanger... hehe. Well so far no luck in catching anything. Cracker still there. But yeah, a great design.