4 ขั้นตอน สุดง่าย แปลงภาพถ่ายธรรมดาสู่ภาพวาดศิลป์ ด้วย Photoshop / 4 Easy Steps to Turn Normal picture to Drawing Picture with Photoshop
สวัสดีครับ พบกันเป็นบทความที่สอง ยังคงวนเวียนเกี่ยวกับเรื่องโปรแกรม Photoshop เช่นเคยครับ วันนี้ผมจะมาแสดงขั้นตอนง่ายๆ แค่ 4 ขั้นตอน ในการแปลงภาพถ่ายธรรมดา ให้เป็นแนวภาพวาดสวยๆ กันครับ ถ้าพร้อมแล้วลองทำไปด้วยกันได้เลยนะครับ (ผมใช้ Photoshop CC 2018 นะครับ เวอร์ชั่นอื่นหน้าตาจะไม่หนีกันมากครับ)
Hello Everyone, This is my second writing in Steemit. It still be about Photoshop program. Today I will show you an easy step to turn your picture to a beautiful drawing picture. If you ready just open program and we do each step together. (my Photoshop is version CC 2018 other version is not difference a lot)
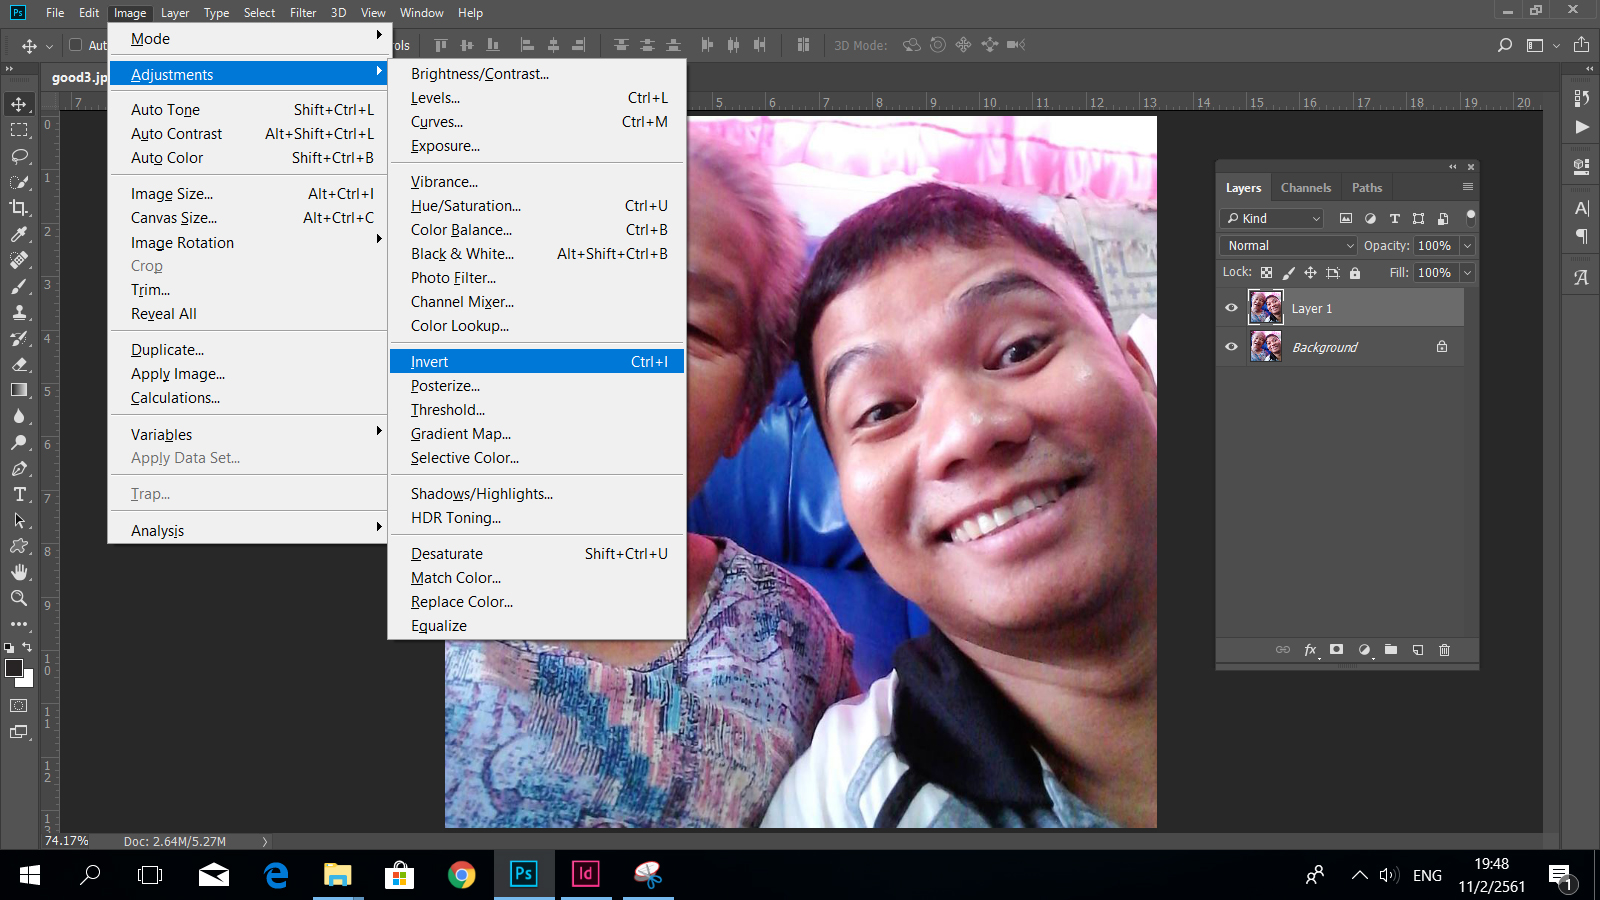
ขั้นตอนที่ 1 /Step 1
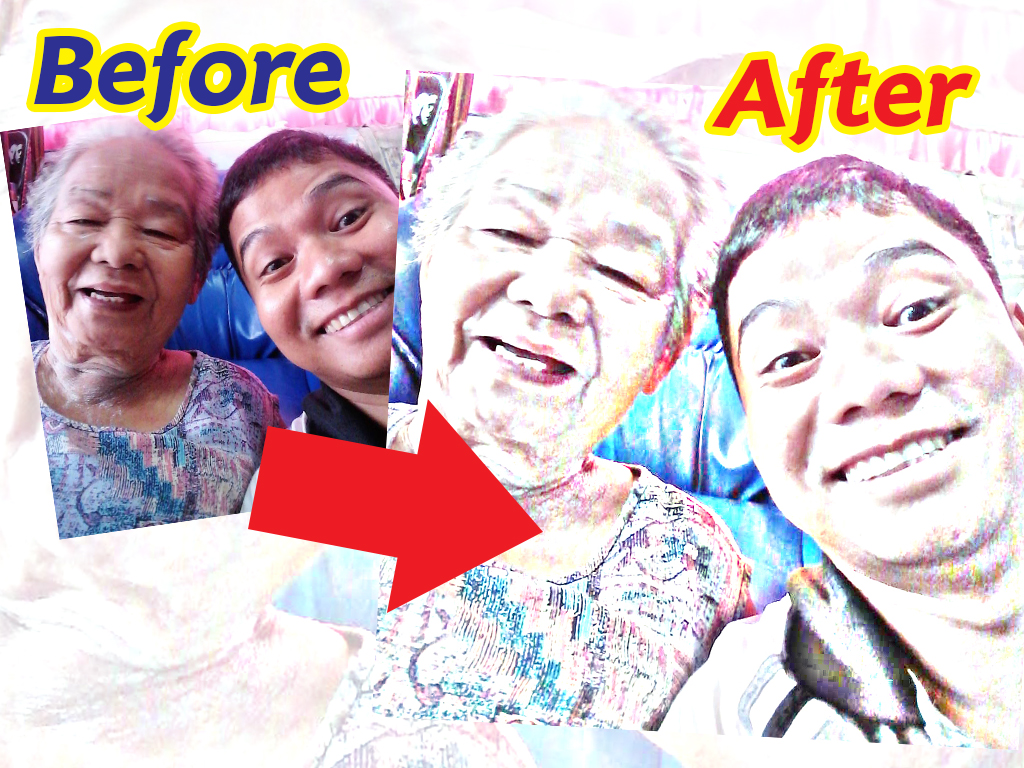
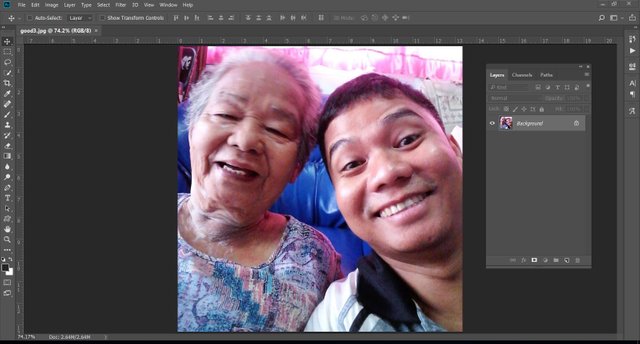
หาภาพเป้าหมายที่ต้องการ ผมไม่สามารถบอกได้ว่าภาพไหนทำแล้วออกมาจะดูดีหรืออาจไม่สวย อันนี้อยากให้ลองๆ ดูกันนะครับ เพราะขึ้นอยู่กับภาพด้วยนะครับ ซึ่งภาพของผมก็คือภาพนี้ครับ (ดูแล้วอมยิ้มตามก็ได้น้า)
Just find a picture to test (I can not tell that which picture is the best, please try it with yourself). In my case I use this picture (Wish you to smile with this pic)
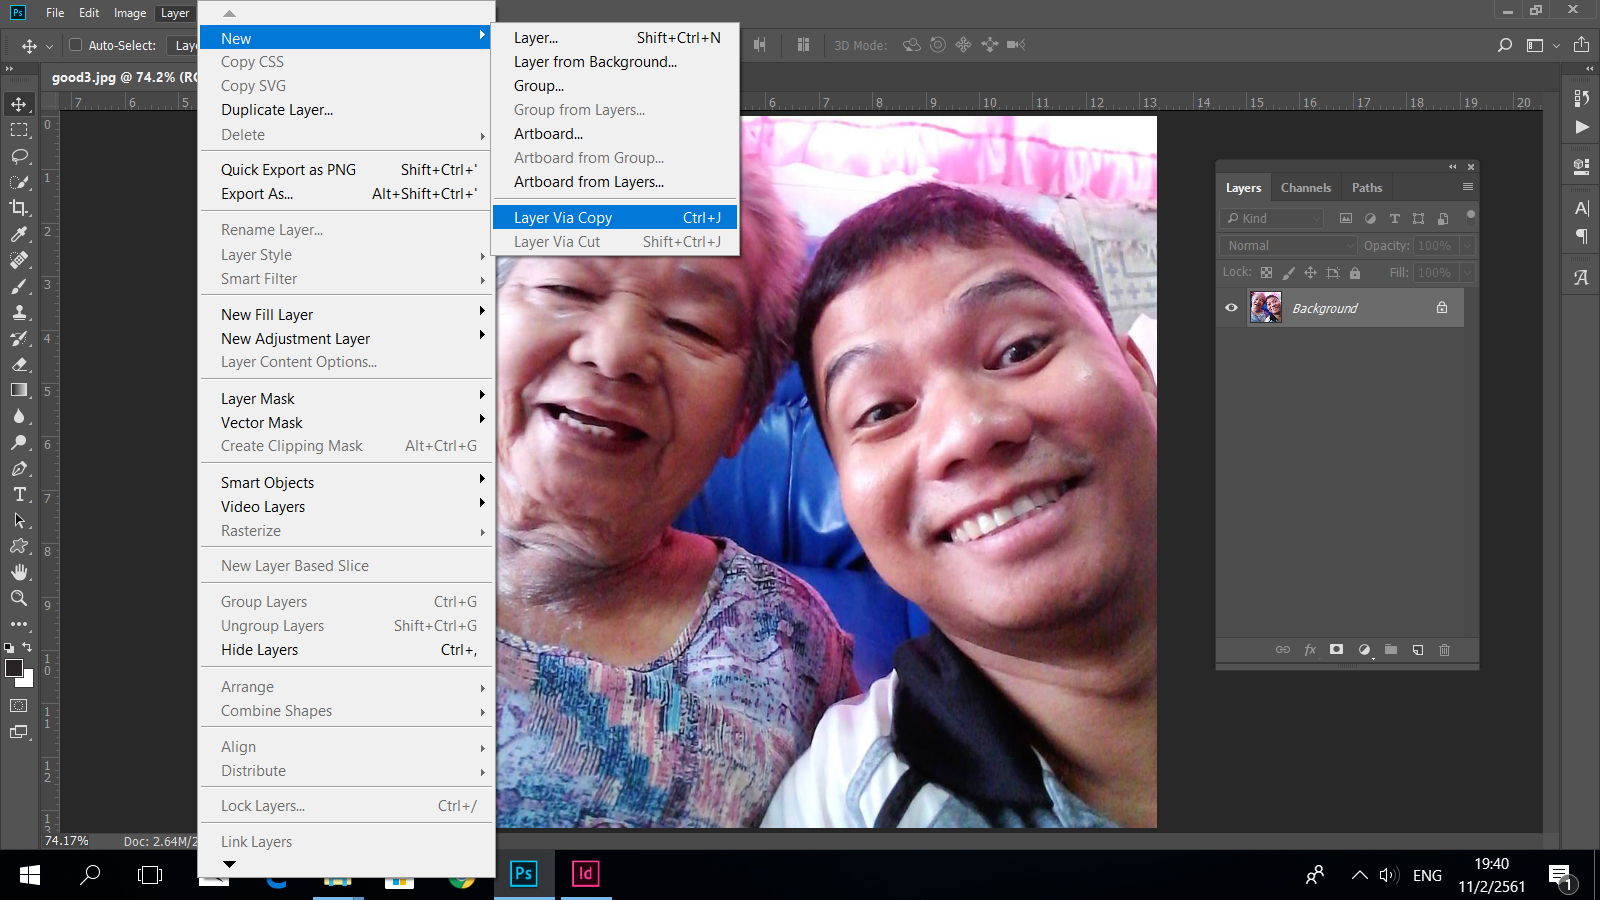
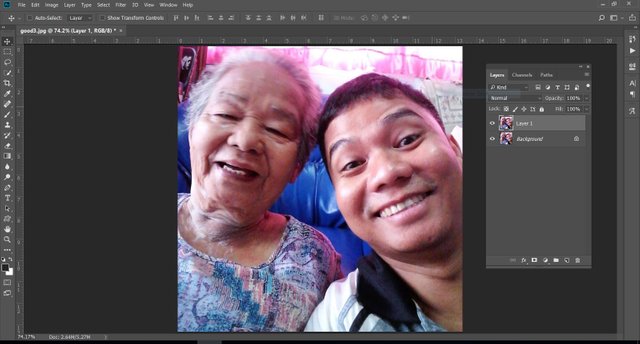
จากนั้นให้ท่านไปที่เมนู Layer > new > Layer Via Copy หรือจะกด Ctrl+J ก็ได้ครับ เพื่อทำการคัดลอกภาพของเรามาอีกเลเยอร์นึง
Go to manu Layer > new > Layer Via Copy or Ctrl+J for duplicate background layer
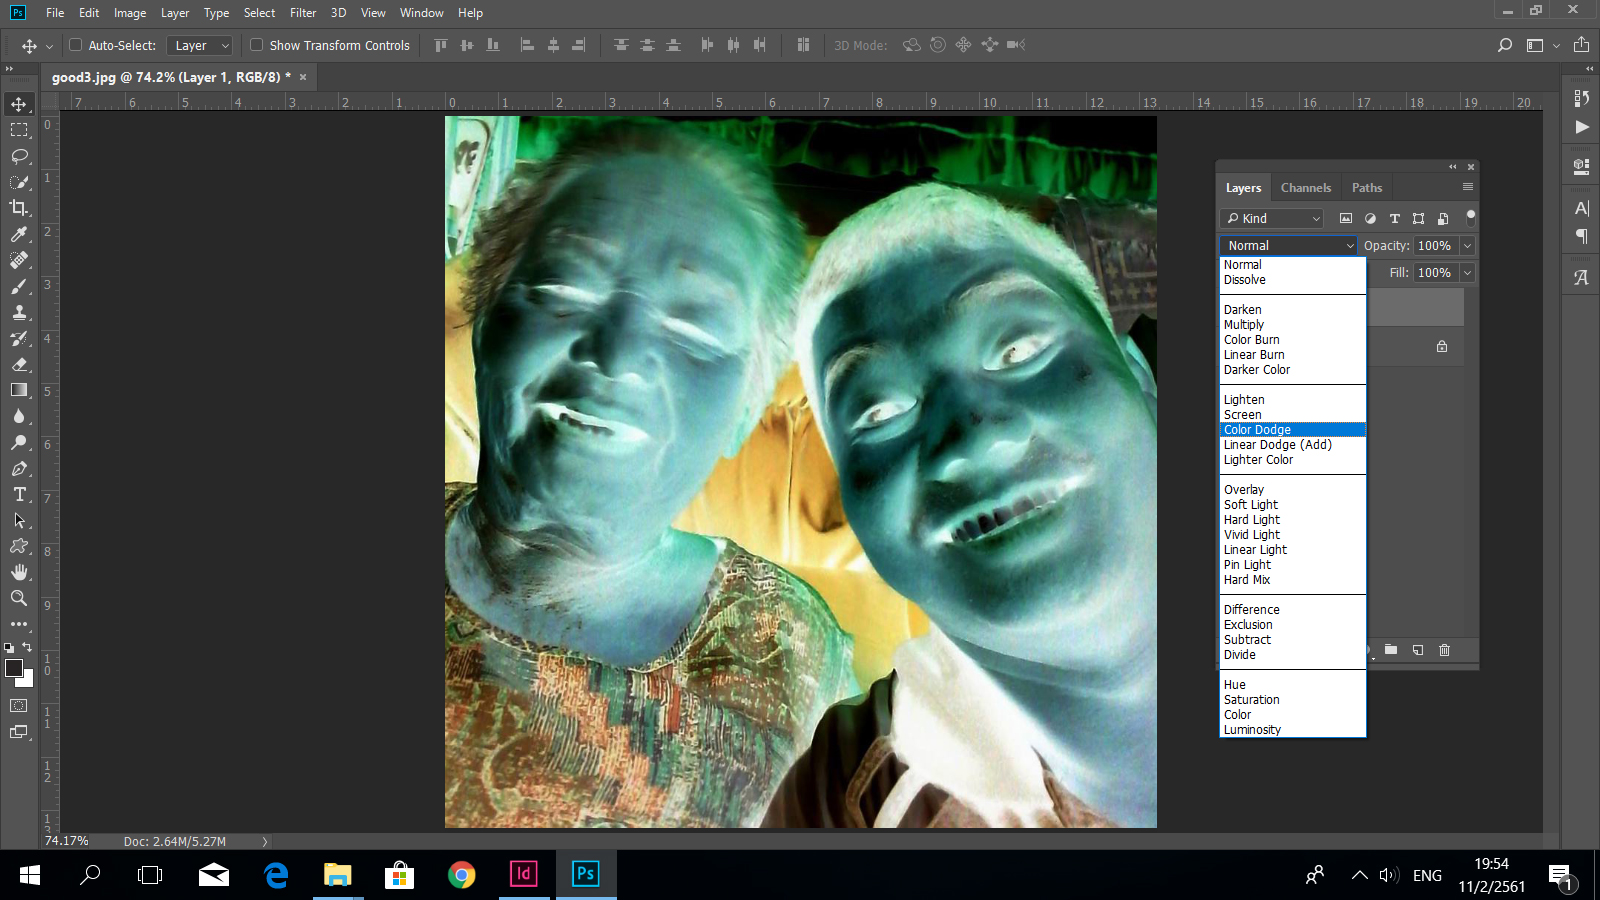
ขั้นตอนที่ 2 / Step 2
จากภาพผมอยู่ที่ Layer 1 นะครับ ให้ทำการกลับสีภาพ (Invert) ด้วยเมนู Image > Adjustment > Invert หรือ Ctrl+I ครับ
Edit with layer 1 (Which we duplicated) just invert color with manu Image > Adjustment > Invert or Ctrl+I
จะได้ภาพแบบนี้ครับ (อย่าตกใจน้า)
You will see anything like this.

ขั้นตอนที่ 3 / Step 3
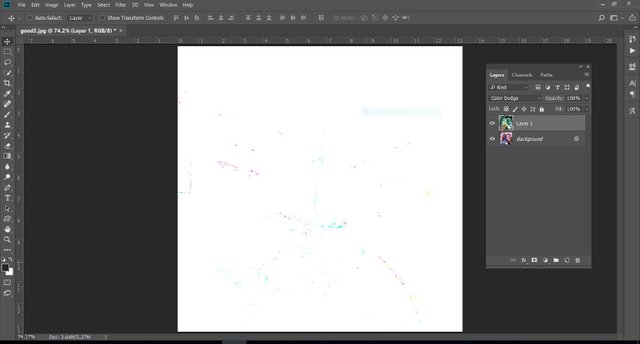
ยังอยู่ที่ Layer 1 นะครับ ให้ทำการเปลี่ยนโหมด Blend Layer เป็นโหมด Color Dodge ครับ
Still Edit with layer 1 We will change blend mode layer to Color Dodge
จะได้ภาพหน้าตางี้ (ขาวหมดเลย) ไม่เป็นไร ท่านมาถูกทางแล้วครับ
You will see anything like this.
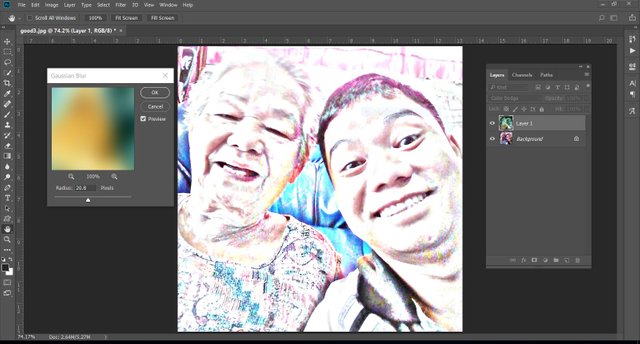
ขั้นตอนที่ 4 (สุดท้าย) / Step 4 (last)
ที่ Layer 1 นะครับ ไปที่ Filter > Blur > Gaussian Blur.. จากนั้นลองปรับค่าดูนะ (อย่าลืมติ๊กที่ Preview ด้วยน้า เพื่อเช็คผลที่ออกมา)
Edit with layer 1 go to menu Filter > Blur > Gaussian Blur..It depend on you to adjust blur scale to make the best result (You will see this with preview)
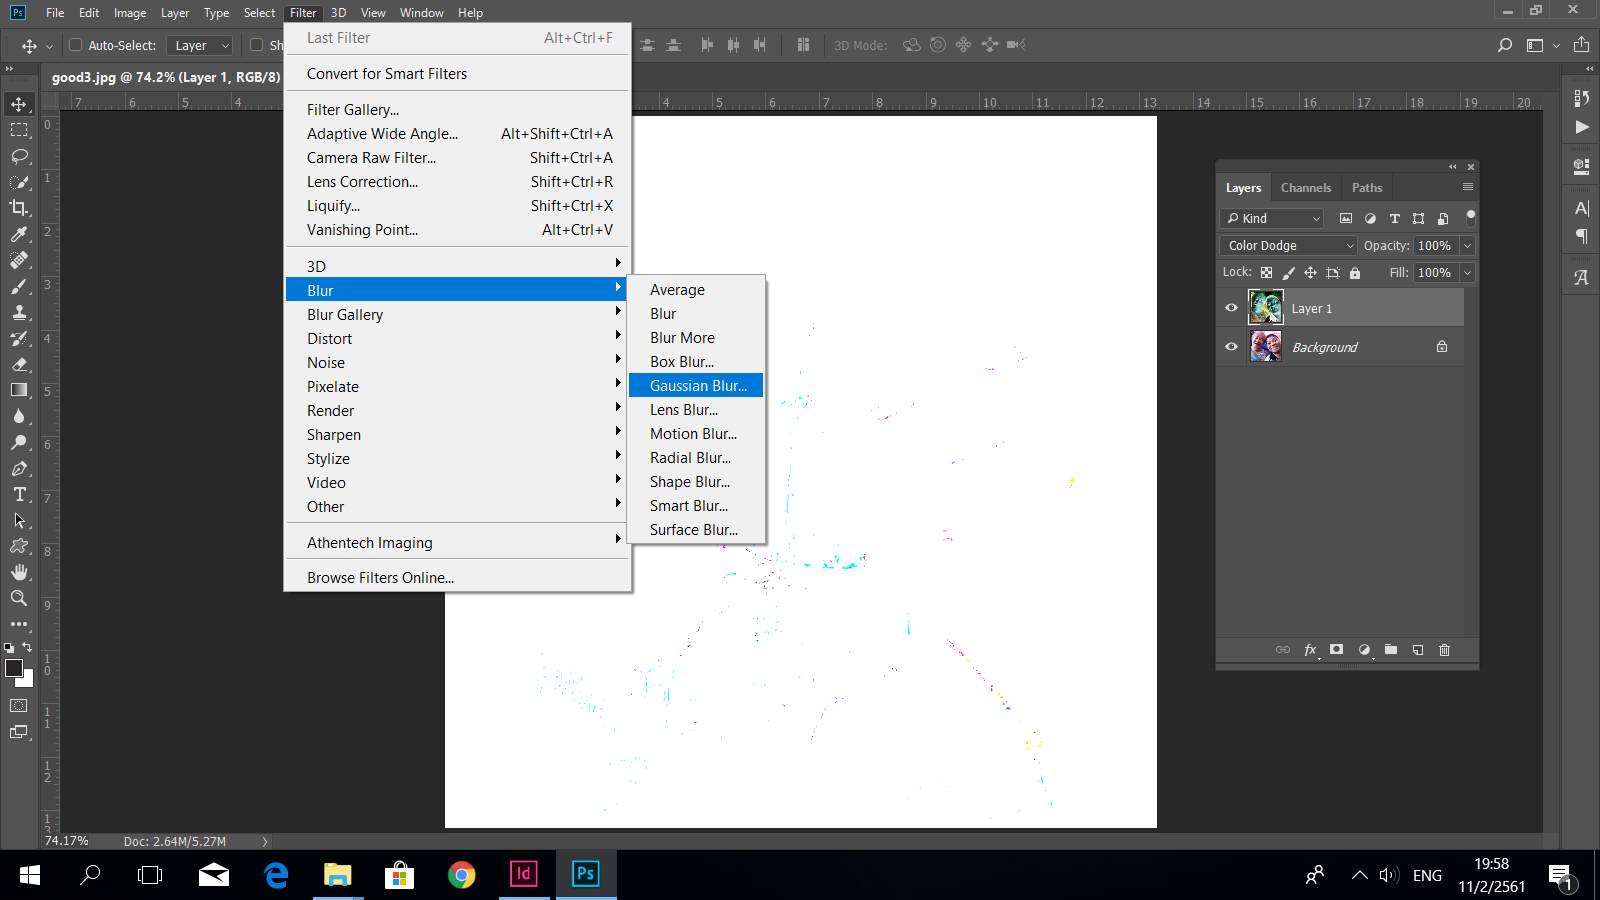
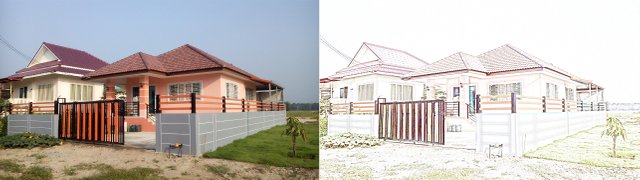
จากภาพผมปรับ Blur ไปที่ 20.8 ผมพอใจกับค่านี้ เป็นไงครับภาพถ่ายของเรา กลายเป็นภาพวาดไปแล้ว
For me, I blur at 20.8 and I am ok with this. You will see that my picture turn to drawing art
ง่ายๆ ใช่ไหมละครับ แค่ 4 ขั้นตอนเอง ก็สำเร็จแล้ว
You will see that it is too easy in 4 steps.We are done
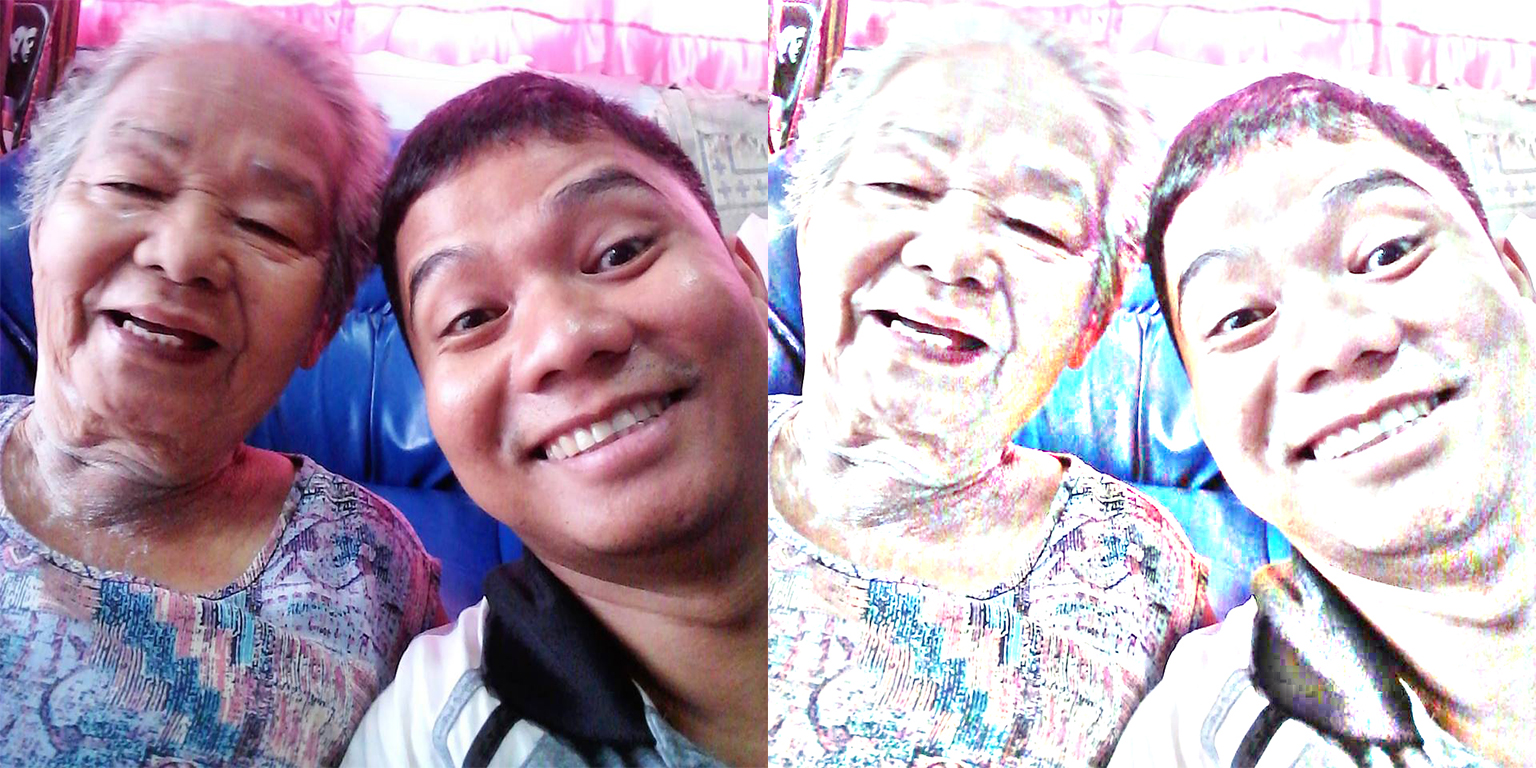
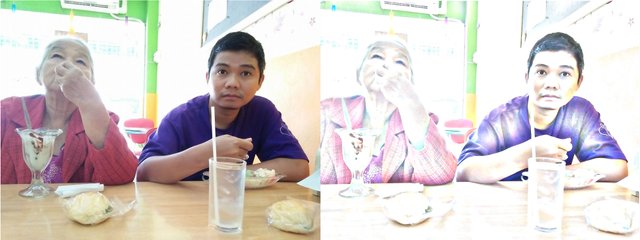
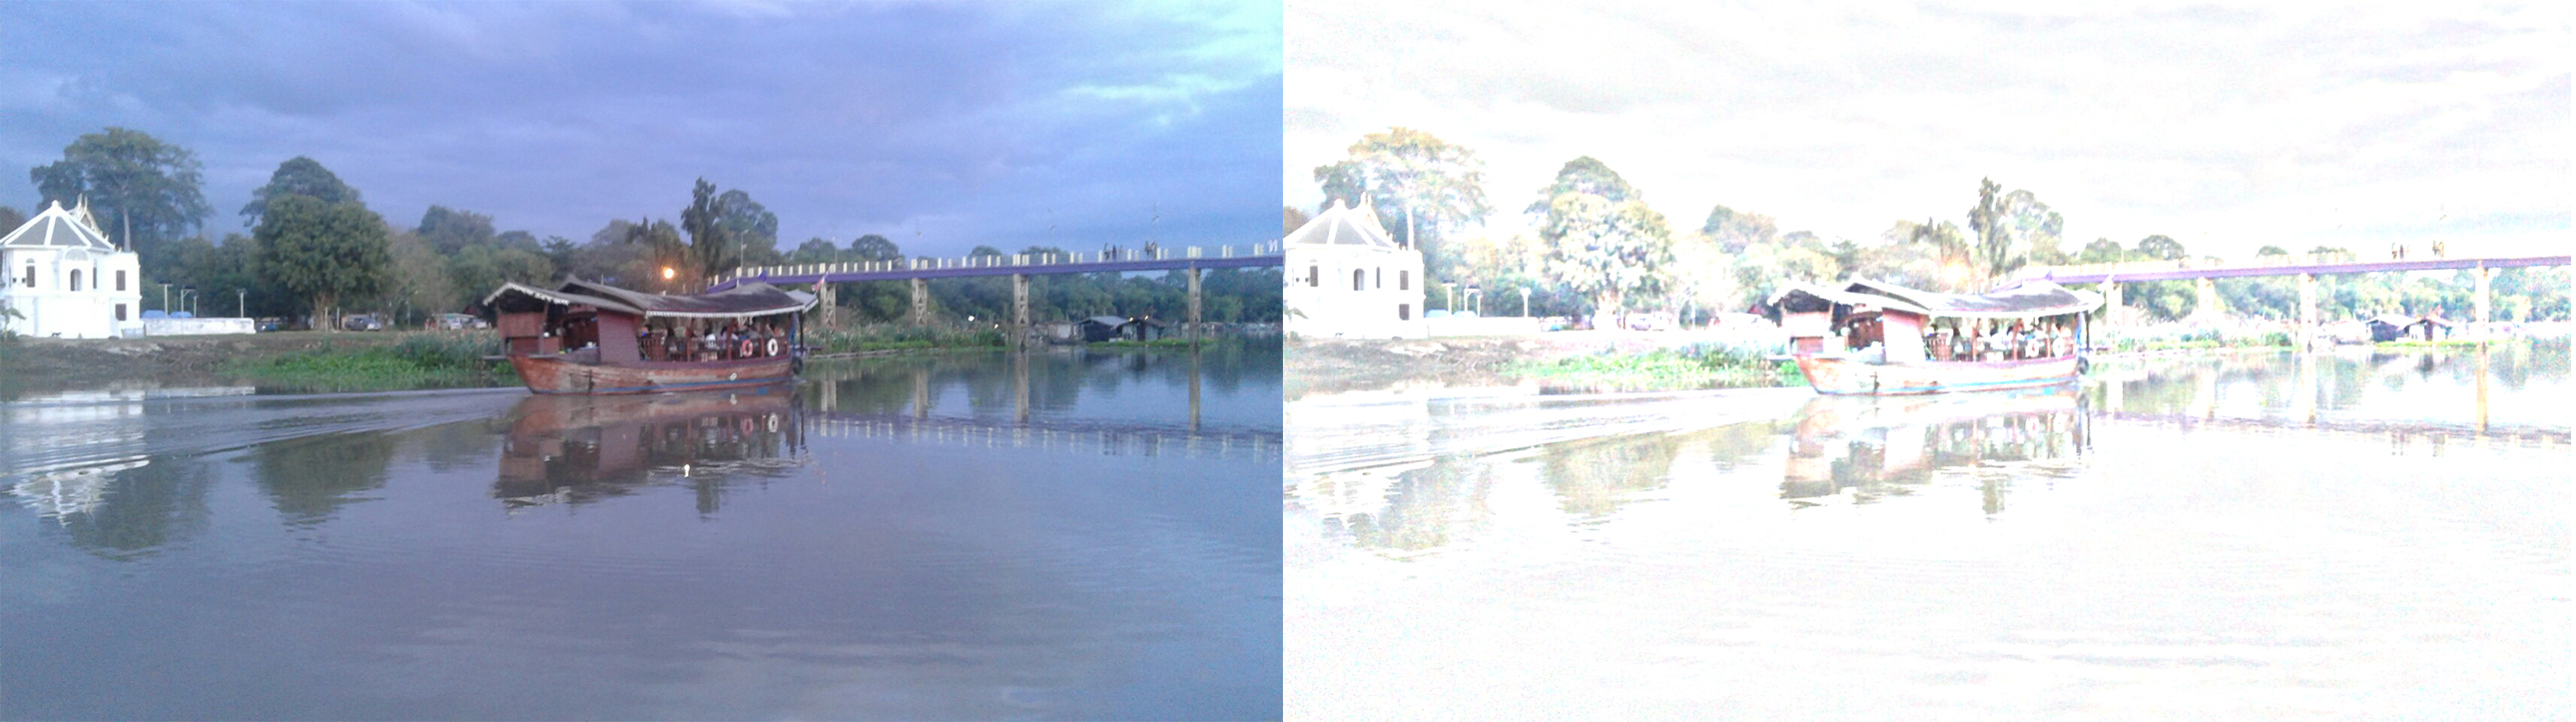
ถ้าถูกใจลองไปทำกับภาพอื่นก็ได้นะครับ อันนี้ตัวอย่างของผมครับ
My other picture example.
ขอบคุณทุกท่านที่เข้ามาอ่านนะครับ ผิดพลาดประการใดติชมได้นะครับ ขอบคุณครับ
Thank for reading , You can recommend me to improve my writing. I will be happy to see your reply.
