How to Calibrate your Hoverboard
Your hoverboard is doing strange things lately? Are one of the sides faster than the other? Red light flashing and you can't use it anymore? Either you just received it for the Christmas or it happens months from your purchase, it is a known issue and happens because the gyroscopic sensors become unbalanced.
Before you take it to any professional you might save some time, money and hassle if you know how to calibrate your hoverboard. We will go through the process step by step, which works in general for hoverboards with every brand.
Step 1. Turn off the hoverboard
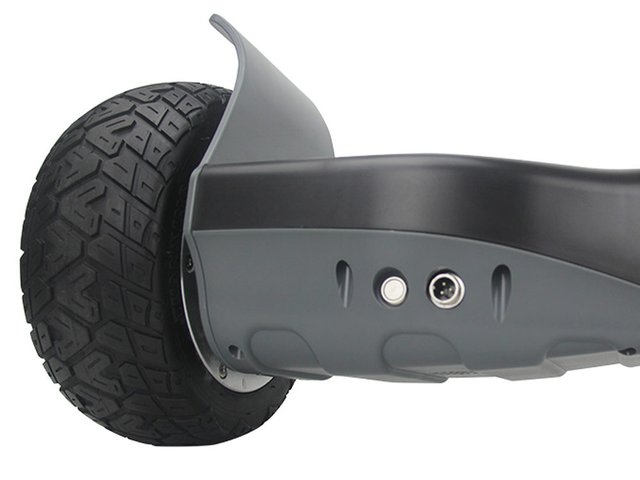
The first thing you want to do is to power off your hoverboard. You shall locate the power button which is usually on the side or bottom of the deck and press it for several seconds. The lights will go out and you may even hear a beeping sound.
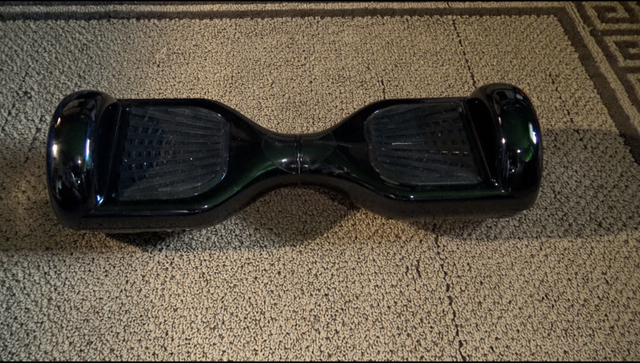
Step 2. Place your hoverboard on flat surface
This is the most important step, because it affects the outcome of the calibration. In general a calibration process is when a sensor is manually told what the measurement value should be in that exact position, situation.
In this step we are doing exactly the same thing. By placing it on a completely flat surface, we are setting up a zero setpoint for the hoverboard which can refer to in the future. If the surface is uneven, it can result in even more disturbing movement. So make sure you get this right.
Make sure that the foot pedals are also in level with each other and the ground!
Step 3. Press power button until it LEDs start flashing
How long you have to press the power button can vary on the brand you are using. Usually it takes around 8-10 seconds. You may hear a beeping sound and the LED lights will start flashing. The blinking lights are indicating that the hoverboard is in calibration mode.
Step 4. Turn off your hoverboard
If you've you got this far, you should press the power button again and hold it until the blinking lights are turning off. This can usually take 6-10 seconds depending on the brand.
Step 5. Turn on again
Turn on the hoverboard again by pressing the power button and take it for a test ride. Try to go forward, backwards, make slight and sharp turns. Also try just standing and look for any unnatural behavior. If everything went well, your board shall function as good as you first tried it out.
In general the calibration function is similar for every hoverboard, but they may not respond to it every time the same way. If it does not solve the problems for the first time, just wait 5-10 minutes and do the process again. According to some users, sometimes you have to repeat the calibration process even three times to have the desired effect.
In the following video you can also watch the process:
[embed]
Notes for hoverboards with remote
Hoverboards with a remote function have a bigger risk for malfunctions. Usually when turning off the board using the remote, the electronics go into a low power sleep state rather than a proper shutdown.
If you have a list of instructions by your scooter manufacturer, you should follow that point by point. This guide has been created because the user manual does not contain these instructions in lots of cases.
If the problems have not been solved, it's possible that you have to buy a gyroscope replacement.
In the comment section let us know if it has worked for you or you need extra support in finding the problem.


