Flood Detection Project Using Arduino
In this post I will give tips on Flood Detection Project Using Arduino. Flood Detection is very important, because we can detect the occurrence of floods, usually this tool is placed at the main water gate, to measure the water level at the water gate.
In this Post you have to prepare some materials:
(1x) Arduino Uno
(1x) Breadboard
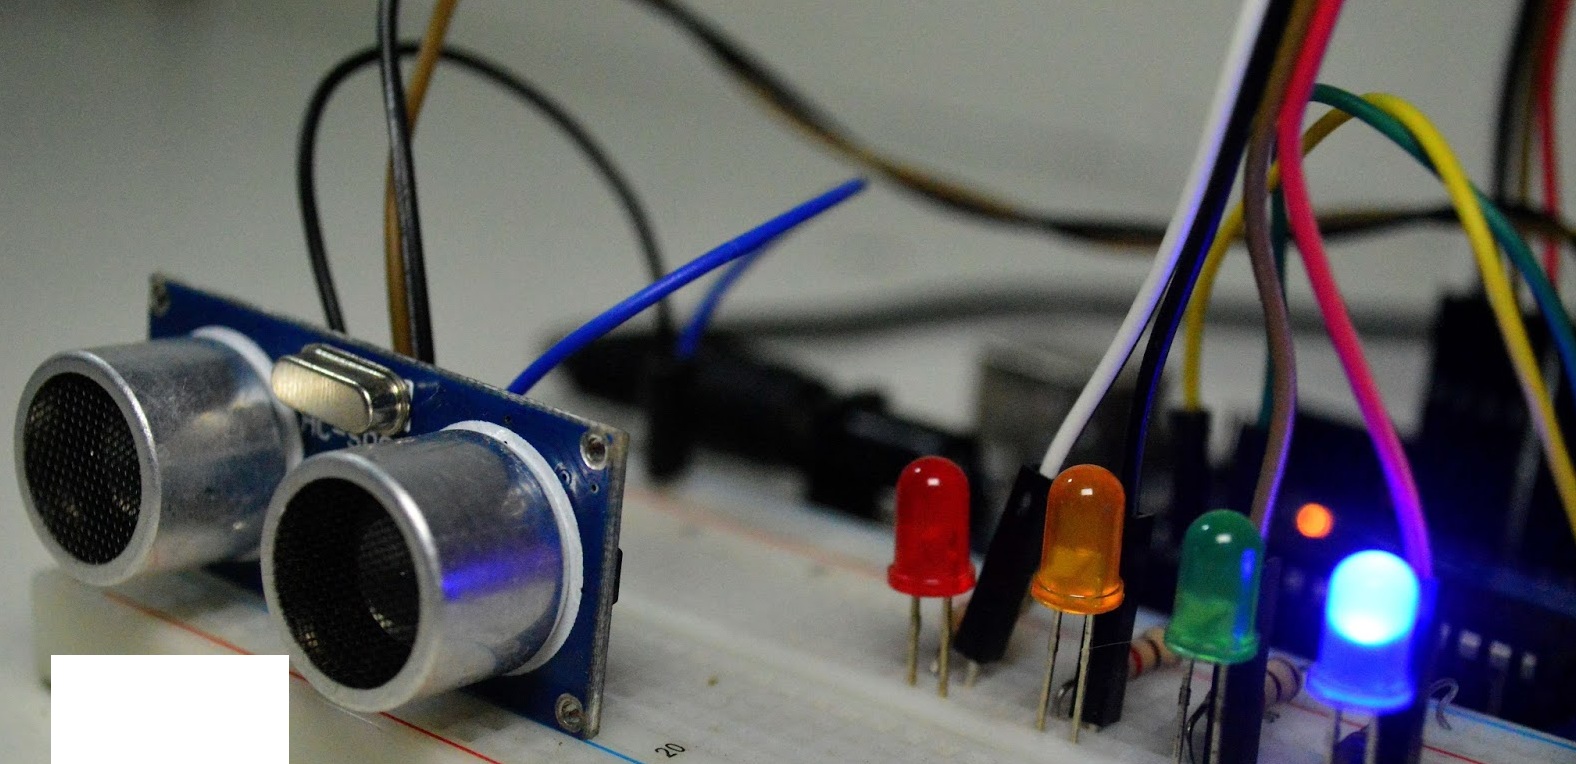
(1x) HC-SRO4 Ultrasonic Sensor
(1x) Blue LED
(1x) Green LED
(1x) Yellow LED
(1x) Red LED
(4x) 220 ohms Resistors
Datasheet HC-SRO4 you can download it below
Datasheet HC-SRO4
The circuit that must be designed there is a picture below
 |
Circuit |
For Coding you can see below
// Free Tutorial Arduino // www.ioisalman.com//pin Ultrasonik
#define trigPin 7
#define echoPin 6#define ledAman 8
#define led1 9
#define led2 10
#define led3 11void setup() {
Serial.begin (9600);
pinMode(trigPin, OUTPUT);
pinMode(echoPin, INPUT);pinMode(ledAman, OUTPUT);
pinMode(led1, OUTPUT);
pinMode(led2, OUTPUT);
pinMode(led3, OUTPUT);}
void loop() {
long duration, distance;
digitalWrite(trigPin, LOW);
delayMicroseconds(2);
digitalWrite(trigPin, HIGH);
delayMicroseconds(10);
digitalWrite(trigPin, LOW);
duration = pulseIn(echoPin, HIGH);
distance = (duration/2) / 29.1;if (distance >= 16)
{
digitalWrite(ledAman, HIGH);
digitalWrite(led1, LOW);
digitalWrite(led2, LOW);
digitalWrite(led3,LOW);
}
else {
digitalWrite(ledAman,LOW);
}if (distance <= 15)
{
digitalWrite(led1, HIGH);
digitalWrite(led2, LOW);
digitalWrite(led3,LOW);
}if (distance < 10) {
digitalWrite(led2, HIGH);
digitalWrite(led1, LOW);
digitalWrite(led3,LOW);
}if (distance < 5) {
digitalWrite(led3, HIGH);
digitalWrite(led2, LOW);
digitalWrite(led1, LOW);
}delay(500);
}
wow