Replacing the hose of a coffee maker - Post original from jose27117 for steemit.
Replacing the hose of a coffee maker.
Hello my dear steemians..
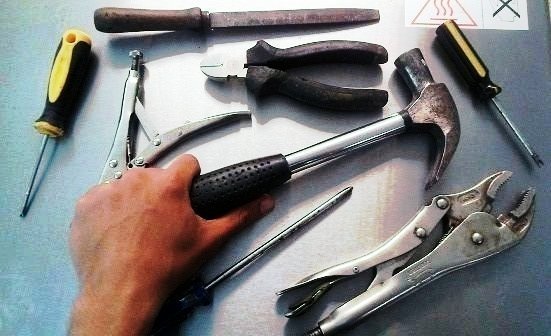
In today's post dedicated to curious people and repair professionals, I'll show you how to replace a coffee maker's hose.
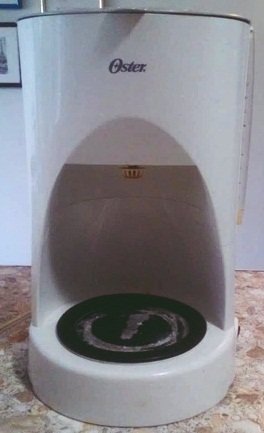
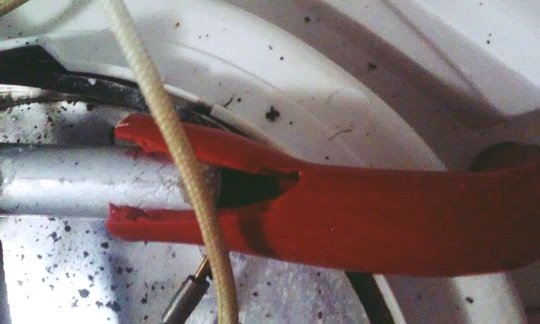
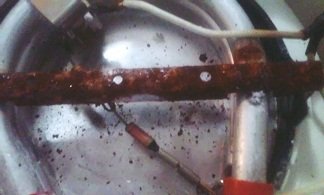
A customer brought me a coffeemaker to evaluate why the water spilled underneath the product. Immediately I was able to analyze 2 possible failures:
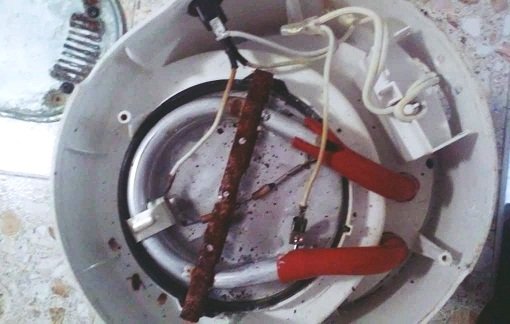
1)The hoses are either broken or detached from their base.
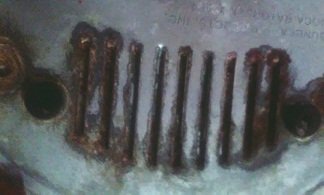
2)The metal of the resistance that conducts water has an orifice.
When I was analyzing what was in the coffee maker, I couldn't stop thinking about a very unpleasant moment when I opened a coffee machine with 2 mutant cockroaches, they made a hole in the hose to feed on the water that passed through there. Even though it dripped, the customers made the same coffee in that coffee maker, that is, they drank coffee with a cockroach-flavored touch.
Let's forget the previous anecdote and talk about these hoses.

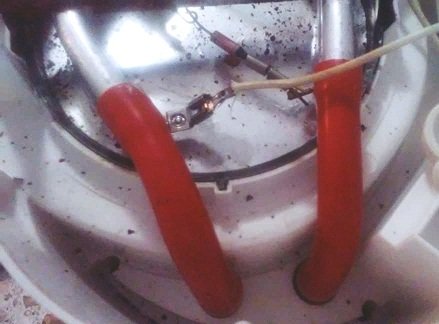
The coffee machine hoses are the ones that lead the water to the resistance and when the water evaporates it leads it towards the exit of the product.
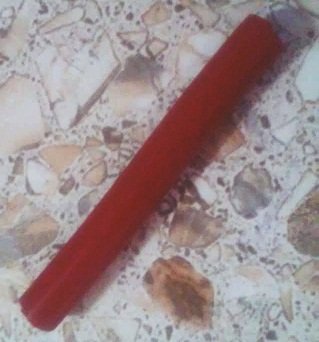
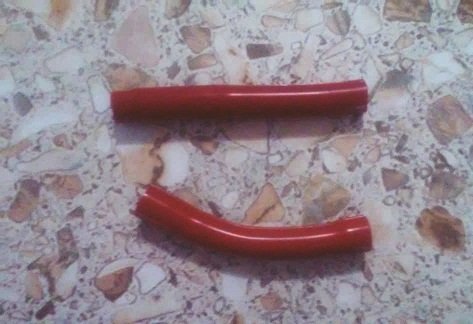
The hoses of coffee maker:
Hoses are fully flexible rubbers and some have a longer life than others depending on the material being manufactured.When we put water in the coffee maker tank and it is absorbed by an orifice, at that moment the liquid is passing through the hose to reach the heat resistance and when it evaporates the water comes out through the second hose to fall into the tank where the coffee is to brew.
The hose that connects the water tank with the residence has a special check valve, this allows water not to return to the tank when it evaporates in the resistance.

Now let's get down to the repair process.

- When you notice any problem with your coffee maker's water spills on the bottom, consult a technician, because these leaks cause internal oxidation and can lead to other breakdowns in the product.
- The best way to use your brewer is to first place the water in the tank and then turn it on, this will prevent steam blows on the resistor, so the hoses don't come off.
- It is important to keep the areas of the coffeemaker clean to prevent unwanted insects from entering the product.

Congratulations! This post has been upvoted from the communal account, @minnowsupport, by jose27117 from the Minnow Support Project. It's a witness project run by aggroed, ausbitbank, teamsteem, someguy123, neoxian, followbtcnews, and netuoso. The goal is to help Steemit grow by supporting Minnows. Please find us at the Peace, Abundance, and Liberty Network (PALnet) Discord Channel. It's a completely public and open space to all members of the Steemit community who voluntarily choose to be there.
If you would like to delegate to the Minnow Support Project you can do so by clicking on the following links: 50SP, 100SP, 250SP, 500SP, 1000SP, 5000SP.
Be sure to leave at least 50SP undelegated on your account.