Installing kali linux in virtualbox -Windows 7 Tutorial
In this guide I'm going to show you how to install kali linux in virtual box in windows 7 the same steps apply to other operating systems except the installlation part since windows 7 uses graphical setups.
Step 1 - Download and install VirtualBox
Search Virtualbox go to their website and click where it says download
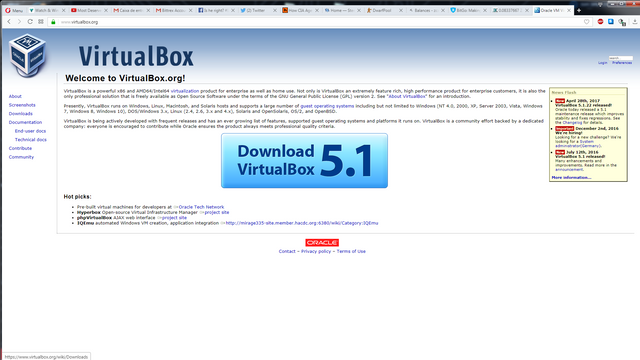
Choose Windows host if you use windows and you can download extensions pack and you will see why in a bit.
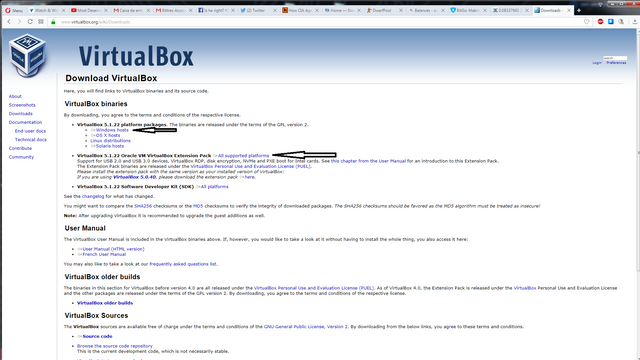
When the download has finished you can run the setup, just click next until the end you dont need to change anything
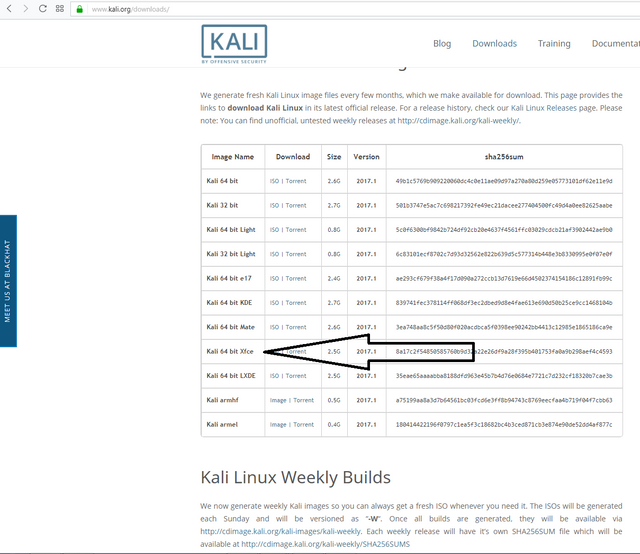
While it is installing head over to kali's main website or whatever OS you want to use download their .Iso file for the corresponding operating system you desire, I will use Kali Linux Xfce 64 bits since it has a lighter desktop environment and it is what i use on my terrible 4~5 year old laptop and it runs smoothly :)
Once Virtualbox has finished installing and you have the .iso that you downloaded its time to create a new machine.
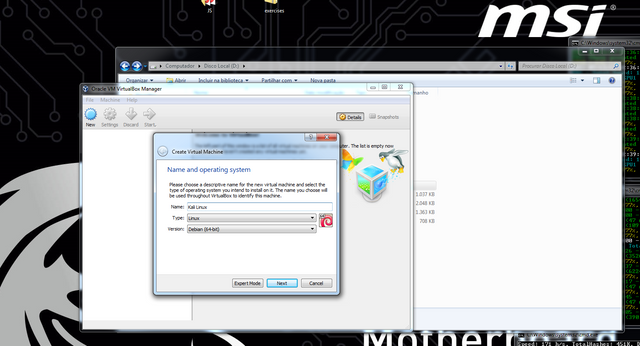
So open Virtualbox click "new" choose the name you want it doesnt matter the "type" is linux and the "version" is debian 64 bits. This is for kali linux it will change depending on the OS you choose.
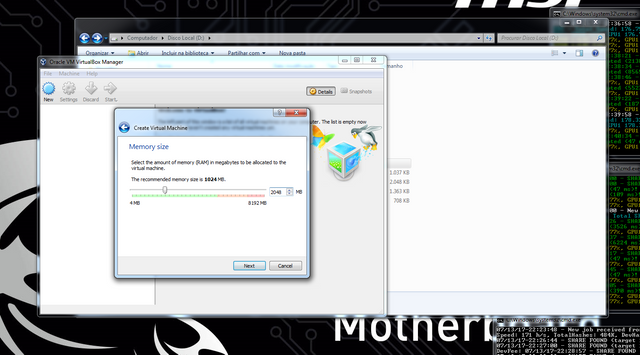
For the ram the minimum amount is 1 gb but im going to use 2 since its the minimum reccomended.
Next choose "Create a virtual hard disk now" (You could choose "use an existing virtual hard disk file" but that wouldn't be installing kali linux since it would already be installed and would boot right away).
And for the "Hard disk file type" choose Virtualbox disk image (no image for this one since it should be default setting).
For the next part you can choose wich one you prefer "Fixed sixe" wont change "Dinamically allocated" will so its up to you and how much space you have available (Same as before no image since its default option).
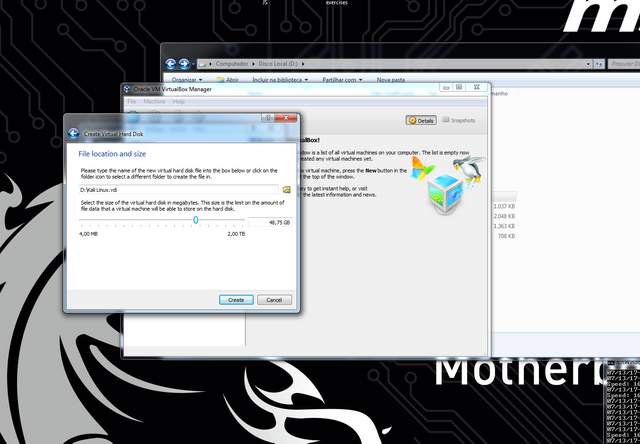
For the "file location size" if you chose dynamic just adjust the slider to the max space you want it to be able to occupy
And there you have it, that's all you need to start installing kali, but before we start lets go to settings and check out what we have there.
I'm not going to mess much with them since there is no need for now (you can allocate more cpu cores or ram or video memory but just look around settings and you will find all that and tweak them to your liking and remember to leave some system resources for your main OS).
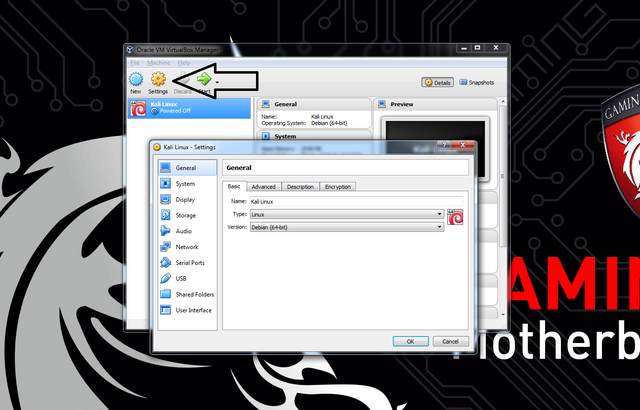
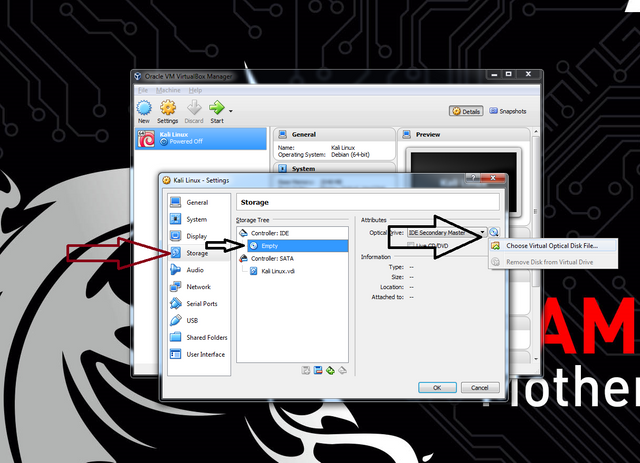
However your main priority here is to tell the virtual machine where your .iso is located and by that you go to "Storage" choose the small disk that says empty, and on its attributes click on the small disk again and choose your .iso image.
If you want to enable usb 2.0 or 3.0 on the virtual machine you are going to need virtualbox extension pack that's one of the reasons you might need it.
And now you can start your machine
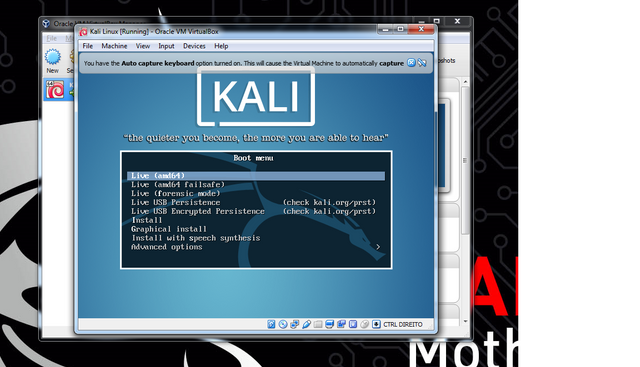
So when you reach this screen click on install you can use graphical install if you prefer... ( When you click your virtual machine it will capture your keyboard and mouse to be able to use them on your main os again just hit right ctrl)
You will have to choose your language and your country and also your keyboard layout ( no need for images on this one )
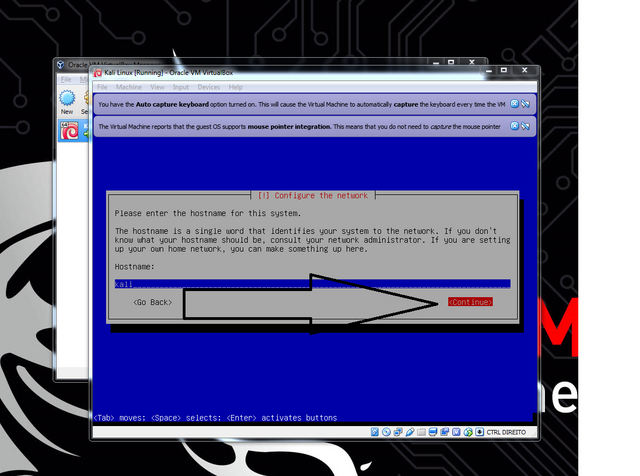
And then the it will proceed to configure some stuff and try to connect to the internet ( if you didnt mess with network settings everything should be fine ) and after that it will ask you for a hostname (this is the name that will apear for the machine on the network, you can choose whatever you want)
IMPORTANT NOTE: When you see the option continue under one of the installation screens hit tab to change to continue and space to accept DO NOT USE ENTER because on certain parts it can affect your install.
For the domain name leave as it is blank...
And then you will be asked for the root password, if your kali linux gets damaged only the root account can properly put it up and running again, you have workarounds, but its always safe to have a good password on this account since its the "Master" account.
After that choose your time zone
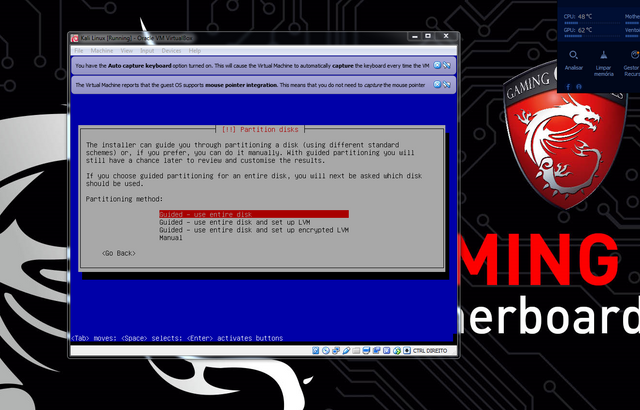
Now we have to partition the disks to install kali you can do it guided or manually (if you are a begginer dont use manual) you can encrypt it too altough i never tried it on a virtualbox and the disk where kali is being installed is already encrypted so no need for me maybe ill make a guide on installing kali on a real computer and i'll cover a bit more about encryption.
So just select guided...
There is only 1 disk so select it, and if you're a new user you should definetely go with the option all files in one partition. (default options no image)
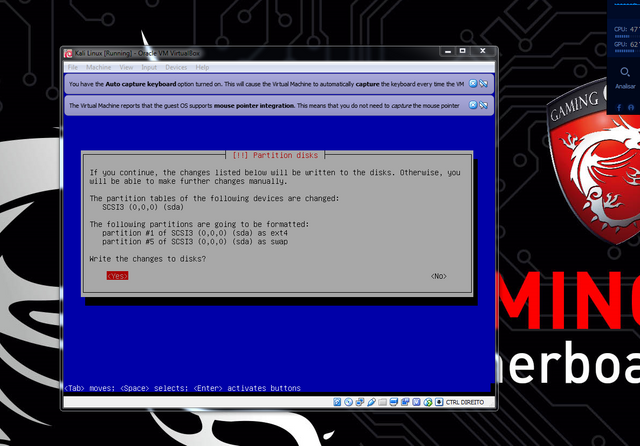
And finish partitioning the disk and write the changes.
this part takes a bit so grab a cup of coffee or whatever you like and if you are a new linux user go check out some youtube videos about hot to keep your kali updated or how to use text editors since you will have to use the terminal a lot more than the graphical interface.( If you are a new linux user i definetely do not encourage you to use kali since it has so many tools to use that you will be completely lost and most of those tools require some computer skills and knowledges that new users probably wont have).
The next thing the setup will ask you for is a network mirror. If you dont know what that is just select yes to continue withouth one because you wont need it ( default option .. i think )
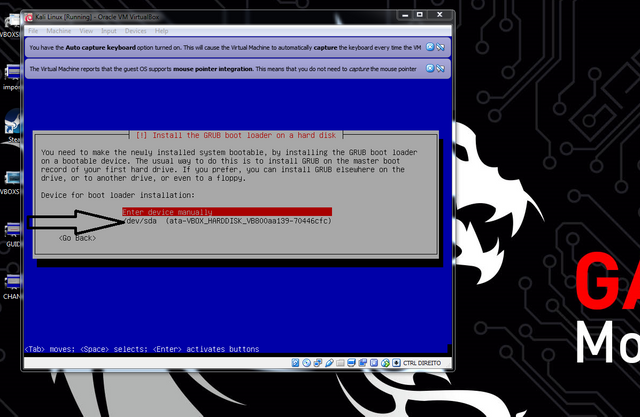
After that it will ask you if you want to install grub to master boot record select yes and choose your device, there sould be only 1 that says "/dev/sda /etc...etc..."
And if you reached here you made it!!! you sucessfully installed kali linux on a virtual machine now i will show you how to update it and set you free to explore.
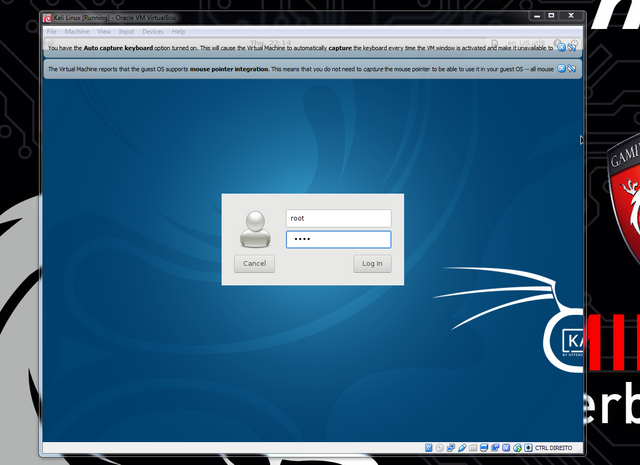
So your virtual machine will reboot and you will be presented the login screen the username is root the password is the one you created on the install
When you login it will say welcome to the first start of the panel and just choose "use default config"
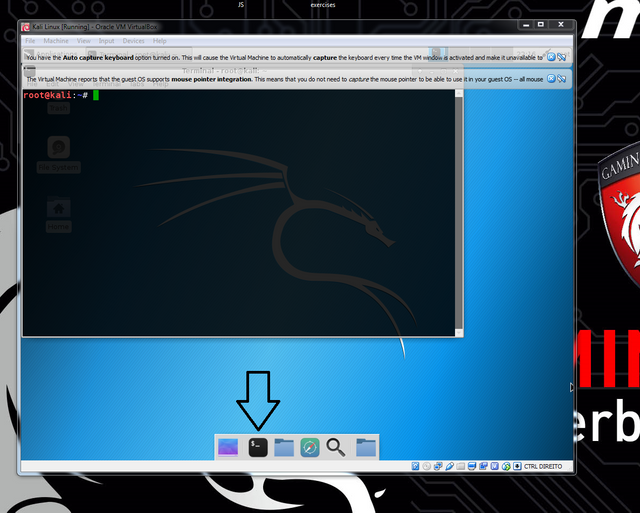
now just open the teminal you can search for it but mine is on the panel
And type in the terminal
sudo vi /etc/apt/sources.list
Sudo gives administrator privileges
vi is my favorite text editor you can use nano or leafpad
/etc/apt/sources.list is the location of the sources.list
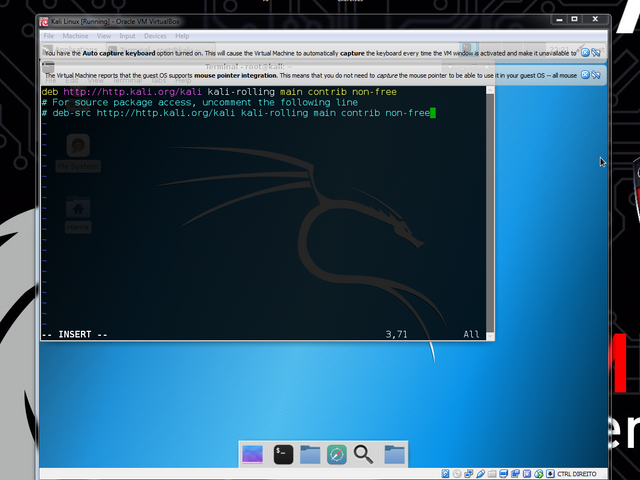
Delete everything inside if using vi just press the letter d to delete full lines and paste what you found on the kali linux website my sources.list look like this
To save the file on vi press escape then type :x to close the editor and overwrite original file.
And now its time to update your new system for that just type on terminal
Sudo apt-get update
and after that finishes
Sudo apt-get upgrade or sudo apt-get dist-upgrade
The difference is that dist-upgrade upgrades everything even your distribution no need to use it always but its good from time to time.
It will say that the update will occupy some space on disk just type Y and enter and the system is updating
You should never turn off your system while its updating if you do its always best to type in terminal or recovery mode
sudo dpkg --configure -a
it will configure everything that wasn't configured due to loss of power.
Thanks for watching dont forget to support
