Instalando Raspbian en mi Raspberry PI 3 - Installing Raspbian in my Raspberry PI 3
Como ya vimos en otro post, compré una Raspberry y también estuve montando este pequeño ordenador con su caja, sus disipadores y su ventilador. Pues hoy os voy a enseñar como instalé el sistema operativo Raspbian.
As we saw in another post, I bought a Raspberry and also I was mounting this small computer with its box, its dissipators and its fan. Well today I'm going to teach you how I installed the Raspbian operating system.
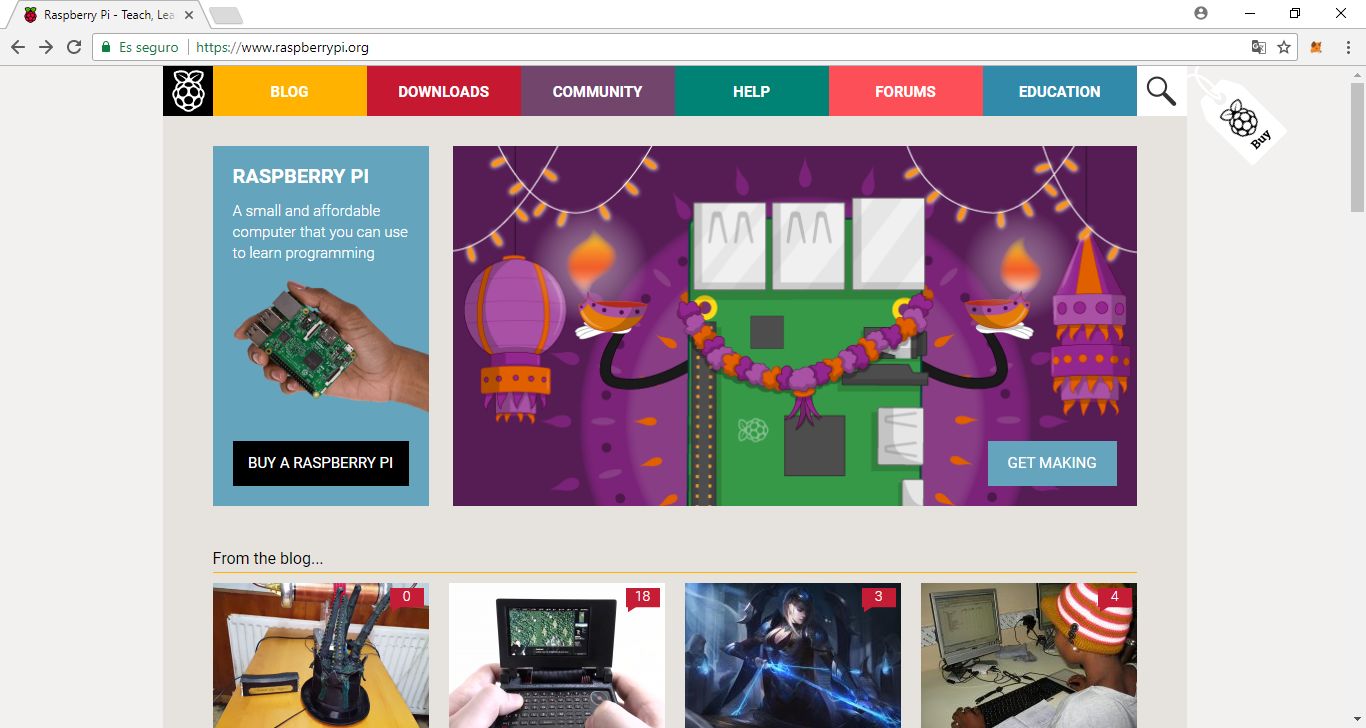
Pues empezamos entrando en la página de Raspberry PI oficial https://www.raspberrypi.org/
So we started by going to the official Raspberry PI page https://www.raspberrypi.org/
Ahora pulsamos DOWNLOADS y vamos a la web https://www.raspberrypi.org/downloads/
Now click on DOWNLOADS and go to the web https://www.raspberrypi.org/downloads/
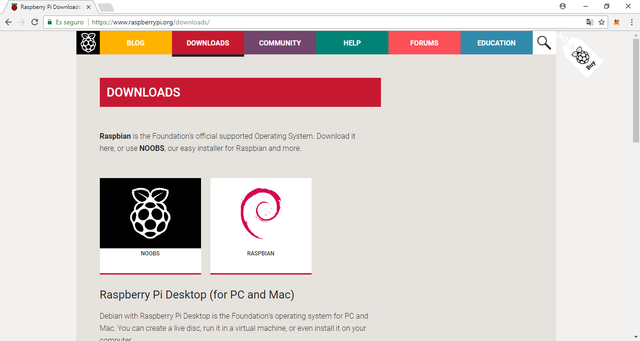
Vamos a instalar Raspbian, por lo que hacemos click en RASPBIAN y nos lleva a la web https://www.raspberrypi.org/downloads/raspbian/
We will install Raspbian, so we click on RASPBIAN and it takes us to the web https://www.raspberrypi.org/downloads/raspbian/
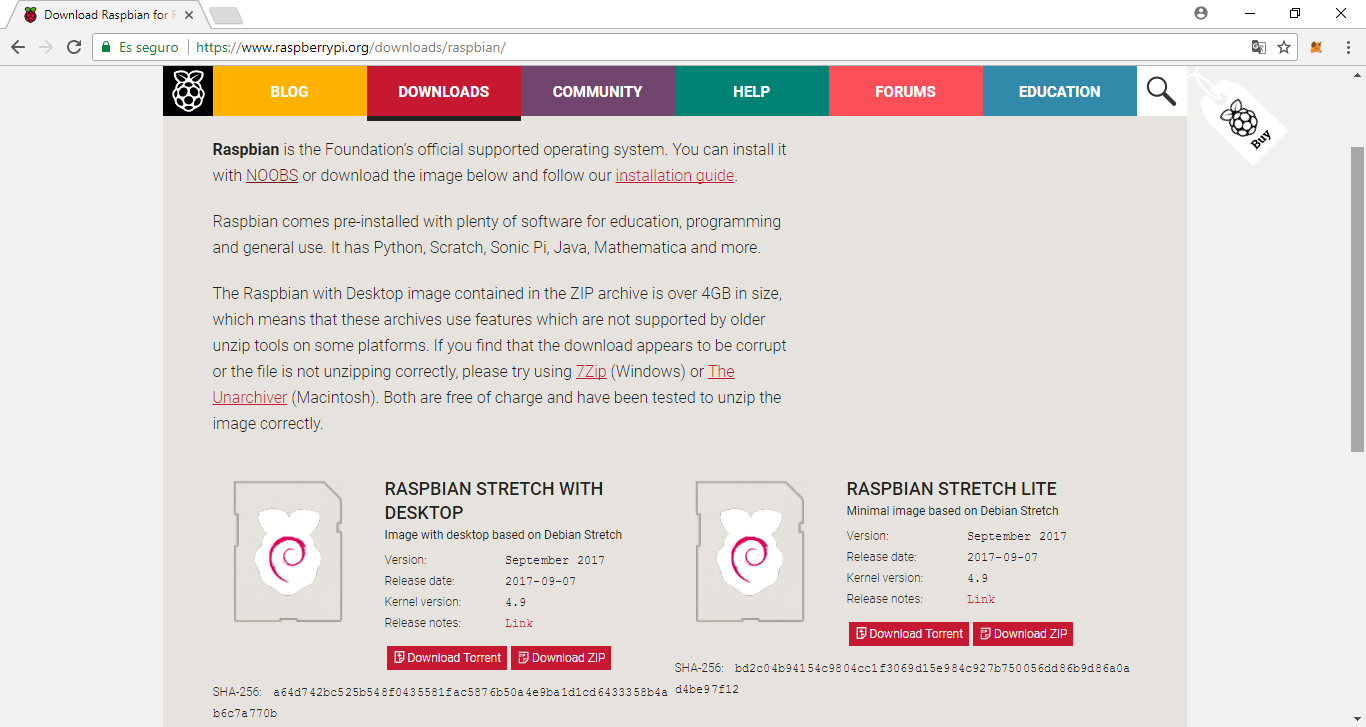
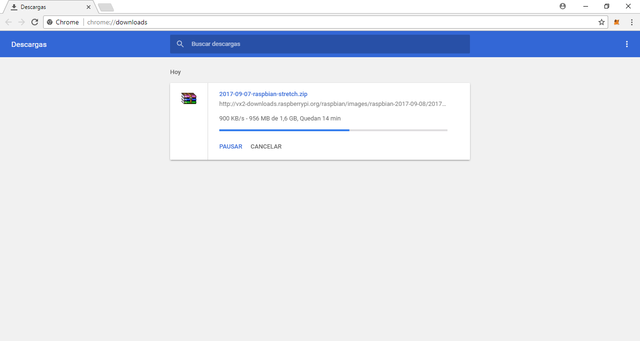
Pulsamos "Download ZIP" de la versión RASPBIAN STRETCH WITH DESKTOP y se descarga el fichero que contiene la imagen en nuestro ordenador. Tened paciencia porque va lenta la descarga aunque tengáis una conexión rápida.
Click "Download ZIP" from the RASPBIAN STRETCH WITH DESKTOP version and download the file containing the image to our computer. Be patient because the download is slow even if you have a fast connection.
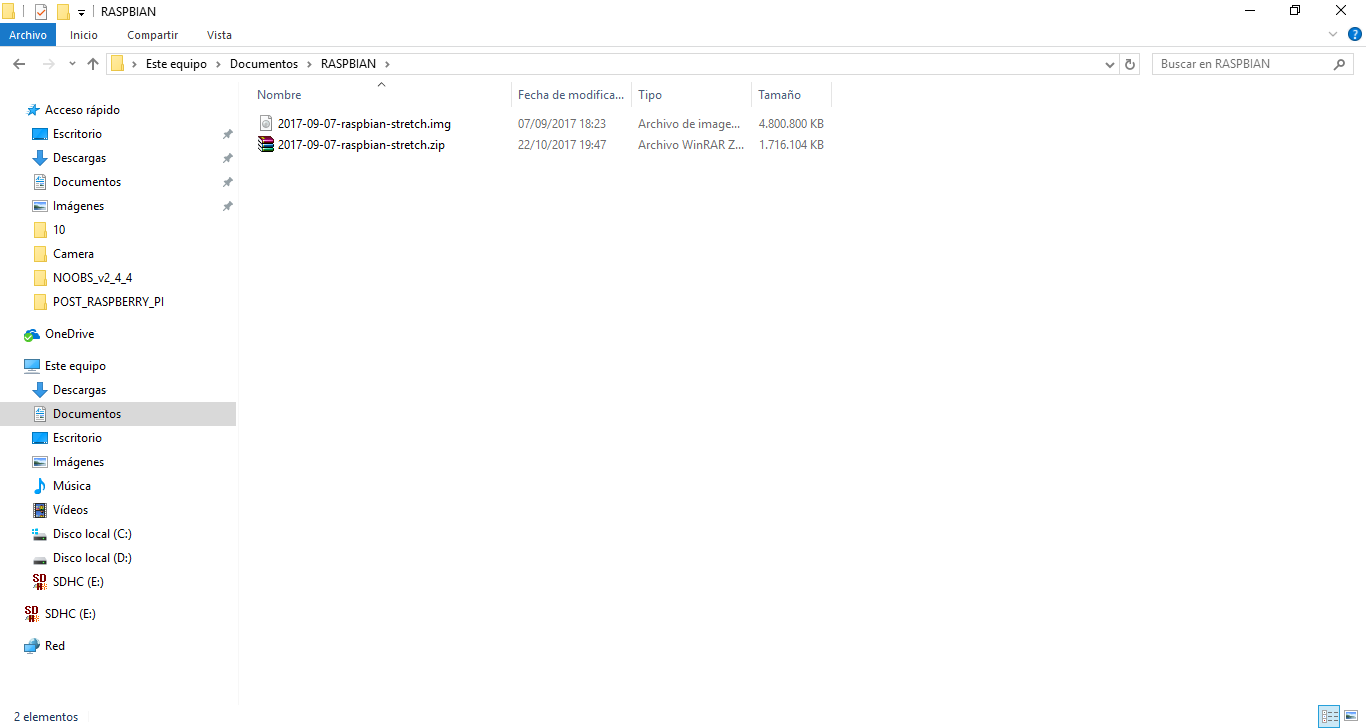
Una vez descargado el fichero, lo descomprimimos para tener la imagen que contiene a Raspbian.
Once downloaded the file, we unzip it to have the image containing Raspbian.
Como sabéis, Raspberry funciona con una tarjeta SD de memoria para el disco duro, así que tenemos que tener una tarjeta similar a la de la foto.
As you know, Raspberry works with an SD memory card for the hard drive, so we have to have a card similar to the one in the photo.

Ahora vamos a hacer uso de dos programas, uno que nos formatea la tarjeta (no es recomendable usar el formateo de Windows o Linux) y otro que nos ponga la imagen ISO en la tarjeta en su correcto formato descomprimida.
Now we are going to make use of two programs, one that formats us the card (it is not advisable to use the formatting of Windows or Linux) and another one that puts the ISO image to us in the card in its correct format decompressed.
Para el formateo vamos a usar el programa de https://www.sdcard.org/downloads/formatter_4/ así que nos descargamos la versión compatible con nuestro ordenador y la instalamos.
For formatting we will use the program https://www.sdcard.org/downloads/formatter_4/ so we downloaded the version compatible with our computer and installed it.
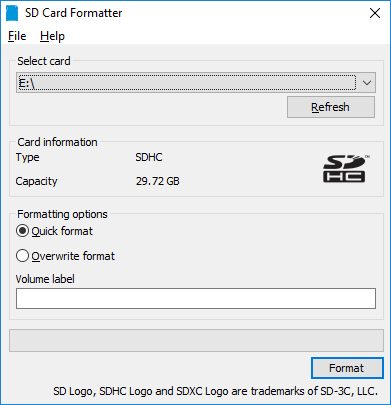
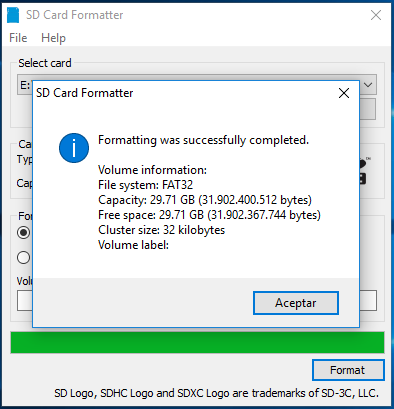
Después formateamos nuestra tarjeta.
Then we format our memory card.
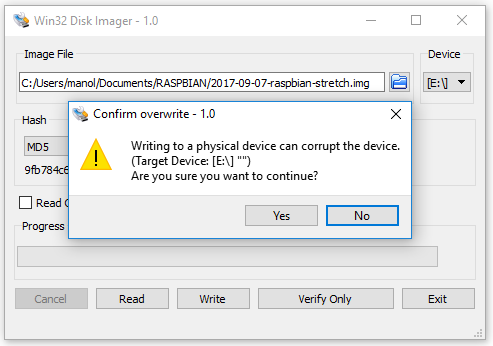
Para descomprimir la imagen ISO en la tarjeta ya formateada yo he usado este programa porque tengo Windows https://sourceforge.net/projects/win32diskimager/ Si no tenéis Windows podéis usar algún programa similar para Linux.
To unzip the ISO image on the already formatted card I have used this program because I have Windows https://sourceforge.net/projects/win32diskimager/ If you do not have Windows you can use some similar program for Linux.
Seleccionamos la imagen...
Select the image... and press Yes to move the image.
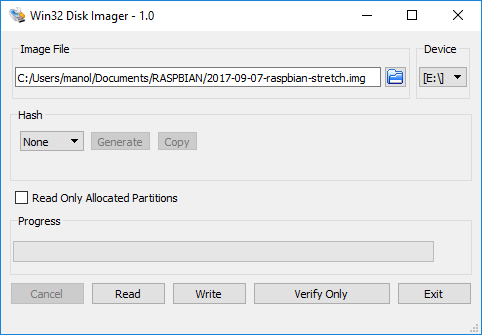
y pulsamos Yes para pasar la imagen.
and press Yes to move the image.
Una vez hecho esto, abrimos la tarjeta en el ordenador y creamos un fichero vacío que se llame ssh (sin extensión). Esto habilitará el ssh la primera vez para que podamos acceder a la Raspberry de forma remota y no tengamos que ponerle un teclado y un ratón. Para acceder a ella por ssh usaremos Putty, que lo puedes descargar aquí http://www.putty.org/
Once this is done, open the card on the computer and create an empty file that is named ssh (no extension). This will enable ssh the first time so that we can access the Raspberry remotely and not have to put a keyboard and a mouse. To access it by ssh we will use Putty, which you can download here http://www.putty.org/
Ahora insertamos la tarjeta en la Raspberry (solo entra en una postura) y encendemos la Raspberry. Una vez encendida y conectada por cable de red (al ser la primera vez no tenemos configurada la wifi) tenemos que mirar la IP en nuestro router para acceder con Putty. En mi caso la IP es 192.168.1.59.
Now insert the card into the Raspberry (just enter a posture) and turn on the Raspberry. Once on and connected by network cable (the first time we do not have the Wi-Fi configured) we have to look at the IP on our router to access with Putty. In my case the IP is 192.168.1.59.
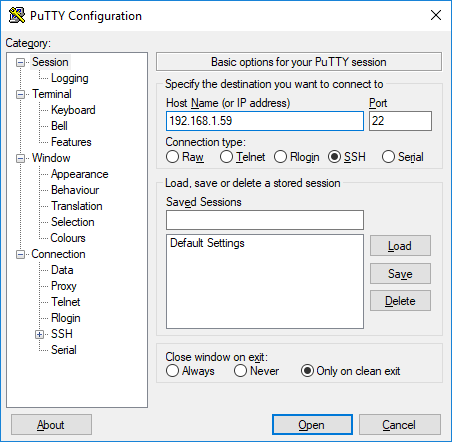
Pulsamos Open y...
Click at Open button and...
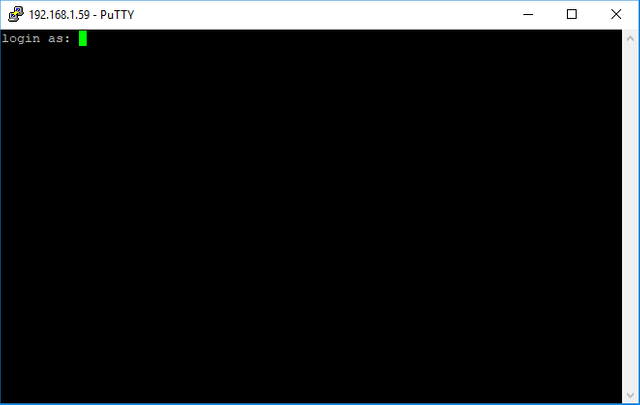
El usuario es pi y la contraseña es raspberry, así que lo escribimos y nos encontramos ya dentro de nuestra máquina.
The user is pi and the password is raspberry, so we wrote it and we are already inside our machine.
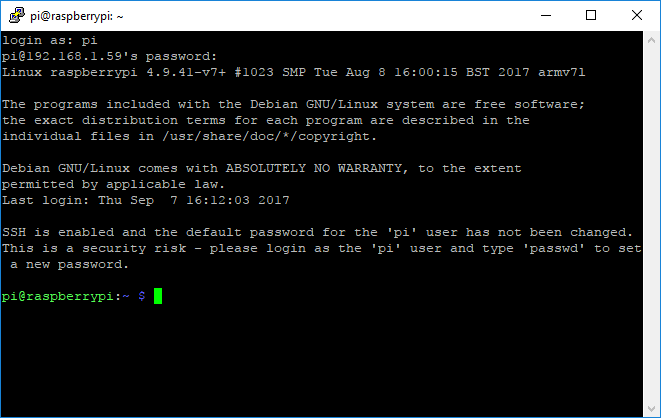
Ya podemos empezar a trabajar con nuestra Raspberry.
We can start working with our Raspberry.
Post relacionados - Post related:
- Ayer fui de compras - I went shopping yesterday
- Montando mi Raspberry PI 3 - Setting up my Raspberry Pi 3
yo uso Etcher para flashear las imágenes en las sd o usb en la raspberry, también open-source, aunque no tengo escritorios en raspbian ya que no lo suelo conectar a un monitor
muy buen tutorial, por cierto.
No conocía Etcher, muchas gracias por el aporte.
Yo me conecto por ssh, pero haré un nuevo tutorial para poder conectar vía visual, ya que a mucha gente no le gusta ir por consola.
Muchas gracias por tu comentario.
estaré esperando ese tutorial, gracias a ti por compartir esta información.
:-) gracias a ti por leerme
Great job @malonmar..😊😊😊😊
post your very interesting, I like your post, because it can add insight for me and all the people in stemeet, I love to read and see new things in my life, hopefully others also like your post, I hope posts next can provide thing better yet, so that I know many things in my life, thank you :)
Thanks to you!
Well, at least these vague robot posts actually make others smile.
was happy when they announce that raspberry pi3 will be 64 bit, i knew i was going to have fun with it and with increase specs from 2, it was going to have some good performance, i see we have another geek in the house . love the way you have brought out your article to help guys who have never used a raspbian, big up man. look out guys there is a geek in the house
Thank you very much my friend