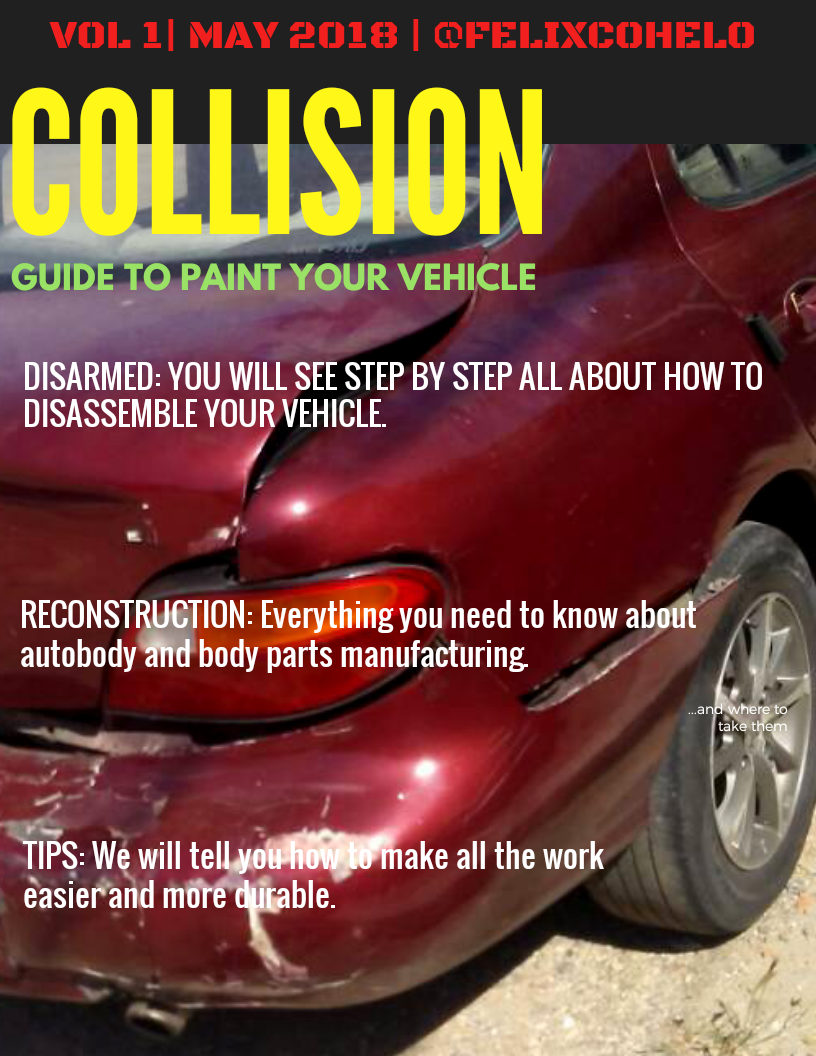
COLLISION..!! "FIRST MAGAZINE AUTOMOTIVE IN STEEMIT".
After several days designing for all users of this platform, I am pleased to present to all of you the first "Virtual Automotive Magazine" called "COLISIÓN", created to provide solutions and new ideas to all those people want to repair dents, scratches, corrosion wear, or any other inconvenience related to the area of autobody and paint of your vehicle.
I hope that everything you can appreciate below will be very useful for many..!!
I want to provide solutions from my experience in days gone by, when I suffered an accident in my car which suffered damage to the body, damage that I have gradually been repairing with the help of my skills and knowledge obtained during my performance in old jobs, in which I could learn from people who were always willing to teach me and now I am the one who wants to share my knowledge with all of you.
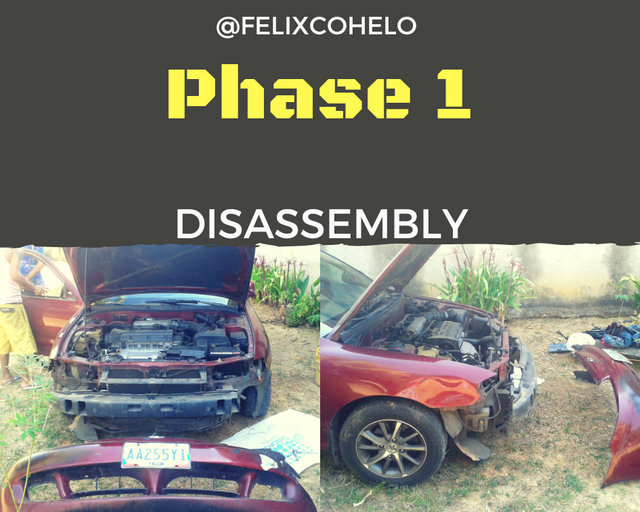
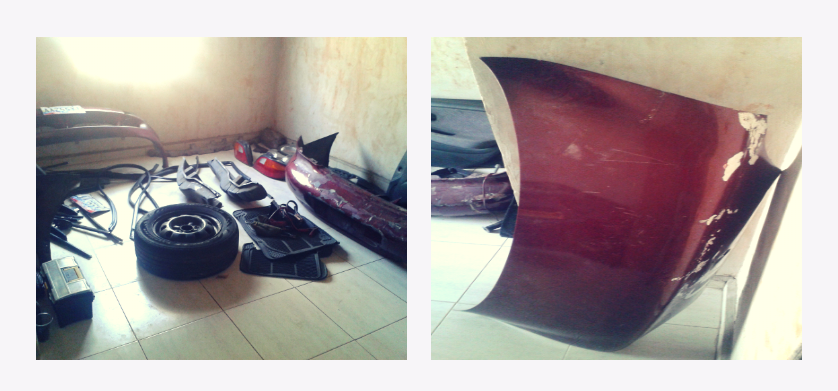
"We must always start by separating the parts of the body that suffered damage from the impact. On this occasion, both the front and rear bumper (Defense) are the two parts of the vehicle that suffered the most damage".
.png)
To disassemble both bumpers, you must have at hand the necessary and adequate tools so that you can remove the nuts and screws that hold them to the supports. Usually those screws always have easy access, but if you can not reach them you can try raising the floor car at a distance where you can see where each screw is, and the most important thing is that your hands and arms allow you to maneuver with better quality. "Remember that the bumpers are fastened by the bottom of the car at the level of the chassis or compact".
"If you are going to suspend the car in the air you must do it with the help of a hydraulic lift (Cat), and place safety towers in the 4 points of support of the vehicle".
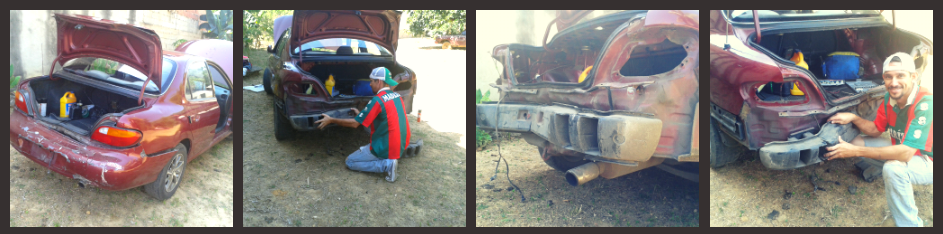
Once you have separated both bumpers, it will be easier to see where the damage is and you can start to repair them more comfortably.
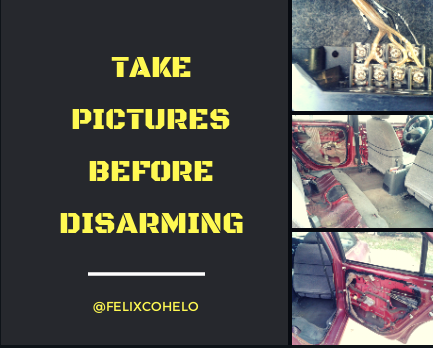
This is one of the most important things we must do "always" before dismantling any area of the car; since then, when assembling everything again, the images will help you to decipher the position and the place where each piece should go.
"Always remember to apply this action just before advancing each step, however simple it may seem, thus avoiding future complications".
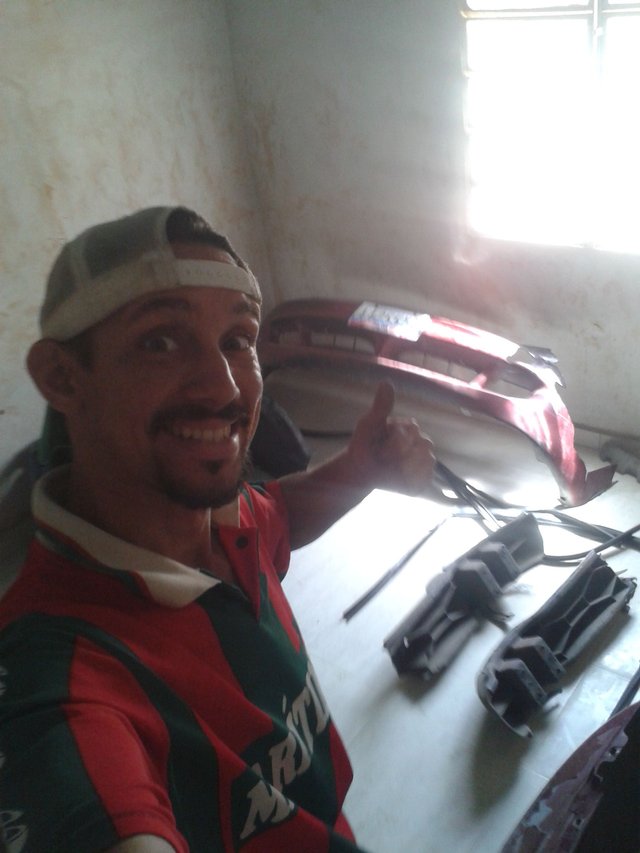
From my experience in this type of work, I can recommend that it is not only about taking pictures of the pieces and areas that we are going to disarm, but to keep each one of those images in a secure file and backing them in as many places as possible; since if we only have the images on the cell phone, we run the risk of losing all the information if something happened with our phones. For this reason we must anticipate any incident so as not to face a new accident.
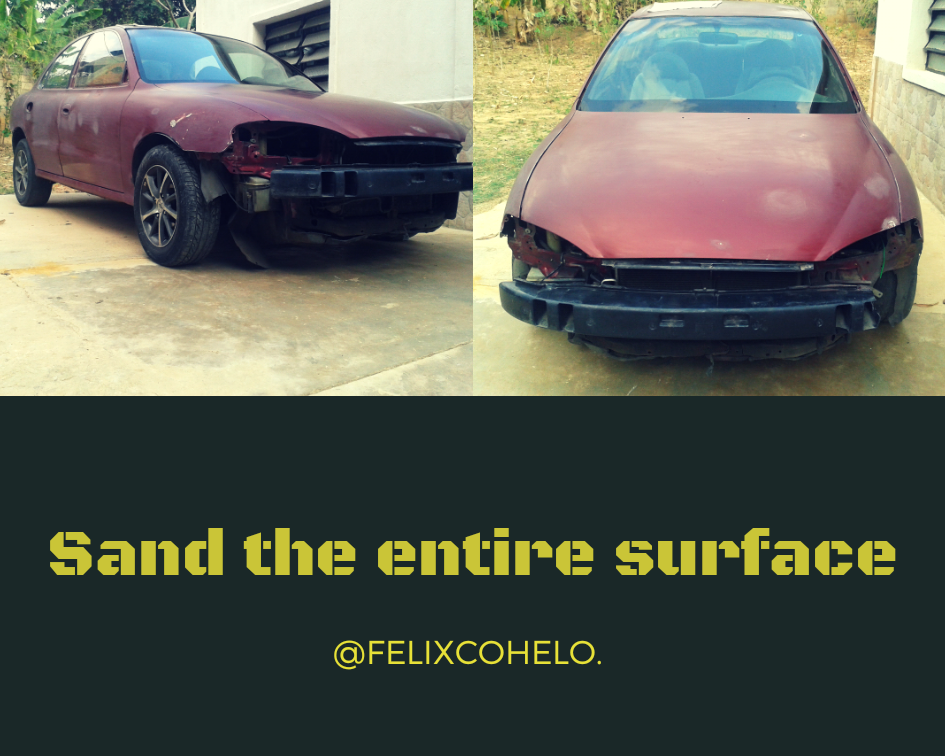
The next step we must take, is to take a sheet of sandpaper preferably of the brand "3M", it must be of grain # 180; then with the help of a sponge and water we must wet the entire surface that we are going to sand. In this way our sanding will be easier and more uniform, in addition to that we will not have dust that could cause affections to our airways.
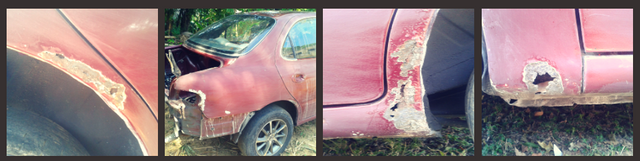
"Only then can you see more clearly the areas of the body that need to be repaired or replaced".
Once the entire surface of the vehicle has been completely sanded, you are ready to move on to the second phase where you will be able to cover all the imperfections with materials and tools that will gradually give life to all those areas that were damaged.
In the next issue of the magazine "COLISIÓN", we will take you all on how to apply the layers of material to cover the affected parts; others will see new techniques that you can put into practice...
Greetings and until next time..!!
FOLLOW ME IN MY SOCIAL NETWORKS LIKE:
@Felixcohelo
Felix molina
[email protected]

- Original Title of: @felixcohelo
- Original Text of: @felixcohelo
- Original Photographs of: @felixcohelo
- Cameraman: @felixcohelo
- Special Acknowledgments: @neltito, @sirtorito, @michelcamacaro, @desireemolina14, @natacha426, @fabiolapestana
- Original Initiative of: @felixcohelo
- Banners made by: @felixcohelo
NOTE: This post is an English translation of my original post in Spanish.
Your vote makes me grow and makes me even more professional in what I do every day...
"The success of knowing ... is in the desire to learn" @Felixcohelo

Wow you are!amazing... i am proud of you.
a78dcf18cb4b25517e7987689a59aab4.0.jpg
Very Good my Friends. Congratulations....
Thanks to you brother, I hope that this guide is very useful for many, and that it is the first ...
Congratulations! This post has been upvoted from the communal account, @minnowsupport, by felixcohelo from the Minnow Support Project. It's a witness project run by aggroed, ausbitbank, teamsteem, theprophet0, someguy123, neoxian, followbtcnews, and netuoso. The goal is to help Steemit grow by supporting Minnows. Please find us at the Peace, Abundance, and Liberty Network (PALnet) Discord Channel. It's a completely public and open space to all members of the Steemit community who voluntarily choose to be there.
If you would like to delegate to the Minnow Support Project you can do so by clicking on the following links: 50SP, 100SP, 250SP, 500SP, 1000SP, 5000SP.
Be sure to leave at least 50SP undelegated on your account.