How to draw a 3D art(scissor)
Hello guys. Today in my blog, I am going to show you how to draw a 3D image. But before starting, I need to tell you that I am really a novice. I have started to draw 1 month ago. So I will try to teach you as much as I know.
And to be honest anyone can draw, irrespective of the age. You just need to train your hands.

This is the final image
Now lets start with the procedures.
materials required
- Pencil
- sharpner
- rubber
- artpaper
- colour crayons (pointed)
step 1

First we draw the outline with 2B pencils. Make it neat.
step 2

Now colour the outline of the handle using blue crayon. Ensure that the pencil is fully pointed. Orelse the outline will get thicker.
step 3
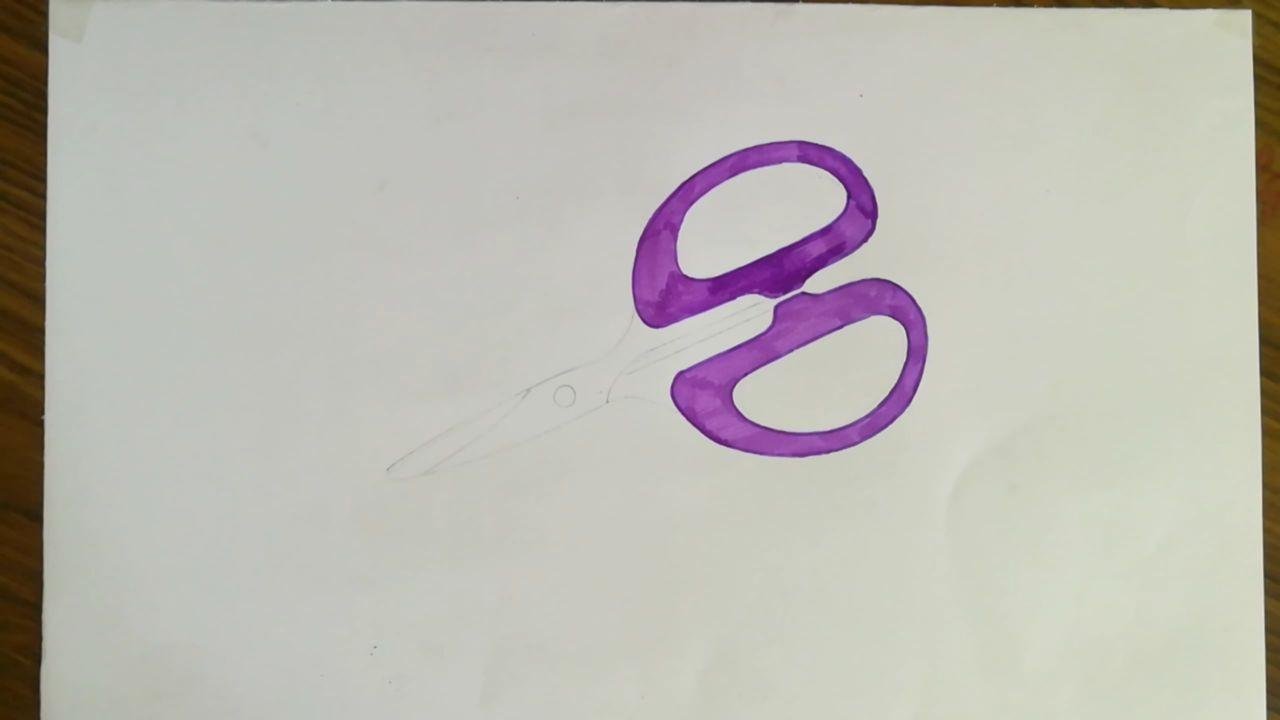
Complete colouring the whole handle area. At the finishing, try to smear the colour with fingers. It will make it look more perfectly blended.
step 4

Draw the outline of the cutter, it should be dark. It is easy I think. Just concentrate the colour. Make it darker.
step 5

Shade the shadow with a dark HB pencil. Concentrate on the handle part. The shadow of the handle will attract more. Also shade the cutter part fully like in the picture. Pencil should be 3B and 2B.
step 6
Make a final touch. It will depend on you. Here I just made some very fine adjustments like making the shadow little light and soft. Do it as you please.
P.S. I have already uploaded it on my facebook account. But I thought it would be good to share this with you all.