Rust Removal Tutorial 1:2, Intro to Electrolysis Method
What is Electrolytic Rust Removal?
So, you’re wondering what exactly is electrolytic rust removal? As the name suggests, electrolytic rust removal is a method where you remove rusts from steel surfaces without actually scratching the surface of the affected part, you simply put the affected steel part into a solution, then electrify it. Electrolytic rust removal doesn’t actually get rid of rust. Instead, the procedure uses a chemical reaction that enables rust to return to its original state, which is its metal state. This process can be used when you are dealing with small metal parts because there is a need for the metal to be sunken in a liquid solution. But first, let’s see what we know about rusts.
What exactly is a “Rust”?
Rust is a by-product of oxidation. Oxidation is a process that happens when atoms come in direct contact with a metal surface. There is an exchange of the particles between the atoms and the chemical composition of the metal which leads to the development of rust. This reaction produces a reddish rough patch on the metal surface. This patch is the ferric oxide. Beneath the ferric oxide, a dark color is produced. This is another type of rust that again sticks with the metal. With the help of the electrolytic rust removal process, this can be reverted back to its original metal state because its composition is very close to the composition of the unaffected surfaces of the metal.
Now this kind of rust is another story, in our industry this is commonly known as “black rust”, this rust permeates through any metallic object causing metallic disintegration and causes small “crater” on the spot where this rust is seated, here in my company, this is the kind of rusts we mold engineers hate the most, first is because it’s one hell of a job to remove this kind of rust, it sticks to the metallic surface so stubbornly you’ll be polishing your arms off if you try to remove this by manual means. It also causes some slight deviation in metallic parts measurement, causing larger problems in the longer run, so we treat this kind of rust with immediate concern.
Rust Removal Methods
There many ways you can remove rusts, and most of them may cause slight scratches on the metallic surface of the subject, but some metallic surfaces don’t need precise measurement so we use other kinds of methods to remove rusts. Some of them, on the other hand, don’t result in scratches of any kind, but they’re harmful to Mother Nature since they’re all chemical based rust removal method. Let's talk about these methods first before we go to the main star of the show, shall we?
Sand Paper

The ever-present in every household (well at least we never ran out of sandpaper in the house), cheap, effective and easy to store. Nothing much to say about this thing, " where there's rust, scratch you must", lol.
Oilstone
Another item used for rust removal, somewhat just like the sandpaper, minus the paper, and change "sand" into a stone. Nah, actually a long time ago, this thing is called whetstone, from the word "whetting" which basically means sharpening. But nowadays, there are many industrial applications of oilstone and one of them is rust removal.
Hand Grinder
Hand Grinder, ah! The feisty one! This one is a little hard to use because this one's a little stubborn, it's fairly hard to control and the more you squeeze this thing the more it tries to go on a rampage. But nonetheless, this one's a handy tool in removing rusts, with the right bit and a LOT of practice, and no stain or rust could defy you, you're now a rust removal god, lol.
Surface Grinder
The surface grinder or surface grinding machine, this bad ass looking machine looks tougher than the hand grinder, but in reality, it's so much easier to use than it's small brother (the hand grinder). This machine can grind an amazing .001mm (millimeter) off a surface. And it's quite easier to use on flat surfaces of you get the hang of it.
Aerosols
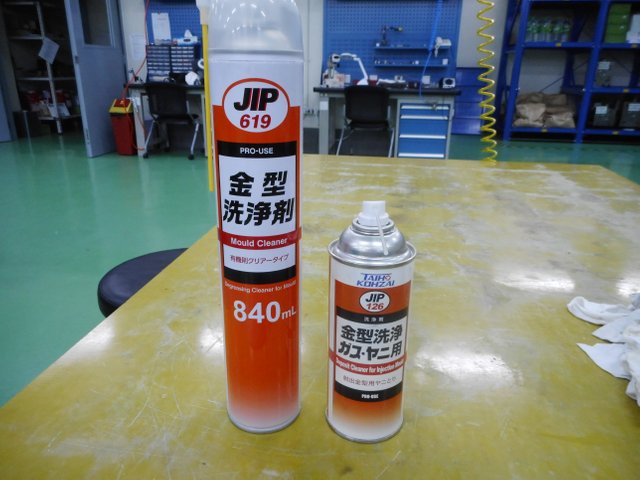
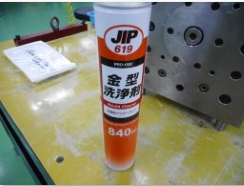
I personally hate this because these chemicals smell so bad you'll cringe, even makes you dizzy if you inhale a large amount of fume, and most of all, I hate these aerosols because they're not nature-friendly. They harm Mother Earth and the ozone layer. There are two types we use here in my work, one is the mold cleaner and the other one is the depo riser (short for mold deposit riser).
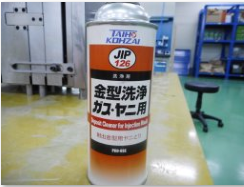
This big one is the degreasing cleaner, a.k.a. "cleaner", this one can remove rust which is not yet latched deeply into the metallic surface, by sparing some into a cloth or rag, until it is damp, then wiping the damp cloth into the affected area, it cleans the affected area, but this cleaner can't really remove deeply seated rusts, this is often used on chromed or electroplated parts, since these parts don't accumulate too much rust for a long time.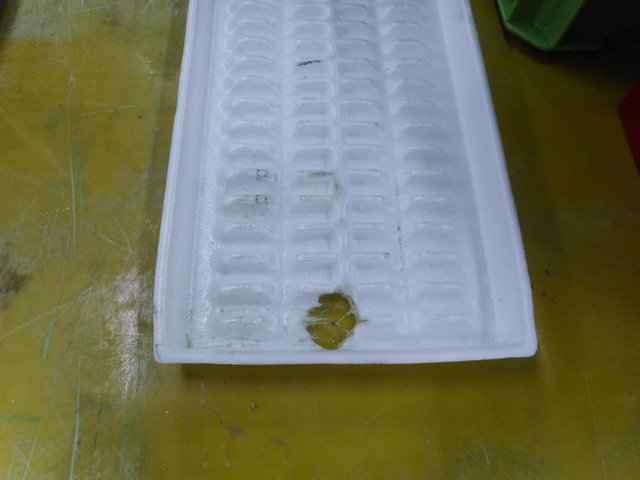
Alright, now that I'm done yapping about what are the other available methods to remove rust, let's proceed with the main event. Drum roll please!
Electrolytic Rust Removal
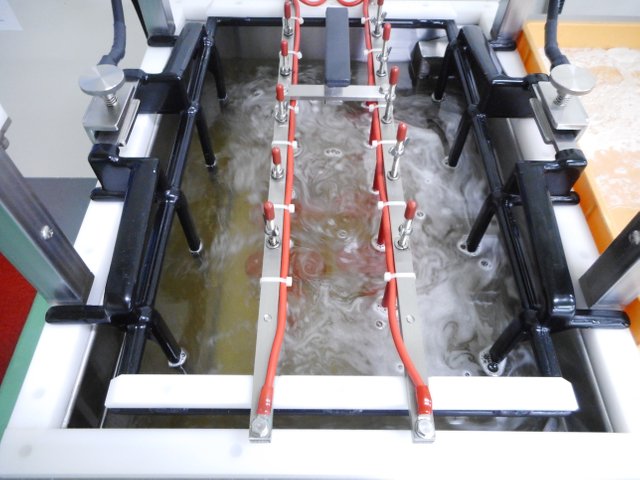
In this article I will be sharing the method we use in my workplace, please take note that all the equipment, tools and materials used in this article are purely for professional use. The reason I'm making this article first before the home use is because I want my dear readers to understand first how this process works, so that's they'll get a hint even if it's just a little before they try doing this in their own home (and burn the house down in the process). I'll make a separate post about how you can do this process at home, so stay tuned and watch out for my next tutorial. So here we go. First, the materials, peripherals, and equipment.
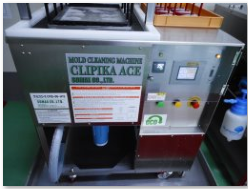
Clipika: Mold Cleaning Machine
So the machine first, but, actually there's really nothing very special about this machine, it's just like a basin that can provide heat and electric current, with matching alarm timer. Other than that this machine has no other special feats whatsoever, so let's move on.Anode
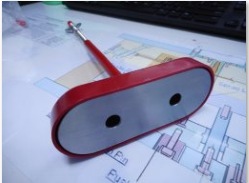
The "sacrificial lamb" a.k.a. Anode. This is one of the important components of electrolytic rust removal method, this is the component that disintegrates during the process. (awww, how sad!) Materials used as anode usually range from stainless steel pipes, stainless steel kitchenware, mild steels, and the list goes on, as long as it's steel and iron and of no use, then make them useful by sacrificing them. In this case, the anode shown is a specialized anode made for the sole purpose of disintegration. (Isn't that neat? Made to be destroyed, what IRONy!! Get it? IRON... Nah nevermind!!!)Chemicals
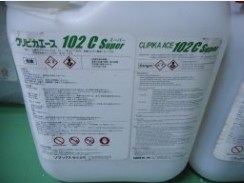
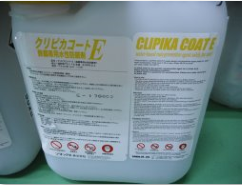
There are two types of chemicals used in this process, one is for rust removing and the other one is for coating.
This is the first one of those two chemicals involved, usual or home-made electrolytic rust removal uses washing soda, also known as sodium carbonate(Na2CO3). But here in our workplace, we use sodium hydroxide, which is fairly corrosive but doesn't we'll get to that painful part.
This one here is the chemical used for coating, this helps avoid early rust development since after electrolysis rust removal process the metal is susceptible to early rust development. This solution is made up of water-based agents with a ph level of 10.9.
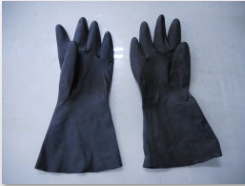
Rubber Gloves
Any rubber gloves that are alkaline resistant would work fine, or any latex gloves since you won't be handling the chemical directly and your hands won't be submerged in the solution long enough.Metals Subject for Cleaning
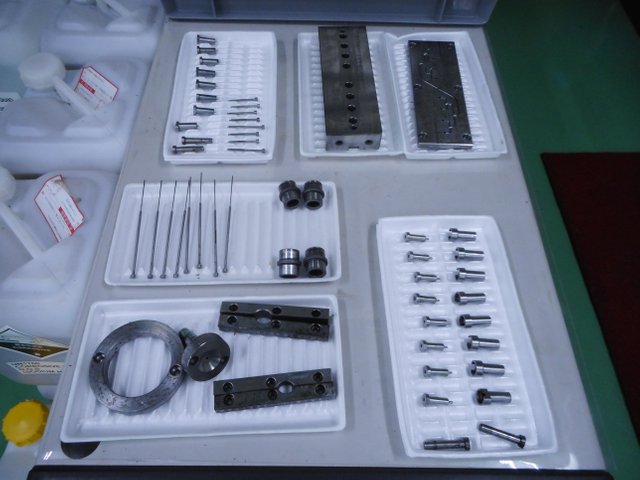
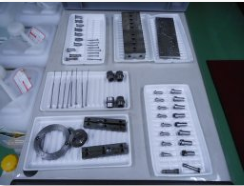
And of course, what would you be cleaning if you don't have these? Our main goal initially was to remove rusts from these metallic surfaces, I took these mold die parts for example because they represent different kinds of metallic subjects in terms of shape size and mass. (click the image to enlarge)
Procedures
• Clean off anything that might lower the effectiveness of the process, like oil, wax, and paint. Wipe it off with a clean cloth.
• Put metal subjects to cleaning inside the tray, we use specialized trays which allow electric current to pass through the metals subject to cleaning. Negative polarity of the metallic subject(black)
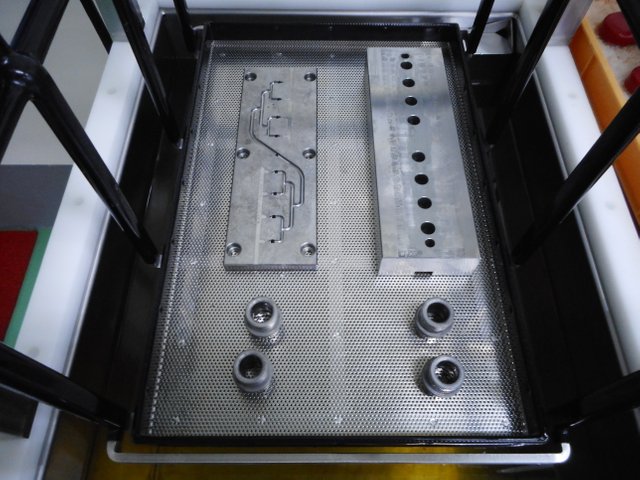
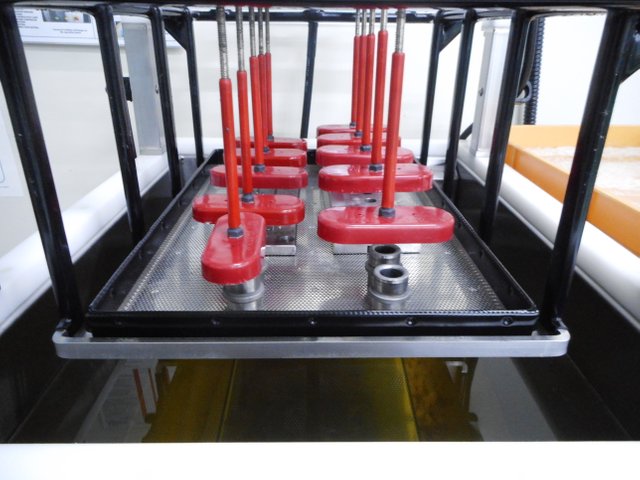
• Attach the positive polarity to the anode (red) then place the anodes above the metal subject, sandwiching it between the cathode tray and anode, the cathode tray and the metal subject should be in contact with each other, BUT the anode should not be in contact with the metal subject, if this happens, you will notice that the metal subject looks like burned metal cause by the immense current, to prevent this from happening there sould be about 35-40 millimeters distance between the anode and the metal subject.
• Once all preparations are complete, submerge the tray into the solution, this solution is composed of 80% Sodium Hydroxide and 20% distilled water.
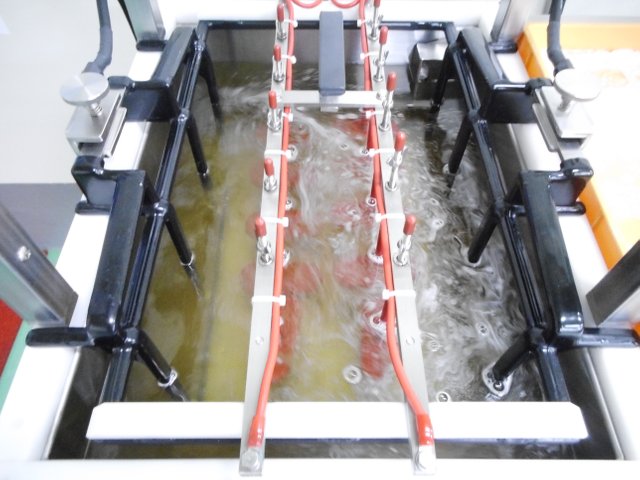
• After submerging the tray into the solution, set the temperature to 40' Celsius and 4mAh current, then set the timer for 30-45 minutes. The solution will start to form bubbles indicating that a chemical reaction is already happening.
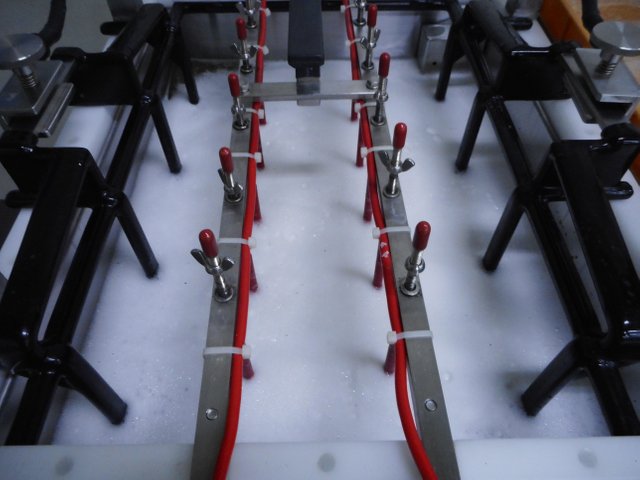
• After the timer expires, lift the tray and let it hang to drain, then afterward, remove bubbles using air spray or water sprinkler. Then coat the newly cleaned metal subject, to avoid immediate rust formation. Newly cleaned metals are susceptible to rust formation.
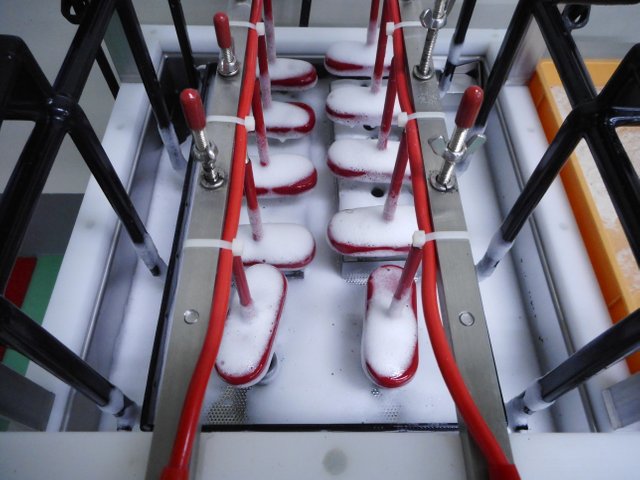
Here are the samples of the finished products!
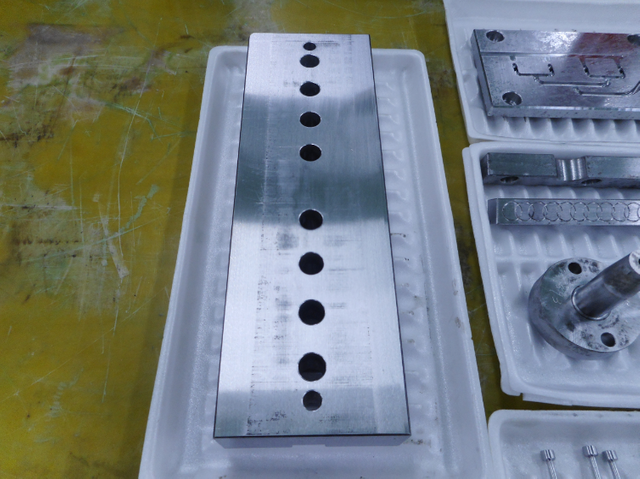
Cavity Block
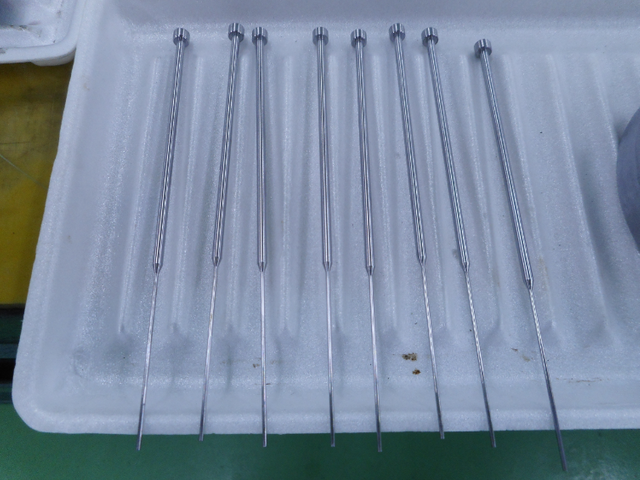
Ejector Pins
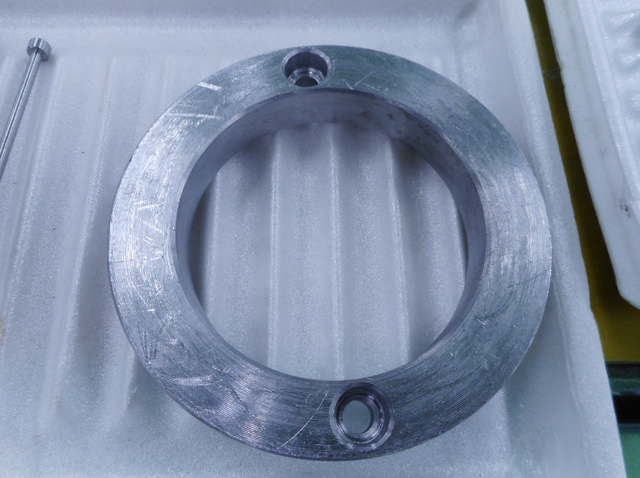
Positioning Ring
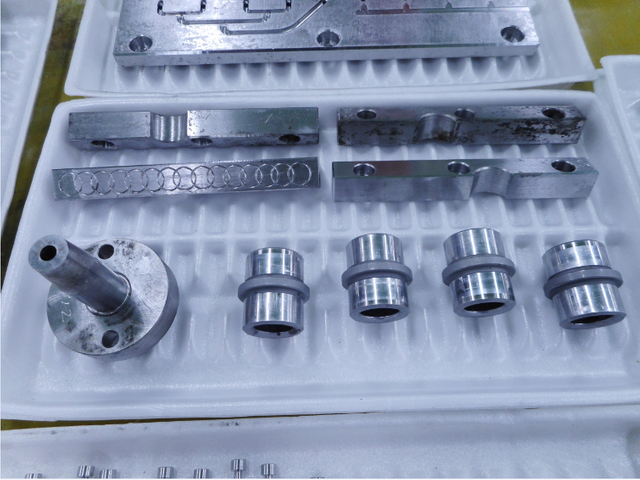
Sprue Bush, Slide Core Rails (Please don't mind the black markings,
they're severe scratches caused by moving slide cores), and Guide Pin Slots
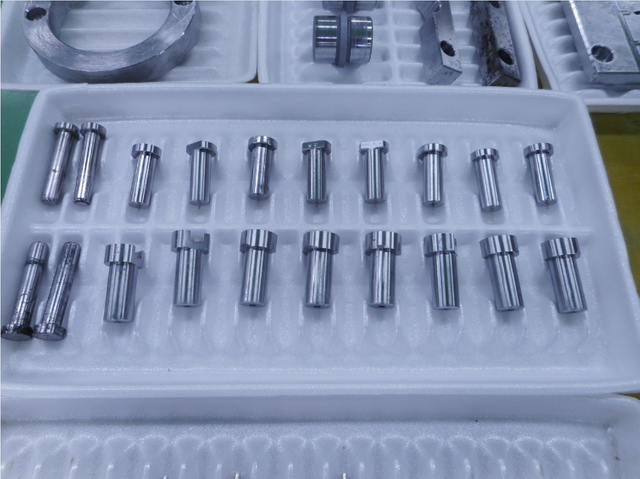
Cavities and Cavity Block Lockings.
So there you have it folks, those are the equipment, peripherals and materials needed in electrolytic rust removal. In the continuation of this post, I will share how you can do this method at home, so follow me @jamesanity06 and stay tuned for more of these tutorials.
To be continued in part 2...
© @jamesanity06, 2018

Damo nga Salamat! Maraming Salamat po! Thank you Very Much!
I am a part of @steemitfamilyph. Join us! Follow - Upvote - Resteem - Comment
Be a member of our Facebook page -- Join Us Here
they're severe scratches caused by moving slide cores), and Guide Pin Slots

Cavities and Cavity Block Lockings.
So there you have it folks, those are the equipment, peripherals and materials needed in electrolytic rust removal. In the continuation of this post, I will share how you can do this method at home, so follow me @jamesanity06 and stay tuned for more of these tutorials.
To be continued in part 2...
© @jamesanity06, 2018

Damo nga Salamat! Maraming Salamat po! Thank you Very Much!
I am a part of @steemitfamilyph. Join us! Follow - Upvote - Resteem - Comment
Be a member of our Facebook page -- Join Us Here

)

NICE MAN... its like SCIENCE FICTION!!
FOR ME!!
Lol, it ain't science fiction, those are science facts... Cheers!
No info on simpliest way -Coca - cola rules!)
@originalworks
I noticed you were using quite a lot of Japanese products. It’s amazing to know there’s a handful of them available in the Philippine market. Great job for this interesting post! Keep on steeming!
That's probably because I work for a Japanese owned company, forgot about that little detail. Gomen!
Nice tutorial and layout. :)
Thanks for the compliment ma'am. have a nice day!
It seems complicated.. I am overwhelmed with the materials needed. lol. but thanks for info man.. At least I was able to earn knowledge of how does rust-removal works.. thanks
No problem dude, anytime! Cheers!
Petmalu tlaga.. Para akong nagbabasa ng Wikipedia..
Grabe naman yung wiki pedia ate, hahaha! Thanks!