How to personalize your Steemit header
Making your own header for Steemit!
The first thing you are going to want to do is to find some images you like and want on your header and have them on your computer.
I would suggest you make a folder just for your header for ease of finding things later on.
Remember when looking for images for your header Steemit puts all your information in the middle of your header so you might not want that part of your photo/header to busy.
Next, you are going to want to go to https://imgur.com/
If you don't already have an account sign up for one and upload any images that you want to crop (header size is 1920 x 300) or do color correcting on.
Once finished save your work and download the corrected images to your computer.
Next, you are going to want to go to https://www.pizap.com/
Here you do not have to set up an account which I love because I'm getting password overload!
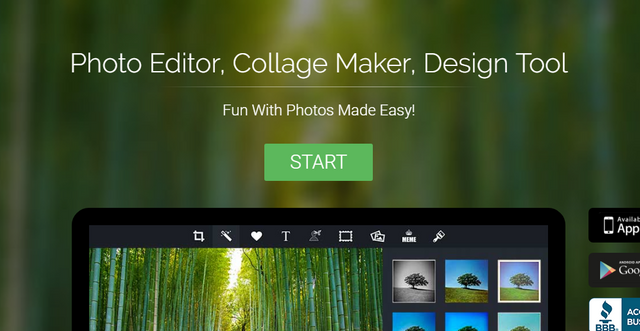
In Pizap click on start.
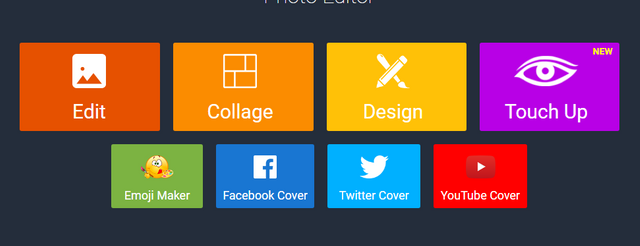
Then you are going to click on the design box.
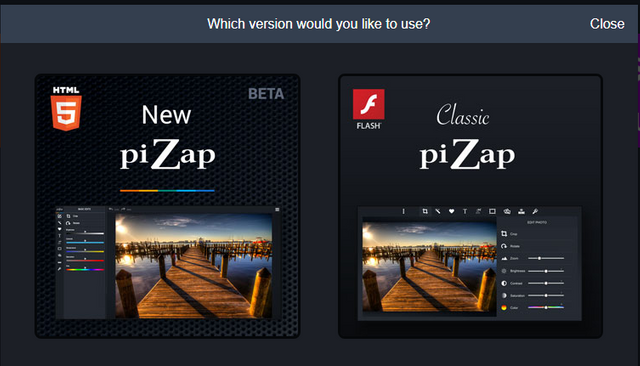
I use the classic version.
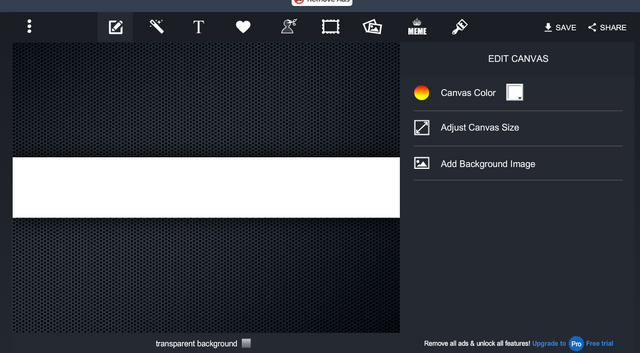
Now click on custom size and add the dimensions 1920 X 300 and you should have something that looks like this.
And now comes the fun part! adding your image(s).
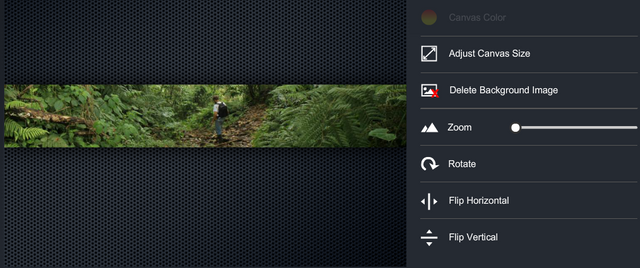
Click on the add background image and go to your header folder and grab your background image that you want to use.
You should have something that looks like this.
You can stop now and your header is all done!!!
We are going to add a few more images in case you want to get fancy.
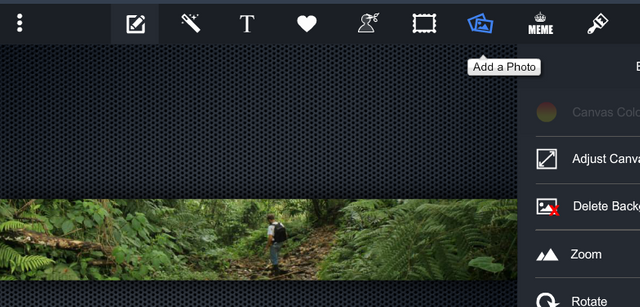
To add more images to your background you will now click on the icon that says add a photo.
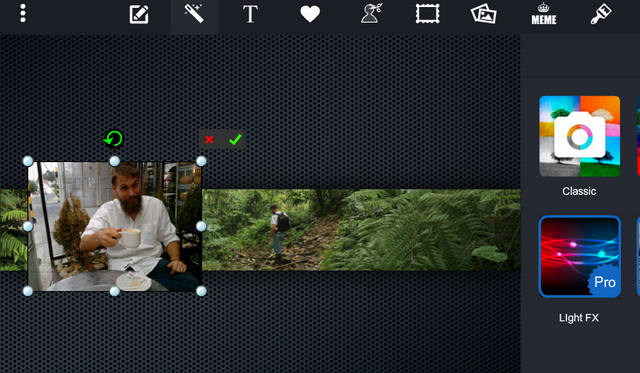
As you can see the photo is too large but using the big dots you can adjust the size of everything until you are happy with the outcome.
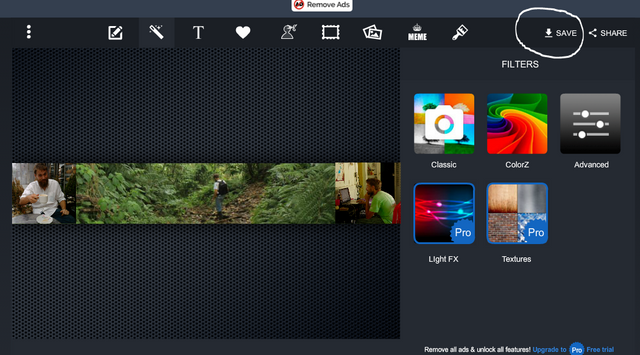
Keep adding photo's until you are happy with what you have and then hit save and download it to your Header folder so you can find it again! I don't save it to anything but my computer.
Now comes the tricky part.
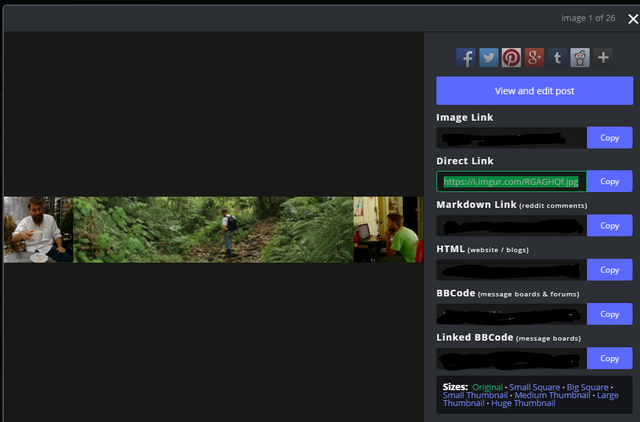
Go back to your imgur.com account and upload your finished header.
Then click on the header so it opens up and copy the DIRECT LINK option.
Now close all 27 tabs you have open and breath as you are almost done!
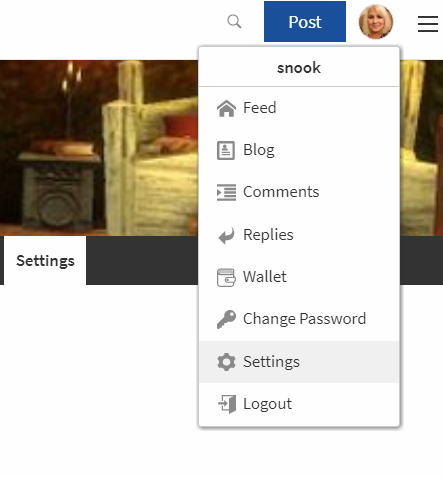
Go to your Steemit account and click on settings.
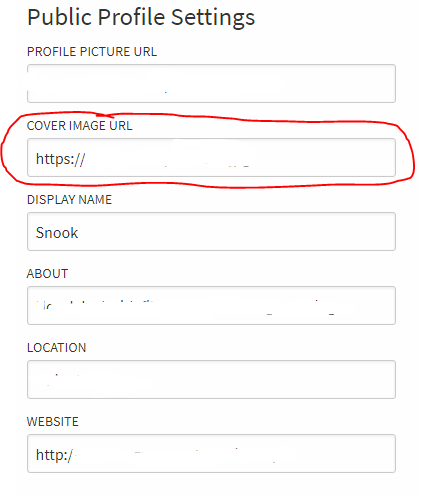
You will now see your public profile settings.
In the box marked Cover image URL paste your imgur.com direct link in that box and save!
Congratulations! you now have a brand new header that you made!!!
I hope this has helped someone!
Snook
*This is my first how-to guide so if you have any questions please, please ask.


This is very helpful!! When I first started, it took me forever to figure out how to customize and all of that. Also, going to bookmark the editing tool. Thank you!
Resteemed and will upvote when I have power :)
Thank you so very much for the comment! I was hoping it was easy to read and helpful!
I love this post. I need to make a new header! I love the pictures you used!
Thanks!! That means a lot from the "how to" expert !!!!
Ha ha. I did not know about the custom sizing of the banner on Pizap, so I did learn! I made a new one that fits! Thank you!
yeahhhhhhhh :D
Cool. Used your tips for mine. Cheers to you!
Yeahhhh :D so happy it helped!
so happy it helped!
Valuable Info!!
Thank You!!! :D
Nice tip! I would like to try this out after I finish editing my cover photo. Great info. Thank you!
you are very welcome and I hope it helps you get excited to make a cover!