Building Brigdes throughout our lifes
Through out the world amazing bridges have been build. Some are true art others not so much. Today we are going to learn about the history of bridges and try to build our own bridges.
The history
Proof of the first bridges build date back to 1500 BC. They build bridges back then with wood. Throughout the ages bridges have been build to create passage ways over areas that are difficult to past through. These areas include rivers, channels, big areas that are covered with trees and bushes.
Here is a documentary you can watch about the history of bridges:
Video Source
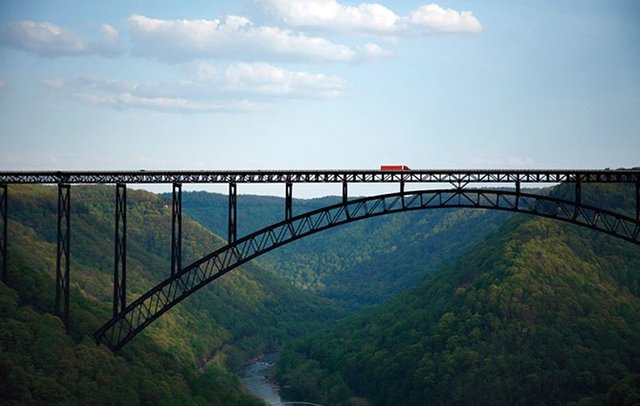
Materials
The materials used to build bridges has changed throughout the ages, from wood, clay, rocks, steel, concrete.
Image Source
Here is a short video on things that make bridges so strong:
Video Source
Today our main focus point will be to assist the learners to think creatively and construct new and innovative bridges.
Activity 1: Building bridges with sticks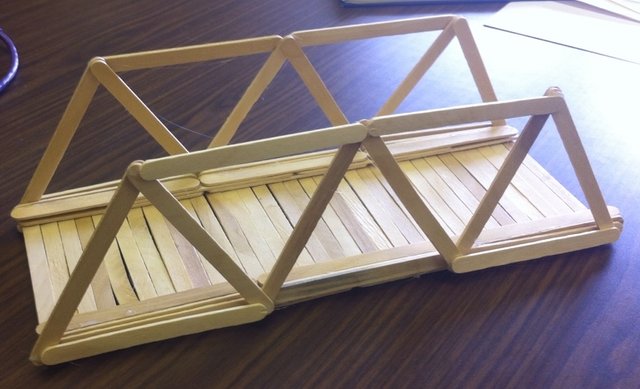
Image Source
You will need the following
- Popsicle sticks
- Glue
- Pen and paper
Instructions
- Provide each learner with a pen and paper and let them draw up a plan on how their bridge will look. They have to figure out how many pieces of popsicle sticks they will need as well as the shape of the bridge.
- After they have done the planning they can slowly but surely begin with the construction.
Activity 2: Gumdrop bridges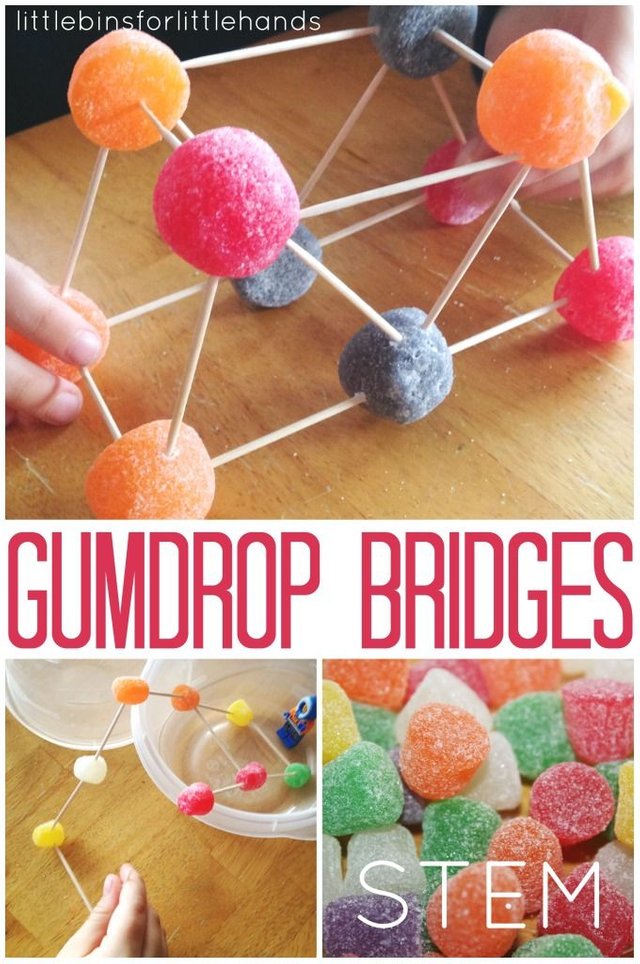
Image Source
You will need the following:
- Gumdrops or any jelly sweets.
- Toothpicks
Instructions:
- Provide each learner with a pack of toothpicks and gumdrops.
- Allow them to build bridges using these items.
REMEMBER TO SHOW THEM PICTURES ON THE DIFFERENT TYPES OF BRIDGES THAT THEY CAN POSSIBLY BUILD.
Activity 3: Geometric shape bridges
This activity can be incorporated when you are doing 3D geometric shapes.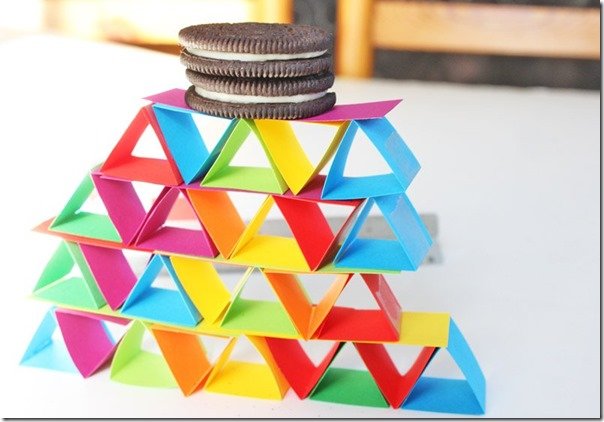
You will need:
- Templates of different 3D shapes (Triangular prisms, cubes are the best to use)
- Scissors
- Glue
- Weight testing item (cookie, rock etc)
Instructions:
- Allow the learners to choose a 3D shape that they want to make. The best would be to let the whole group fold both shapes so that they can see which type of shape can be used to build the best.
- Let them cut and paste the shapes.
- Provide them with a space where they can experiment to design their bridge.
- After they have build their bridges use the different items to test which bridge will be the strongest.
CHALLENGE: See if the learners can use both shapes to design a stronger bridge.
FUN VIDEO:

Amazing.. fraind...
WOW
Congratulations @tanyaschutte! You have completed some achievement on Steemit and have been rewarded with new badge(s) :
Click on any badge to view your own Board of Honor on SteemitBoard.
For more information about SteemitBoard, click here
If you no longer want to receive notifications, reply to this comment with the word
STOP