All About Makeup:#1 Soft Brown Smokey E.M.U
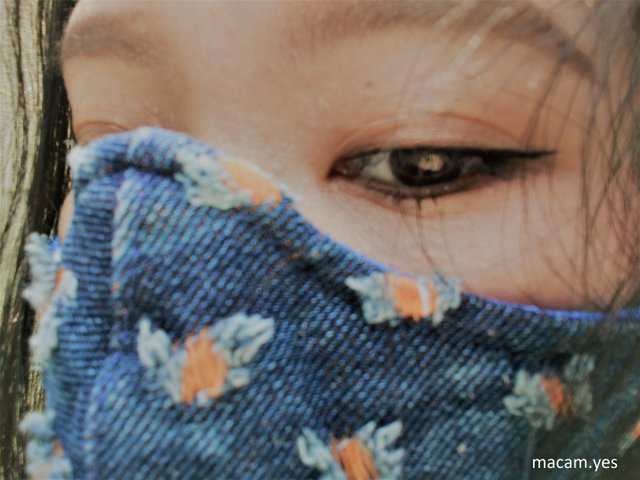
Just trying to give out a very macam.yes aesthetic feel
It was one hot sunny afternoon and I decided to do a simple soft brown smokey eye make up look. One sad thing tho, I am not good with capturing the right lighting for pictures, since the lighting inside my house is not good, and outside is so sunny and bright, I thought taking pictures using the au natural light should be a good idea.
Oh boy how I was so wrong, thus you might not be able to see the look clearly, I tried adjusting the colour and clarity of some of the pictures hopefully you guys are able to have a better view but oh well, I realised there is much to learn about photography, editing and videography. (yes, I did try to film it, with my phone, lol.)
Also because I not just suck at taking pictures (that's why I do not own any kind of camera.) but also at filming videos (I am only using microsoft movie maker to trim and cut my videos) , I've decided to include a very cute song by a youtuber I came across name "Heiakim" and hope you guys would enjoy my post more while scrolling down to see how I did this look.
Please play and enjoy before continuing
EYEBROWS
Before I show you what I used to draw my eyebrows, allow me to first shock you with my eyebrow-less face...
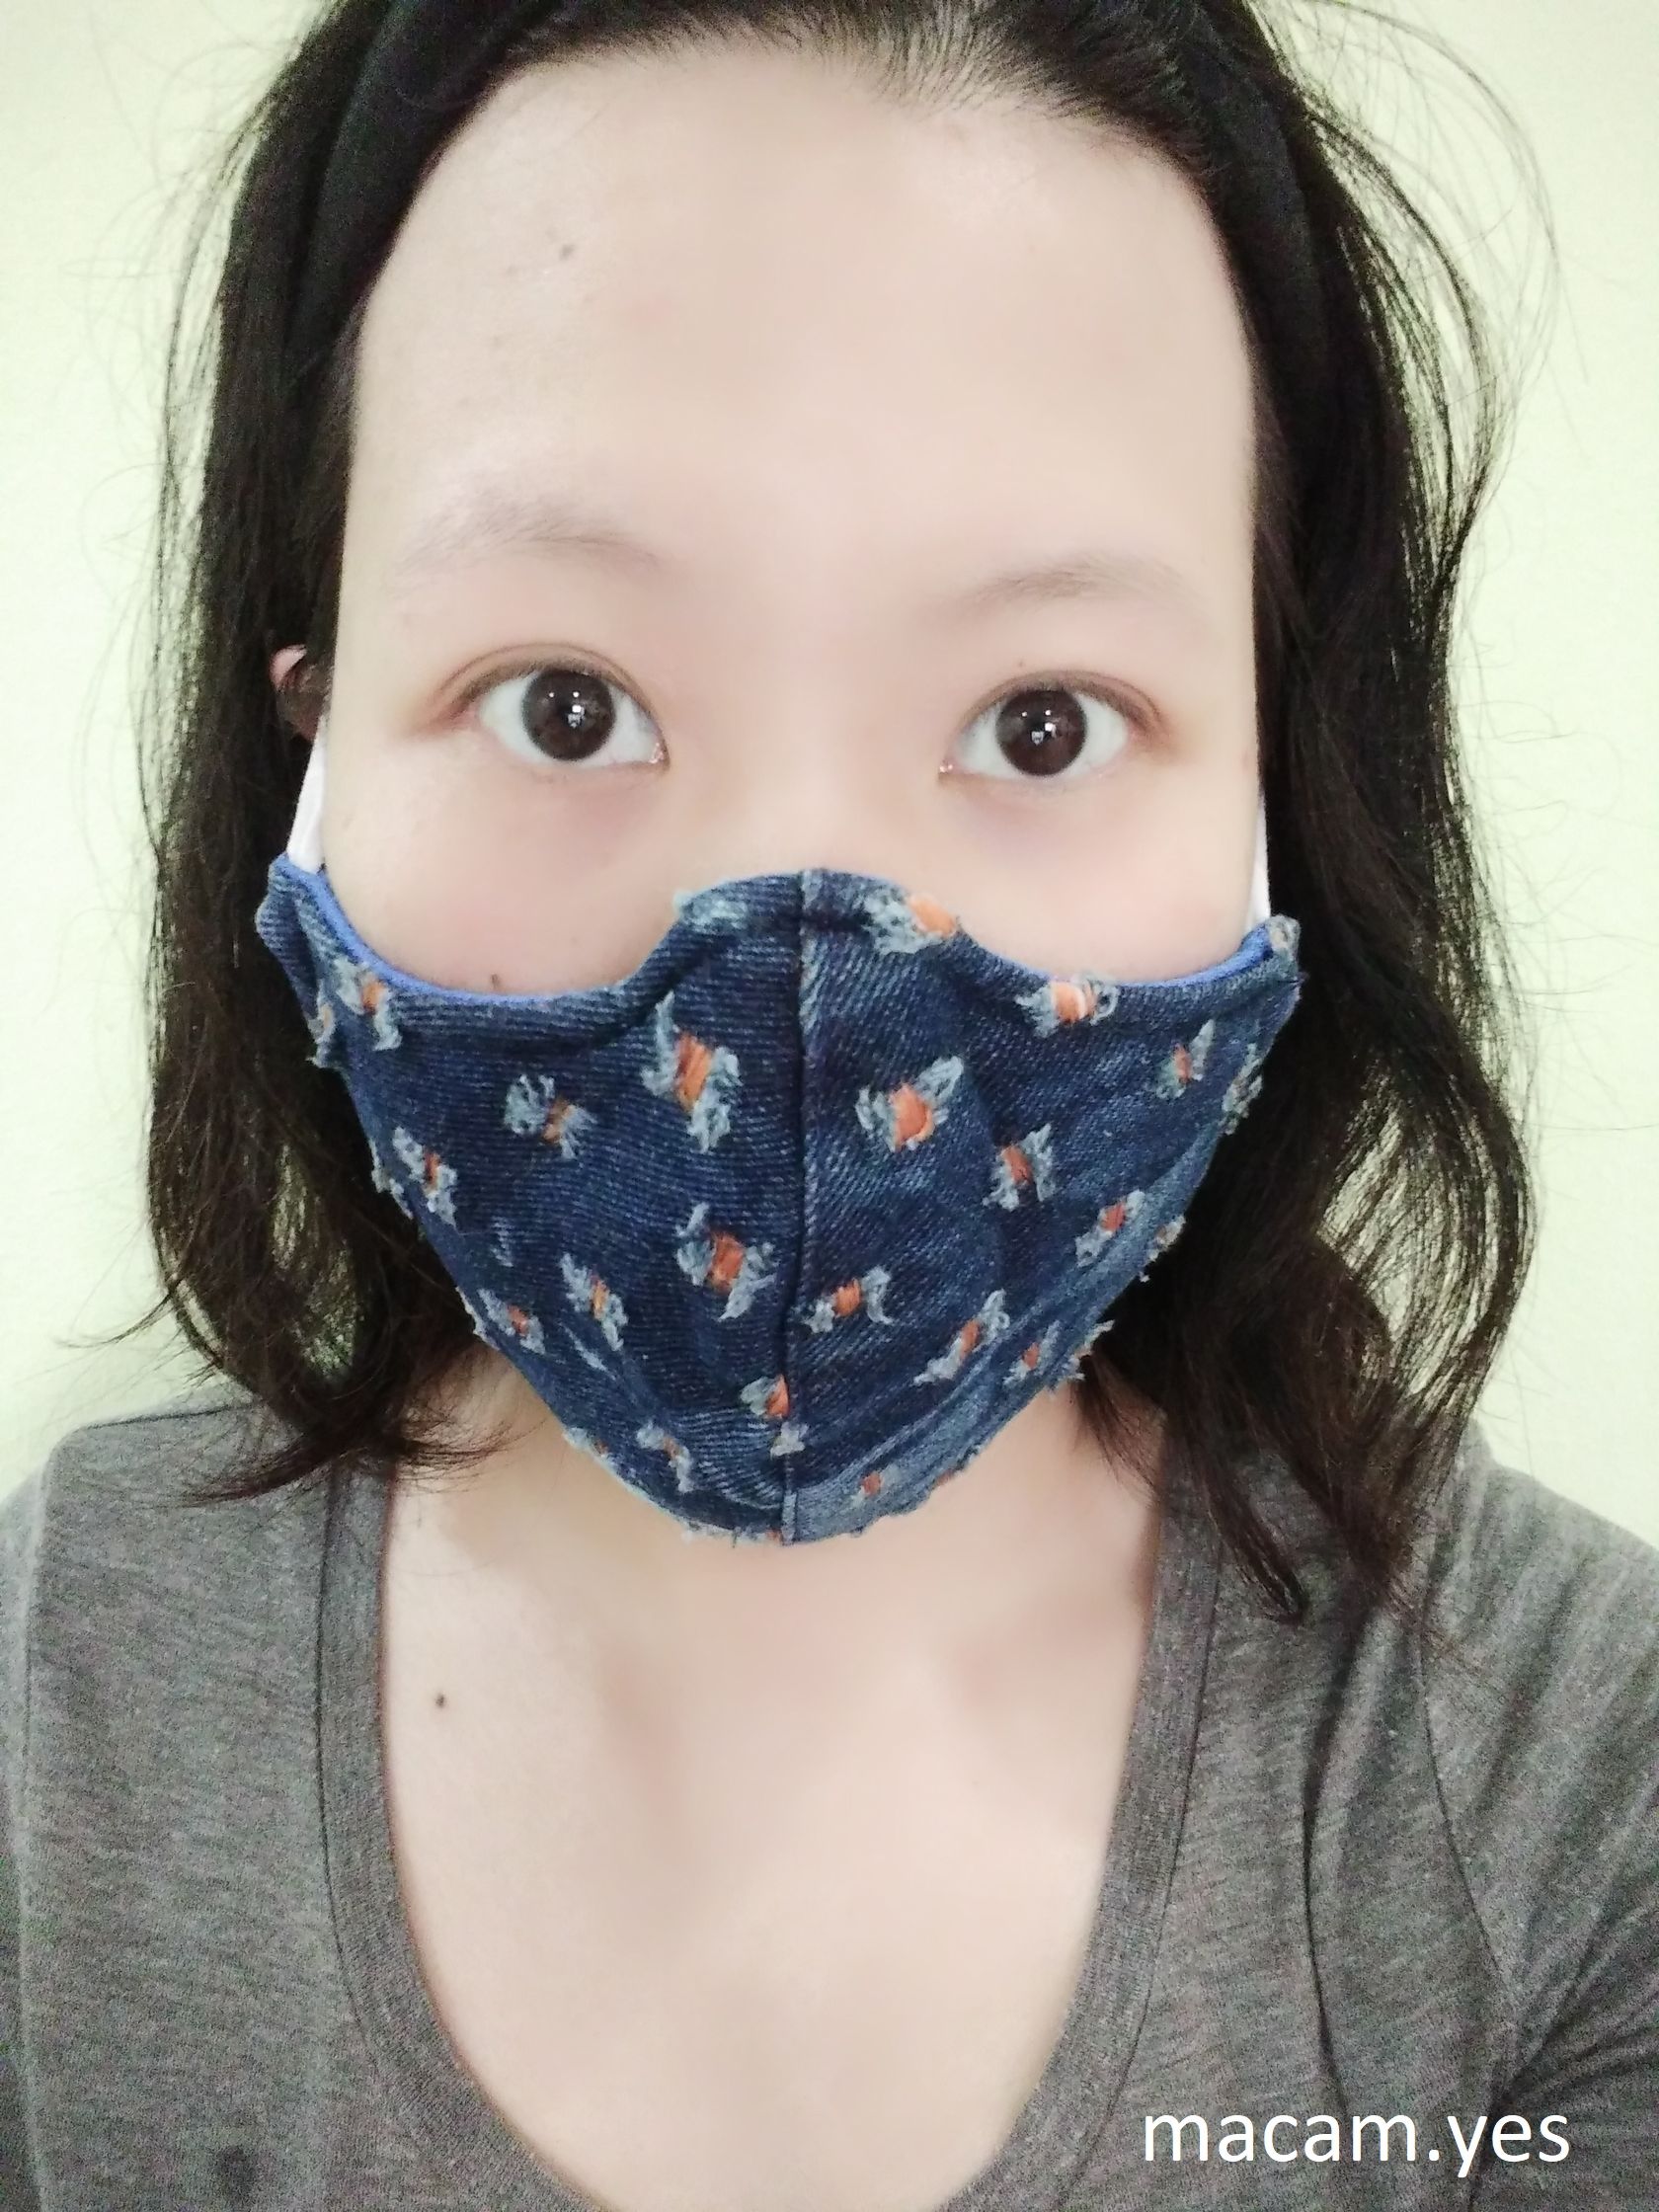
Are you awake now??
The eyebrow pencil I used for my brows is the "innisfree Auto Eyebrow Pencil ":
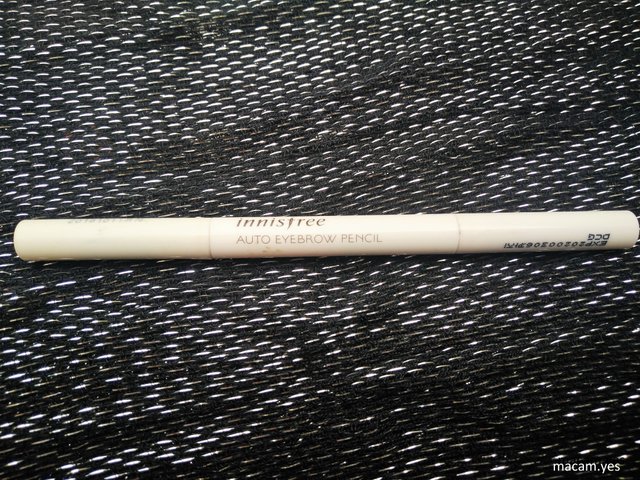
What I like about this eyebrow pencil is the fact that I do not need to sharpen it and also how build-able it can be. Also I like it that it has an eyebrow brush at the other end of the pencil, so I do not need to use a separate brush for my brows. The colour is also very pigmented and the price is quite affordable (tho I've forgotten the exact price but it is below RM50)
EYELASH
For my eyelashes, I used a _Shiseido's_eyelash curler to curl them.
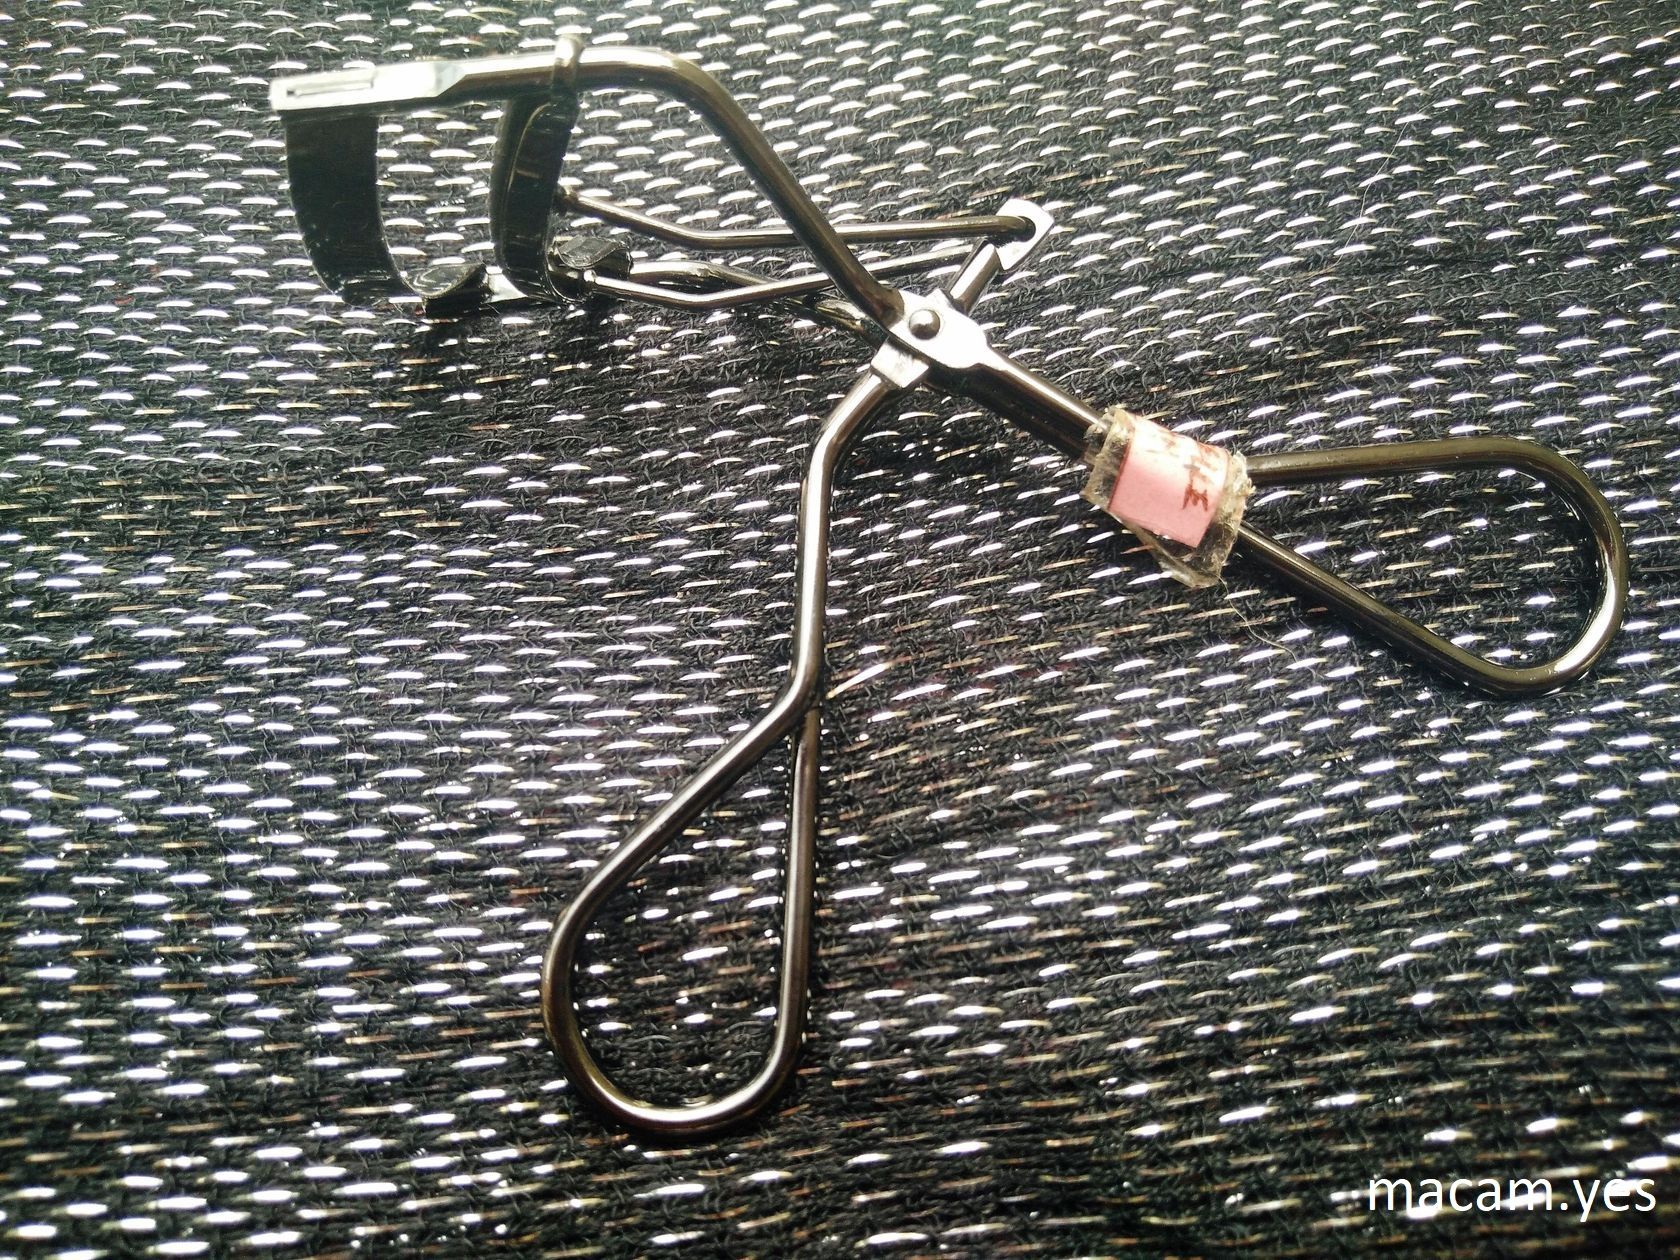
What I like about this eyelash curler is that from what I understand about this product, Shiseido designed it in a way to suit most Asians with smaller or slit eyes compare to other brands. So it's comfortable when I want to curl my lashes even though I don't think my eyes are small but...you know...I'm a SE Asian to be specific. This is more on a higher end price range product and believe it or not the only reason I got this in my hands is purely because it's part of the products I get when I sign up for the make-up course I am taking (no, it is not free.).
EYE PRIMER
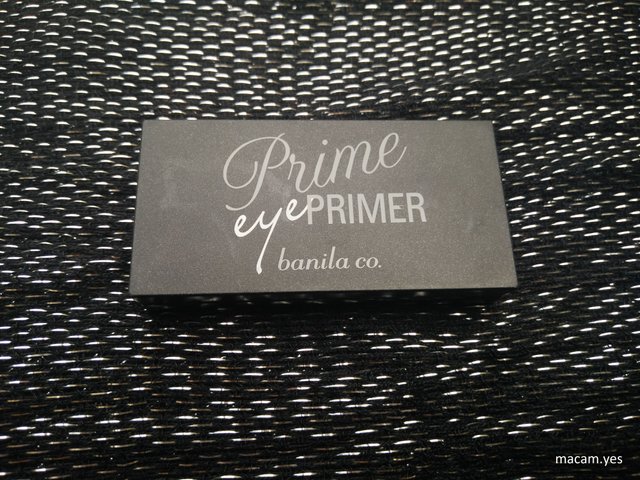
The eye primer I used for my eyes is from "Banila co.":
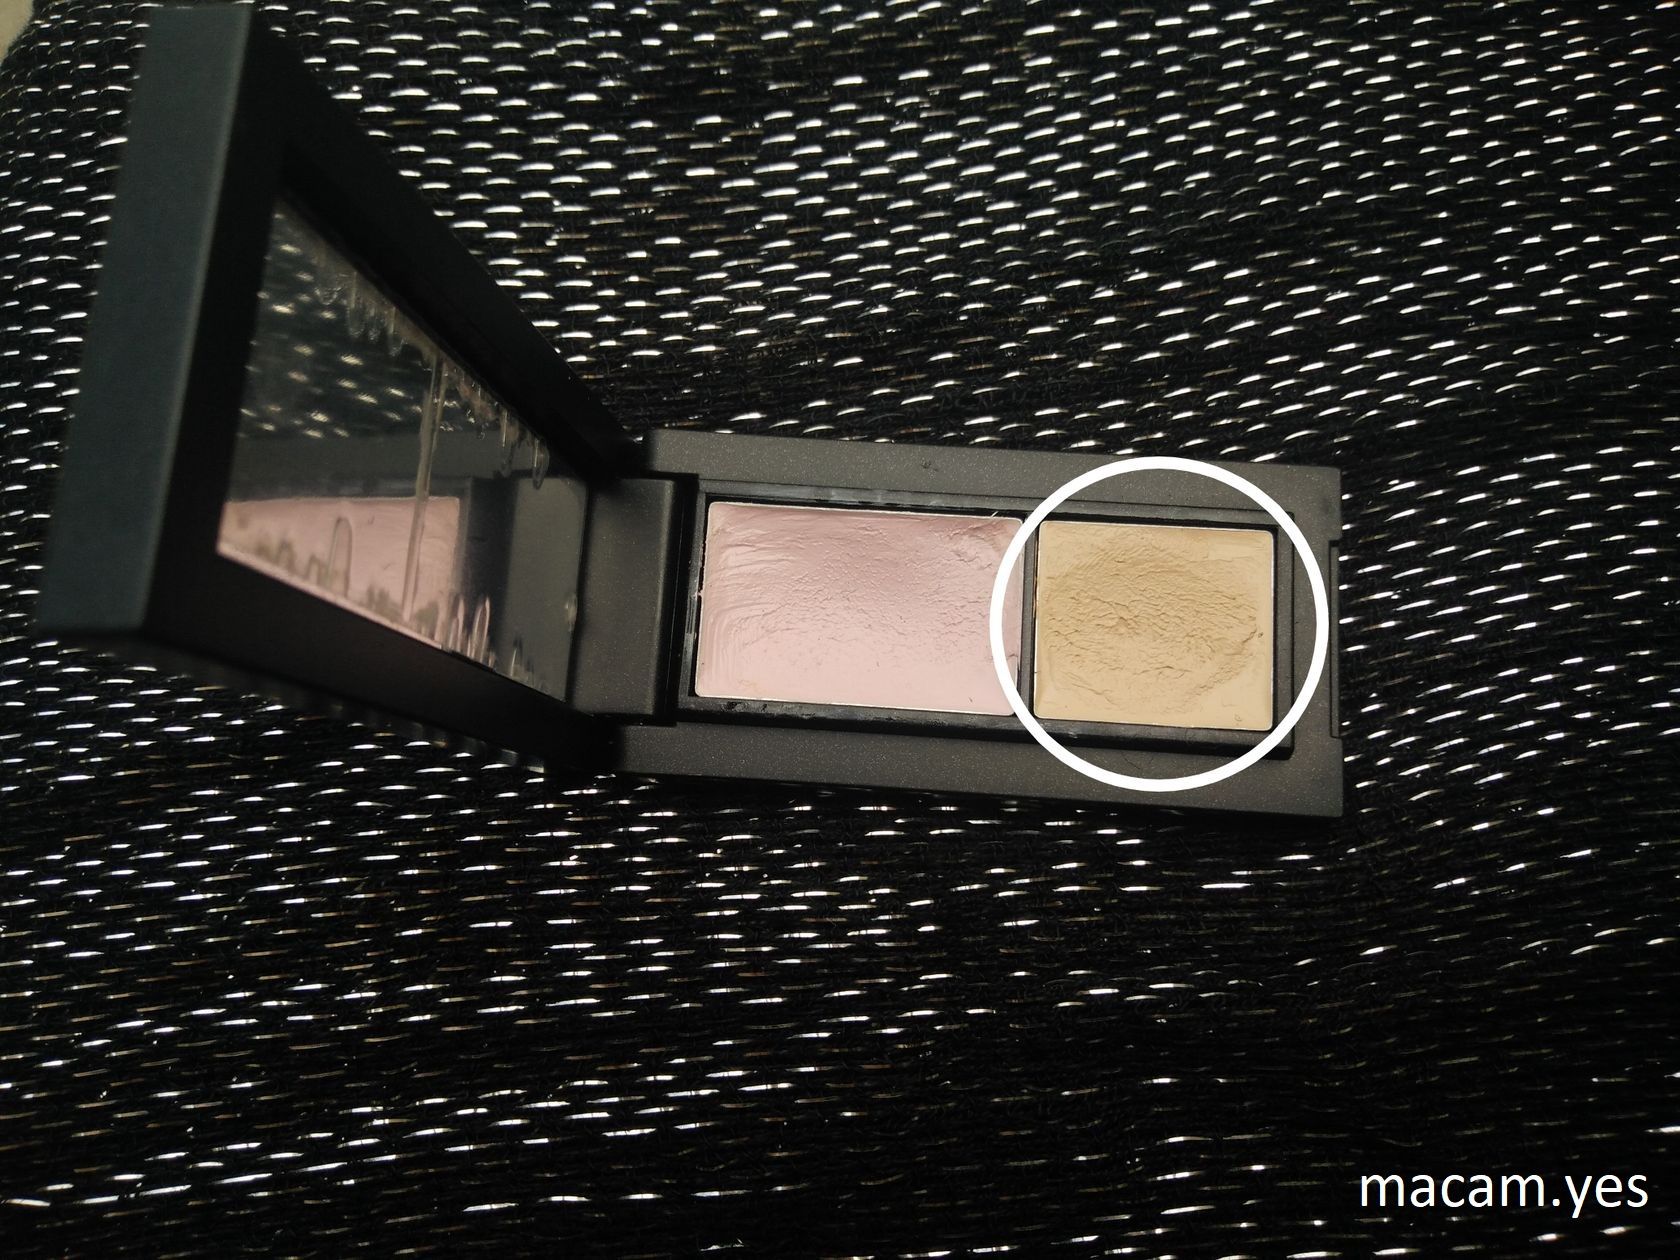
I used the one in circle, the beige coloured one
This primer is surprisingly not bad. I bought it online when @notimetospace invited me to share one bill with her because then we can waive off shipping fee when the bill hits a certain amount...ahahaha...I used my fingers to apply and oh, I made a short video to demonstrate how I did it.
EYESHADOW
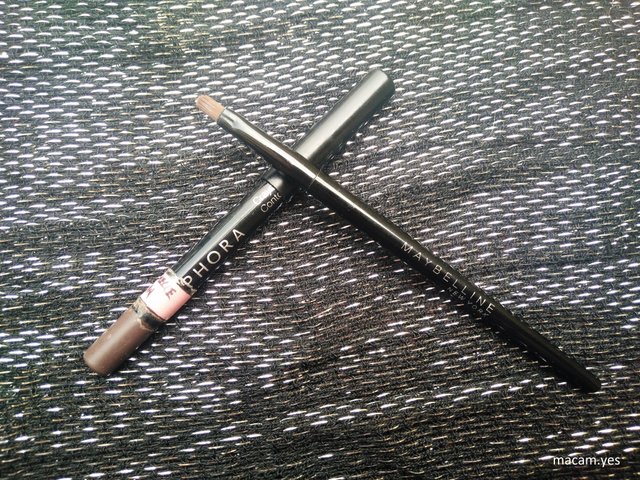
I first used an eyeliner pencil from Sephora to line my eyes and using Maybelline New York's gel liner brush (yes, the tiny brush that comes along with the gel liner), I blend it out so that there will be no harsh lines.
The eyeshadow is from MAKEUP FOREVER and using the (1) side of NICA's dual brush , I gently dab the brown eyeshadow over the eyeliner i just blended before.
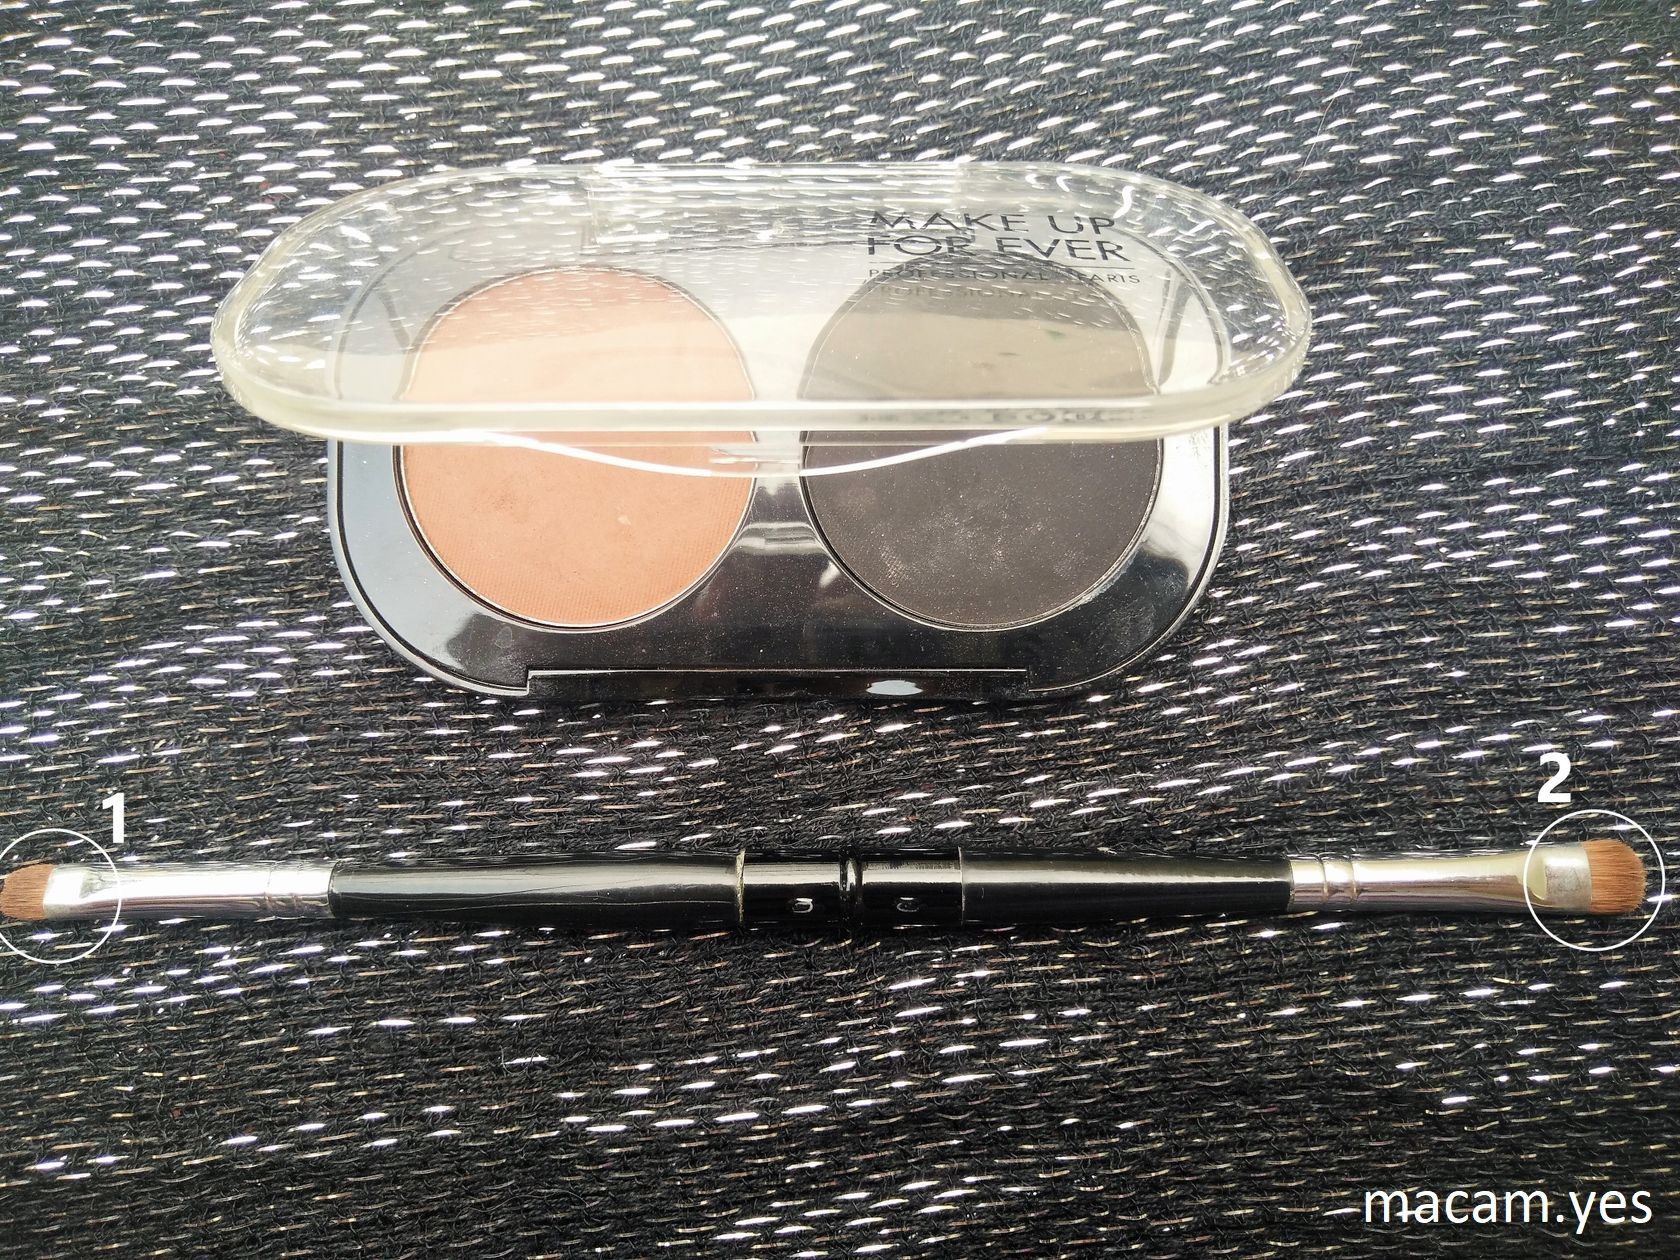
And then using the (2) side of the brush, i gently blend it upwards, the whole process is to create a smokey effect, where the bottom is a darker colour and slowly towards the top it will fade to lighter colour, all using only one eyeshadow colour. I added more eyeshadow as I blend along until I am satisfy with the opacity and the way the gradient effect looked.
And then, using a blending brush from NICA as well, I blend the outer edges of my eyes to soften the harsh lines of the eyeshadow.
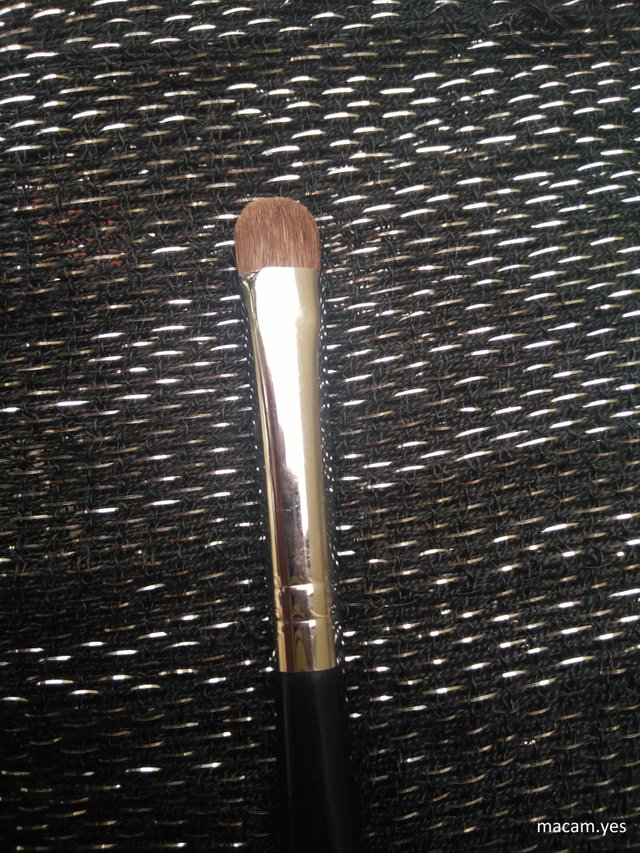
Blending brush from NICA
As for the lower lash line area, after priming with the same Banila co. beige coloured eye primer, using the same method as the above, I first used the brown eyeliner pencil from Sephora and only drew half of the lower lash line, and using the same Maybelline New York's gel liner brush, I blended the eyeliner til the tip of my eyes.
After that, I used the same dual brush by NICA (1) and (2) to blend the eyeliner with the brown eyeshadow.
EYELINER
After my eyeshadow is done, I went on and lined my eyes with Maybelline New York's "Hyper Sharp Wing" black eyeliner.
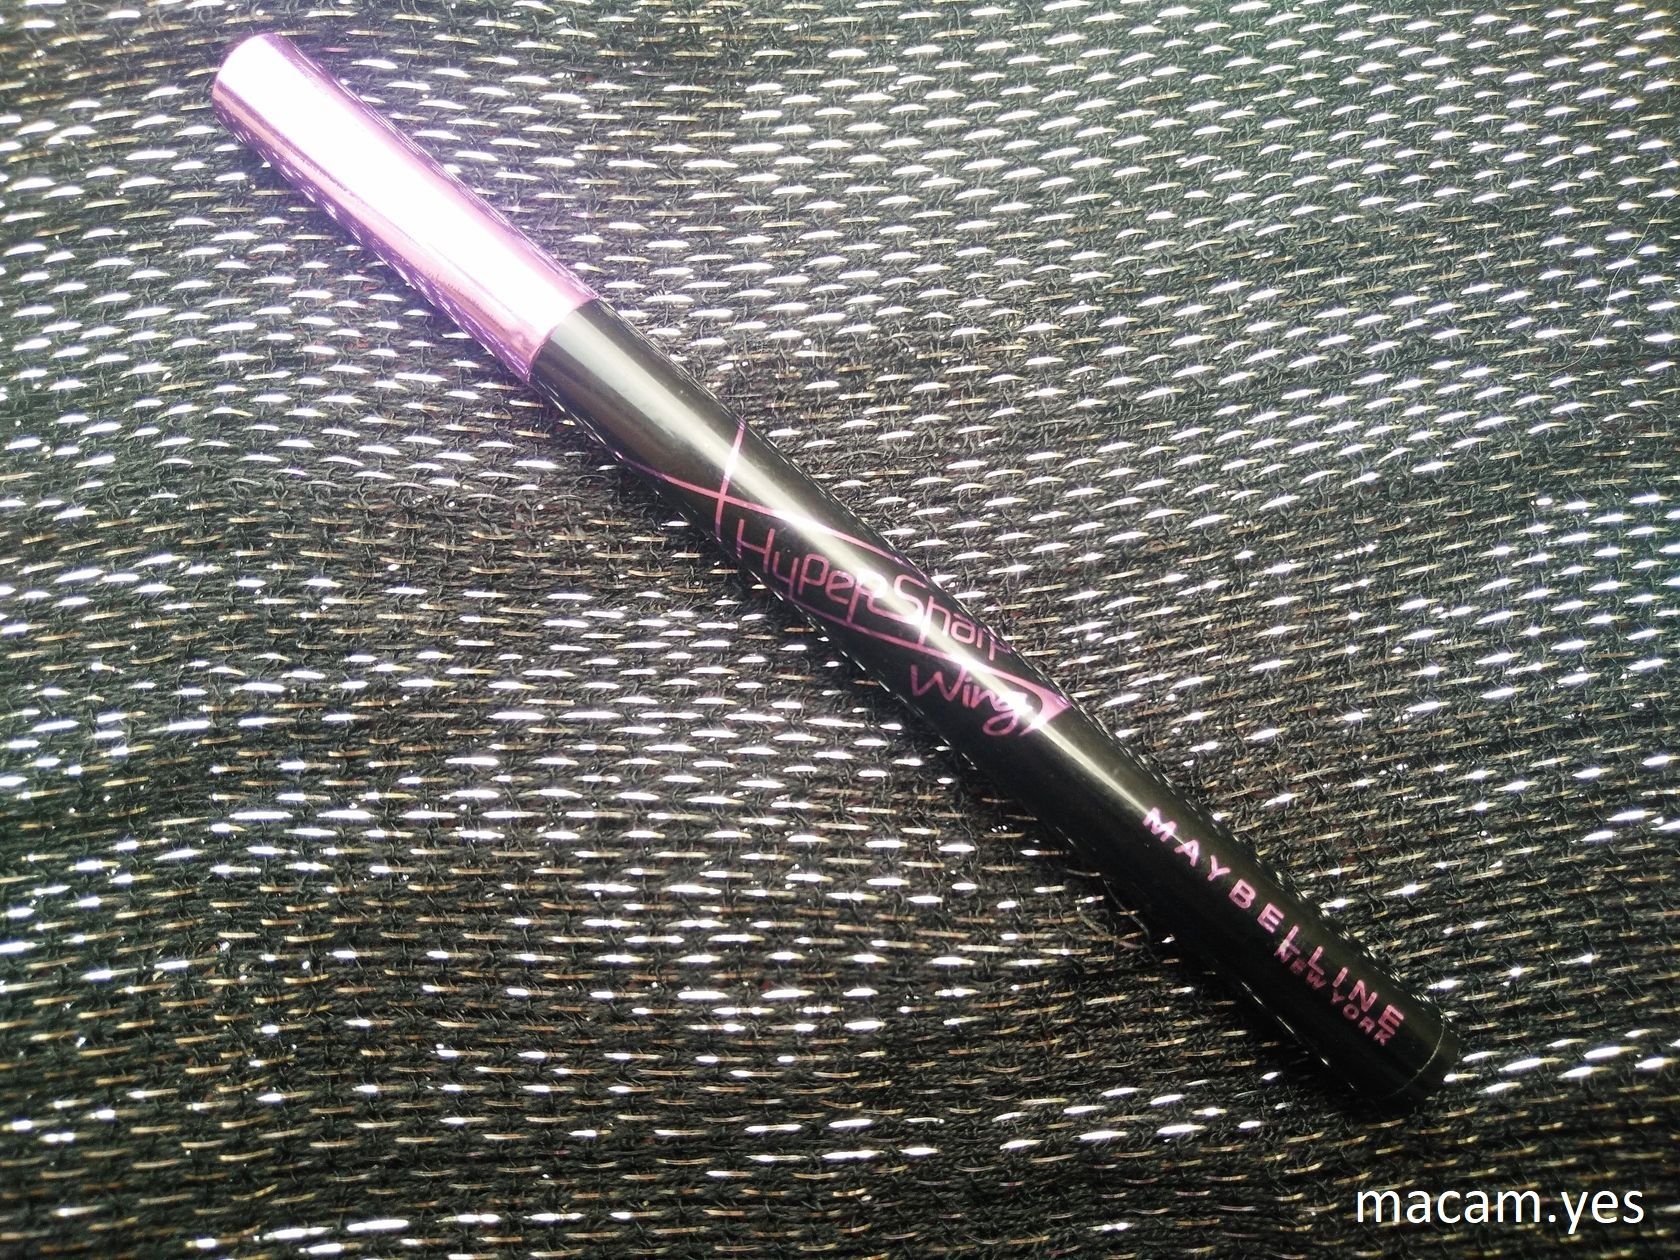
I like this eyeliner because it's price is also quite reasonable (also less then RM50) and also the super fine tip allows me to control the thinness/thickness of the eyeliner.
MASCARA
I actually used 2 different mascaras for my lashes because my lashes are short and few * sob * * sob * .
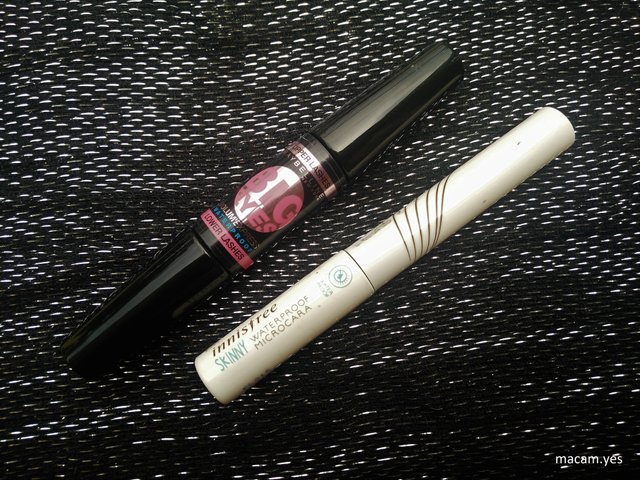
I first used Maybelline New York's waterproof Volume Express Big Eyes mascara to coat my top and bottom eyelashes and once the mascara has dried up, I coated a 2nd layer with innisfree Skinny waterproof Mascara because the innisfree one has fiber in it and can "extend" both my top and lower eyelashes...lol...
RESULT
the eye make-up should look natural and as I don't think I managed to take proper pictures, it doesn't seem to show much but irl you can actually see the smokey look and colour of the eyeshadow.
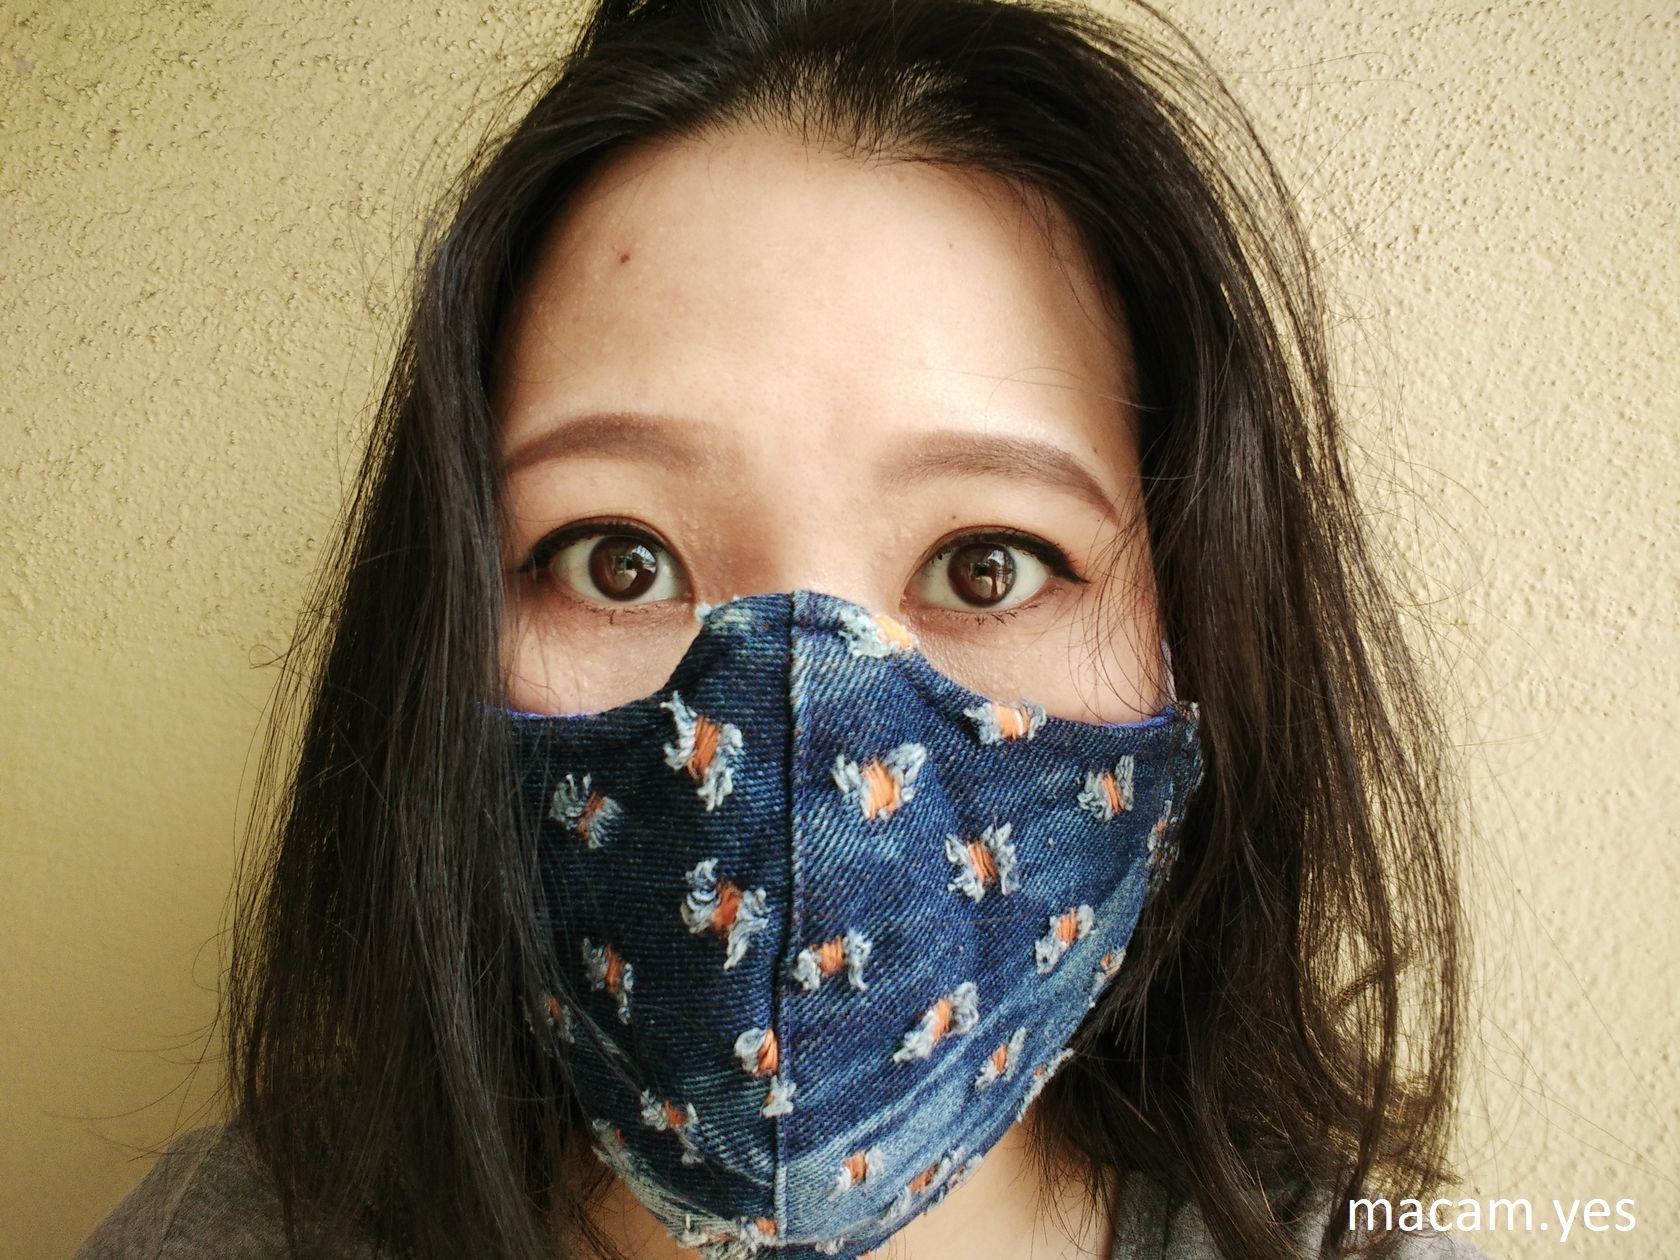
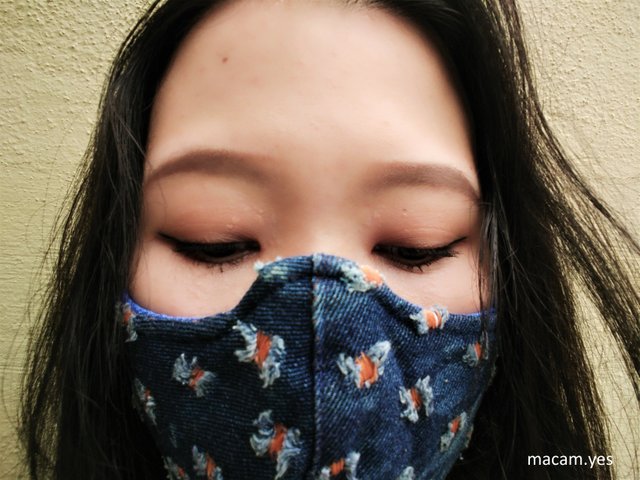
This was with my phone's filter
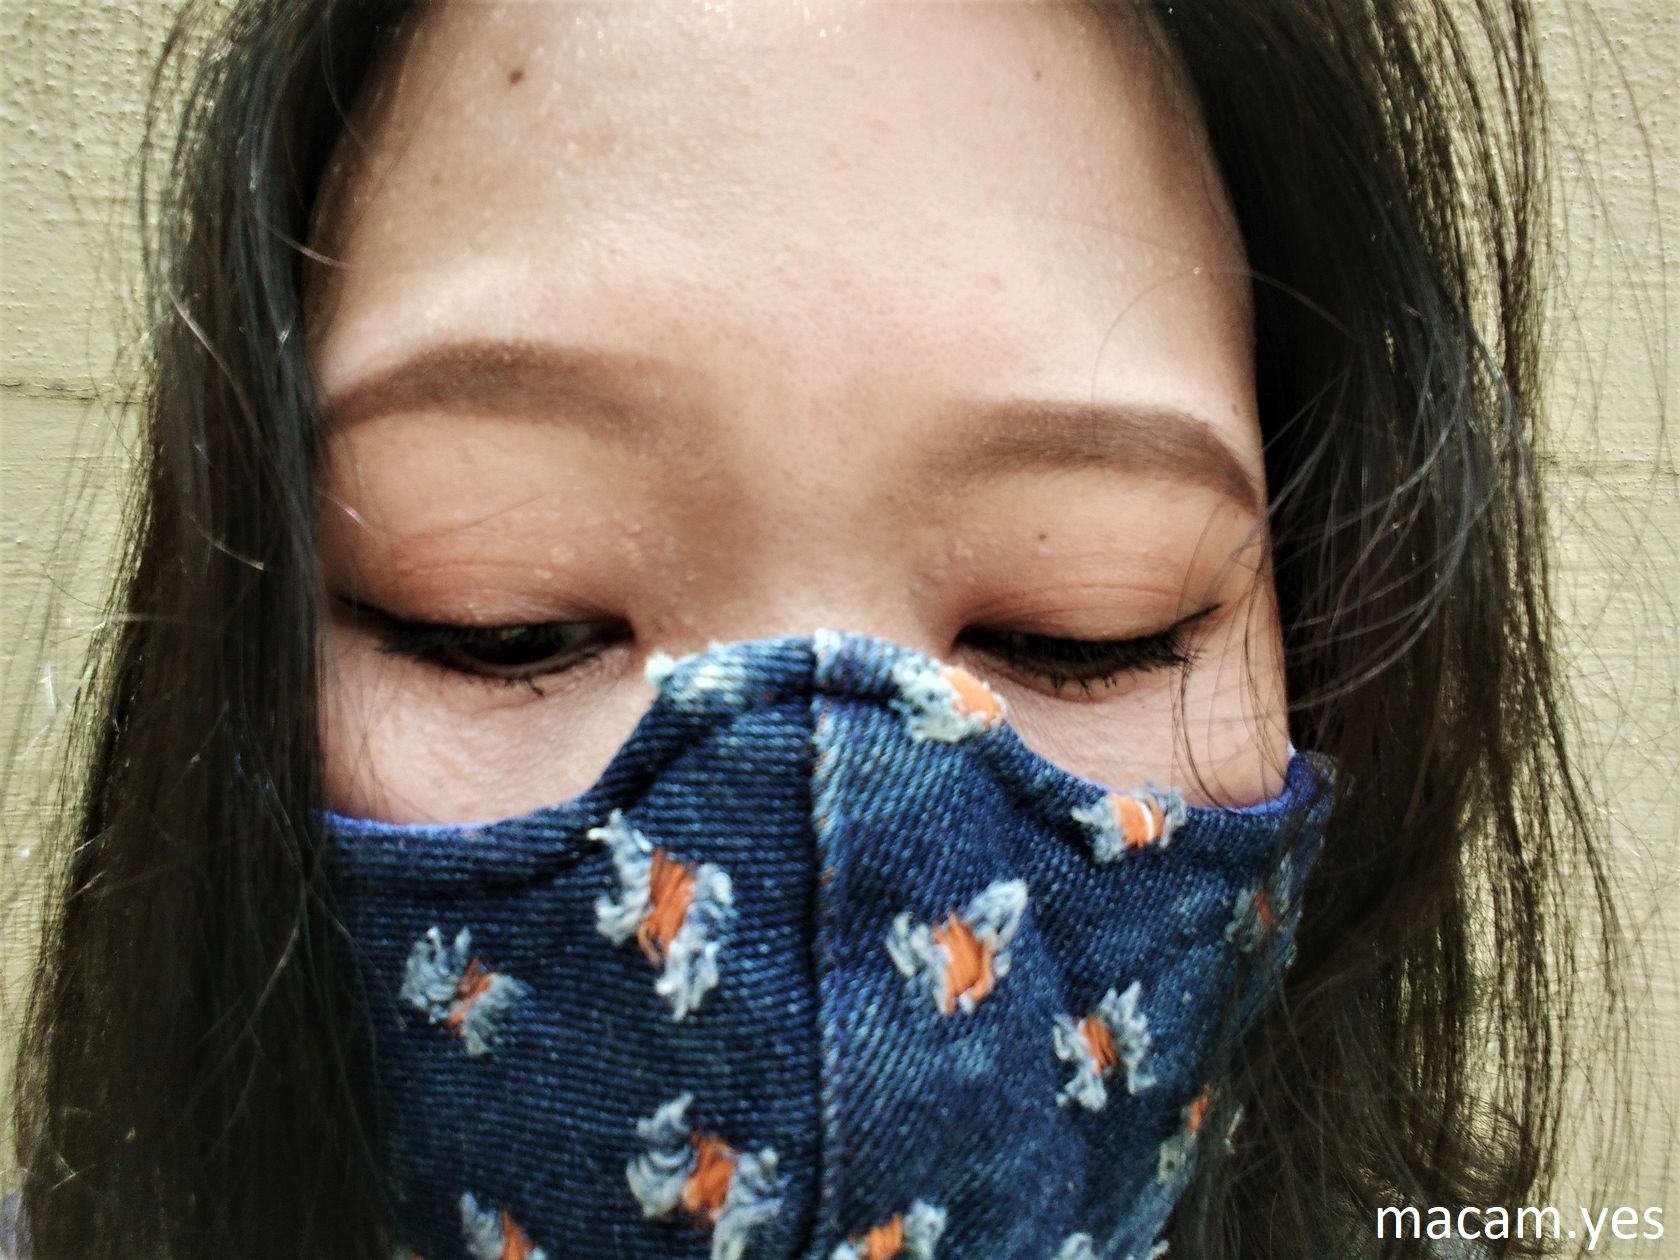
This is without filter, yes yes, I do not have the greatest skin as we can obviously see,lol.
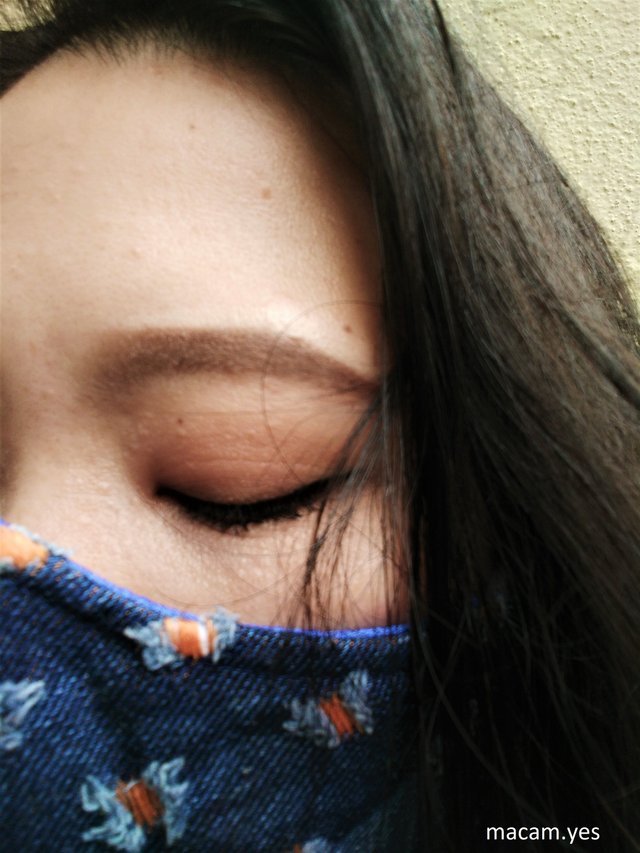
I tried to get a closer clearer shot of one eye
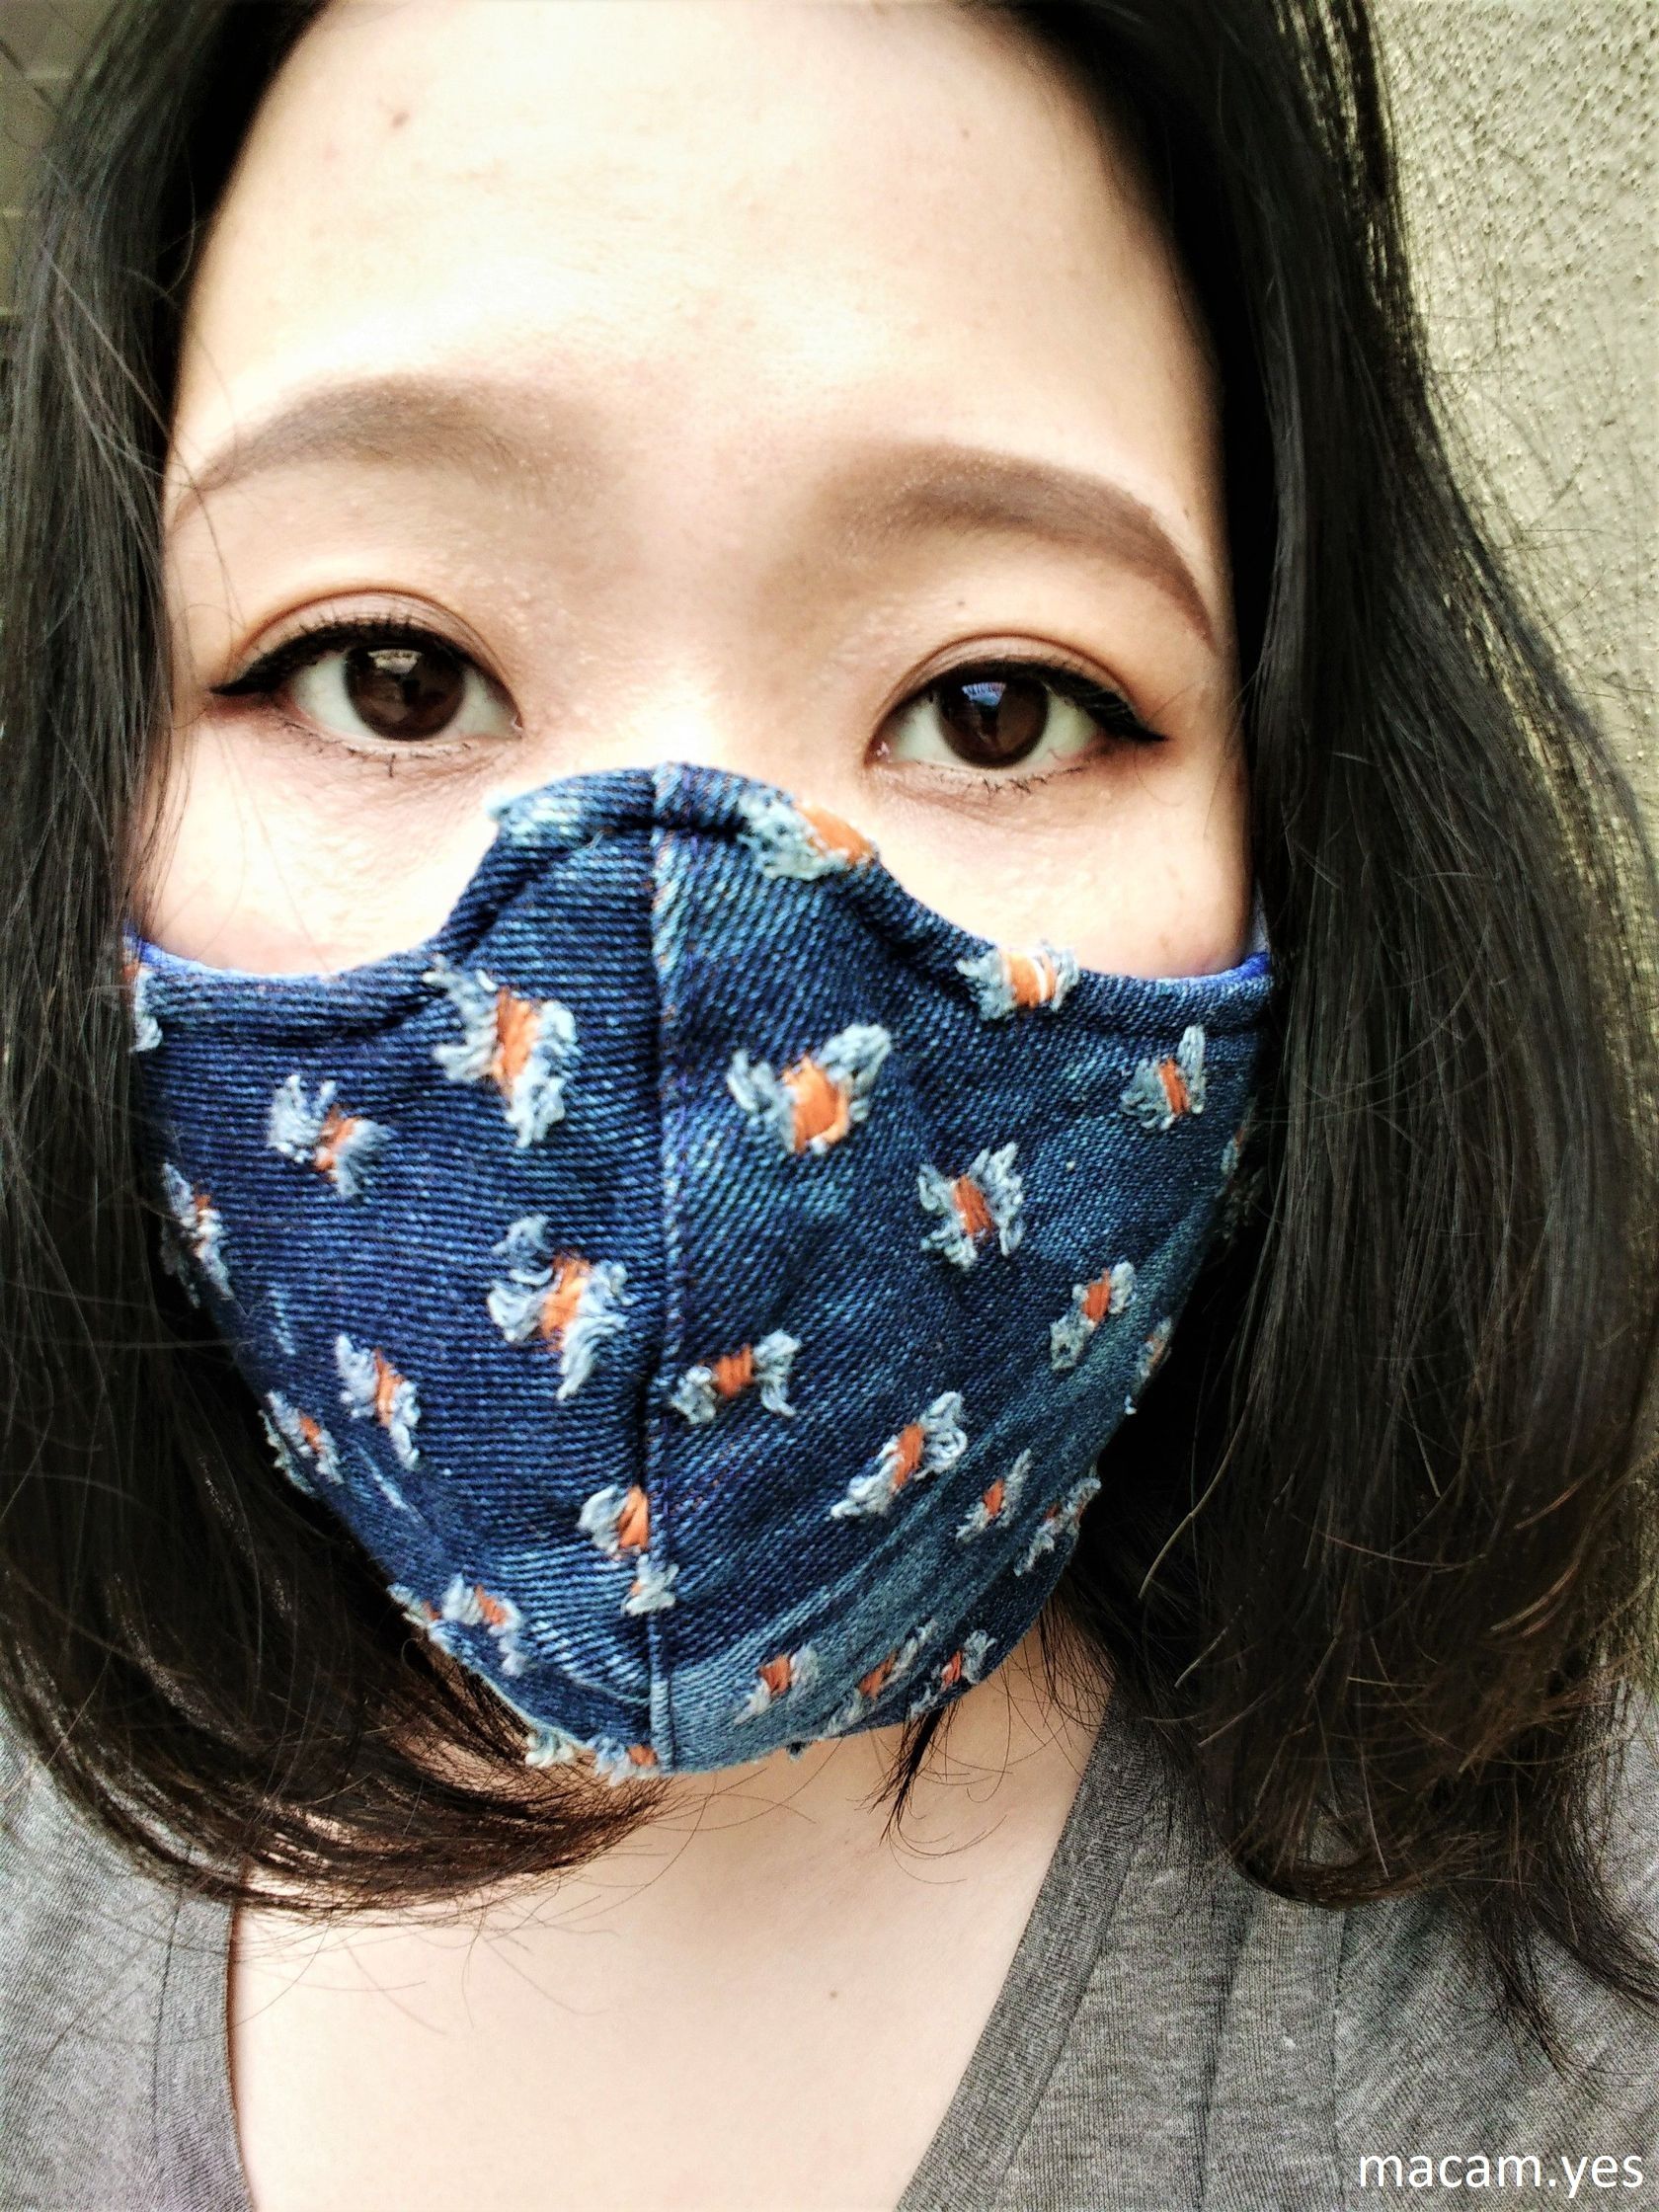
LAST BUT NOT LEAST
I like the details in ur post. It shows u really put in the effort and time. I applaud that.
Thank you!! I try to be as specific as I can so that it will be easier for people to understand what I am trying to convey and I am glad it paid off...haha...thanks for reading once again!! :)
Thank you!! I try to be as specific as I can so that it will be easier for people to understand what I am trying to convey and I am glad it paid off...haha...thanks for reading once again!! :)
I feel pretty just by reading this. HAHA! I should give you a shoutout on what you've done for me <3
Hahaha!!!please do and thank you for your support!!! XD
I feel pretty just by reading this. HAHA! I should give you a shoutout on what you've done for me <3
Really good and elaborate tutorial! Really good post.
Haha...thank you!! I know there is still room for improvement but I am glad you enjoyed it. Thank you for reading!! :)
Uuuu i love innisfree’s microcara and eyebrow pencil 😃
Are you a makeup artist btw?
Yes!! Innisfree has some really amazing products and the best part is that personally i find them affordable. :D i am actually an aspiring makeup artist still taking professional make up classes, lol. XD thank you for dropping by!! xoxo
Cool! 😃 looking forward to more tutorials
Congrats. Good hit 4 a good effort
THANK YOU!! :D
I think your post is able to bring many people together regardless of race colour or religion...good effort. Its a type of good karma.