Tutorial: How to change your hard disk drive with detailed images
Hard Disk Drives
Hard disk drives are storage devices which uses magnetic storage to store and retrieve data, they are usually mounted as internal components on the motherboard or used as external data storage devices with the aid of a HDD casing. In this tutorial, i will be teaching you guys how to change the internal hard disk of a laptop in the event of a hard disk failure.
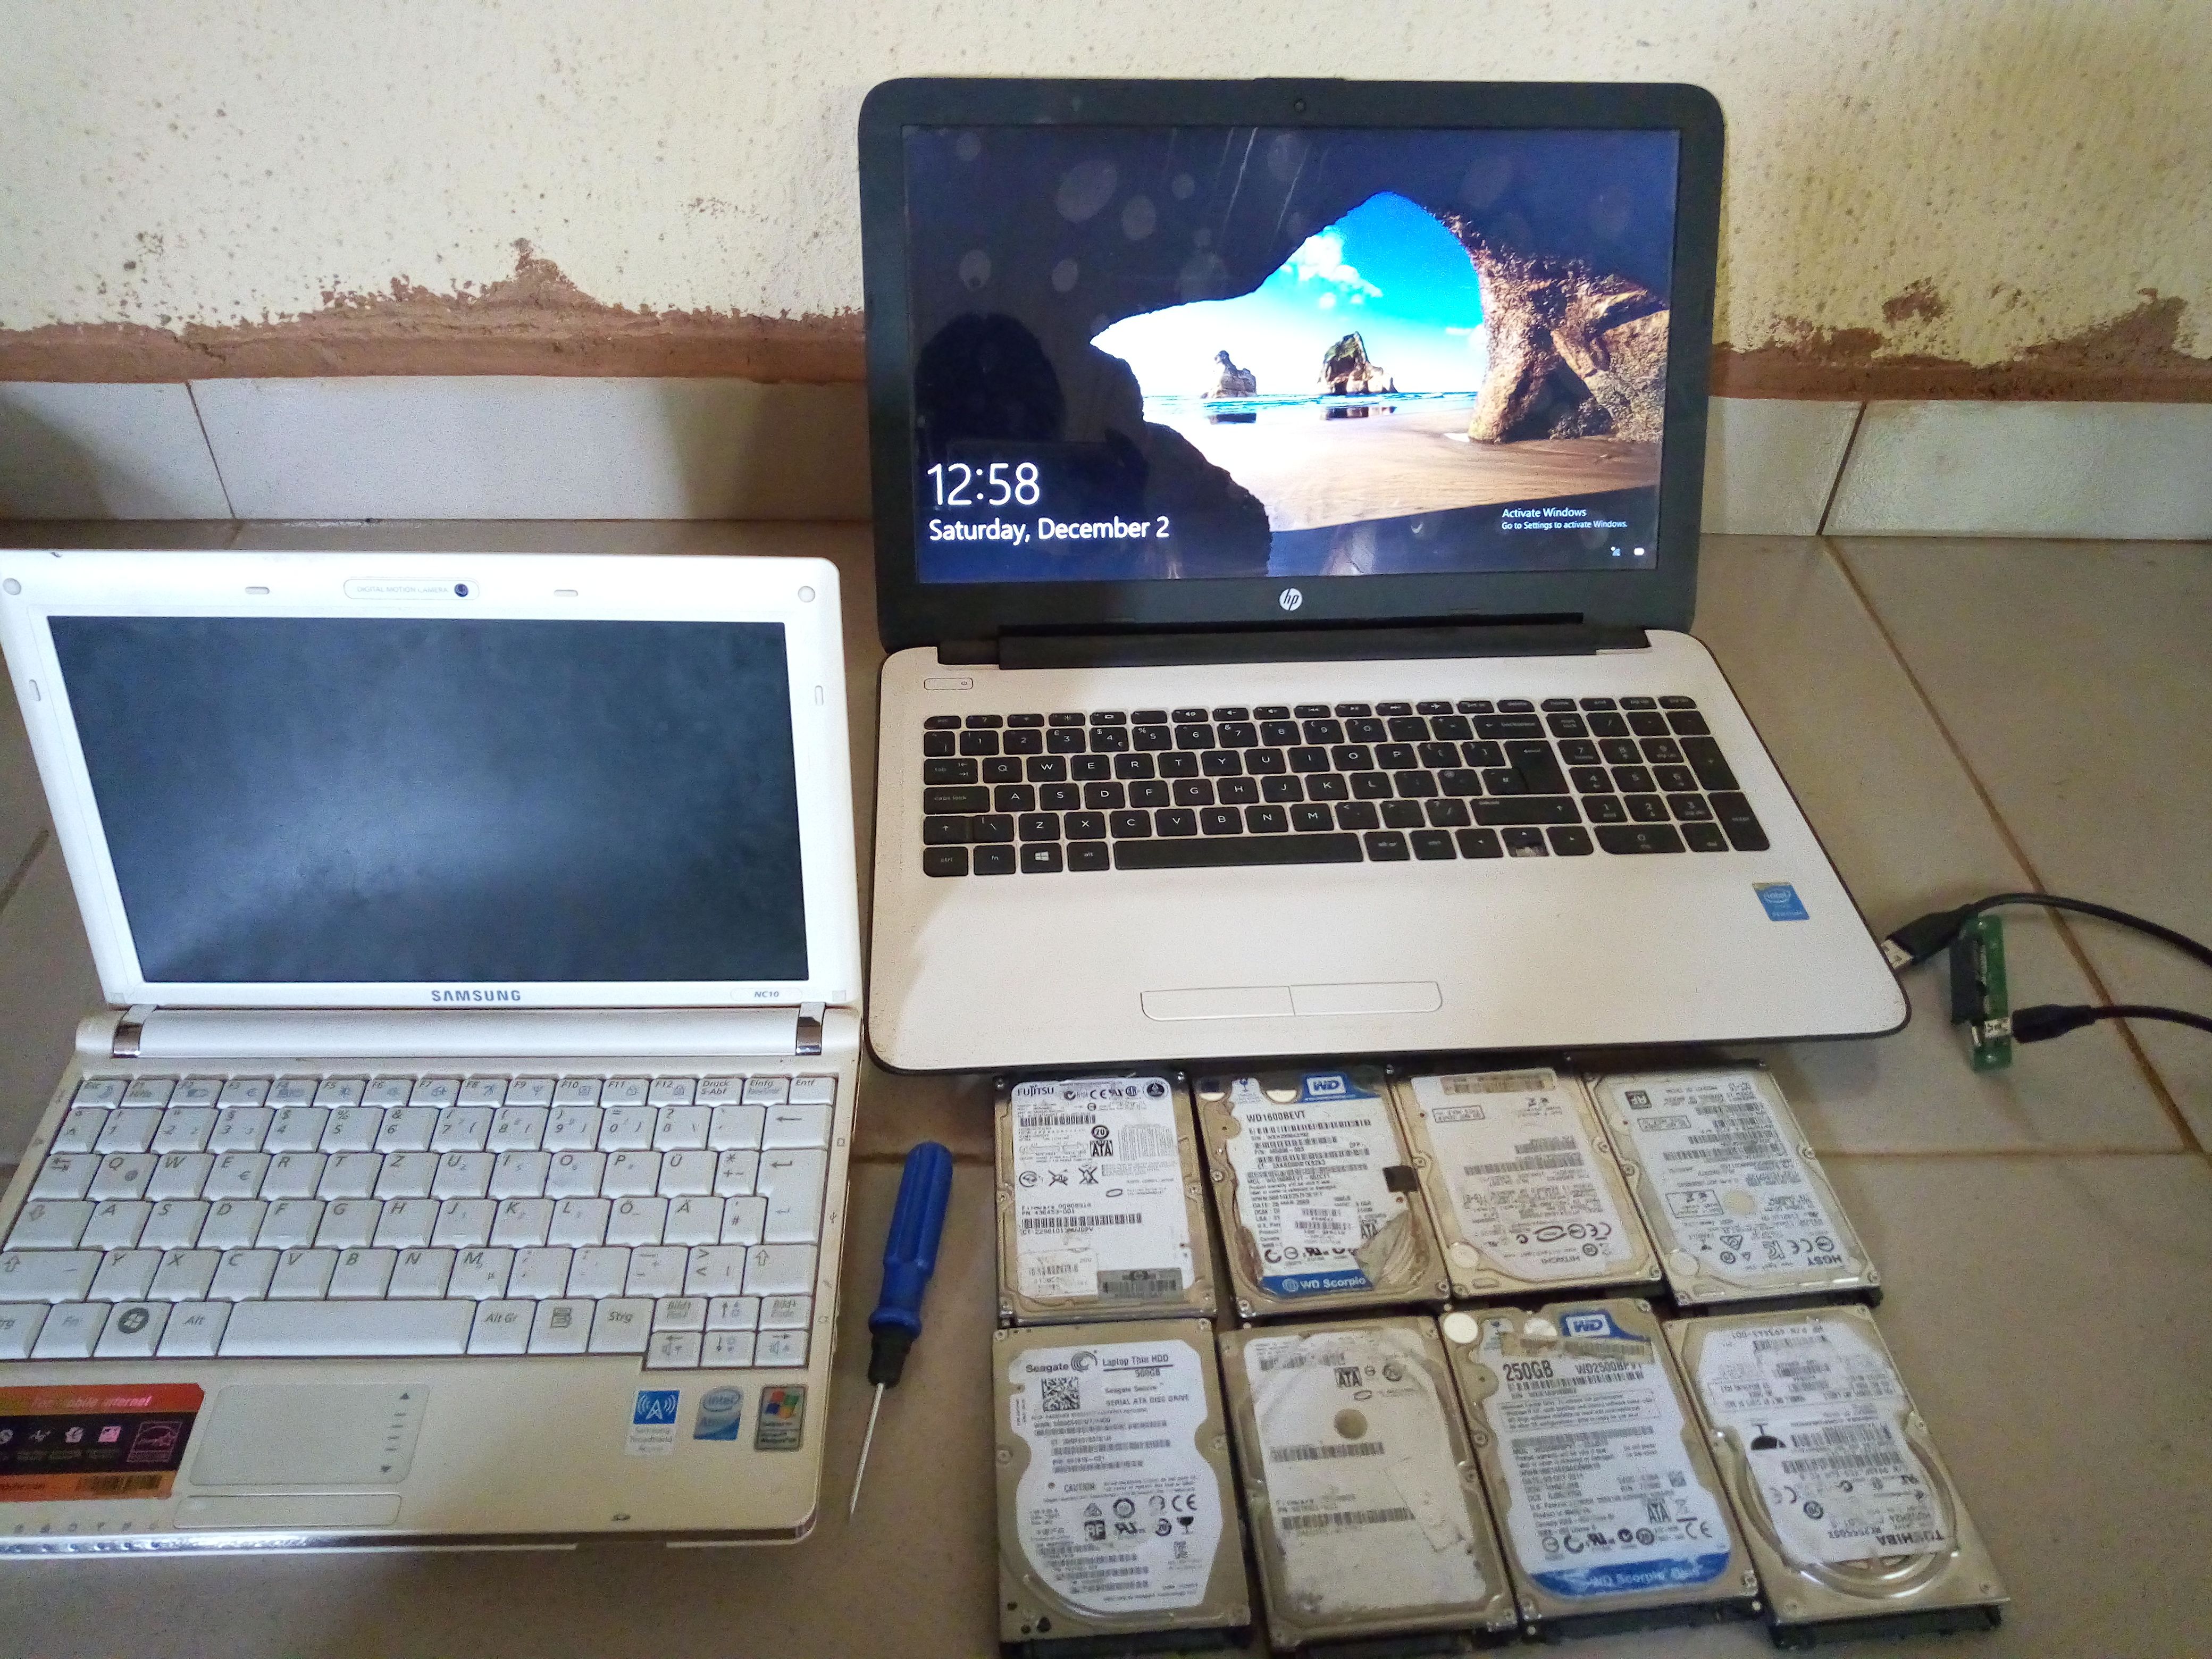
For this tutorial, we are going to need the following;
A Samsung mini laptop
A Star Screw driver
A replacement Hard disk

Step 1: Disconnecting all power sources
The battery is the major source of power supply to the laptop, it is usually made of lithium-ion which has a high energy density, low self discharge and a tiny memory effect, it's advisable to remove the battery before performing any internal operation such as changing your laptop screen, keyboard, ram and hard disk to prevent short-circuiting the motherboard.
Disconnect and remove the battery from the laptop as shown below


Step 2: Loose all screws using your screw driver
The Screws are metallic components which holds the case in place, they are usually star-shaped or flat screws which can be removed with a dual head screw driver as shown below.
Ensure you lose all screws before attempting to open the back cover of the laptop to prevent breaking of the back casing.


Step 3: Removing the back cover
The back cover or case is a component made from steel, aluminum or plastic, it is the component which protects the motherboard from the external effect of the environment; dust to a minimal level and absorbs the impact during a fall hence protecting fragile components like the hard disk. Remember,the hard disk is made up of internal magnets which write and read data and if a single magnet breaks, it stops working.
Gently open the back cover from the side carefully, ensure all screws are loosed and kept safe.


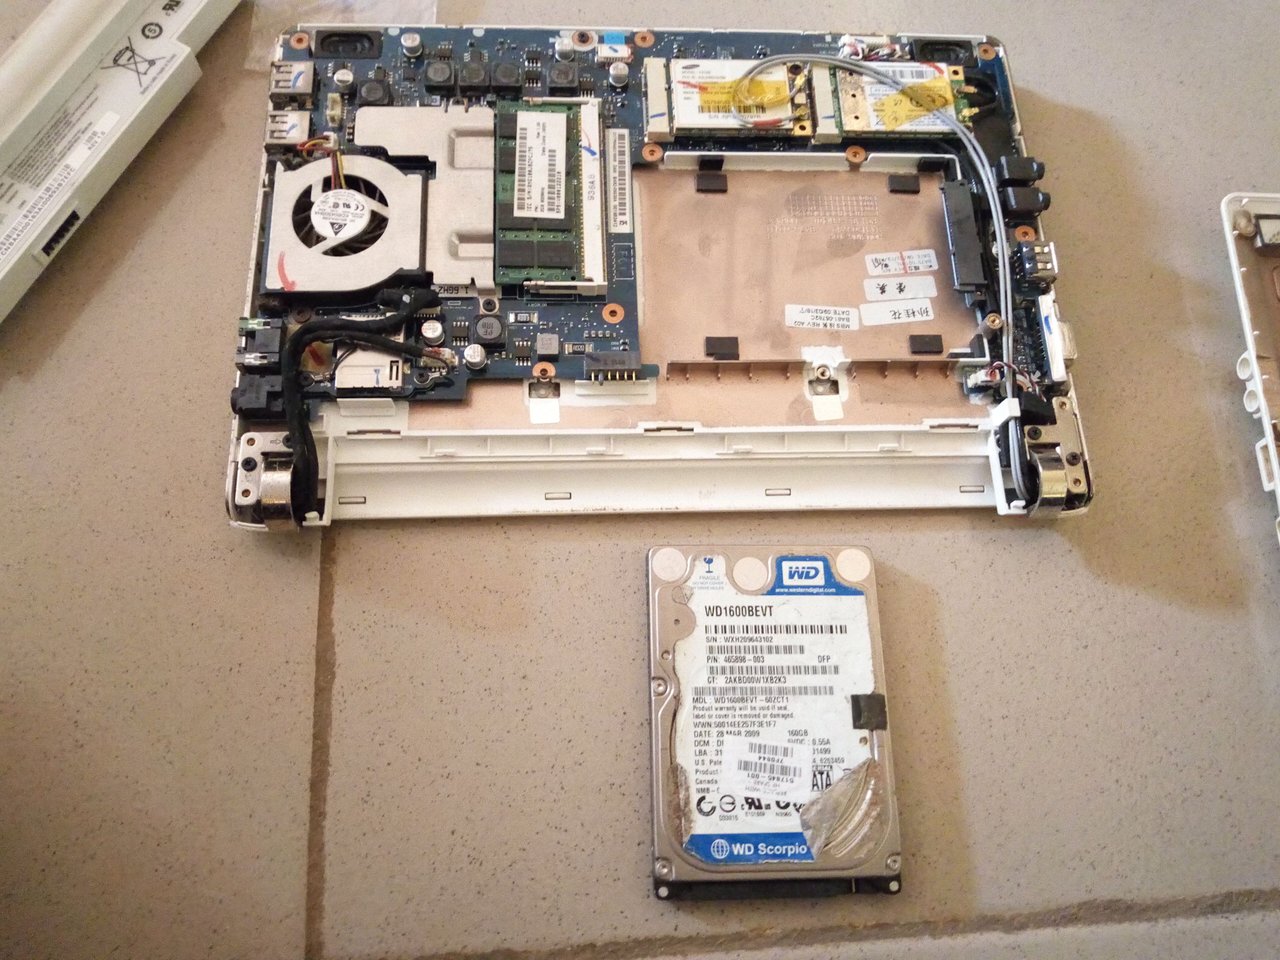
Step 4 : Removing the old hard disk
The Motherboard is the printed circuit board which houses all the main components such as the central processing unit, memory, sound cards, cooling fan,hard disk drive, network cards, display adapters etc and allows communication between them.
The SATA(Serial Advancement Technology Attachment) Connector is a connector on the motherboard which reads and write data to the hard disk and also transmits power to the SATA hard disk drive. SATA allows for faster data transfer,hot swapping and more efficient Input-Output queuing protocol when compared with its predecessor Parallel ATA.
Remove the hard disk from the Serial Advancement Technlogy Attachment connector carefully, as you can see below i am using a 160gb Western Digital SATA hard disk drive

Step 5: Replacing the old hard disk with a new 250gb WD hard disk
Look closely at the second image below, you will see that the SATA hard drive has several pins. The smaller number of pins is used for data entry while the larger number is used for supplying power to the hard disk. The connector draws power through the motherboard and supplies it to the hard disk while reading and writing data at different locations.
After removing the old hard disk, take a new hard disk and slot it into the SATA connector carefully on the motherboard


Step 6: Replacing the back cover and screws
The laptop case is an essential component which along with the fan protects the PC from dust which may cause overheating and reduces PC performance.
Replace the back cover and screw all nuts back into position.


Replace the battery and Voila!!
You just successfully changed your internal disk drive in six easy steps.
For more tutorials, Follow me.
Feel Free to Resteem and ask questions.
Thanks for reading.
Nice guide.... @originalworks
The @OriginalWorks bot has determined this post by @druids to be original material and upvoted(1.5%) it!
To call @OriginalWorks, simply reply to any post with @originalworks or !originalworks in your message!