AWS for small business - An introduction ( Setting a monthly budget)

Photo by Simon Stratford
I wanted to do a series on Amazon Web Services and the appealing options they offer small to medium businesses in search of cloud-based solutions. I wanted to touch on some of the most common services and how to get started with each one as well as some useful tips to help you get the most out of your AWS account. If at any stage you have a question or if you want me to cover a specific topic, please let me know and I'll be happy to assist.
Introduction
Amazon Web Services hosts some of the world's largest companies on its global cloud infrastructure. Companies like Netflix, Airbnb, Spotify, and Pfizer, just to name a few, have chosen to trust Amazon with their cloud infrastructure requirements and for good reason.
This global giant offers a secure, scalable and cost-effective cloud computing solution consisting of a myriad of various services. Currently, AWS boasts 130 individual services which are then subdivided into 19 product categories but don't quote me on that number, because of consistent growth, the number of individual services changes regularly. This is impressive, but what do they offer small business and startups with conservative budgets?
AWS offers what they call Free Tier to all new subscribers allowing you to use the eligible services for twelve months free provided you stay within the usage guidelines. Further, there are also the Always Free services that are free during and after your twelve-month initial period. This is an extremely attractive offer because it can potentially allow you to get your business online for a very low cost in the initial stages of a startup.
“We looked at Amazon S3’s pricing, design, and ease-of-use and were blown away. At the end of the day, it comes down to cost and performance, and Amazon S3 is the best on both counts." SMUGMUG
Cost is a no-brainer when you start comparing AWS to conventional in-house infrastructure.
The ability to scale resources up and down, switch them on/off, rapidly experiment and build to the exact capacity you require compliments the nature of a small business or startup.
“AWS has enabled us to build, deploy and scale our product in record time, raising the bar for rapid innovation.”
OOYALA
What makes Amazon Web Services a serious consideration in my eyes is the fact that they have thought about the small business and have built avenues into their products to make entry very easy and affordable. In future posts, I will break down some of the services into more detail but for today let's start with the first step.
I know this is very basic stuff but there is one important step here that people often overlook that I would like to share it with you. Something you must put in place which could just save you thousands of dollars, so bear with me. If you already have an AWS account skip this next part.
Part 1
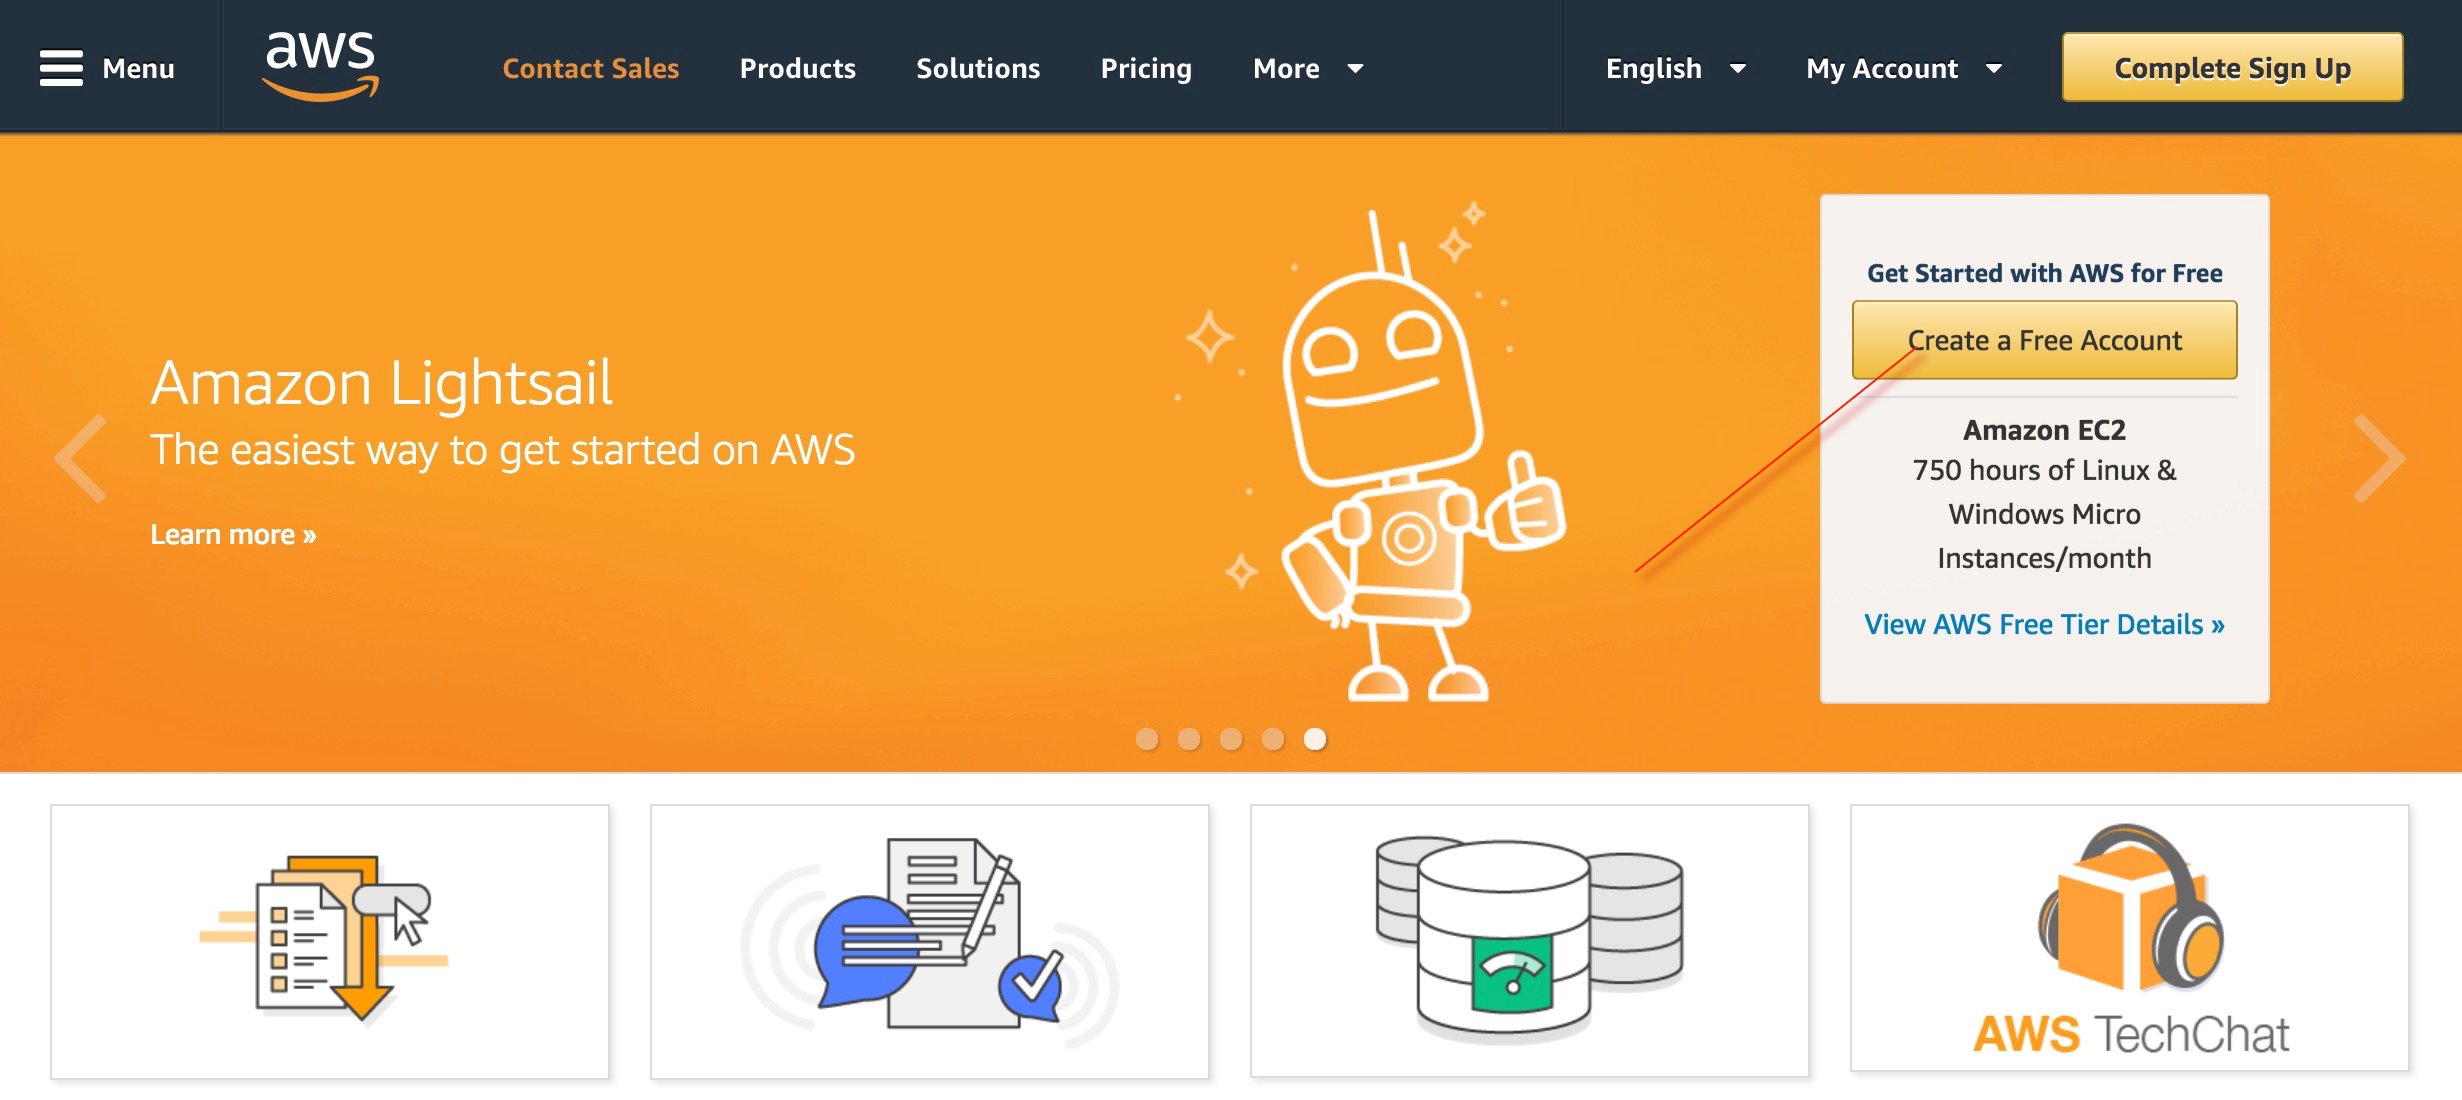
Head on over to https://aws.amazon.com/ and click on Create a Free Account. From here follow the instructions step by step to add your personal details. I am not going to go through this part with you in detail, but if you do get stuck or have a question I am here to help. You'll also need to provide credit card details so I can't help you with that, unfortunately. Take note: - The account you create now is the root account which has full privileges over all services and billing. In a later post, we'll walk through the steps to add the admin user which AWS recommend as best practice for daily access to the account. Walk through the on-screen instructions and I'll see you on the other side.
Part 2
So your account is created and you've logged in. This is what I wanted to get to and for a very important reason. Amazon Web Services is a paid cloud service and you have just linked your credit card to this account. Some of the services fall into the Free Tier category but others don't. It is very easy when first using AWS and experimenting to turn on a service and forget it's on or even not know you've turned it on. I know, because I have done it myself. AWS wouldn't know what your intentions are with your account unless you specify them so we're going to take a step here to mitigate the chances of any billing surprises at the end of the month.
We're going to set up a budget with a notification to warn us when costs in your account exceed a threshold you specify. Follow along and let's get this in place.
Step 1
Toward the top right of your screen, you should see the name of the account which you just created. Go ahead and click here.

Step 2
From the drop-down menu, select My Billing Dashboard

Step 3
Next, on the left of your screen, you should see a menu as per below. Go ahead and select Budgets

Step 4
Go ahead and click on Create Budget. You'll then see the screen as per below. The budget type we want to select is Cost. Then name your budget whatever you want. You can have multiple budgets so naming them will help you identify each in the future. Select your Period, Start date and End date. Now is the important bit. Set the budget for your account. A value you are comfortable paying but do not want to exceed.

The next section is not important for now as we're setting the budget for our whole account but just know that you can refine your budget further with these options.

Step 5
Now we get to the final step which is important. We need to set the notification. So for my account, I like to get notified when my cost is greater than 70% of the budgeted amount. This gives me time to take action but you can decide for yourself what you're comfortable with. Now we haven't touched on SNS topics yet, so we're going to stick with a email notification for now so simply add the email address you want the notification to be sent to. You can add multiple email addresses simply by separating them by a comma. Finally, go ahead and click Create. Before your budget is activated, you must accept notifications via the confirmation email you will receive in the email address you specified.

So that's it! Very easy, but this first step gives us a little piece of mind before we start to explore all the available services. Remember please that this does not stop charges in your account from exceeding the threshold, once you get a notification you still need to take action to stop those services running up your bill.
In the next post I'll start going through some of the steps to start securing your account then we'll start looking with some of the services and see what they have to offer. For now, take care and please if you have any questions leave them in the comments below and I'll be more than happy to assist.