Cloning Kush 'N Cheese: First Ever Attempt To Clone Cannabis
In HONOR of today being 4/20
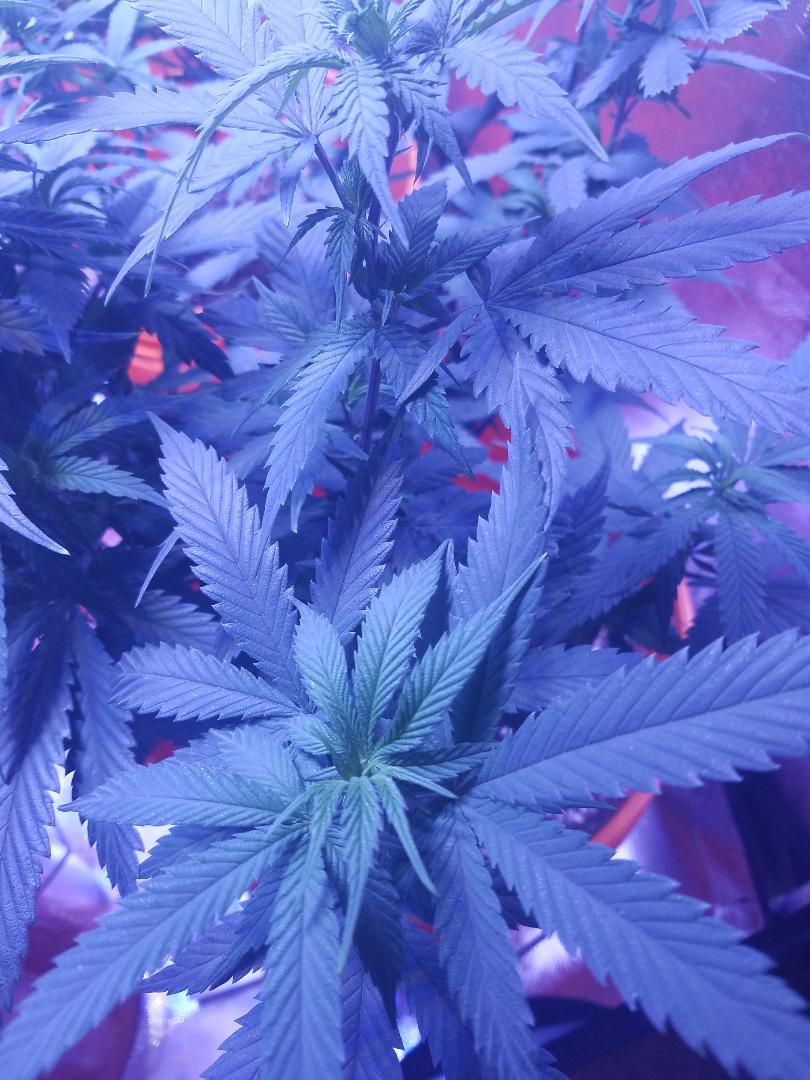
Kush 'N Cheese
KNC is 60% sativa/40% indica and this is my first time growing this strain. In the past I have grown Sour Diesel(sativa) that gave me a fairly good yield; and according to those who consumed it... "one of the best" and a few "Yeah, that's really good". I almost cloned the Sour Diesel back in December before the flowering stage began, but I was to green; as this had been my second crop. I felt I needed more experience growing before I ventured into cloning.
What is the difference between sativa and indica?
If you had asked me this question one year ago, I would have given you the deer in the headlights' look. But now after months and months of research, visits to the kind of local hydroponics' store and talking to other growers, I have become a wealth of information.
Sativa
Ready to be the life of the party? Want some energy? Then a sativa is on the menu for you. Sativas are great for edibles too I have found. You get to have a burst of energy as well as satisfy that hunger pain of munchies.
Indica
Indica strains are the ones you want to consume when you're looking to relax. You know, after that hard day of work and you need some time to cool down, let the adrenaline leave your body and you just want to de-stress.
Cloning Process
Step One

Gather all sanitized and clean supplies before cutting the plant.
Items needed are:
- Sharp scissors
- Razor blade
- Solo cup with 3-4 holes poked in bottom
- Drainage plate
- Water and spray bottle of water
- Root Riot cubes
- Clonex gel
- Coco Coir soil/dirt
- Clear lid/water bottle for dome
- Rubber gloves
Step Two- Cutting The Plant
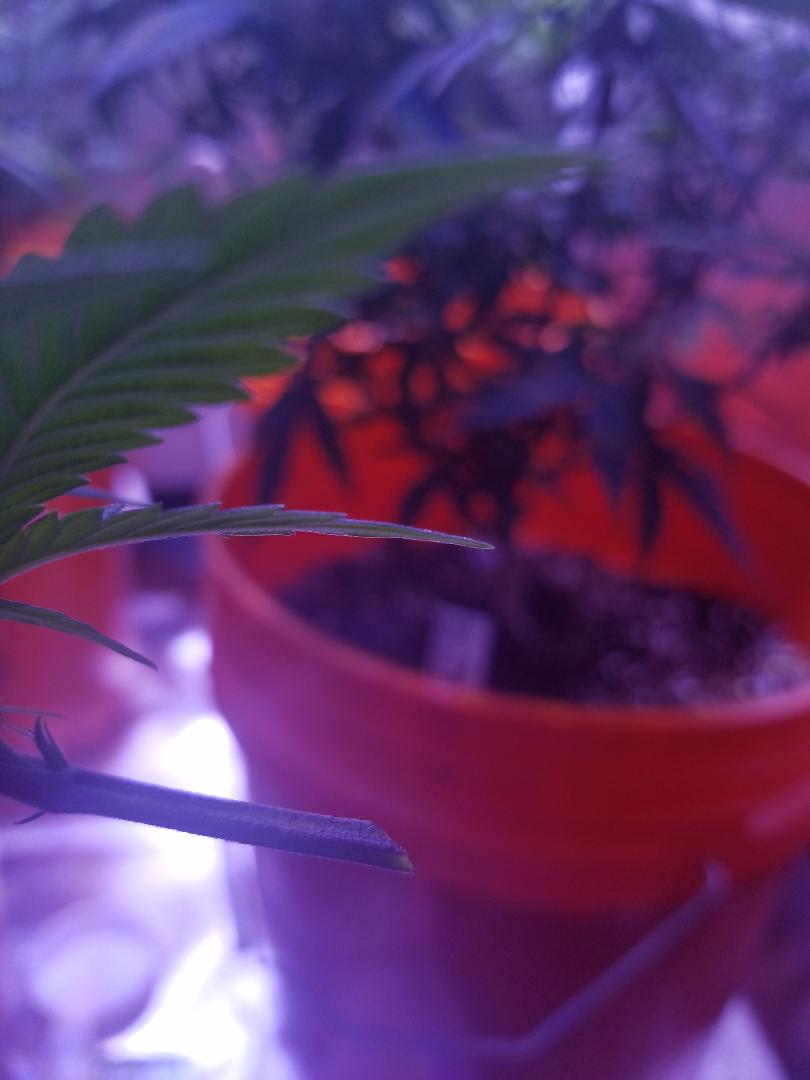
Using the sanitized and sharp scissors, cut a newer growth branch from the mother plant at a 45-degree angle. Make the cutting about 5-6 inches. You want to do this step quickly as to prevent too much air to get into the stem.
Use the sanitized and sharp straight edge razor blade to carefully split a notch in the bottom of the stem. This helps to get the Clonex into the meat of the stem.
Step Three
Have bottle of Clonex ready.
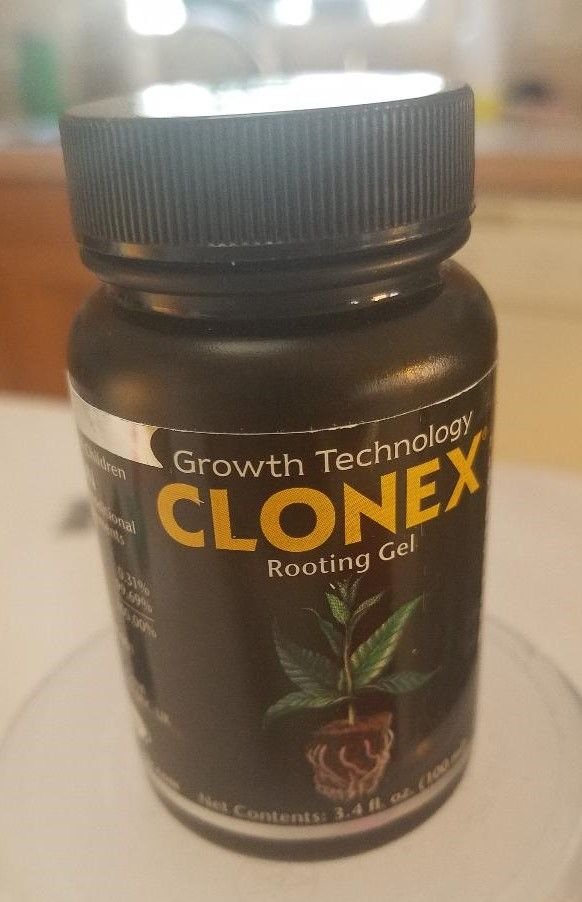
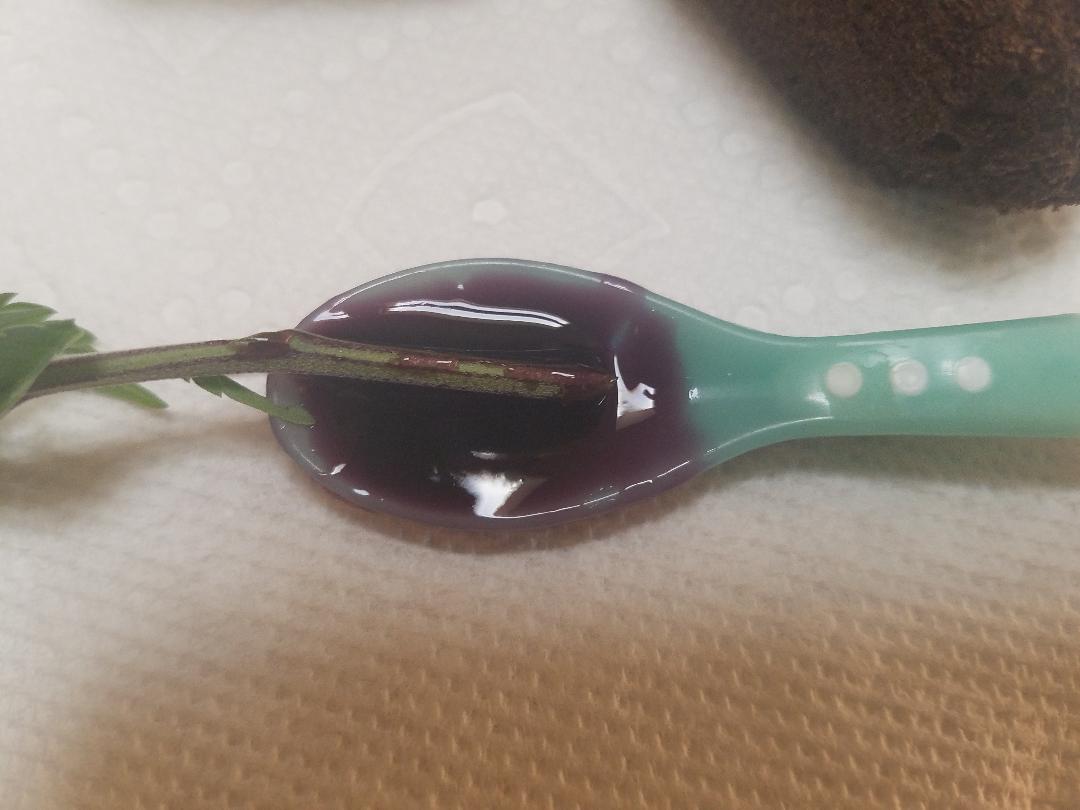
Using a plastic spoon or throw away spoon, pour some of the Clonex gel into the spoon.
You will be dipping the recently cut branch's tip into the gel before putting into the pre-made hole on the Root Riot Cube.
Step Four
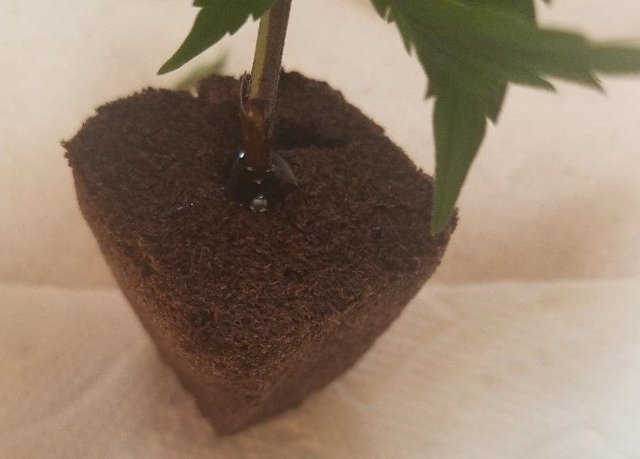
Once you have dipped and swirled the cut branch thoroughly with Clonex gel, gently and carefully not to bruise or damage the branch into the hole on the cube. Push down gently but firmly making sure enough of the stem is in the cube to give it enough support.
Step Five- Transplanting To Cup

Fill Solo cup with chosen dirt. I have been using Coco Coir; so that's what I filled the cup with about 3/4 of the way. I carefully placed the cube with clone into the soil and added more as needed to cover the cube and about two inches of the stem. Making sure there is enough support for the next two to three weeks. I watered the cube and plant thoroughly but did not over-water or saturate dirt too much.
Step Six- Trimming the Fan Leaves
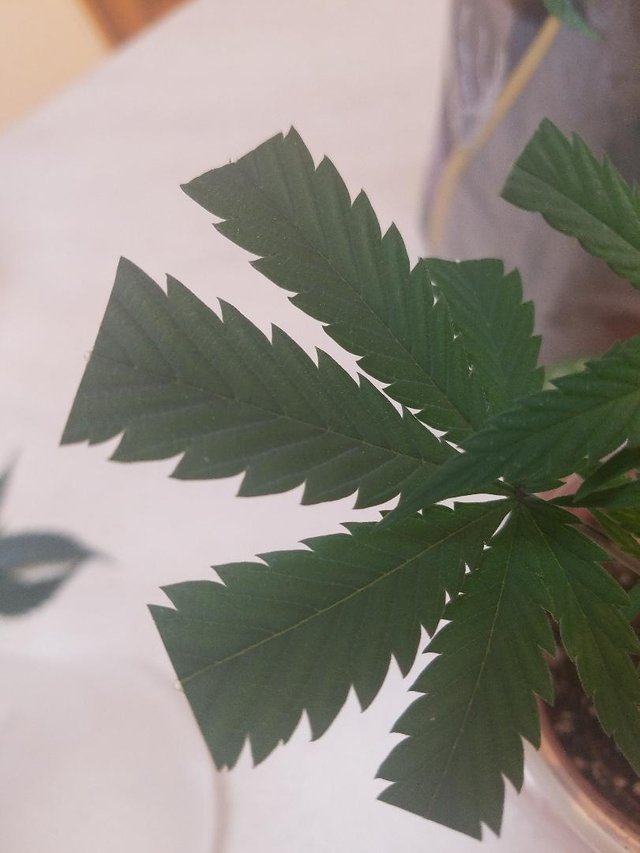
The reason I am doing this is because I have read how trimming the fan leaves allows for more nutritional value to go to the coning process and the development of the clone. It helps to conserve the energy the clone needs to grow and, Heaven forbid not be a success.
Final Steps- Spritzing Leaves & Dome Cover
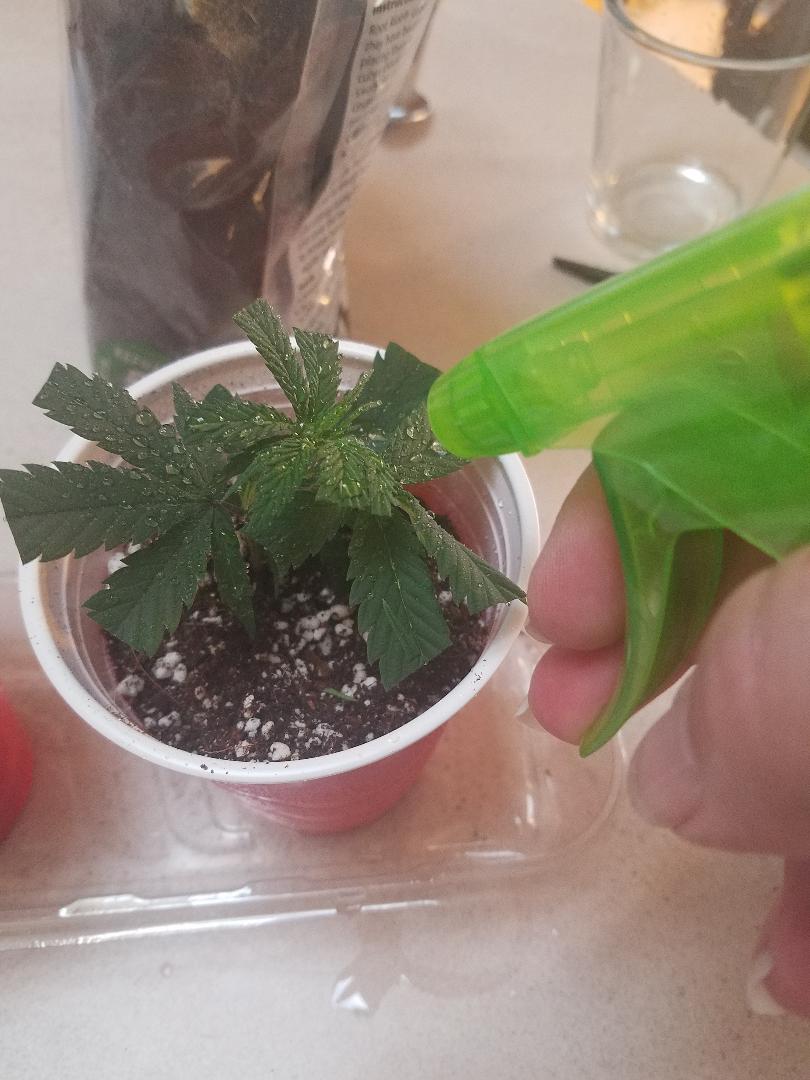
Take the water bottle of lukewarm water and spritz the freshly trimmed fan leaves and plant. Make sure the stream of spritzing is not to harsh. Keep it at the lightest spritz possible.
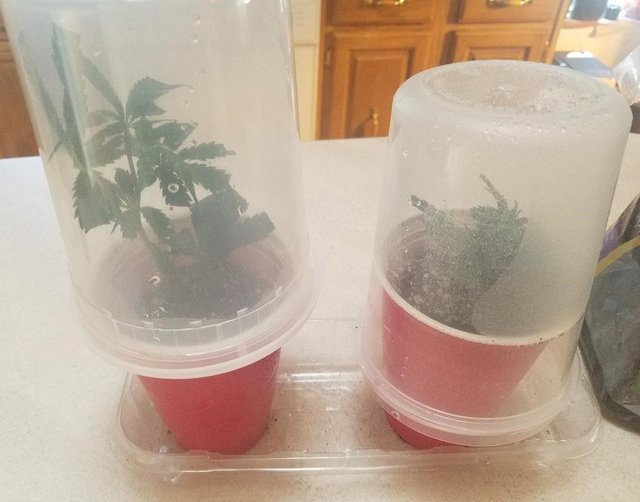
Finally spritz some water into the dome. Once you have this one, cover the Solo cup and clone. The reason for the water spritz into the dome is to help build and keep humidity for the clone.
I am keeping them under 24/7 lighting of a T5 fluorescent light in my second grow tent and will be monitoring the progress daily; more like ten times a day as I want to be successful with this first cloning venture.
Now I let the clones sit covered, watering as needed and keeping the moisture for the humidity levels inside the dome for the next two to three weeks. Once I see roots beginning to grow out of the bottom of the Solo cup in about 14-21 days I will need to transplant the clone into the 5-gallon bucket.


So you put it straight into soil and then cover with humidity dome... different from most of the people do. They usually wait 5-10 days until the cutting starts pushing the roots. But if it works for you, then no reason to change it.
No it's not straight into the soil; I use the Root Riot cubes, cover the cut branch end with Clonex then put the entire cube with plant into the soil. This is the way I was taught through the men at the hydroponic store here. They gave me some excellent advice on other topics that were successes, so I took what they told me for this to be solid advice.
Sativa with my coffee and indica with my nightcap. Makes everyday lovely when it works out that way for me. We all have a moral obligation to he happy, try not to pass on a helping hand when it's offered I'd say.
lol- I like that reference...
I am glad to here to see your post it is awesome post you must continue sharing shuch information you are my mentor i salute to you changed my life and make me a good bloger if you want you can visit my post i well designed and maked by my own words thanks again i congratulations to you to achieve such a great repetition and hope you do more better in future if you have time please visit my blog and give me feedback if i done any mistake hope you be fine
You don't know how happy it made to see this in my feed. :) Excellent how to guide. Have you ever tried jiffy pellets? They work great, and come with a little green house.
Actually the little catch tray for excess water at the bottom of the Solo cups is from my Jiffy peat pods set. I bought the Root Riot cubes as a recommendation from the hydroponic store guy.
is riot cubes rock wool?
No they are all organic. They actually feel like a sponge. Very soft and I really like them
How cool! Thanks for letting us into your cannabis world. Certainly a good day to celebrate the art of growing.
It is so weird because I did this last night after hubby went to bed- it's one of those quiet time things I do after he's all tuckered out after working 12 hours and goes to bed. Then I decided to make the post today. It wasn't until I hit post that I realized what day it was today. haha So I went back in and edited the post with the 4/20 reference.
Yeah.. I guess I'm a closet cannabis grower... sad thing is, I don't consume it. I do it for someone who doesn't have the time to devote to it and he knows how passionate I am about gardening, growing plants, etc.
It's cool to be a closet cannabis grower. Good of you to help out another person this way–my cousin does the same thing for a person seeking medical support. I'm usually a closet cannabis consumer, but today is a special day to speak up, I believe. Hope you'll find your own special way to celebrate 4/20.
OMGosh!!!! This had me laughing aloud!!
I've experimented with canna-butter for edibles then made some brownies and once fudge. I want to do Rice Krispy treats one day too.
:) Ooh yes. One time, before I had kids, I hosted an all-day potluck with incredible edibles for breakfast, lunch, dinner, and desserts. That's the first time I tried making magic Rice Krispy treats and they're terrific fun!
I put my cuttings in rapid rooters and let the bottom of my container have a little bit of water just enough to keep the rapid rooters moist. That way i wont waste soil or energy on the cuttings that dont root. Good luck and happy 420!!!!
ALmost like a homemade set-up. I was in the hydroponic store two weeks ago and was looking at the sprouter/propagation and cloning machines, etc and thought... geez! These are so expensive!
Sad thing is, after reading all the directions and instructions, it almost like using my Jiffy peat pods and little starter greenhouses that I already use for y regular garden plants and herbs. So I adapted and made my own. FOR MUCH less!
Yeah stuff can get very expensive. I don’t use none of that stuff. Just a plastic container that holds 12 rooting cubes, and i use the powder. Only thing that’s pricy is the rapid rooters. They cost 18$ for 50 cubes.
well written!
woohoo nice job!! gorgeous and i knew i liked you! :)
lol- there are so many reasons to like me.. but this could be in the Top 3!
so true, so very true ...