Fall Mantivities - Seasoning a new Smoker - Masterbuilt Bullet Smoker
With the fall comes many outdoor activities. Some are fun like going to harvest festivals and picking pumpkins and some not so much...like raking leaves. Out come the hoodies, thermals and flannels to keep us warm while enjoying the fall outdoors, but what really keeps this man (and little man) warm in the cooler weather is smoked meat. Here in Maryland the Pit-style BBQ is a staple and many love the idea of making their own pit beef, brisket or ham, but for one reason or another many just "never get around to it." I'm here to tell you that even if you are working with an urban postage stamp back yard you can be a master of meat smoking and be revered as the neighborhood grill master. Just don't tell the neighbors how its very different from BBQ- they won't care when they can smell the smoker (and its tricks and tips are supposed to be guarded knowledge).
Being the frugal guy I am I try to find the most cost effective means for any interest I have. There are many high quality and large scale smokers that can be purchased, but today I'm going to share my diamond-in-the-rough find- The Masterbuilt Bullet Smoker.
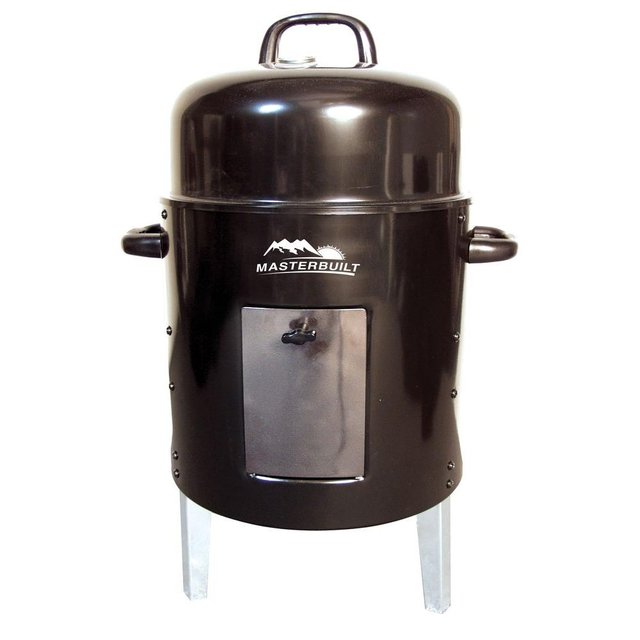
I purchased this bad boy at the local orange big-box hardware store for $29 and have to say that its been one of my favorite for the home outdoor purchases thus far (second being the fire pit). When I find a deal like this I'm a sceptic, but do some research to see what I'm buying, what I need to fix and if I have the means to make it correct. After much reading it seemed that the two main alterations people needed to make were replacing the thermometer and drilling holes in the coal pan for ventilation... I can handle that, but only if needed. So starts my journey with the new smoker....
Seasoning the Smoker
What? You don't just bolt it together, fire the coals up, throw some wood chips in there and start smoking racks of ribs?
NO.
Well, unless you like the taste of burnt plastic and motor oil on your food, then have at it. But most of us would enjoy the ribs better without, especially after spending hours basting, waiting and checking. No matter what smoker you purchase this is a step that you don't want to skip. The basics here apply to all smokers, but details will be very helpful if you decide to go with this great entry model.
The seasoning process takes roughly 4 hours after construction is complete, so unless you start early in the morning don't plan on smoking until the next day.
What you'll need-
[x] Tools for building your smoker - This bullet smoker only requires a #2 phillips screwdriver and a good grip
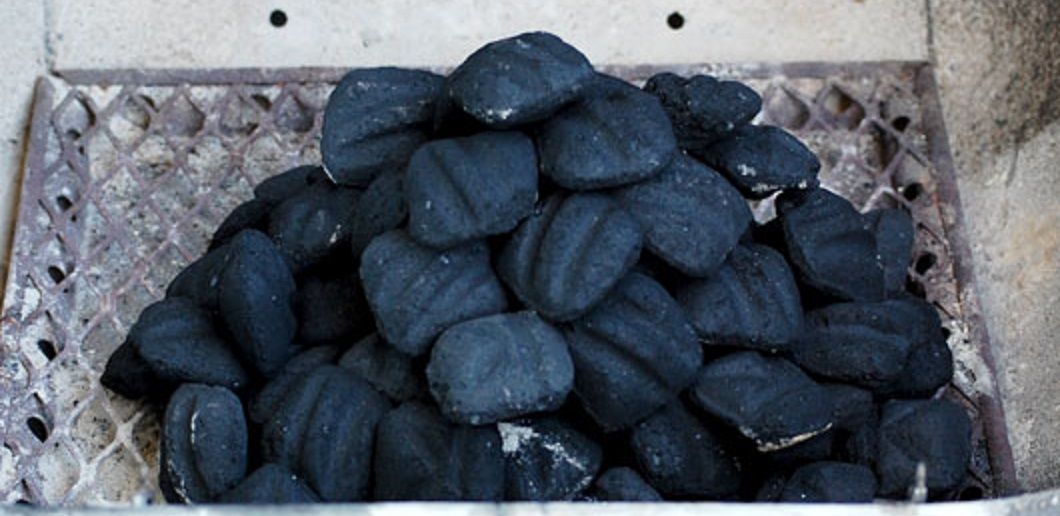
[x] Long burning, NON-Matchlight briquettes (I'll go into why you don't use Matchlight in a smoker later)
[x] Odorless lighter fluid
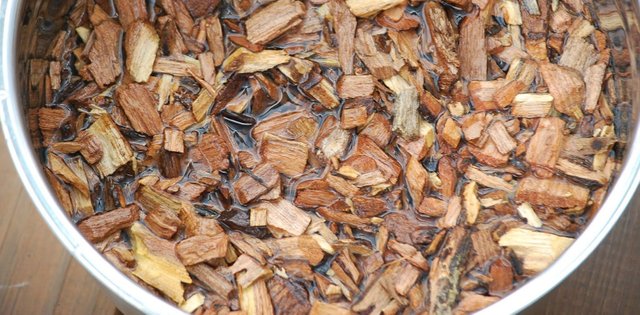
[x] Bag of food-grade smoker wood chips, any wood will do and won't effect the flavor of future smokes
[x] Cheap olive oil
[x] Standard degreasing dish soap
[x] 2 clean cloth rags that you won't mind throwing away
[x] Bowl or bucket for soapy water
[x] Mixing bowl to soak wood chips
[x] Long nosed lighter - fireplace lighter
[x] Fire poker - like for a fireplace or a long stick will do
[ ] opt. for this smoker- You will need to replace the thermometer after the first use. You won't need anything fancy, just search for smoker thermometer on eBay and get one that is stainless steel and from the US. 2-2 1/2" diameter and reading from 100-350f is essential, anything reading up to 450-550f is fine, but our range is 100-250f. This is the only mod we will need for this smoker. Don't drill ventilation holes in the coal pan- I think those people were trying to use this as a grill for 300f+... this is a smoker and actually does a great job hovering around the 200-225f mark out of the box.
Now we are ready to go.
Start by unboxing all of the smoker components and separate them into two groups-
- Touching or close to the food (Lid, chamber, coal bowl or base, water bowl, side door, grills and grill brackets, etc)
- Stuff that won't matter (Legs, handles, bolts and wingnuts)
Next we want to mix the dish detergent with warm water and using one of the rags rub the inside and outside of the parts from group 1 down well and rinse the soap off of them. This will remove any oils left on the metal from manufacturing that may contaminate your food. My smoker's chamber and lid were wrapped in plastic and there was a residue left on the metal like a glue was used to seal it to the metal. Don't worry about scrubbing that stuff off. Its an inert material that will get sealed in by the creosote during the seasoning process. Just give everything a good scrubbing and rinse the soapy water off.
After that take your second rag and coat the insides of the lid, side door and chamber with the olive oil. Do the same with the grills and any brackets that may be inside the chamber for supporting the grills and bowls. This will be our anti-rusting agent and will also help in the building of our nice creosote layer inside the smoker.
Now we are ready for assembly. This smoker took me about 15 minutes to assemble per the directions. Do leave out the water bowl and two grills so you can load the coals easily. Pile the coals in a pyramid/cone shape standard to charcoal grilling. This smoker will take 4-5lb of coals for the initial lighting.
Now we want t take two cups of the wood chips and place them in a bowl with water. Soaking your wood chips for smoking is a very important step to not forget. This keeps the chips from burning off quickly and gets you the most smoke from the chip before becoming ash. We want these to soak about 30 min before adding them to the coals, so now is a good time to get that going.
Liberally apply the lighter fluid to the charcoal. Don't worry about the coals flashing during the lighting because this type of lighter fluid has a higher evaporation point than gasoline or zippo fluid. You want to soak the coals because it is much more dangerous to add fluid after lighting than using the correct amount out of the gate. Just don't create a lake in the charcoal pan, only soak the briquettes. Next we open the side door and light the long nosed lighter, lighting a couple points of the pyramid around the base. You'll see the pile take off and then in a couple minutes die down. This is fine. We want to see the edges of the coals start to turn white and spread across the surface of the briquettes. Once a fair number of the briquettes have turned about half white we want to knock the pile down with our fire poker and mix them around so that there is a balance of lit briquettes to ones that may still be lighting.
Now we carefully install the water bowl (empty) and grills and wait for the coals to fully ignite. This can take 20-30 minutes from lighting, depending on the amount of success with the briquettes starting. You can now place the lid on with the vent fully open.
After 20 min of heating up we can open the side door of the smoker and check its progress. By now the coals should be mostly white and spread evenly across the coal pan. If not move them around with the poking stick so that any unlit coals are touching white burning coals. Take about 1/4 of the wood chips and evenly scatter them on top of the coals and close the side door. Shortly after you will start to smell the sweet signature smell of a smoker from your choice of chips.
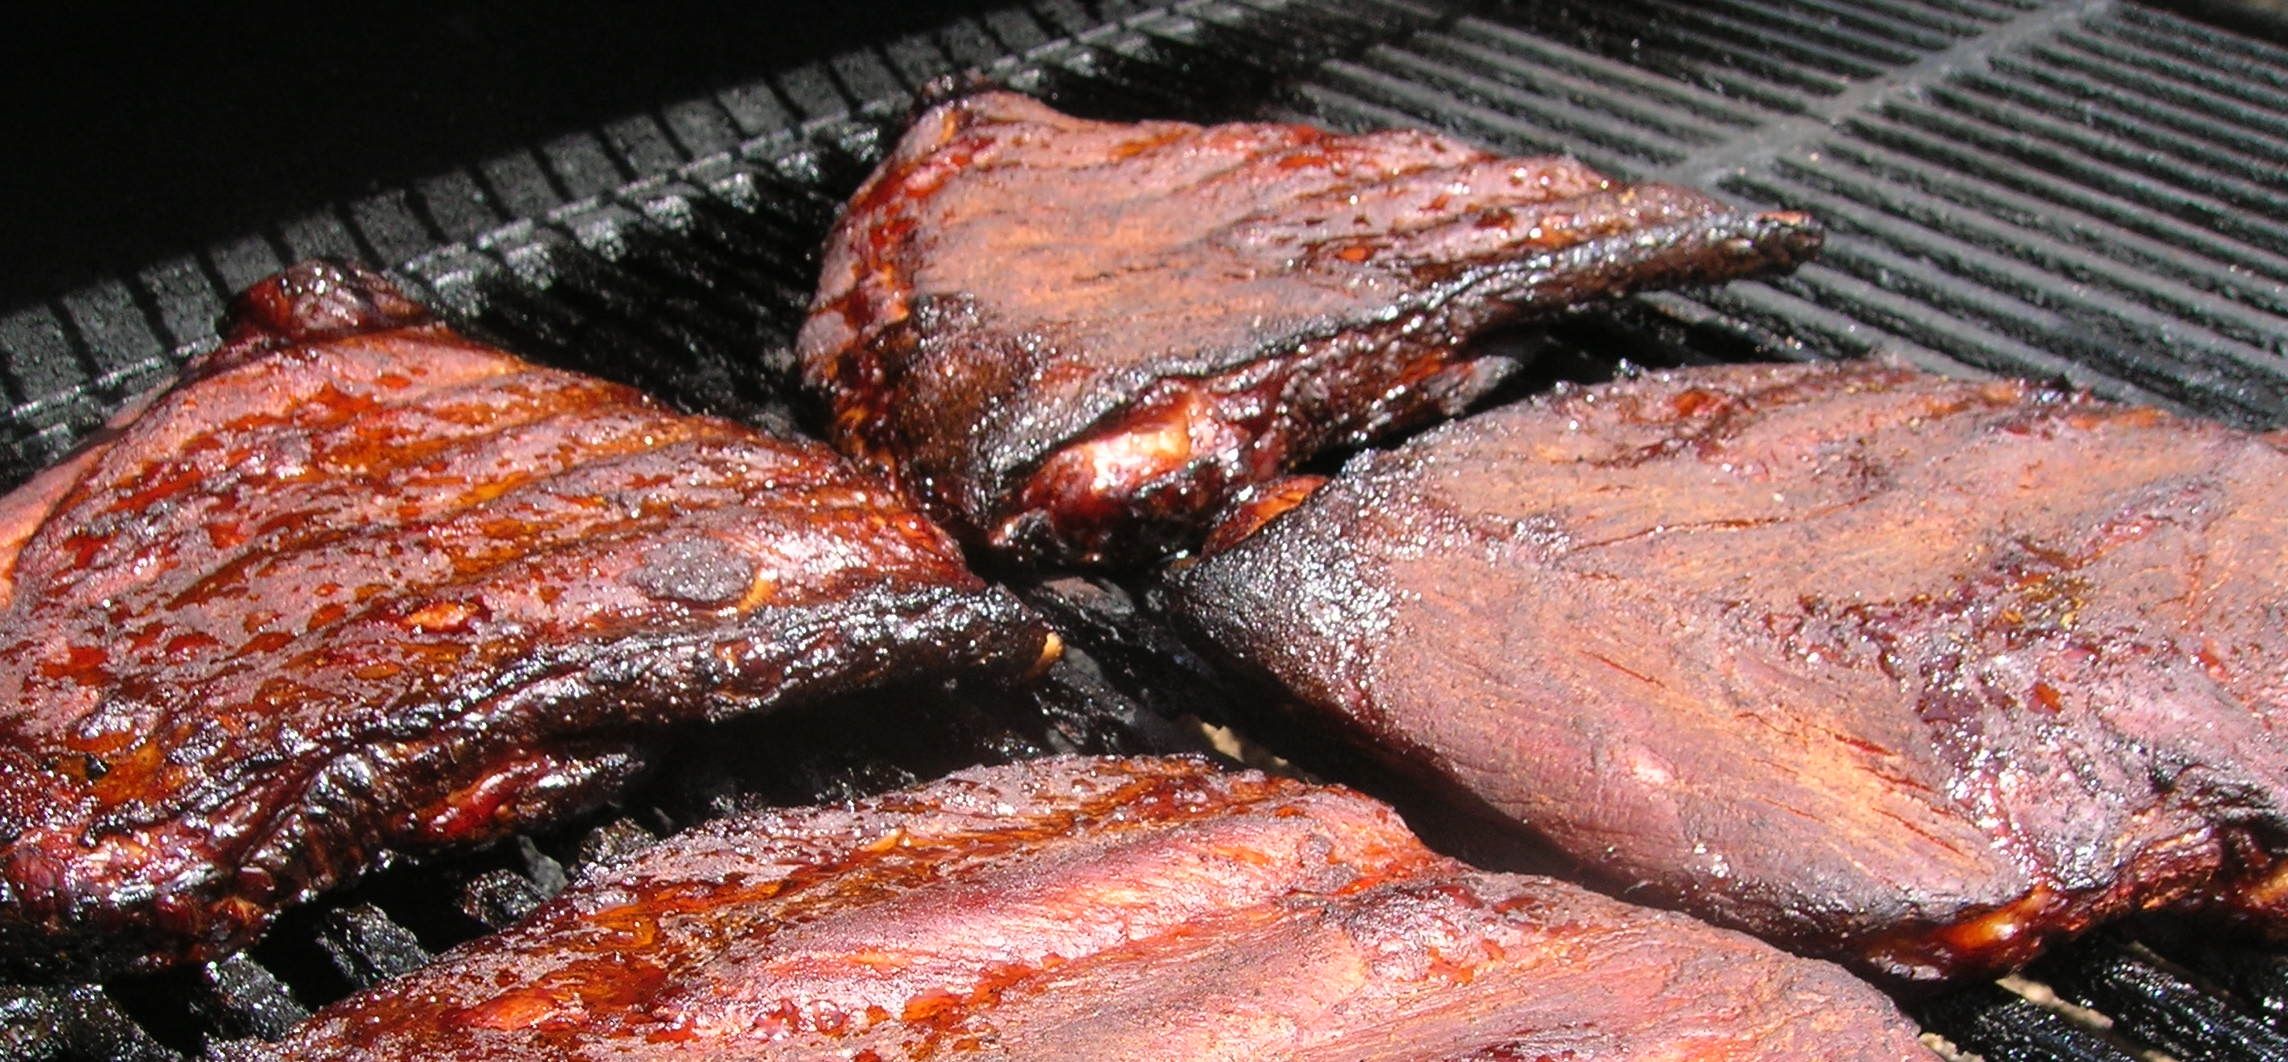
For the next 3-4 hours you want to keep the temperature at about 225f. This is the smoking target temp when you will be smoking your meats. The smoking range is 200-225f, the next range is BBQ 225-350f, and above that is baking range. For this bullet smoker you will want to add 6-8 briquettes and a small amount of chips every 30 min or so to accomplish this. After 3 hours or so you will see the nice blackened surfaces inside of your smoker that prove a successful seasoning.
The steps mentioned above can be repeated every time you want to use your smoker. If your smoker came with a water bowl be sure to fill it to the line while the smoker is heating and check it regularly to make sure it doesn't steam itself empty. You want to keep it with water so that it adds to the meats tenderness. You can also try adding a good beer to the water to add flavor to the food. Alternatively you can also add bourbon or whiskey in the water to experiment with different flavor-to-wood combinations like you would with the spices you use in your wet and dry rubs.
Why we don't use Matchlight charcoal in smokers
Smoking meats takes a long time and requires adding briquettes and wood chips throughout the process to maintain a target temperature. Charcoal by nature requires a high temperature for a sustained period to ignite. Matchlight briquettes contain ignition compound chemicals that make it easier for this to happen without adding lighting fluid. When you add these briquettes to a lit smoker or grill it releases the compounds as vapors and the chemicals end up in your food. To avoid this we use slow burning charcoal and only use added lighting fluid for the initial start. The already burning coals have enough heat to ignite the new coals and need nothing else.
I hope you found this article to be informative, entertaining and that it inspires you to add a smoker to your backyard Mantivities arsenal.

If you'd like to donate a couple bits of crypto to put towards my projects that I share on Seemit my wallets are -
BTC- 19dhtebhWNQjjvaaSapw4bZry8buohSaoP
ETH- 0x4ba6FC1dd8293081c5B915124ddf13F2425D7D35
Thanks again and enjoy!
All images were sourced from Google image search.