Steemit Ice Cube project (part 2)
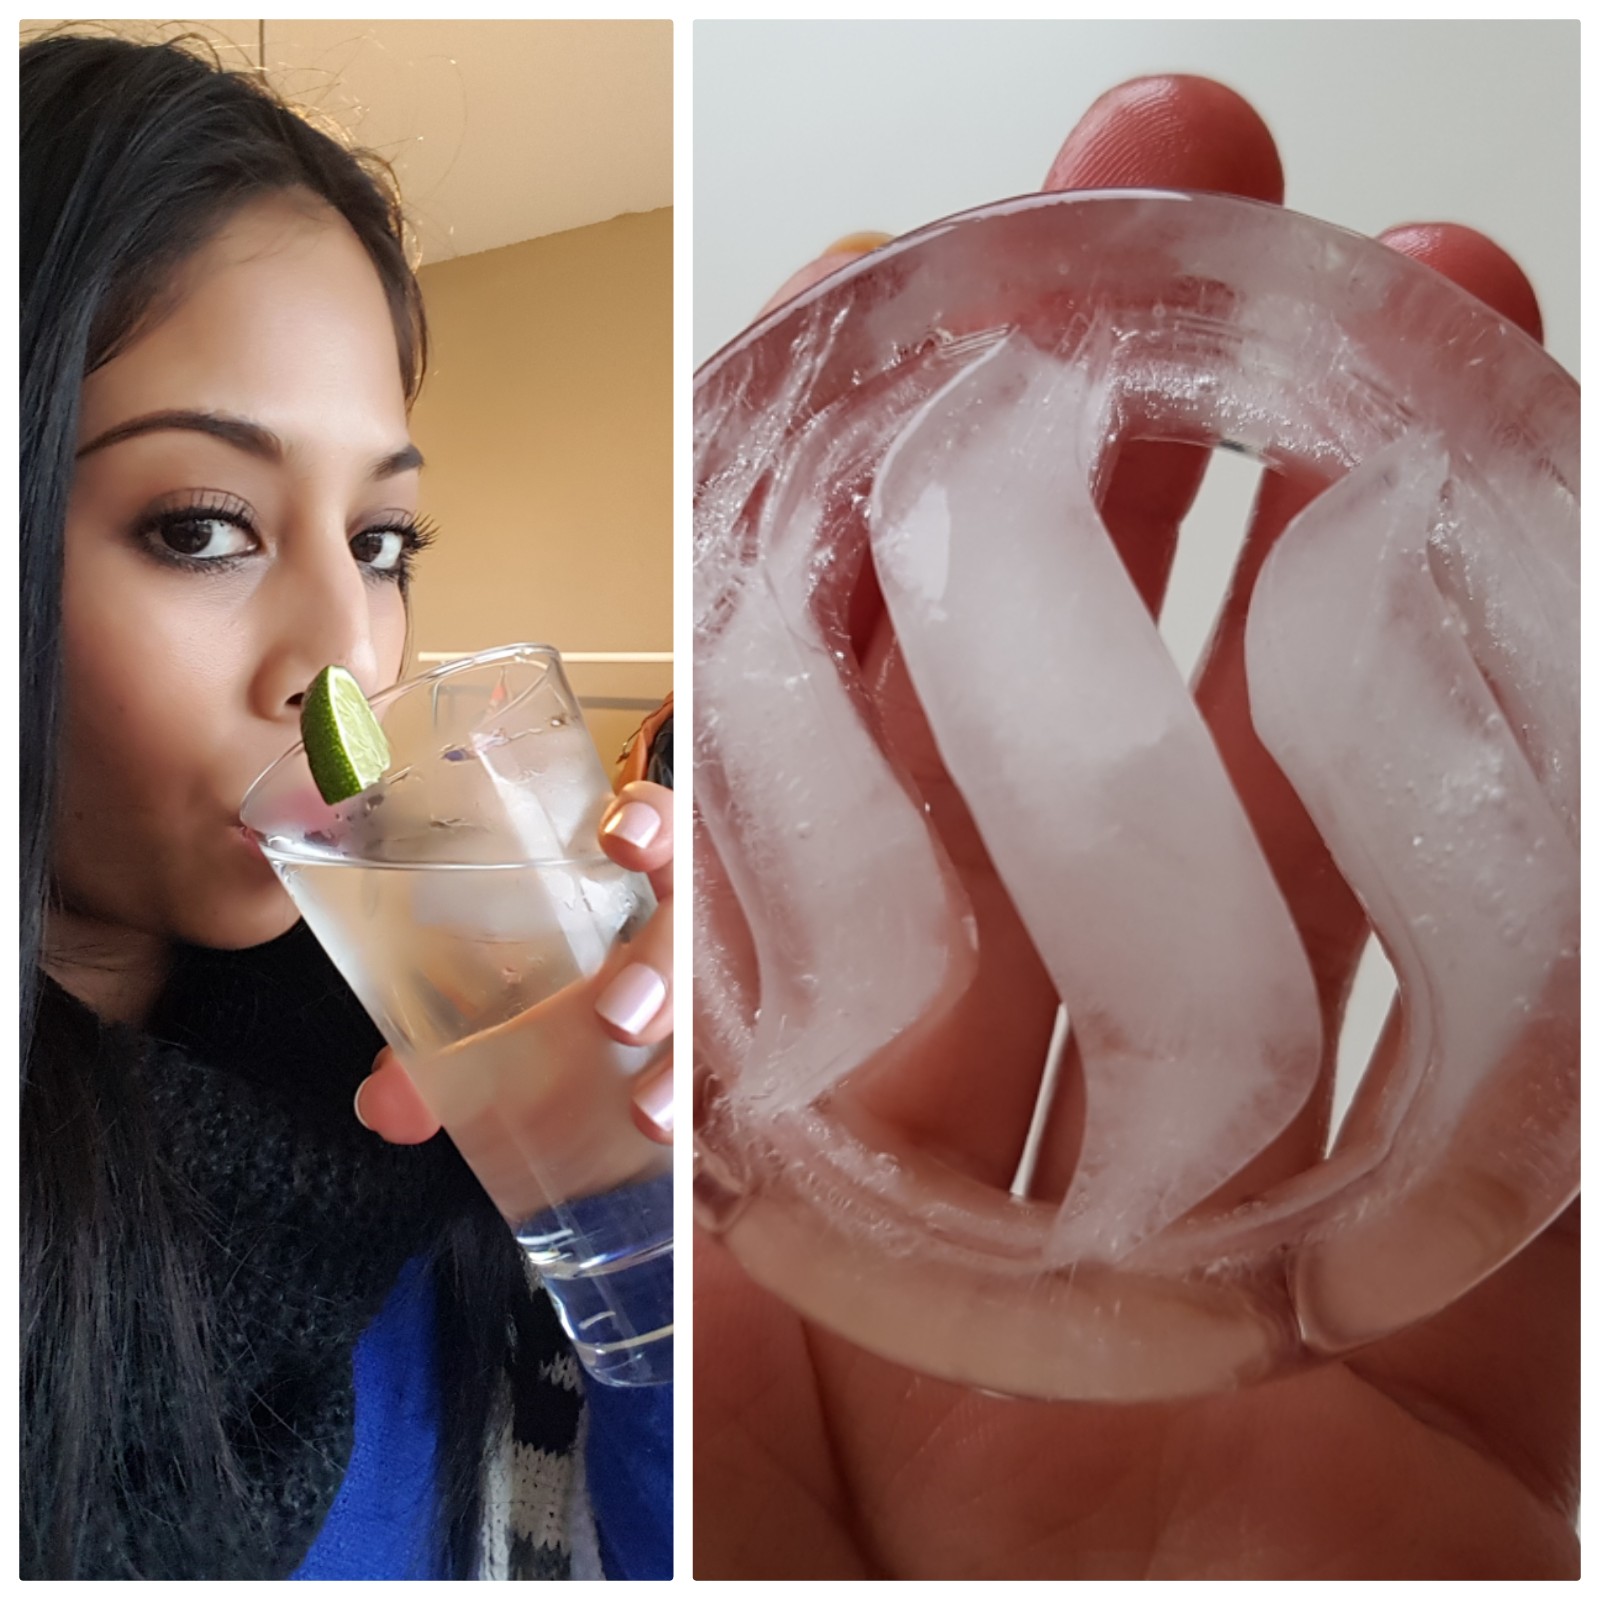
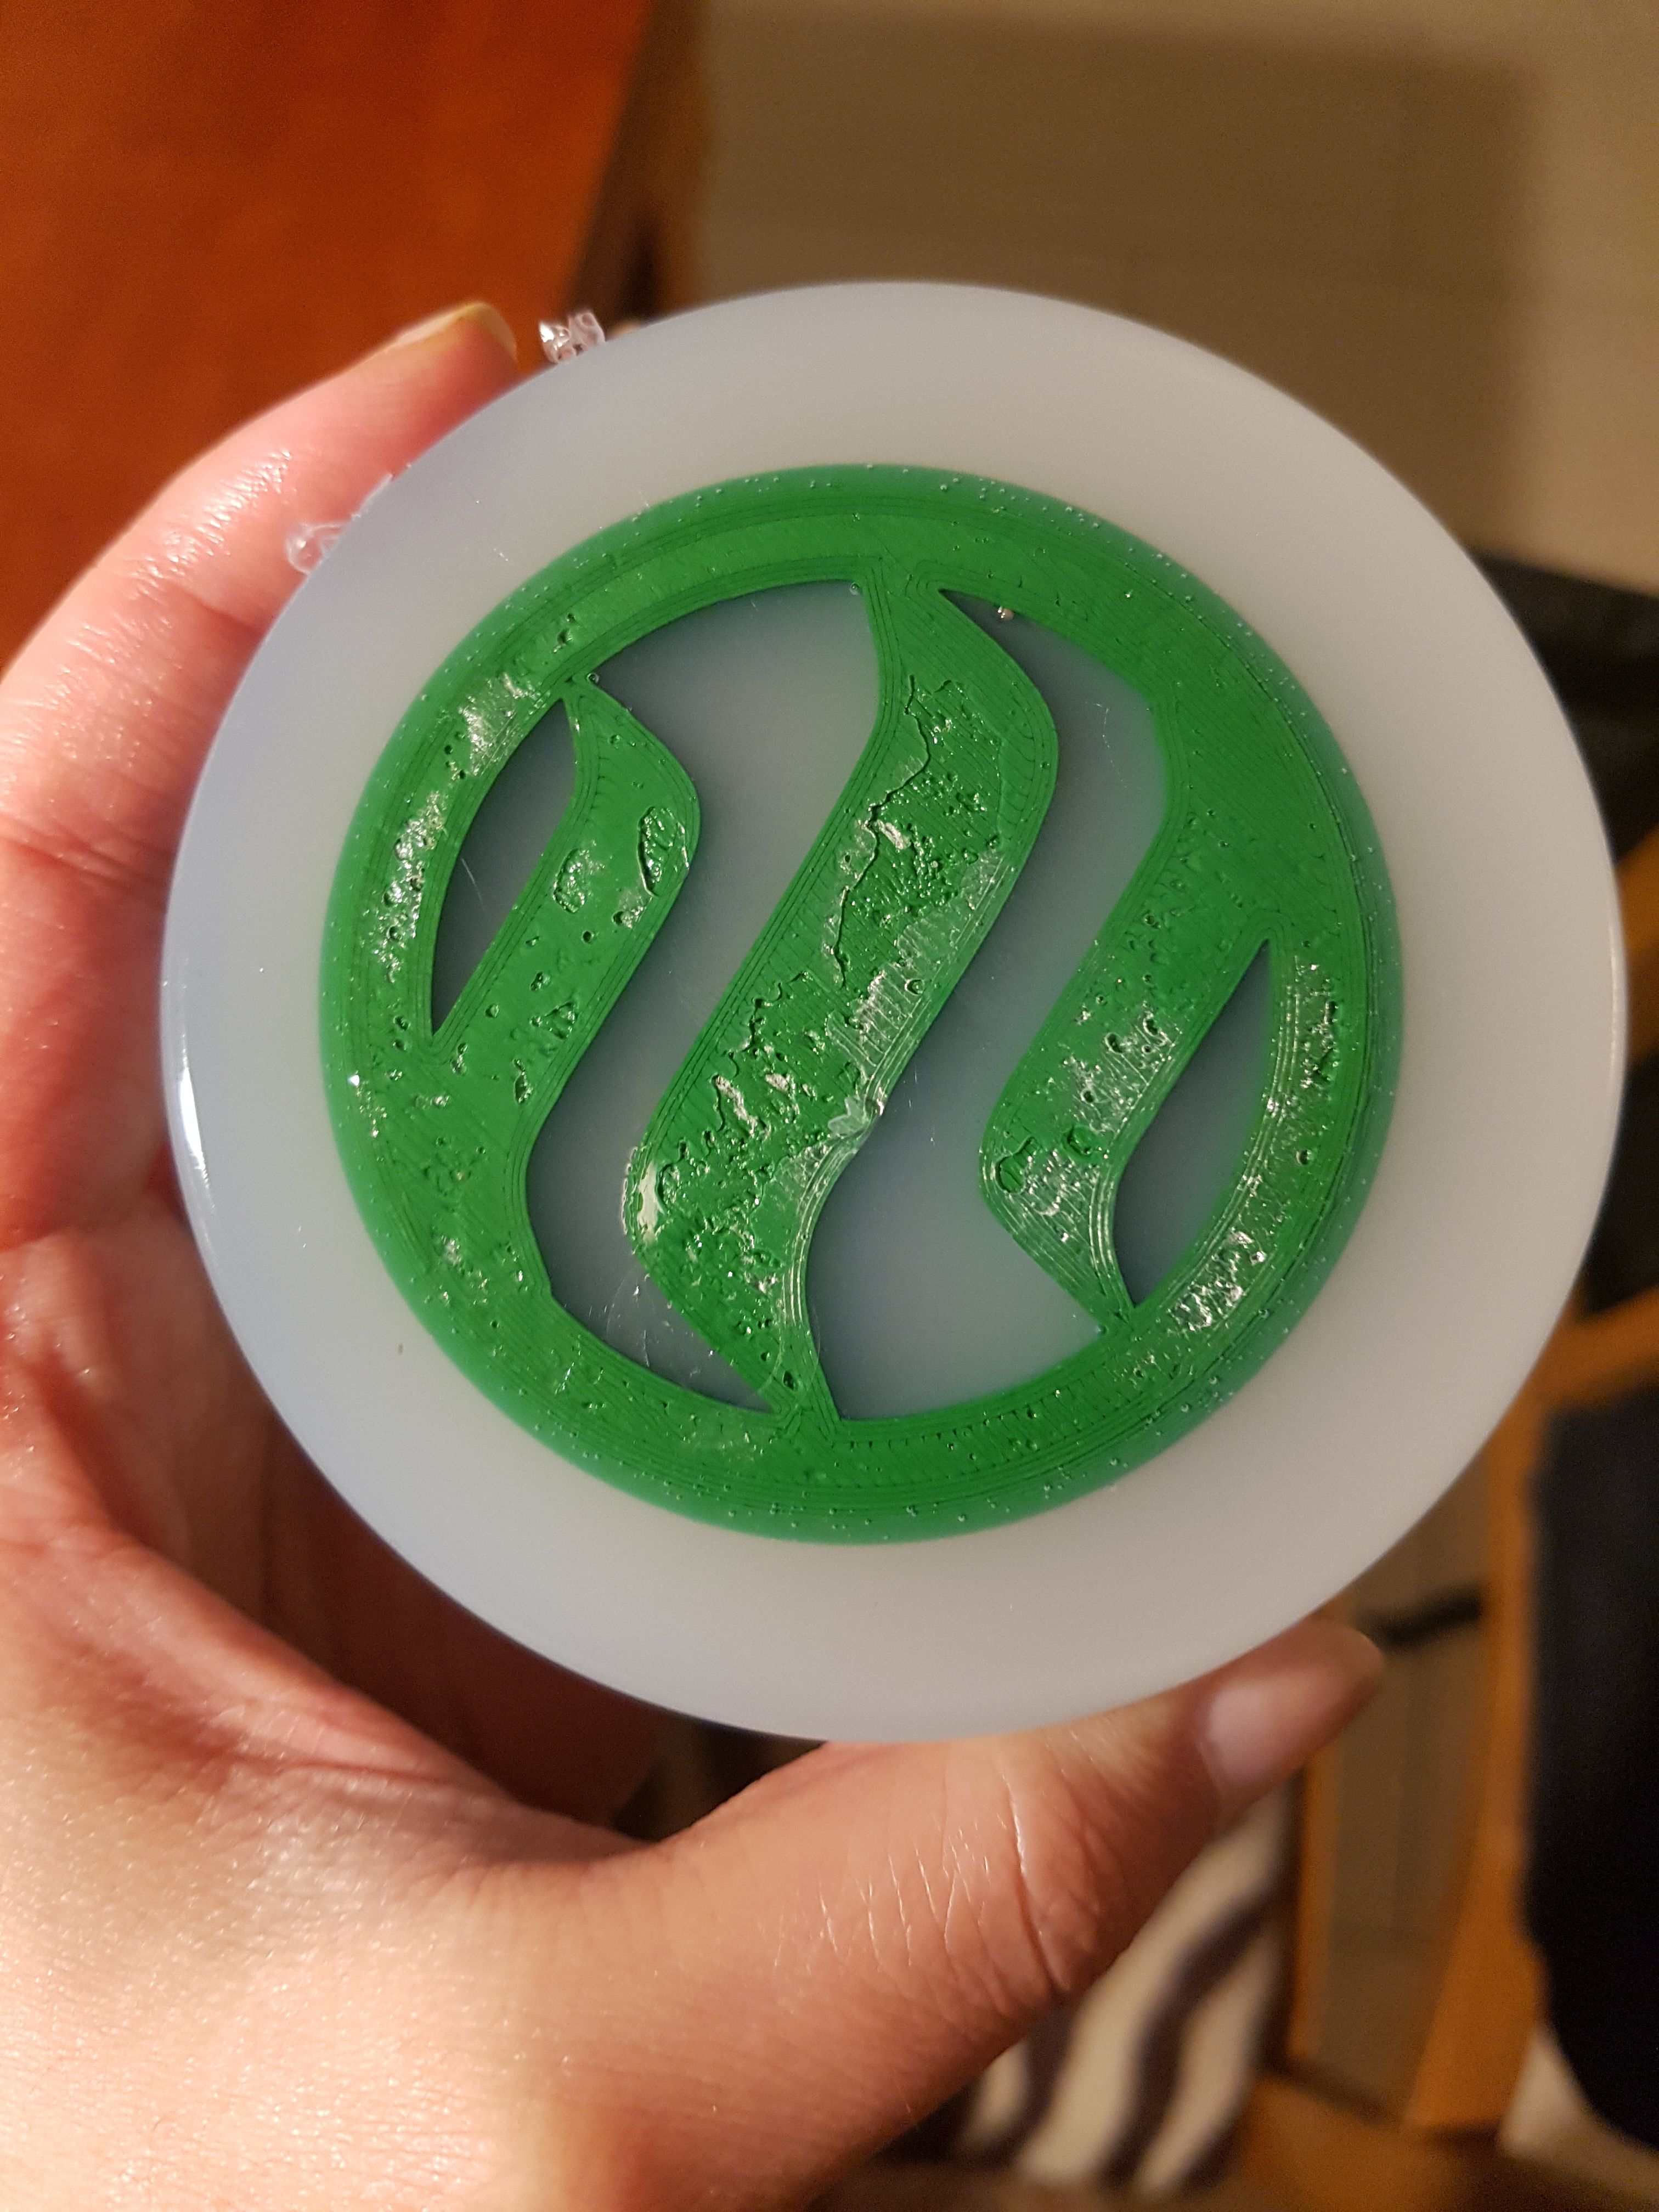
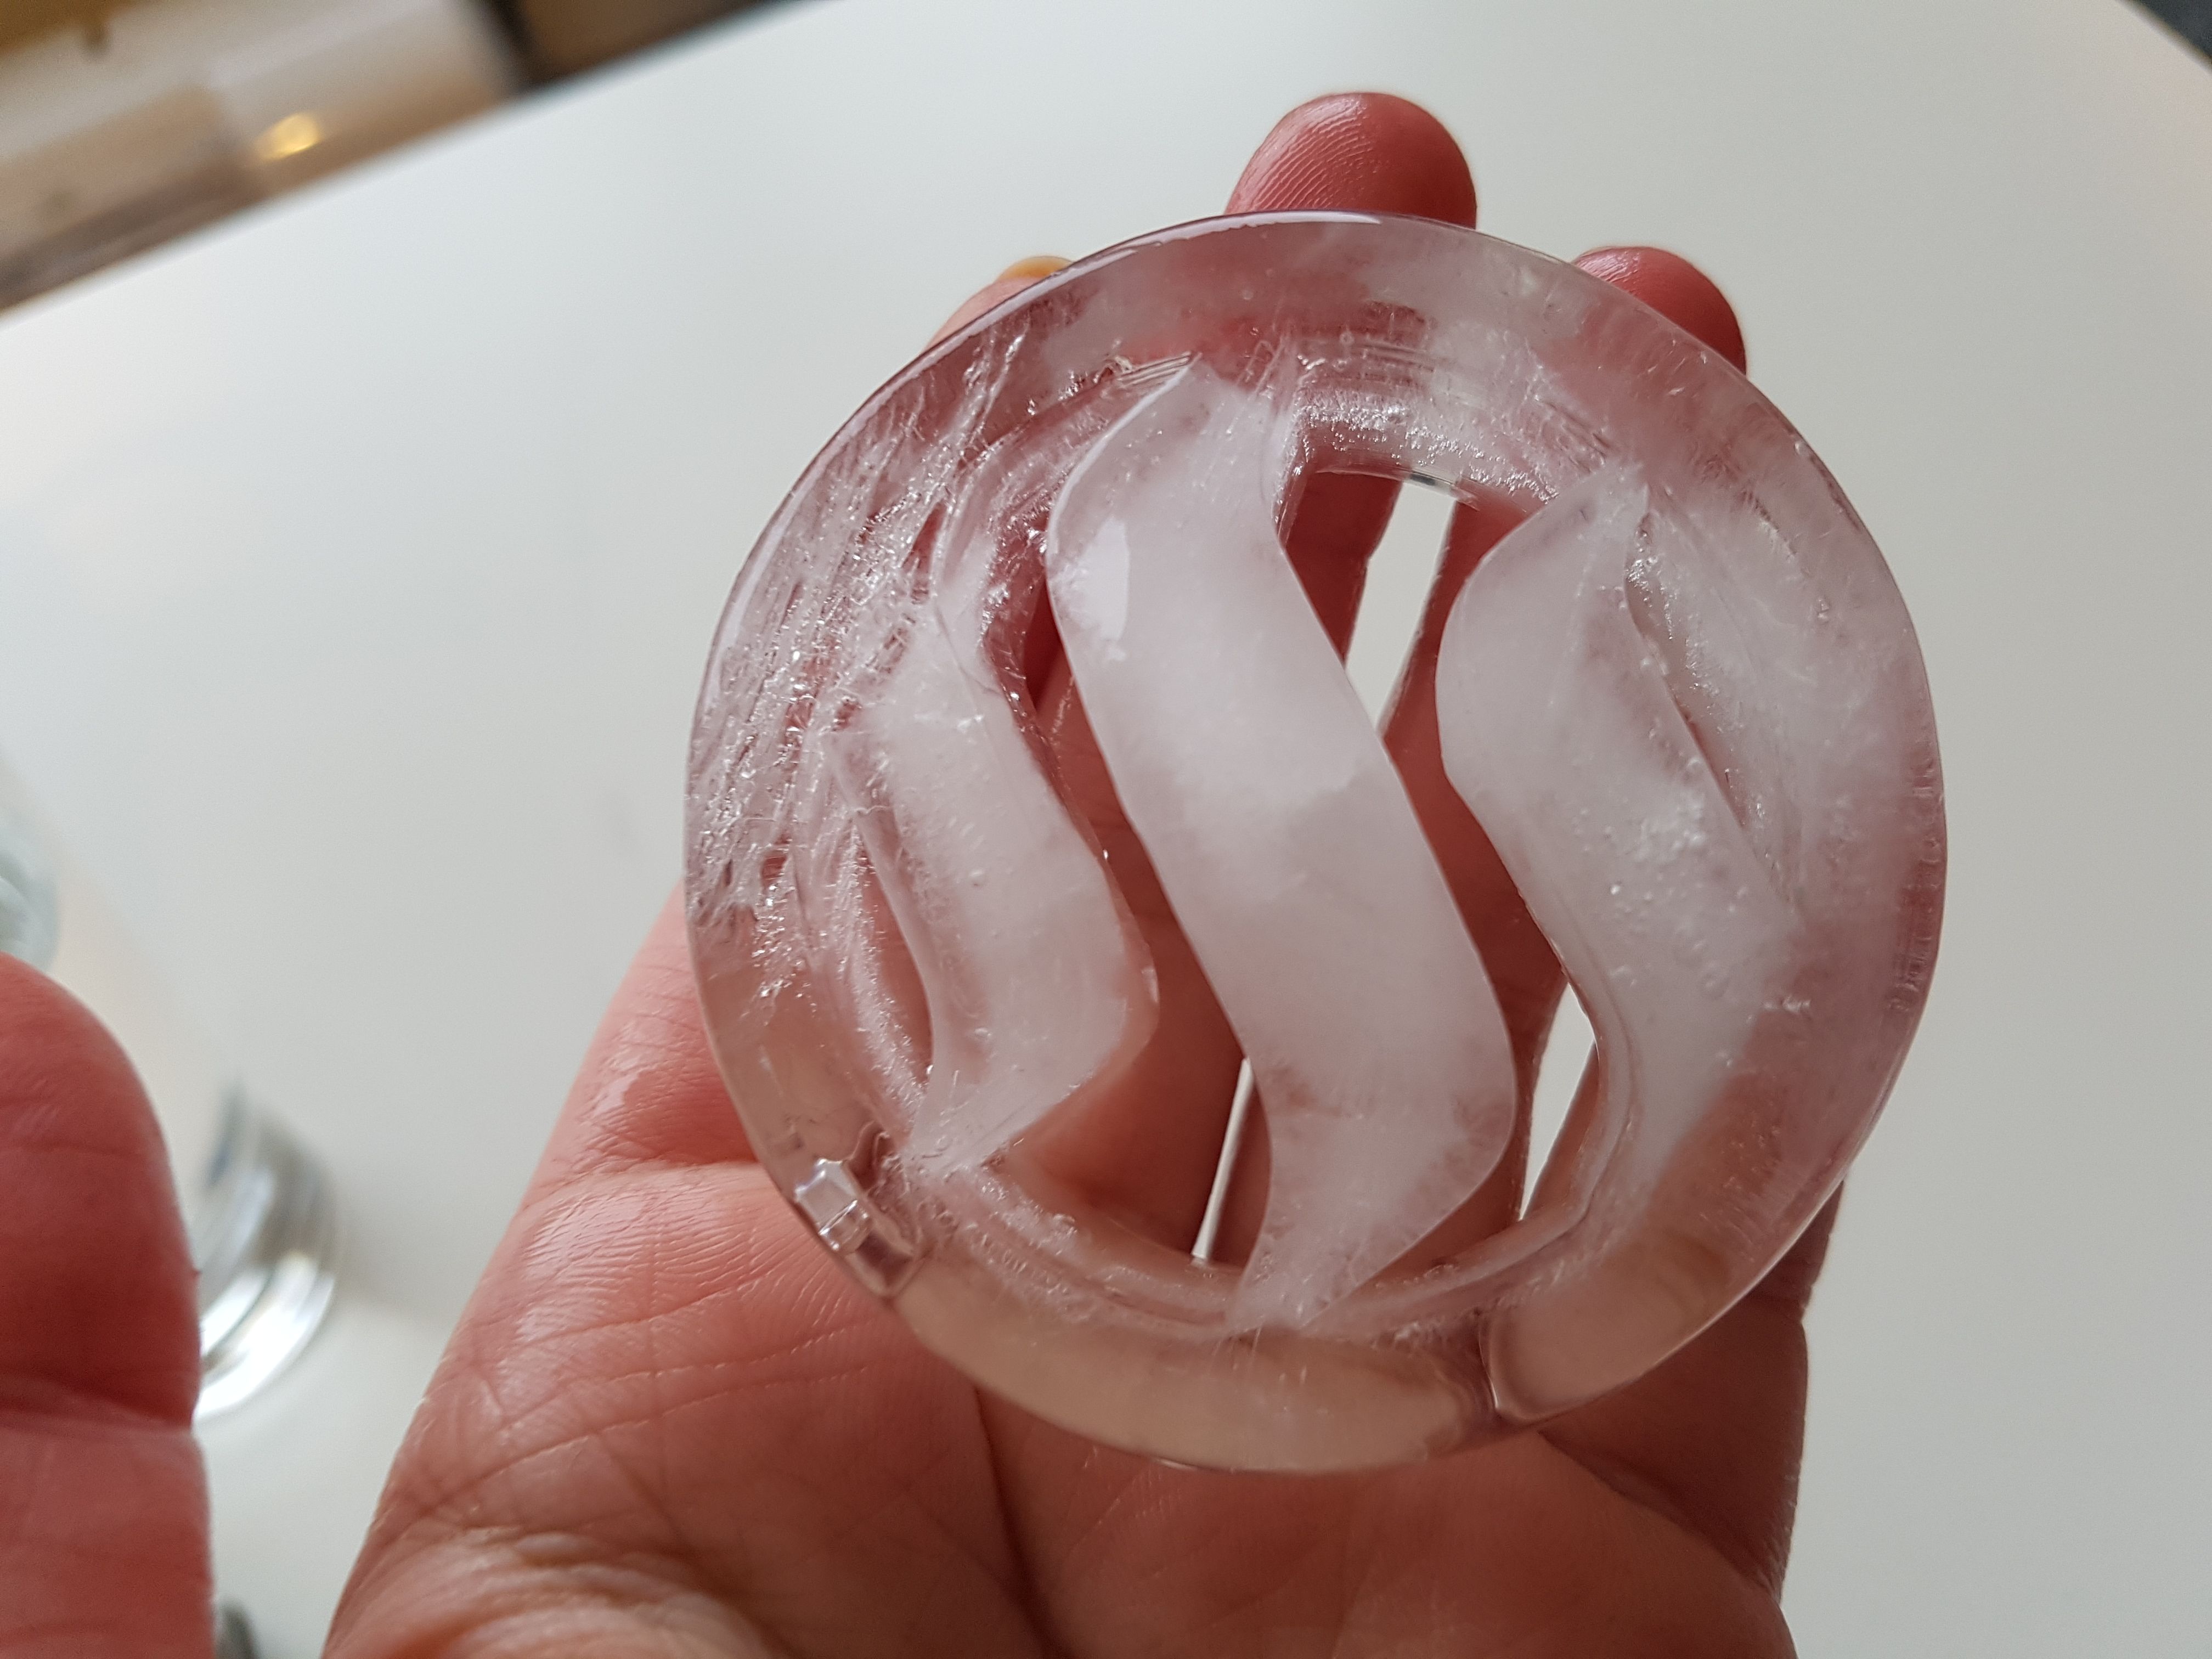
This is the Steemit Ice Cube I made. It took me many hours because I had to make a silicone mold first.
The making of the silicone mold
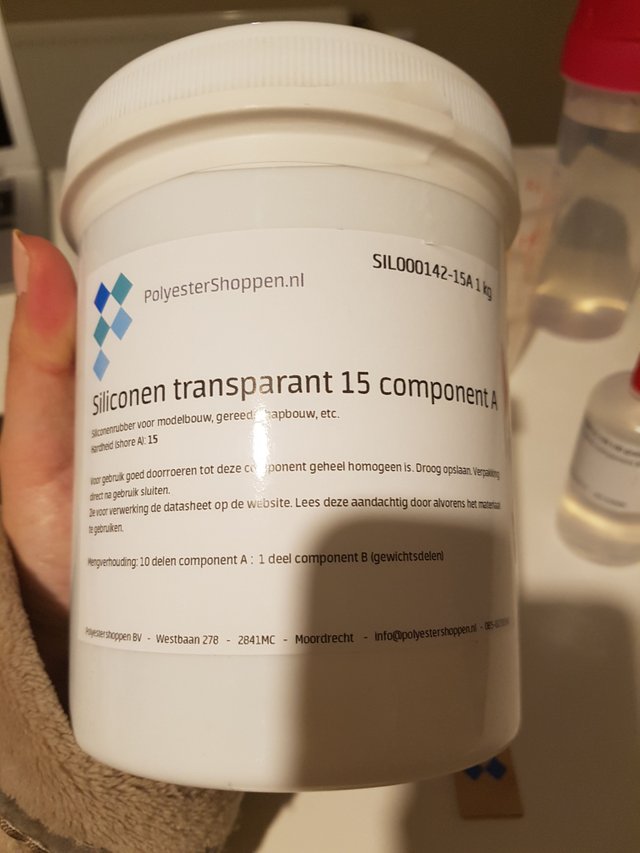
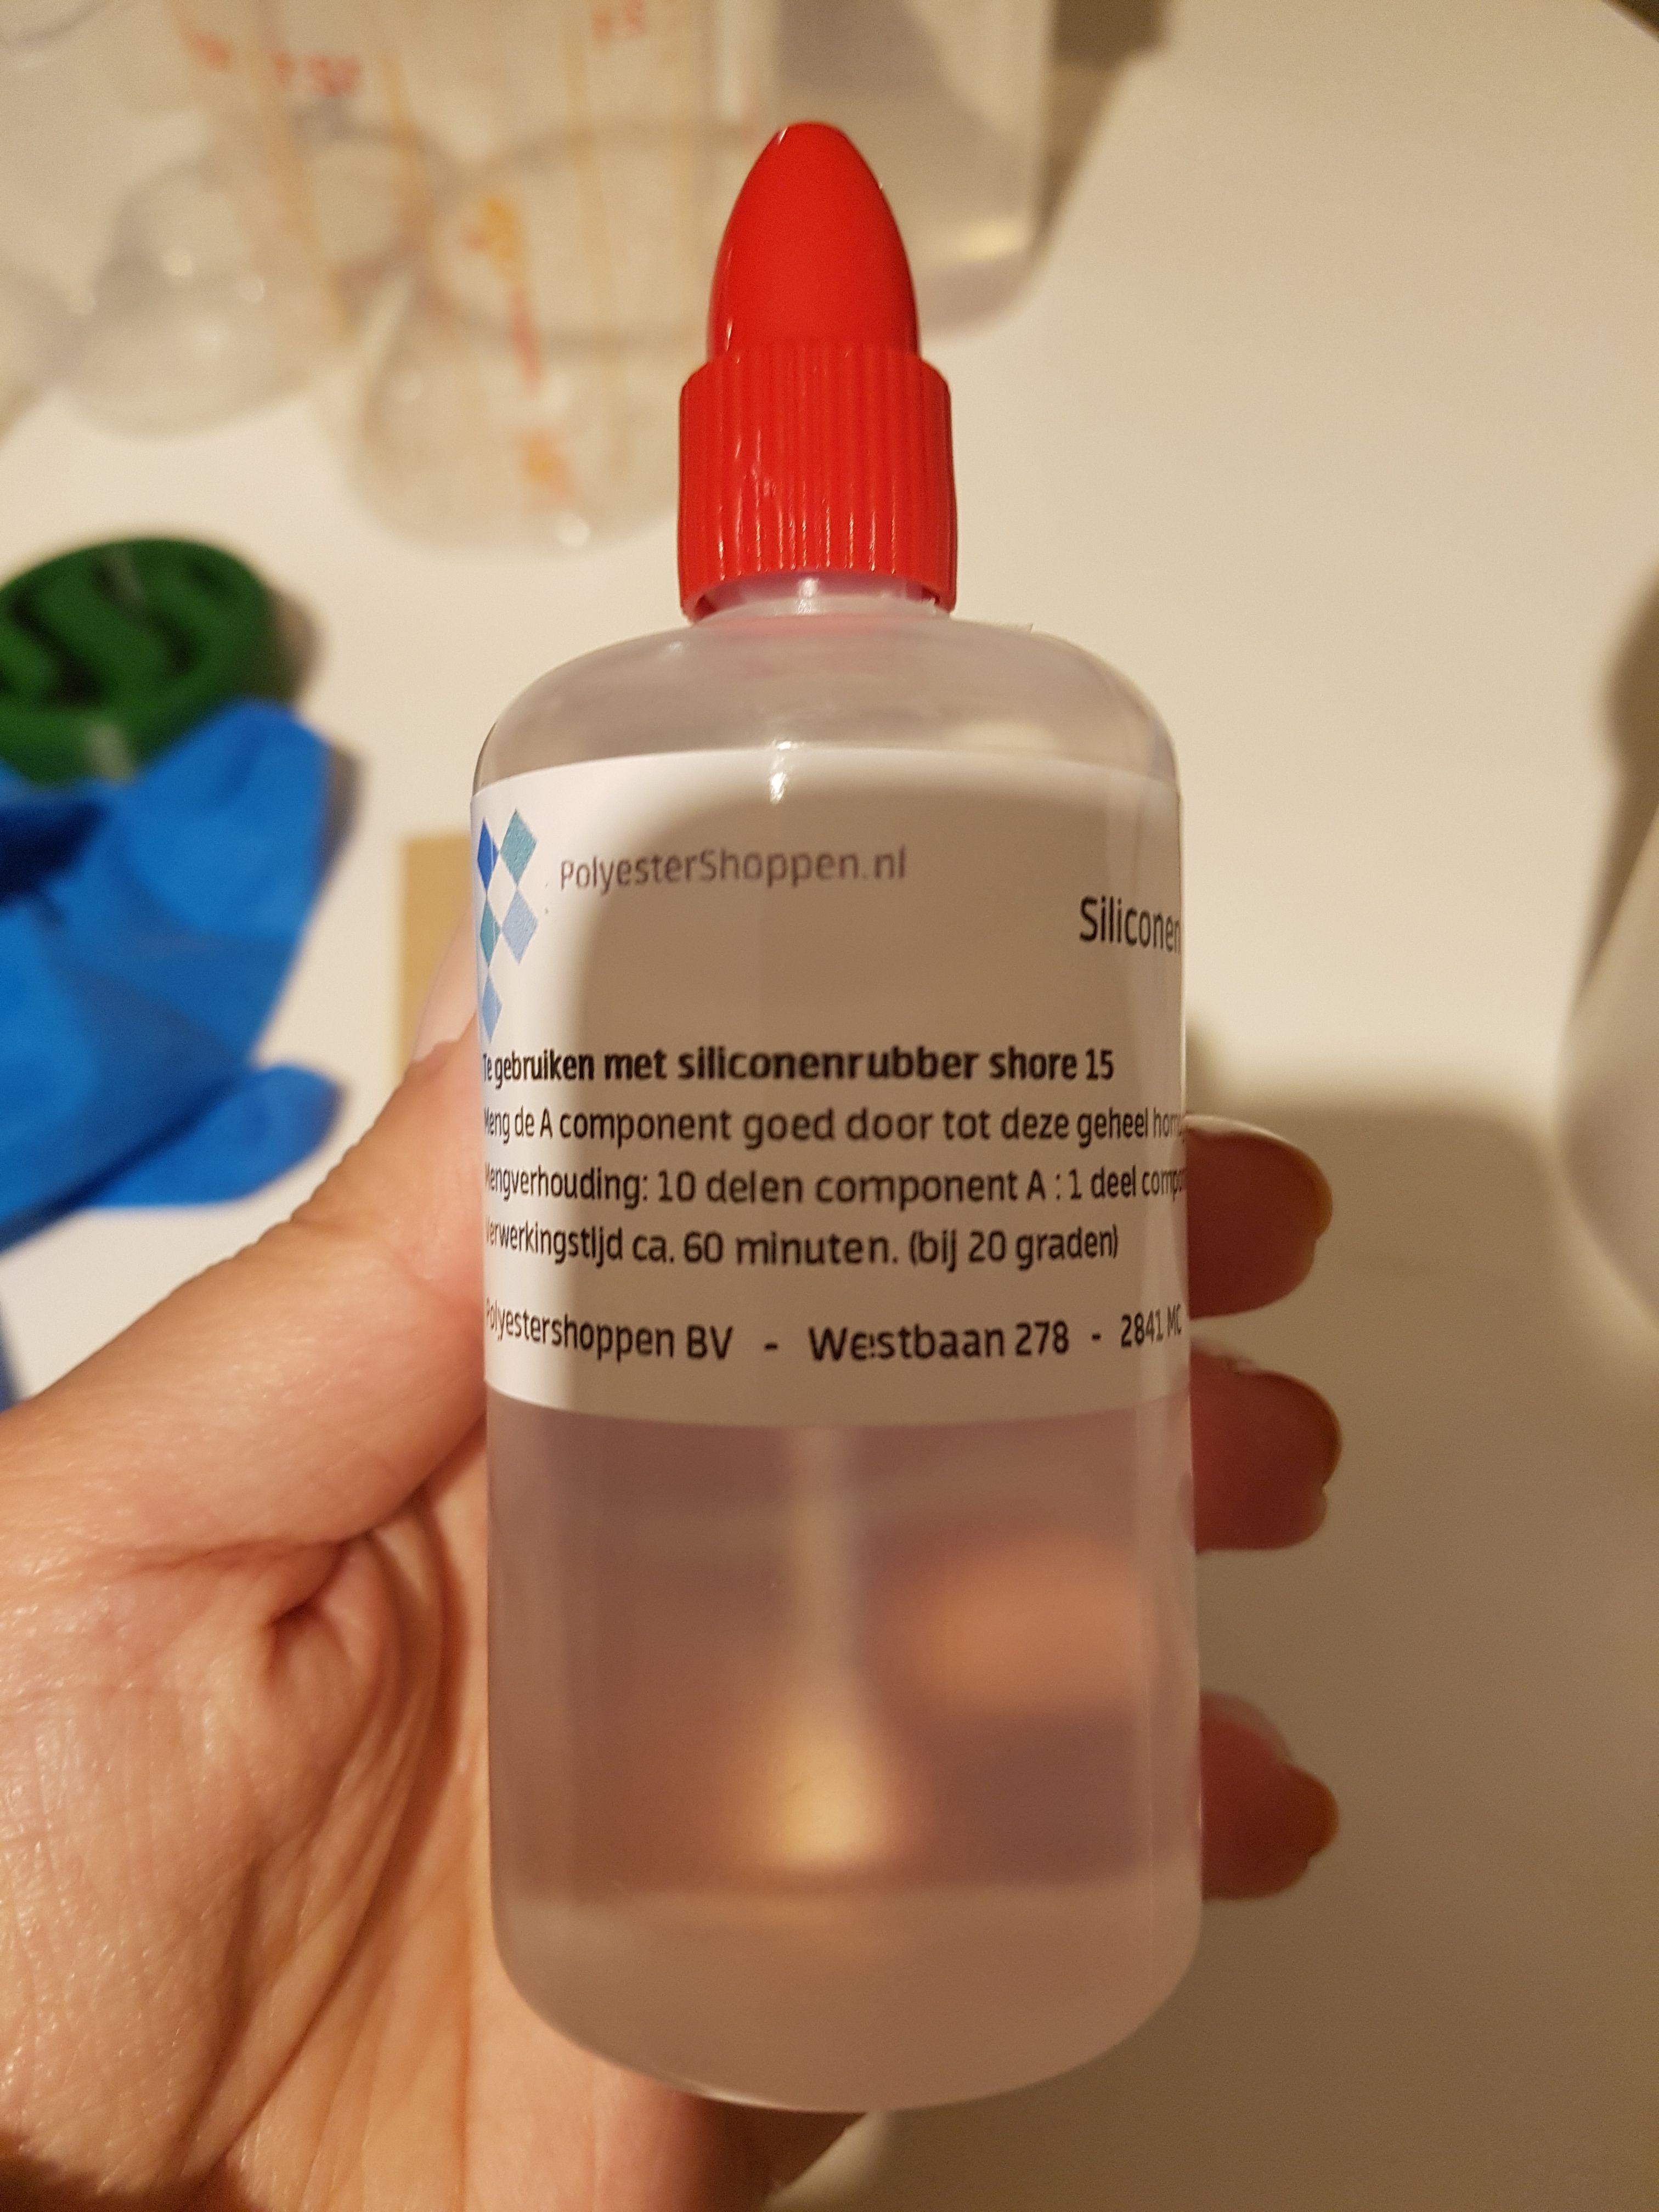
I ordered last week liquid silicone rubber. The package existed of :
Component A which is the silicone itself.
Component B which is the hardener.
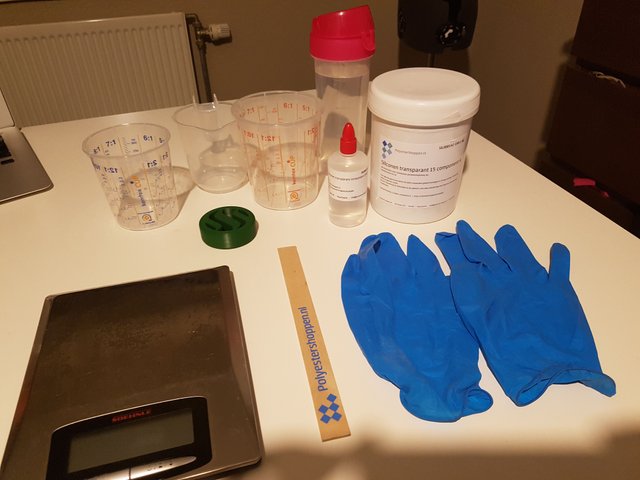
Equipment needed:
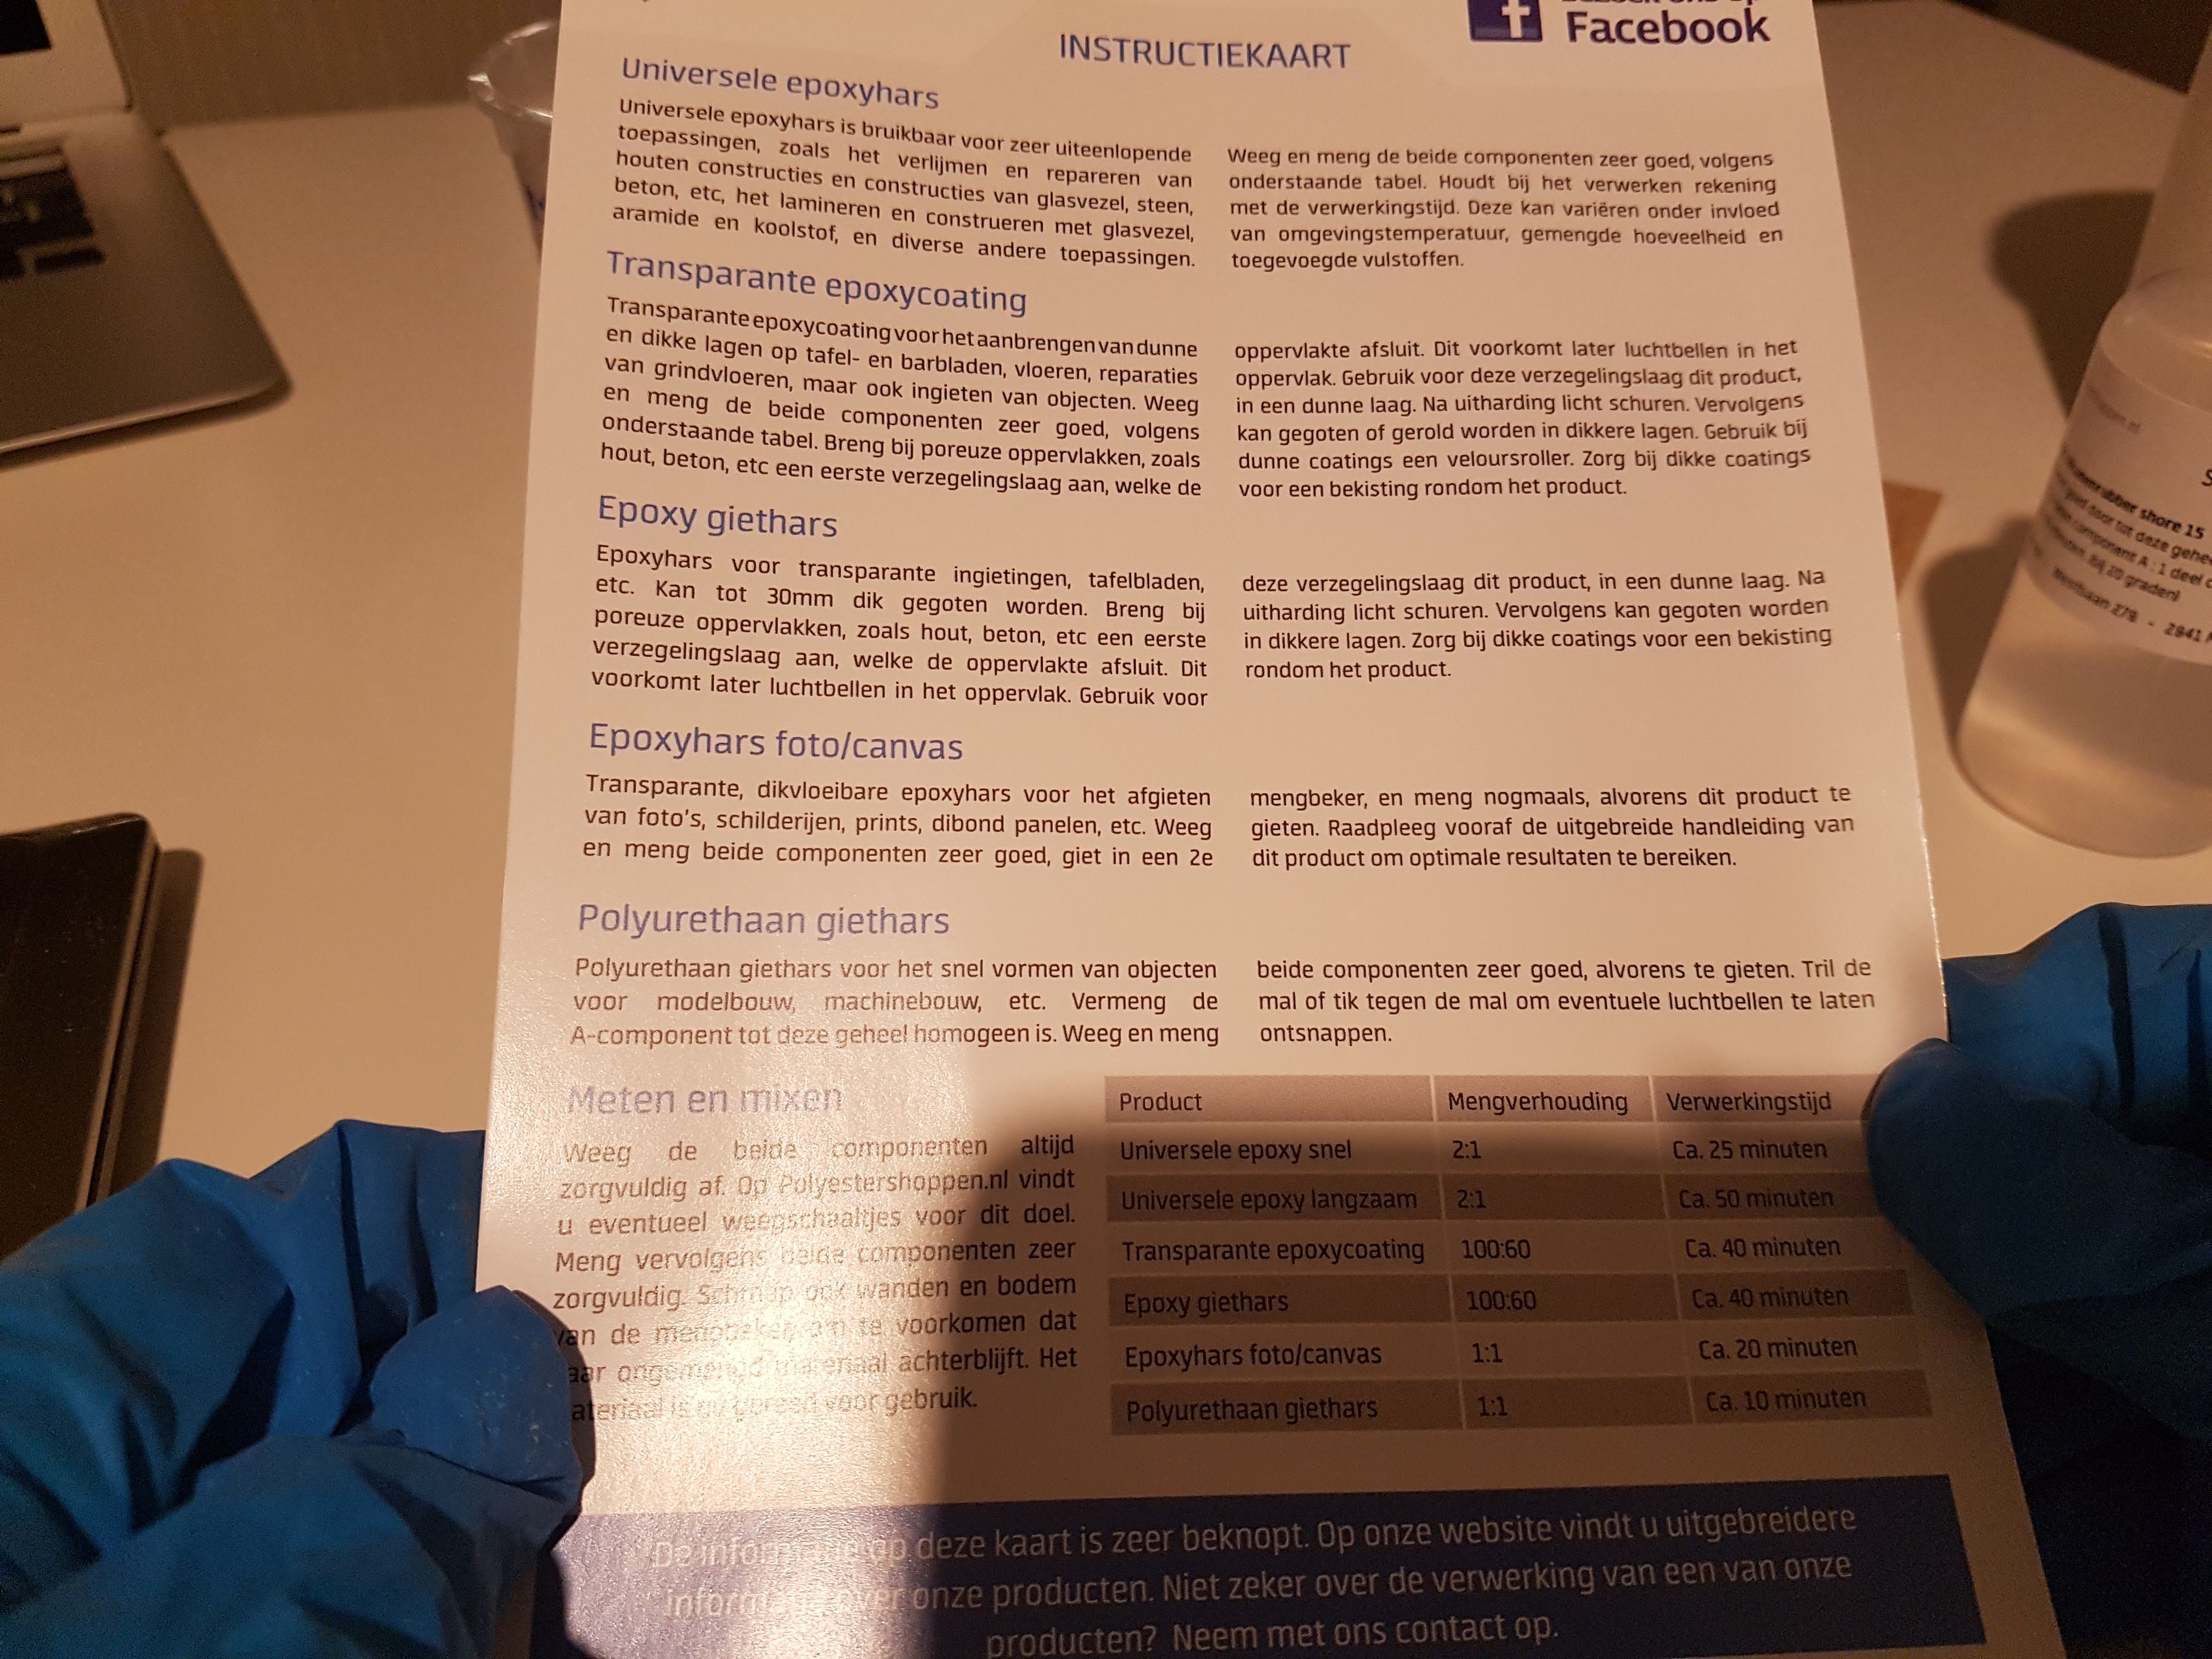
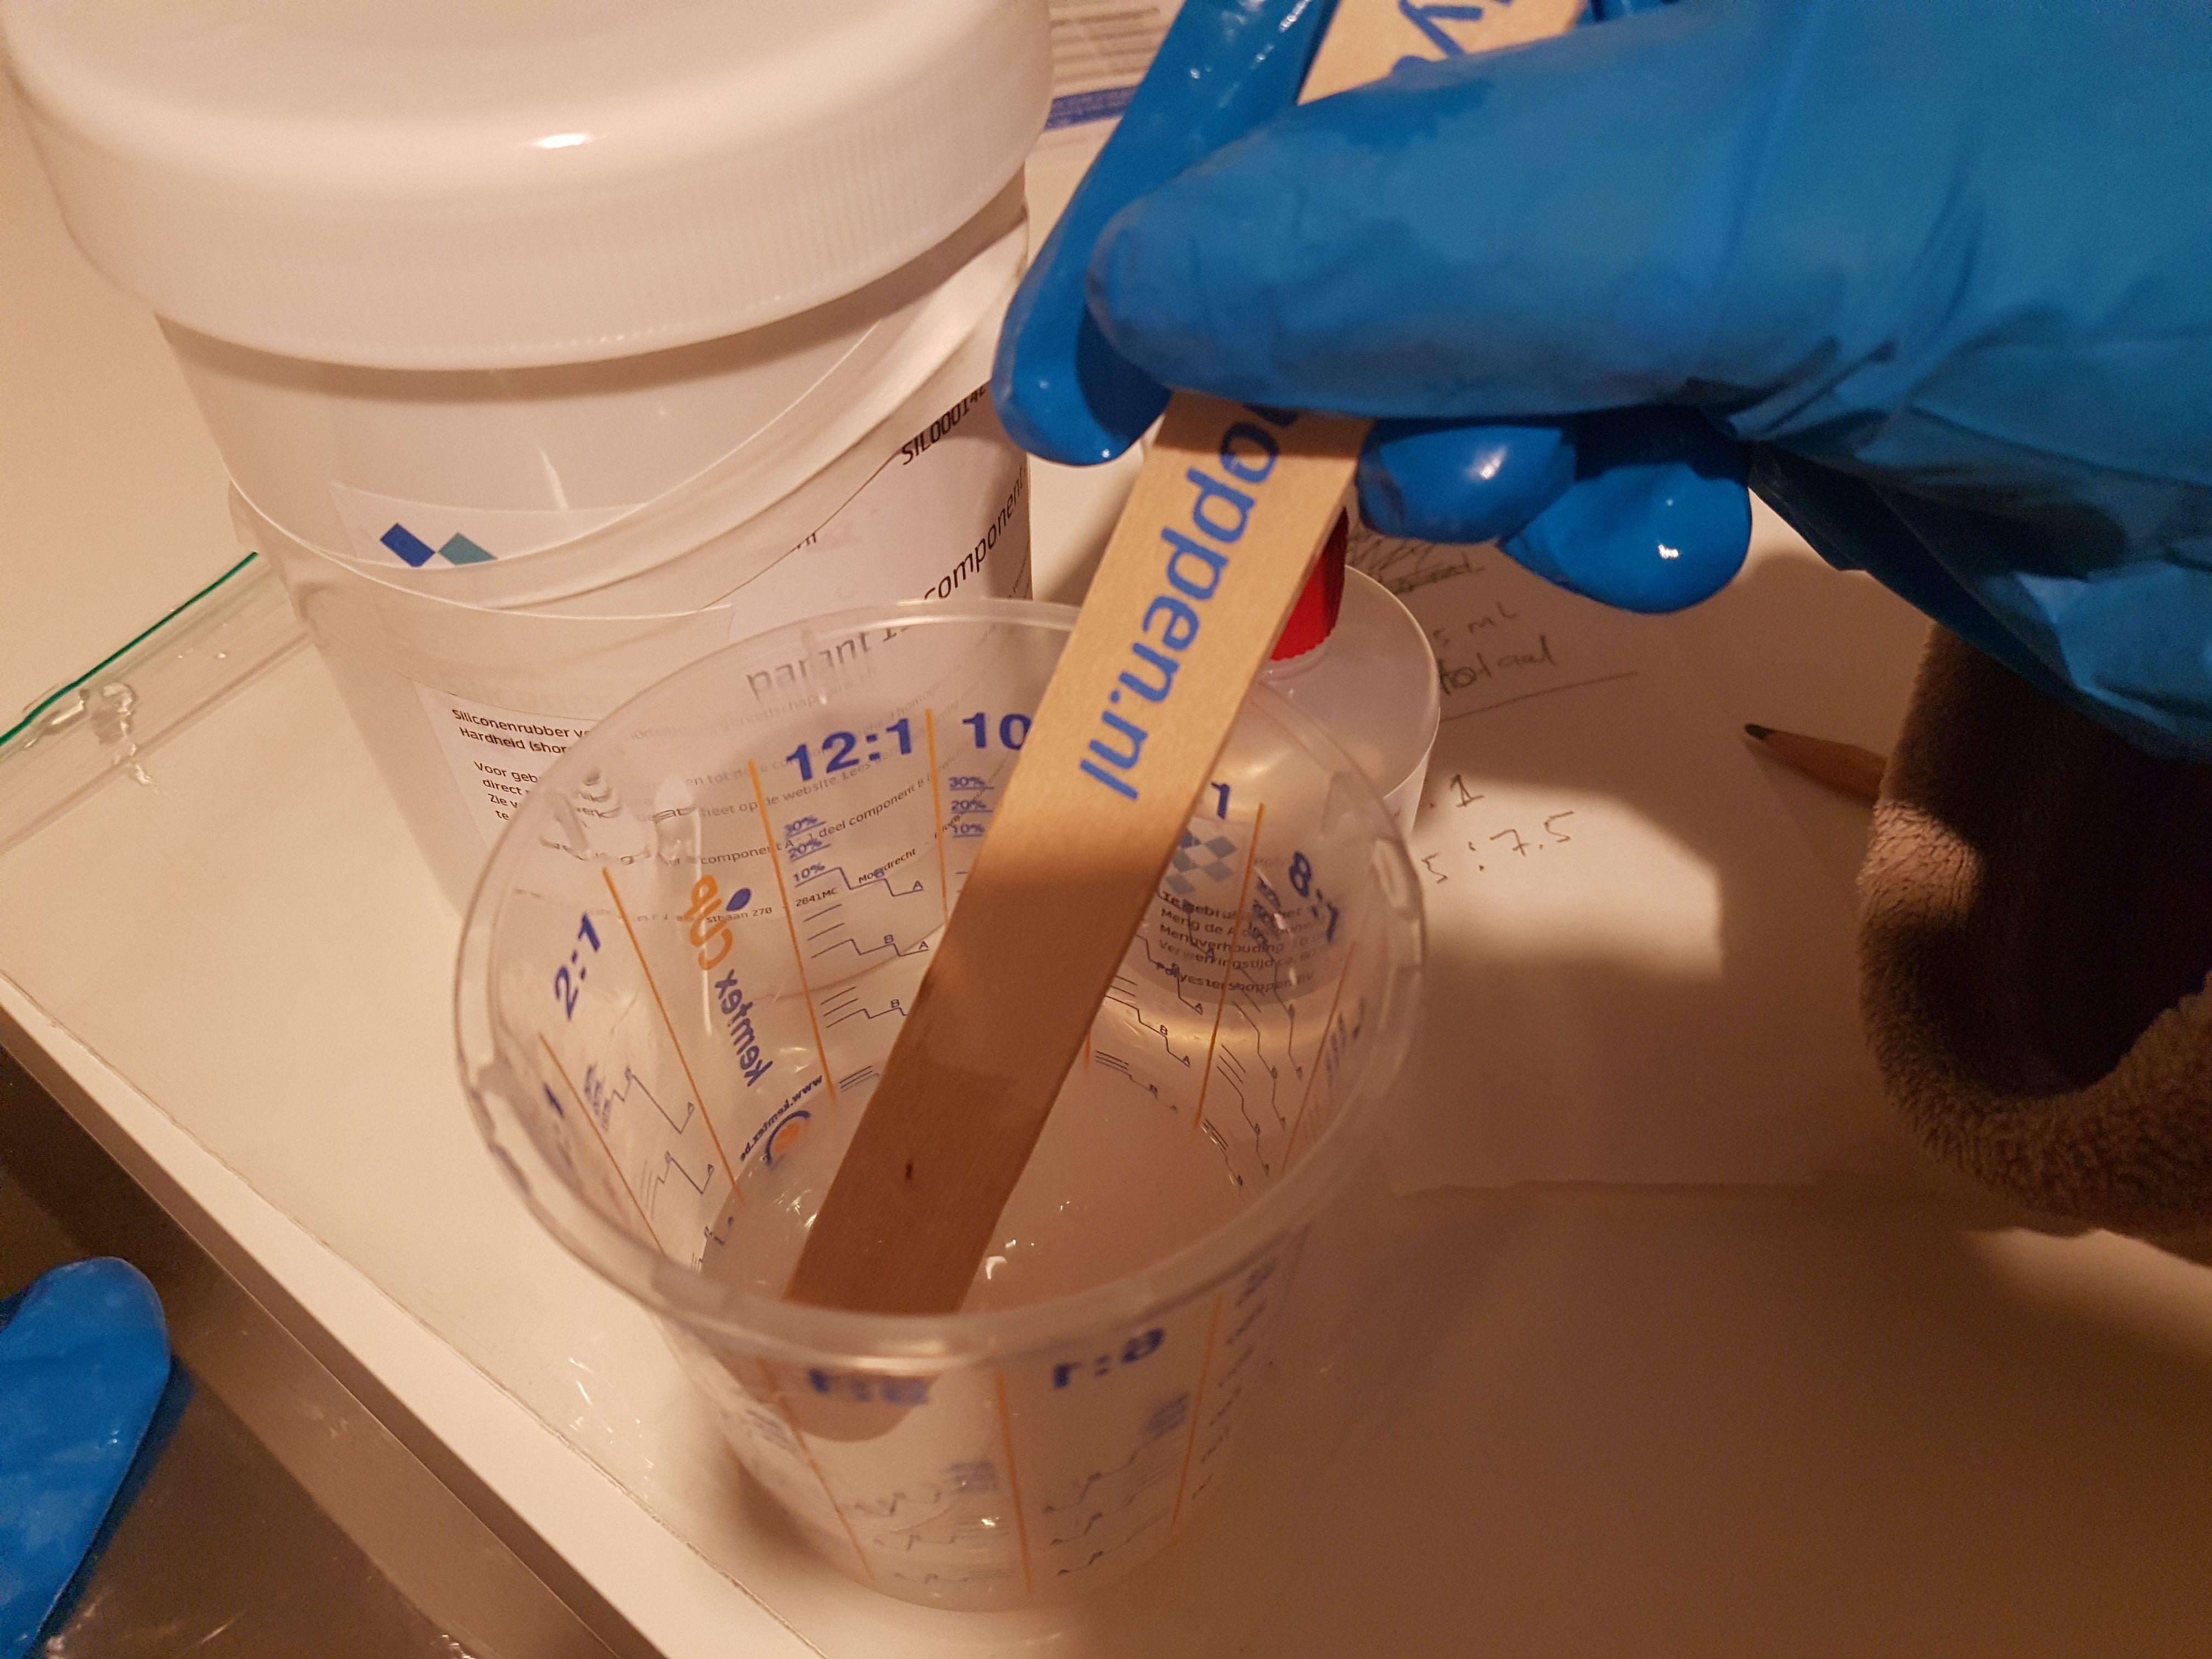
I was reading the instruction card first before I started. I have to mix 10 parts of component A with 1 part component B.
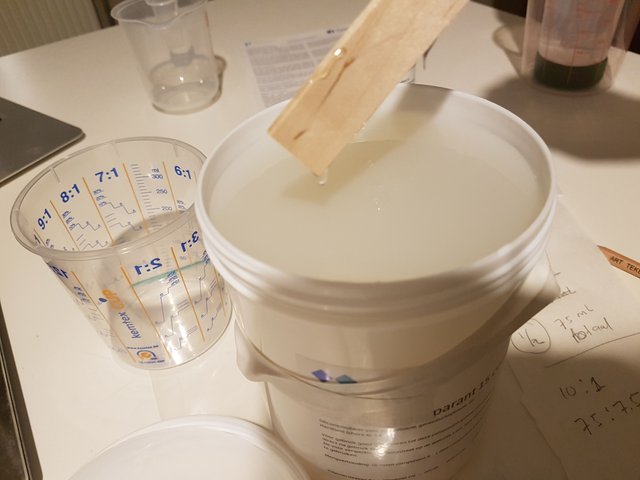
I opened the pot with the silicone itself and it looks like glue.
I mixed the two components well. I didn't know I had to mix 3 minutes long. I opened the door because on the instruction card it says that it works best when the temperature is below 20 degrees Celsius. This is because of the air bubbles that will go away because of the cold air.
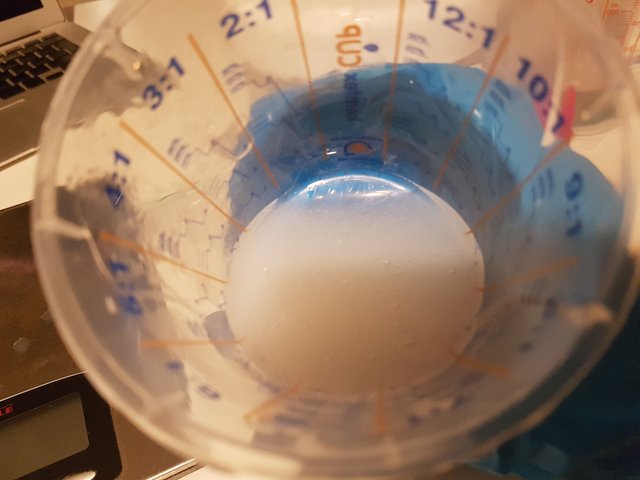
After I mixed it I saw indeed a lot of air bubbles. So I just hoped the room was cold enough (which wasn't so difficult since it is winter right now).
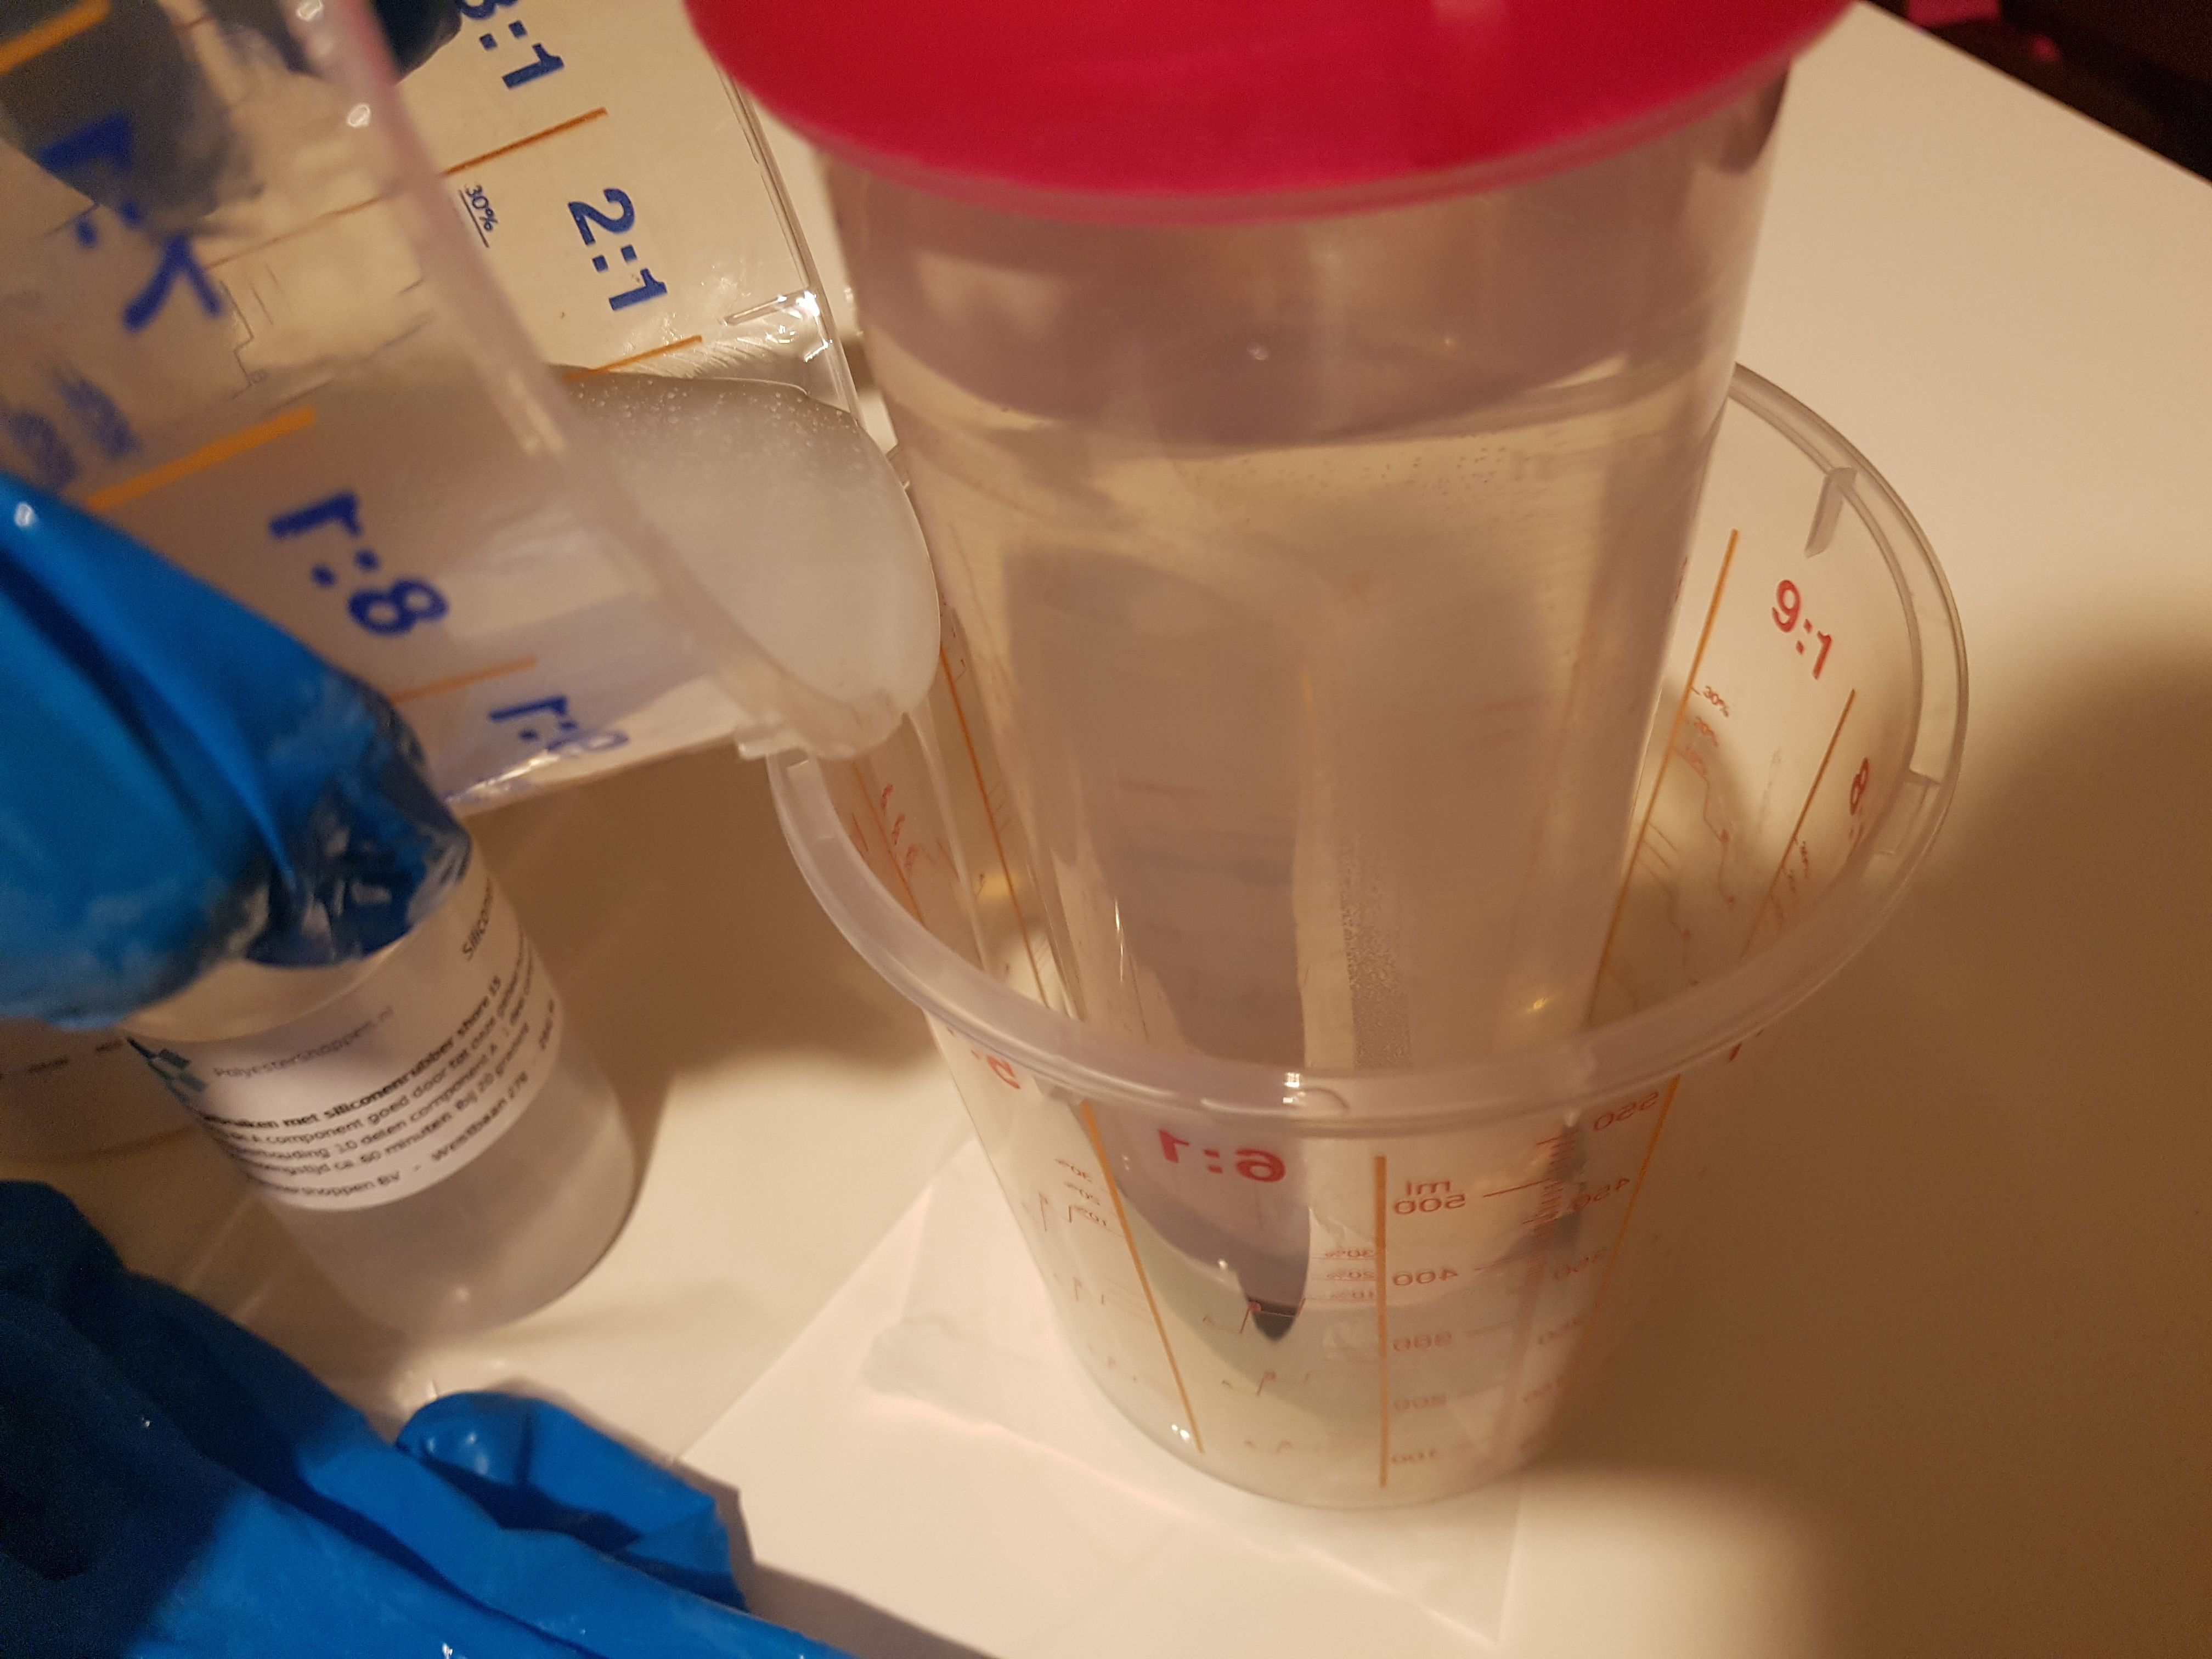
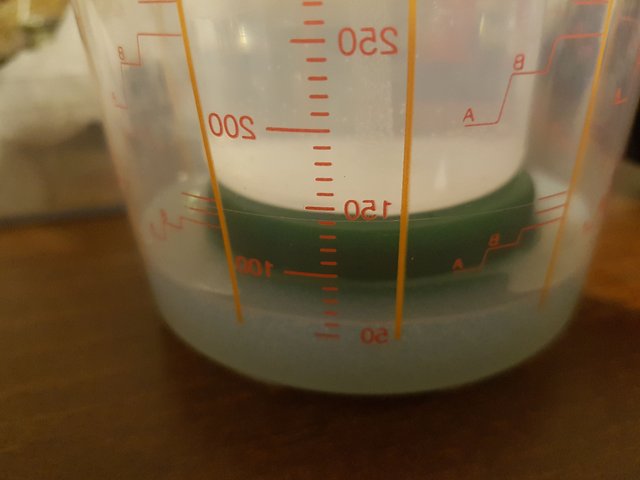
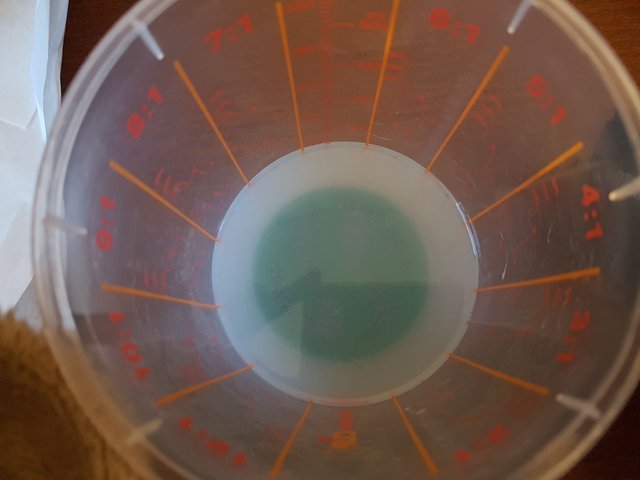
I put the steemit model inside another measuring cup and on top I put a bottle of water to prefend the model shifting, being pushed up by the liquid silicone. They advise to do it in two parts. So I poured half of the mix inside the measuring cup.
I left it for 8 hours. I made this around 10 pm Wednesday. I went to bed and in the morning I saw the silicone was solid.
Time to do the second part. I mixed again two components and realised I didn't have enough. So I made another mix. This time I just needed to 10 grams or so. The scale didn't work like it normally does and changed from 10 to 8 or so and I didnt even poured component b yet. I just guessed and poured a certain amount. I waited another 8 hours to dry.
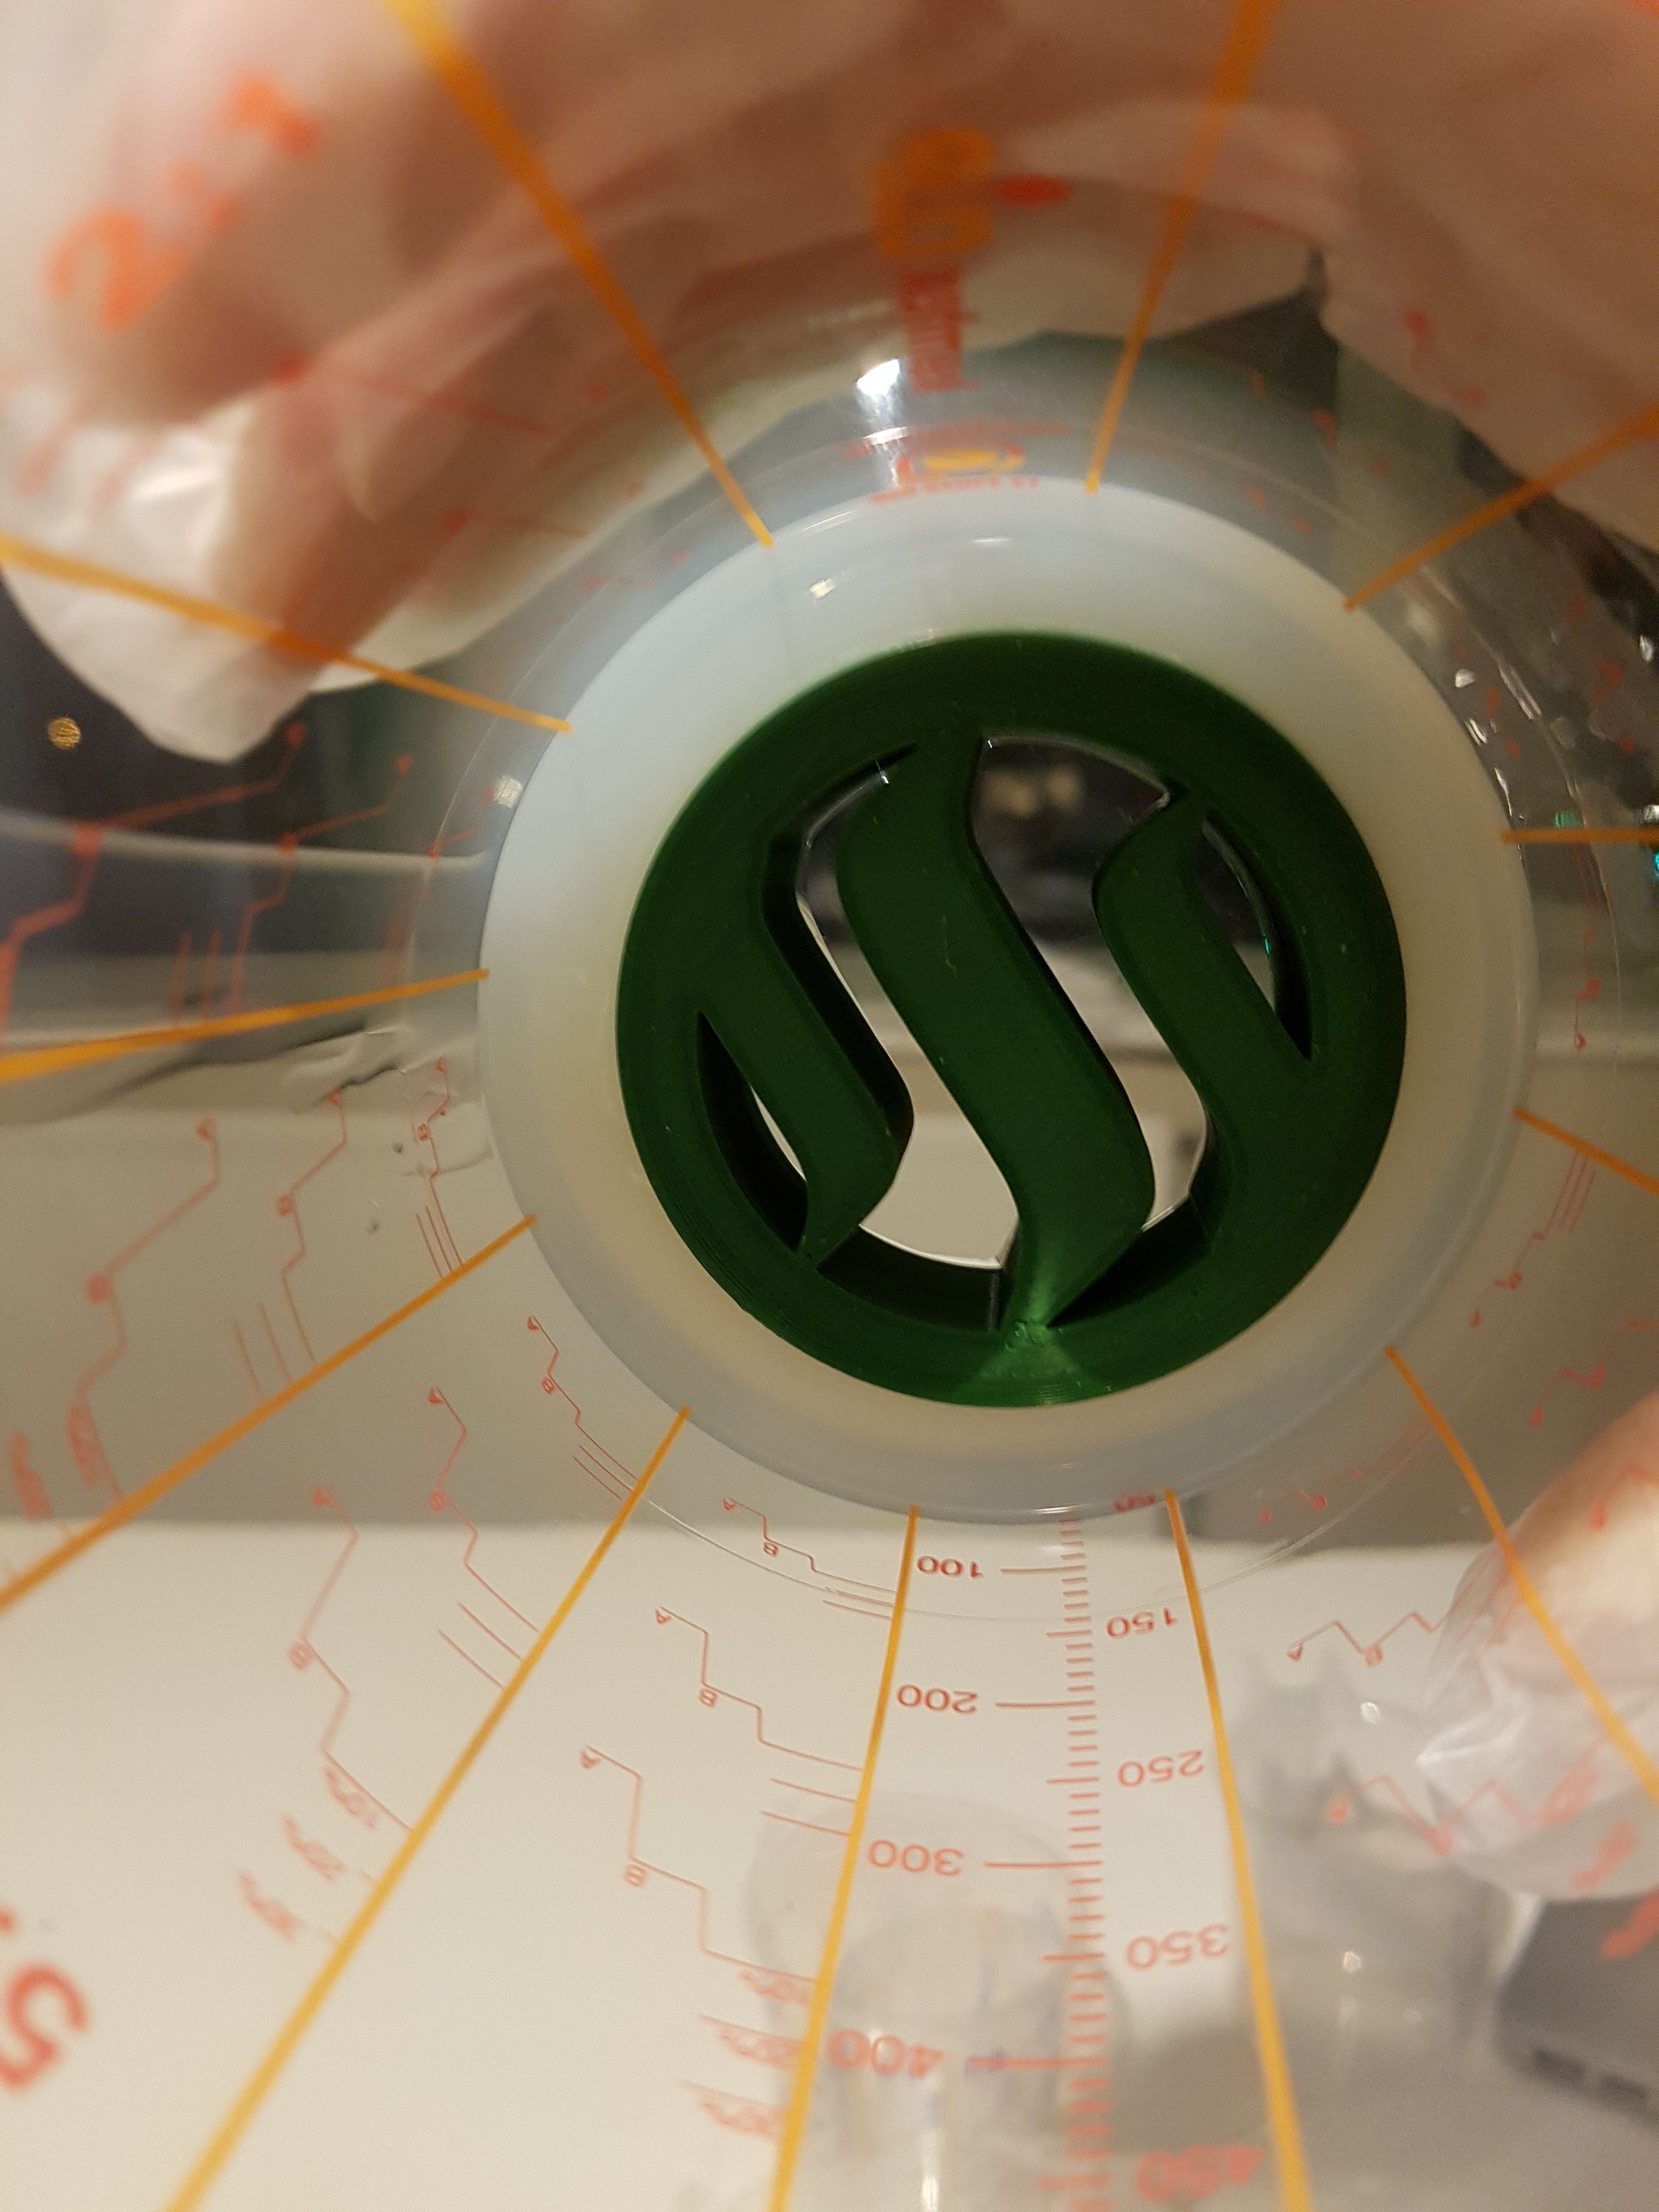
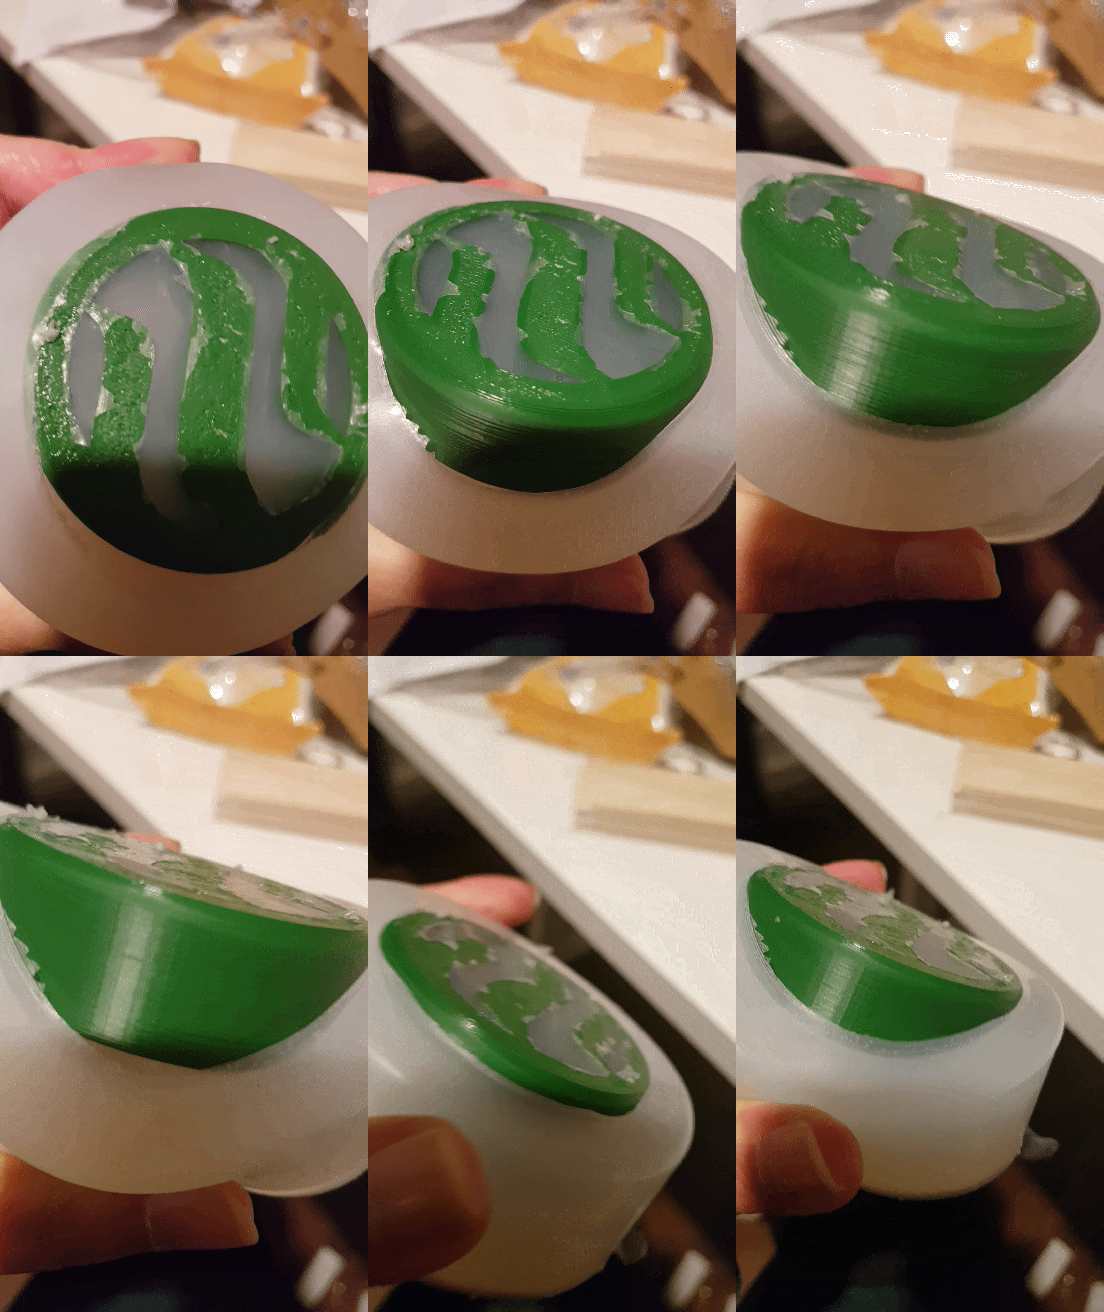
This is how it looks like after 16 hours waiting. I was afraid to remove the steemit model.
I felt a bit nervous I have to say because I waited so many hours and if it would break, then I waited for nothing. I was more afraid for the middle part.
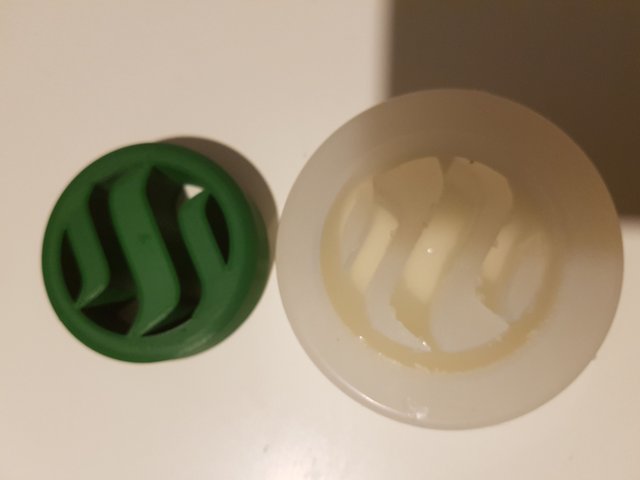
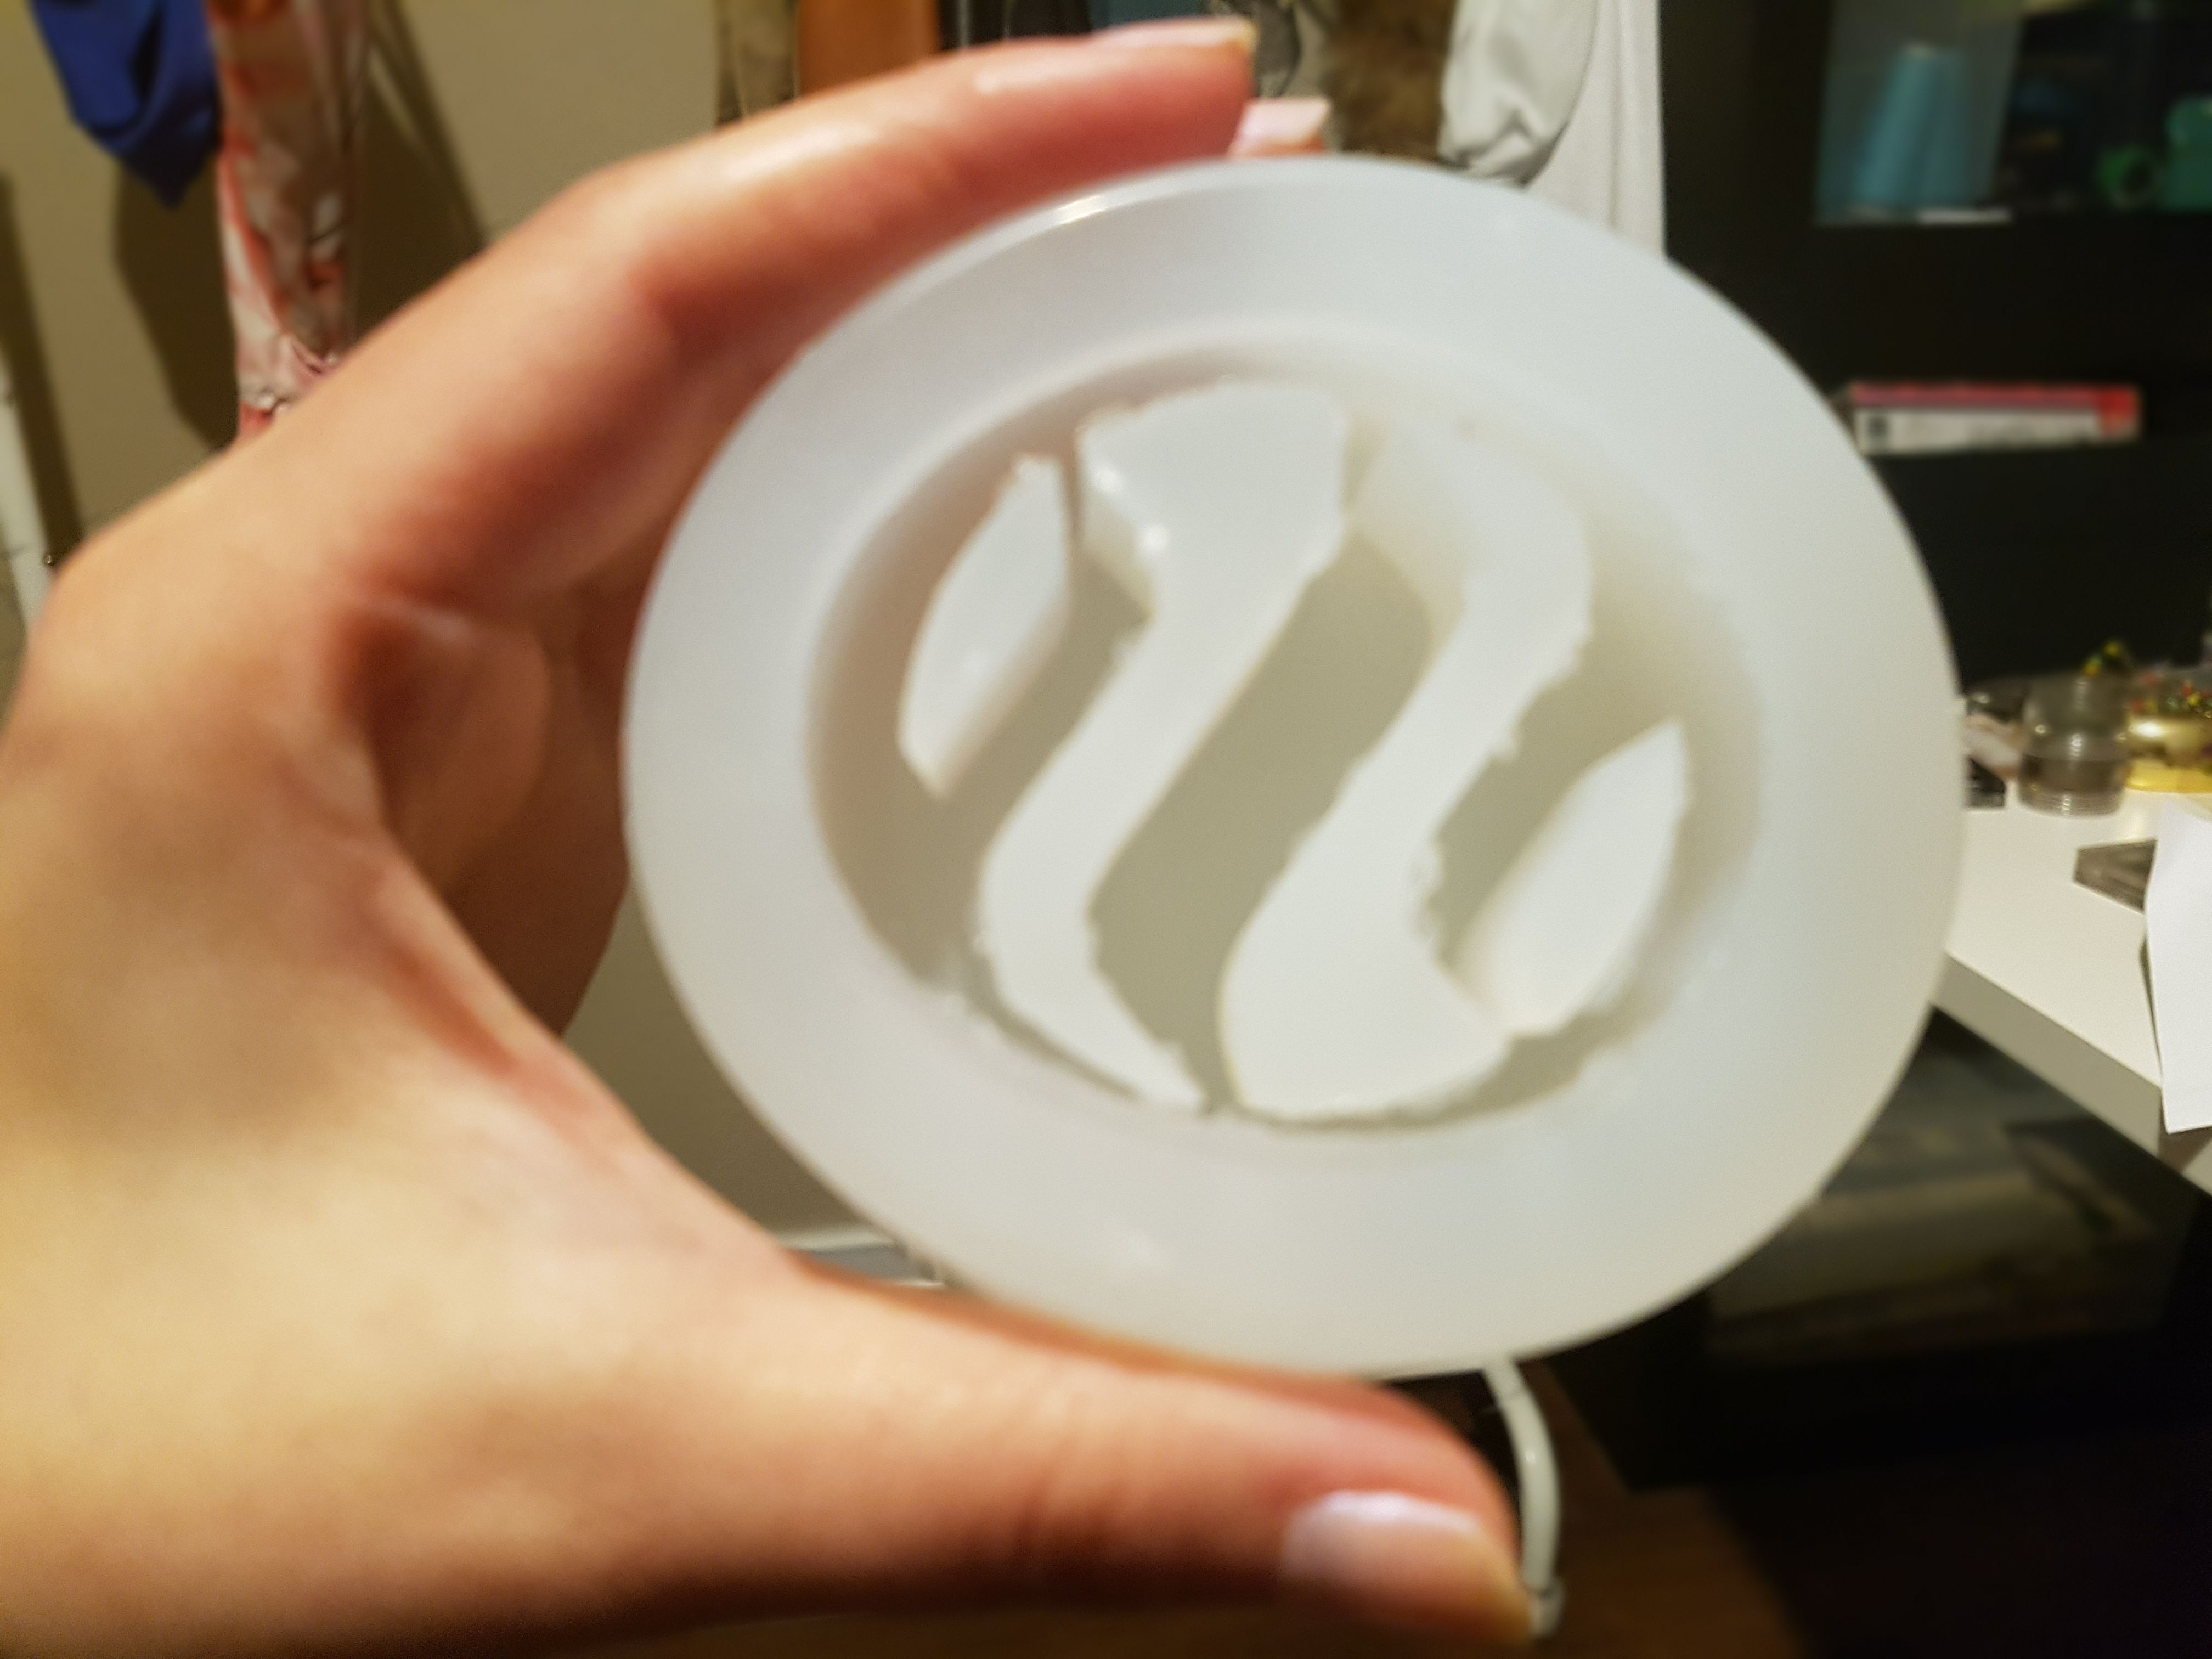
I managed to get the Steemit model out. Time to make the Steemit ice cube.
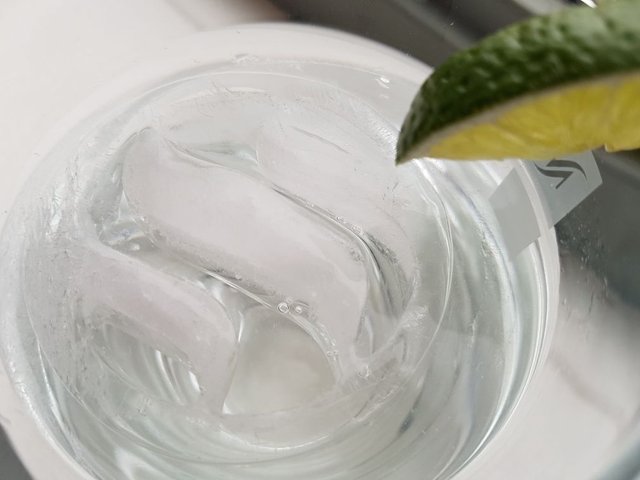
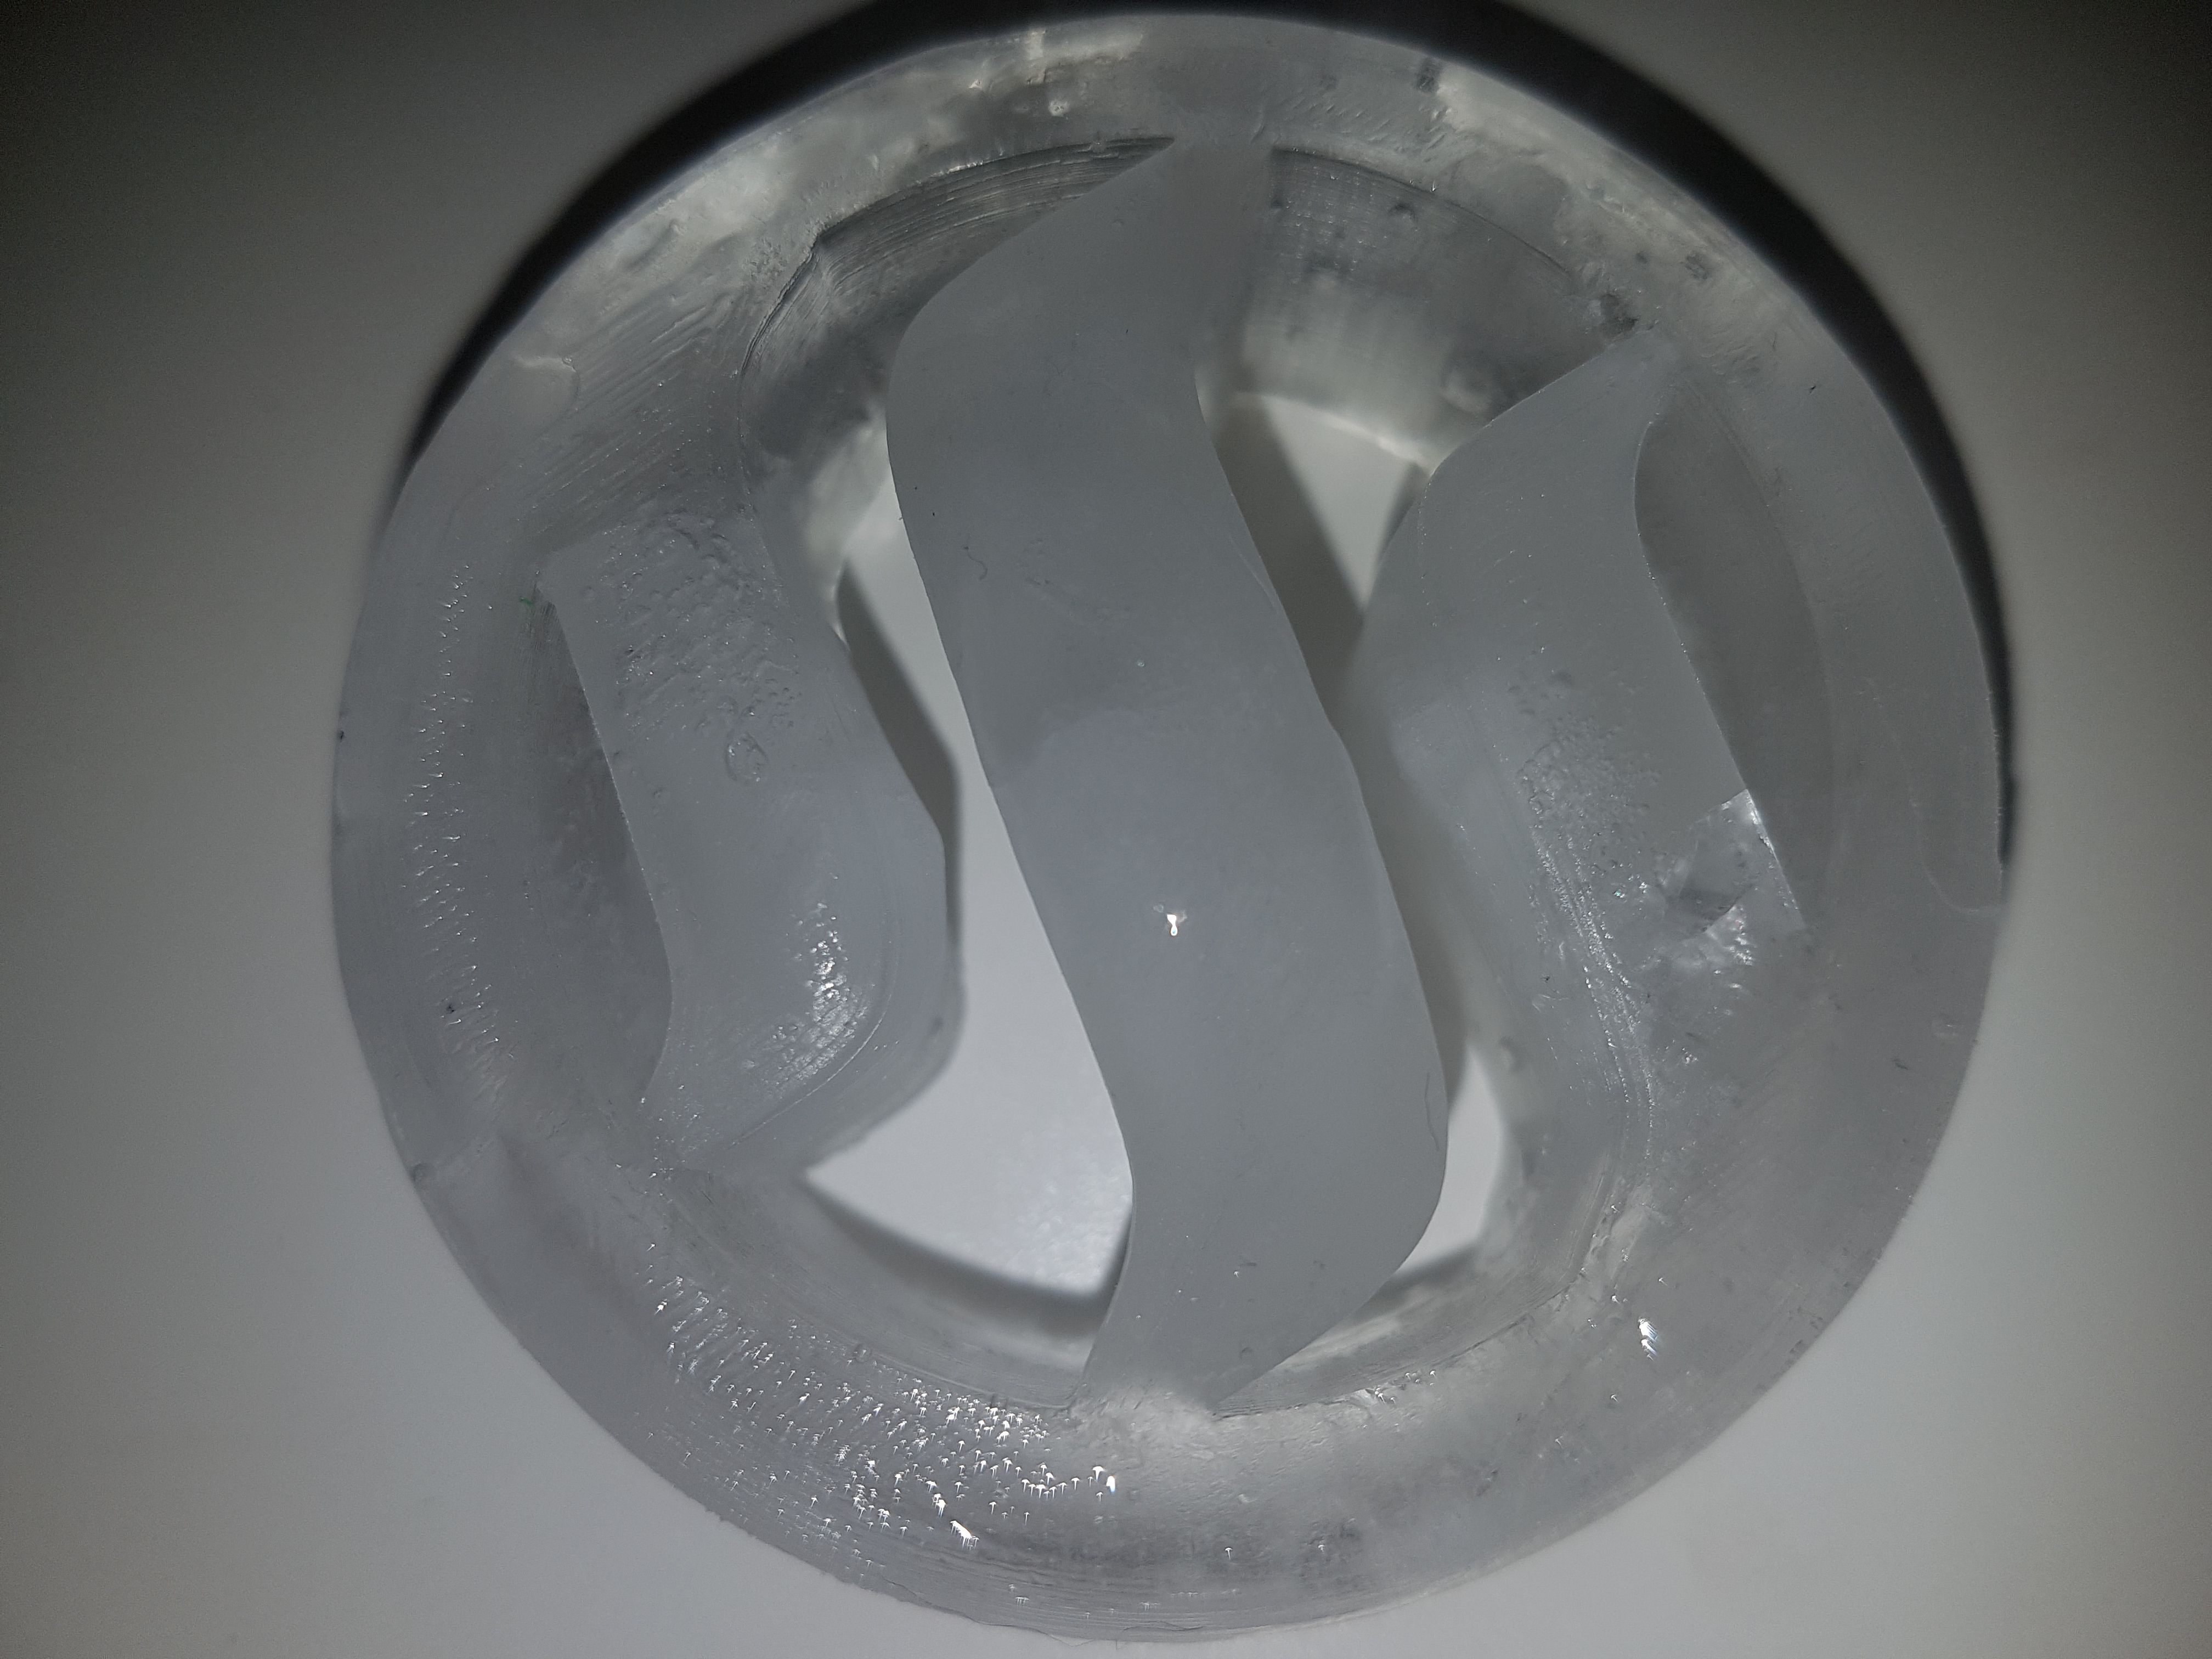
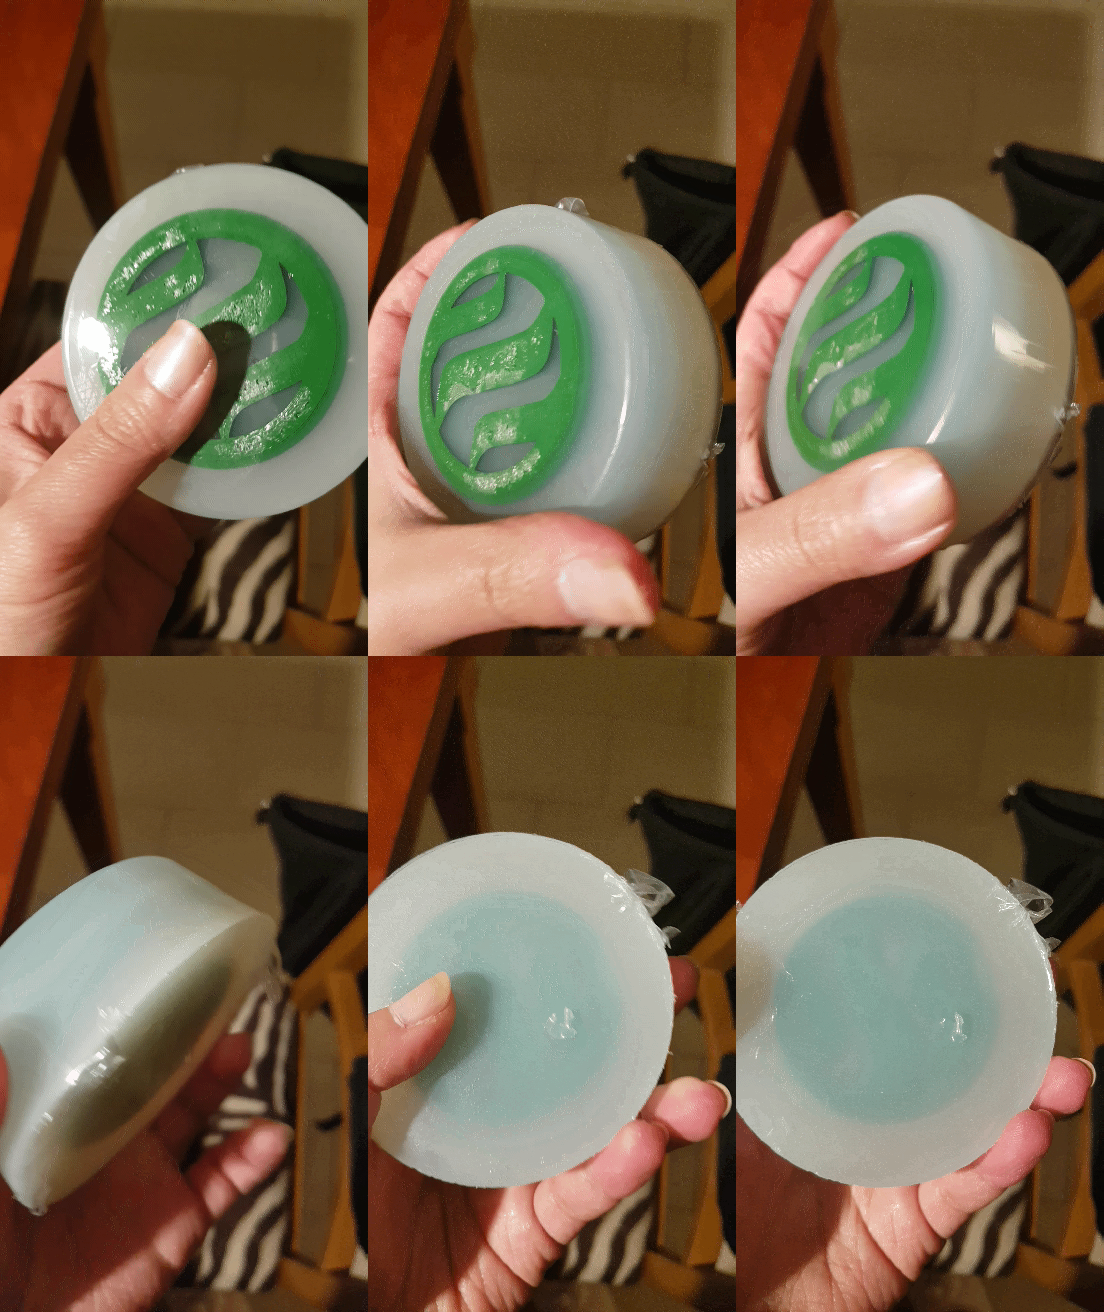
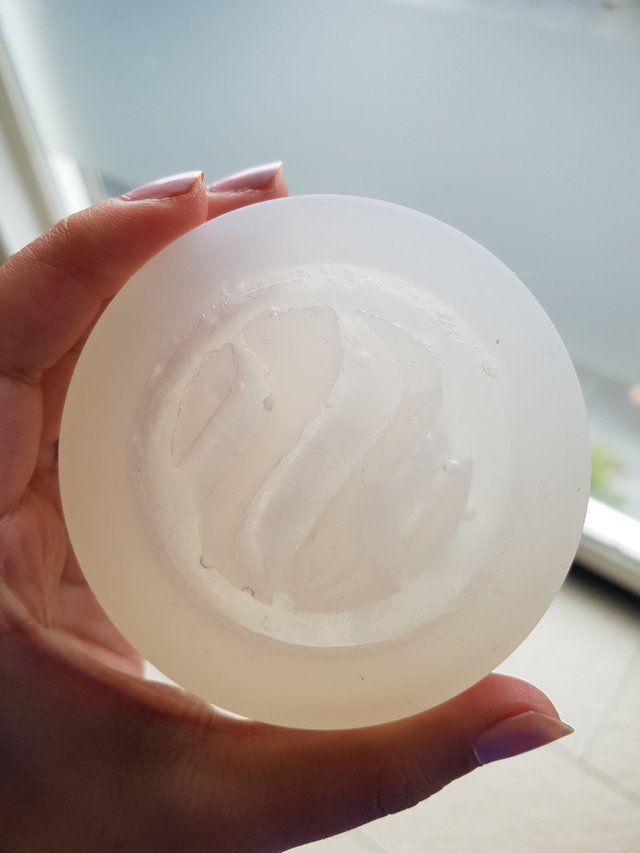
It worked out very well. The steemit ice cube came out easily. I just wished I flipped the steemit model the other way around before pouring in the liquid silicone. Well, it's my first time so I can forgive myself :-).
Hmmmm, fresh cold Steemit water :-D.


Very nicely done. Silicone molds can be a real pain to get to release, so bravo getting it all to come out in one piece on your first go. That is quite an accomplishment.
In the future, it might be interesting to use PETG as your printing material and to make an inverse tray. PETG is (supposedly) food safe, so making ice cubes in it should be no problem at all. It's certainly something I look forward to trying when my roll of material comes, which should be relatively soon.
Again, bravo. Well done.
Thanks @lextenebris. yes, it was very scary because the inner part are so small. But it really worked out. The silicone rubber is food safe :-). But thanks for letting me know. Oh, you ordered liquid silicone rubber too? I'm very excited :-)
No, no – I went the PETG route, in part because I could get this beautiful bright red crystalline filament from MakerGeeks which was too gorgeous not to pick up a kilo of while they had it in stock. (I also picked up some of their Crystal Raptor PLA in bright crystal blue because they almost always sell out of that really quickly.)
I am currently waiting for it to show up for my amusement and indulgence. My roommates have decided that we need some more cookie cutters and they really want the PETG for that kind of thing, and I would be a fool to dissuade them from their desires. :-)
This is aggressive idea by you, as you are sweet lady the awesome photo with lemon juice, from the sweet guy more people are appreciate this platform, as steemians @fathin-shihab
:-D. Thank you.
Another marvelous post! I love these posts with practical outcome so much more than the pure design ones.
Thank you @jefpatat. Yes, I totally agree. Combining it with silicone molds gives me more freedom and its more fun :-).
Congratulations! This post has been upvoted by SteemMakers. We are a community based project that aims to support makers and DIYers on the blockchain in every way possible. Find out more about us on our website: www.steemmakers.com.
If you like our work, please consider upvoting this comment to support the growth of our community. Thank you.
This ice cube is awesome. I know it'll take a few times but I'm going to try this.
Thank you! Have fun making it :-)
very cool!
We have today 0 degrees outside, can I put it also in a cup of mulled wine? :D
hhahahaa! Thats also possible. At least you won't burn your lips and tongue when you put steemit ice cube inside :-D
What a pleasant sip that must have been. I bet you were proud of yourself. Very cute project @fathin-shihab. The steemit ice cube turned out very well! Congratulations!
Thanks for sharing!
Yes, I am very proud. It can always be better but for the first time making a silicone mold I can be proud of myself :-). Thank you!
You are always creative, So thank you to see a person like you.
You give me motivation :)
Thank you @achrafbenz. I am happy I can give you motivation :-)
Awesome project 👍
Great idea. I also have the details and pictures every step 👍
Thank you @geneeverett :-)