The Easiest Way To Add Screenshots To Your Steemit Posts (On A Mac)
One of my followers asked me in the previous post to share the process or the software I use to add screenshots to my posts. I was almost started to answer him in a comment, when I realized this could be made in a full post. Although I not consider it rocket science and I do it almost on auto-pilot, I think it could be beneficial to many other people.
This doesn't require any additional software to be added on your mac, it uses just the standard tools you get on any vanilla Mac OS install.
So, without further ado, let's start.
How To Take A Screenshot On A Mac
It's just a combination of keys:
Shift + Command + 3 (the number 3 from the upper line of keys).
That's it. The file will be saved on your Desktop (or, based on your settings, on your Documents folder) and it will have a name like this: "Screen Shot - YYYY-MM-DD at HH.MM.SS". Where the last part is obviously the time and date of the screenshot (makes it really easy to find older screenshots).
Here's how it looks:
If the part that you want to screenshot spreads over the entire screen, that's what you use. But if you want to use a smaller window, there's a way to capture only that one, without getting the whole screen. For that, you will use this combination:
Shift + Command + 4
This will transform the cursor into a crosshair image and you can move that thing until you are over the window you want to screenshot. Once you're there, you hit Spacebar. The crosshair will transform into a photo device and the window will be highlighted. Tp or click (with your mouse, or with your trackpad). That's it, you will get only that window.
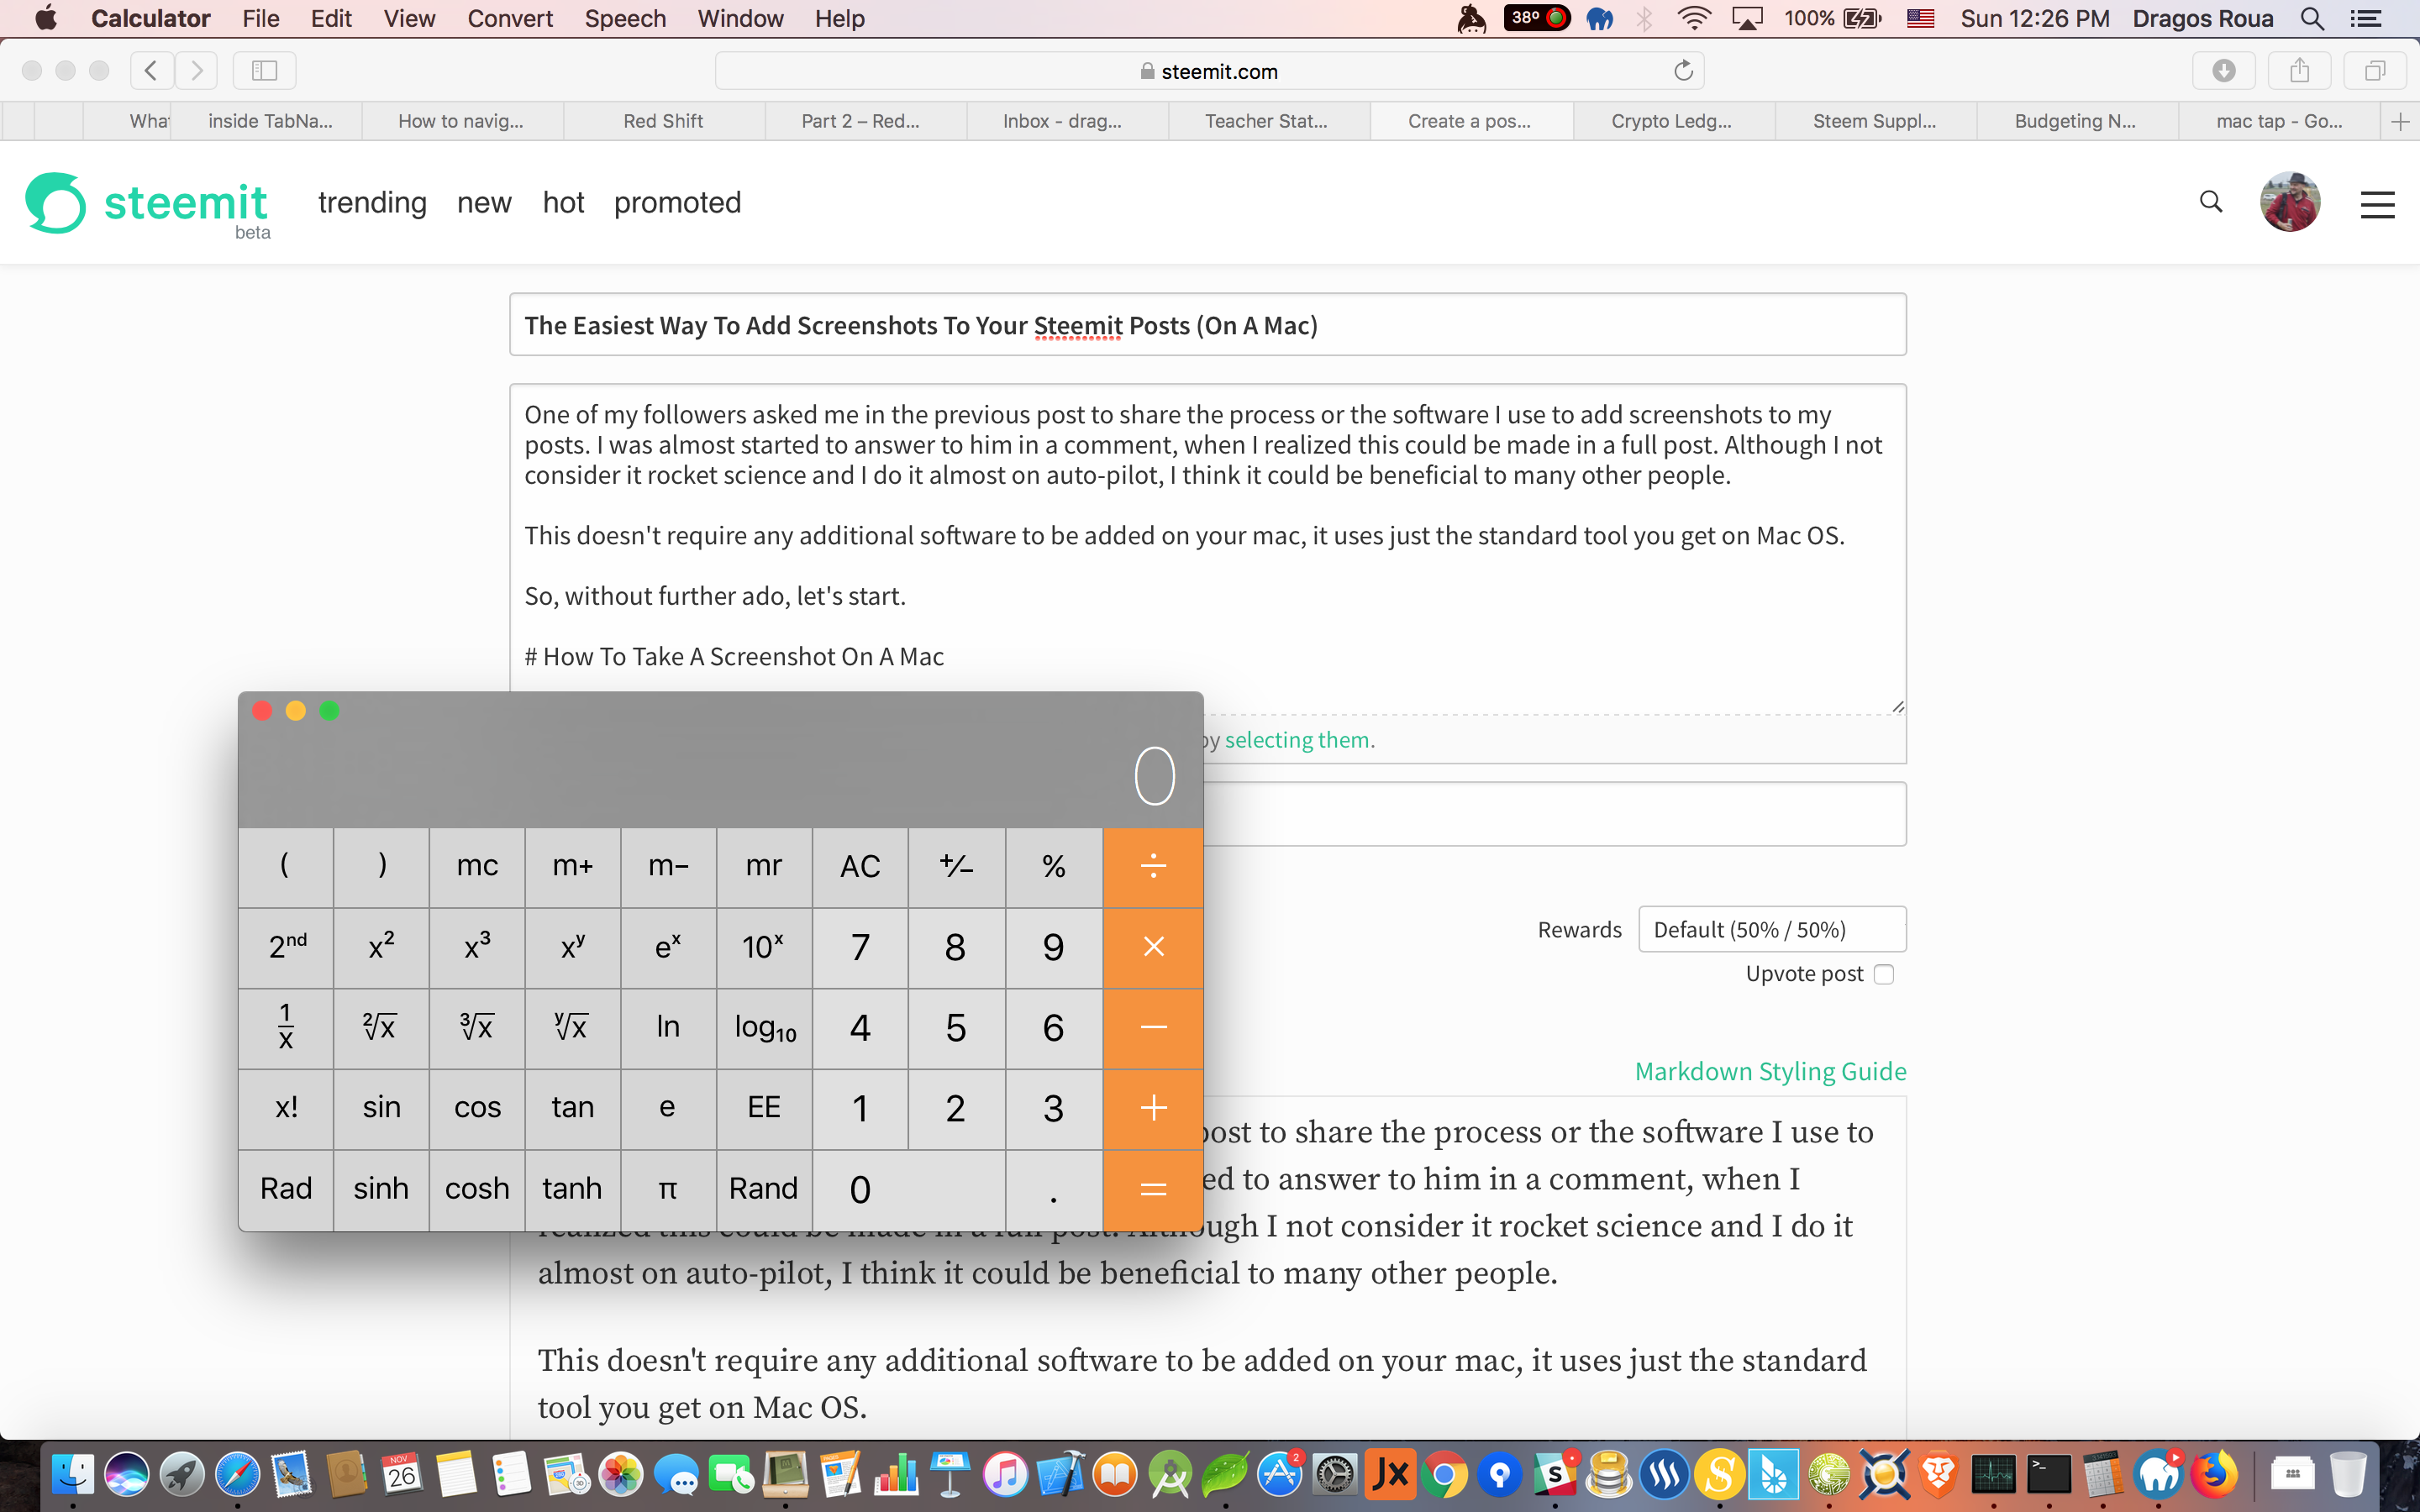
Here's the process for the calculator window on top of the browser window:
Shift + Alt + 4 and then move the cursor over the Calculator window and hit Spacebar
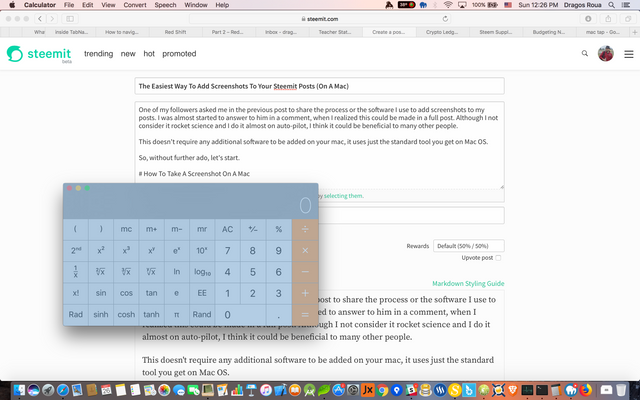
Now you tap or click:
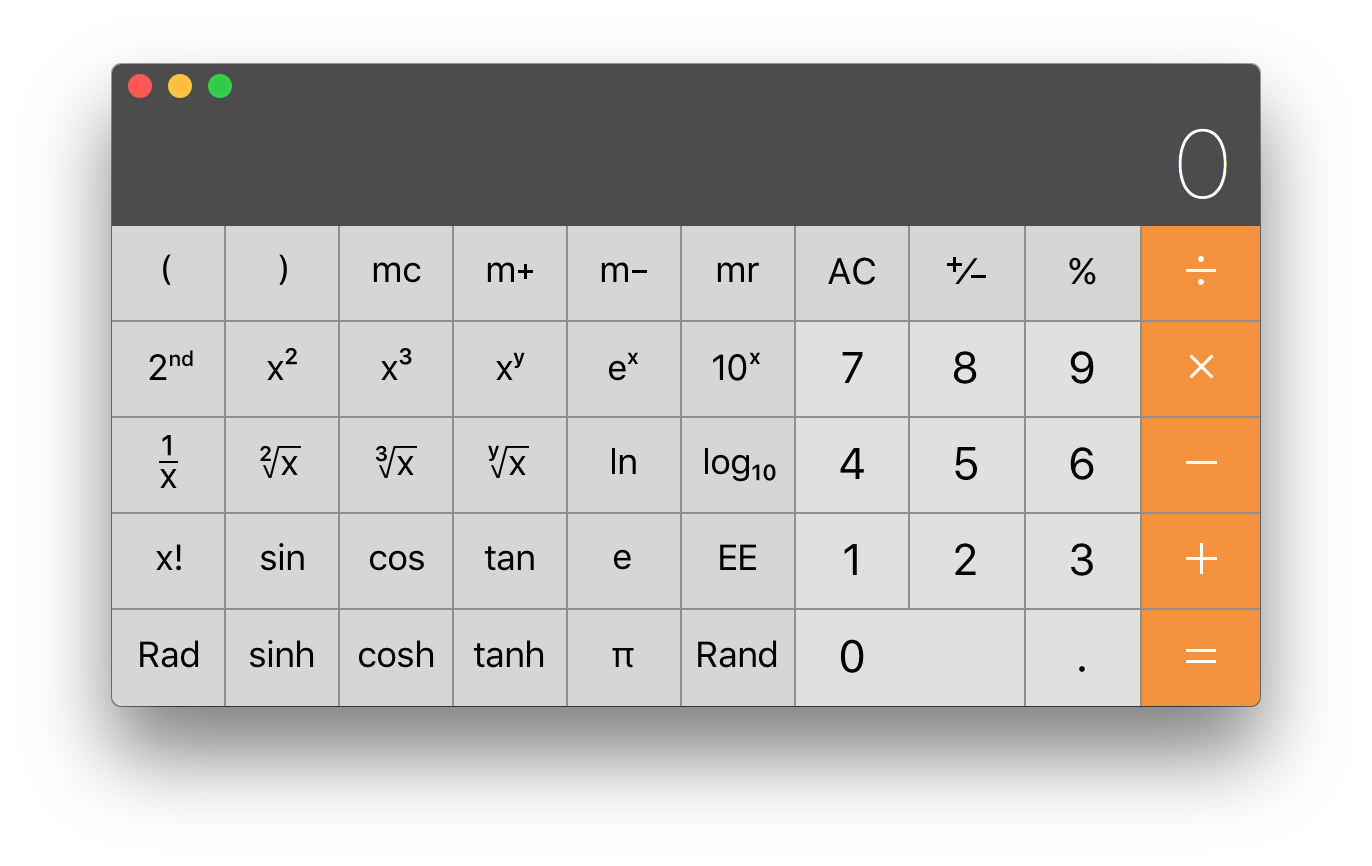
Voila: you only get the Calculator window, includin all the window decorations and shadows.
Basic Cropping And Editing On A Mac With Preview
Preview is Mac OS's app for previewing PDFs. But apart from PDFs, it can also preview PNGs or JPGs. It has a few basic editing tools, like cropping, rotating and basic shape drawing and text overlaying. I usually do only cropping and then add a few basic shapes if I want to draw attention to a certain area on the screen.
Cropping With Preview
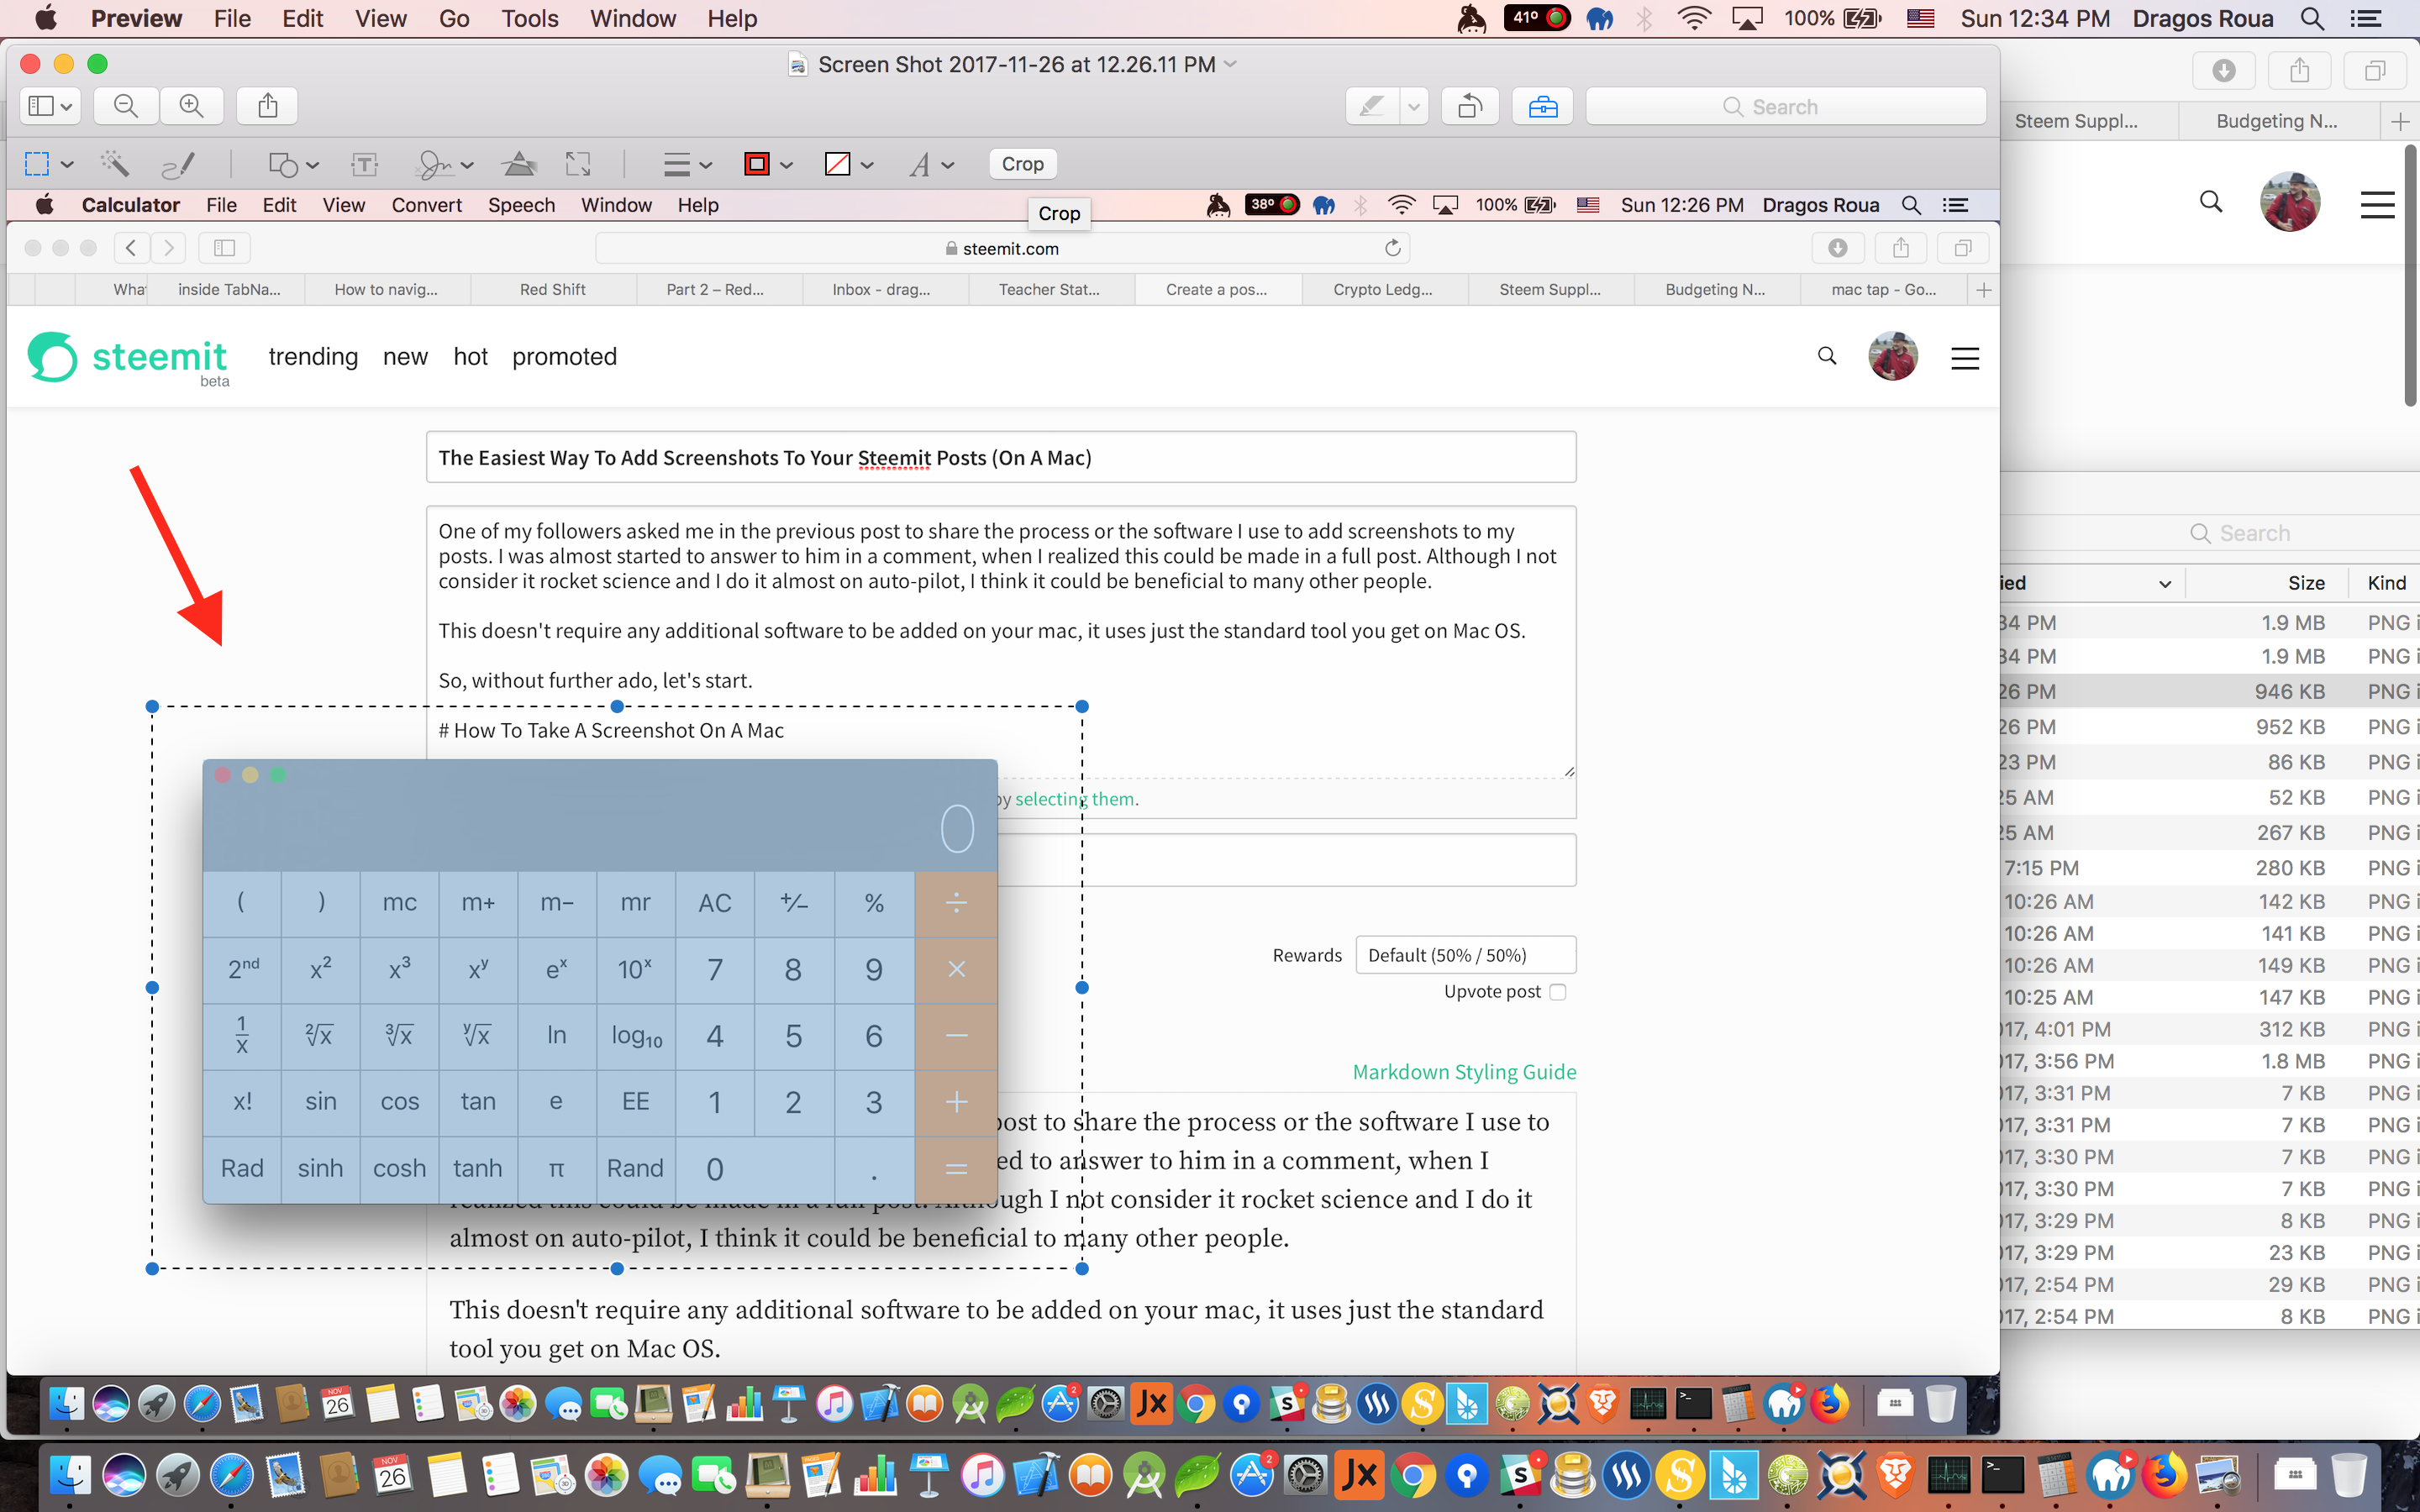
Open the image in Preview. Now hit the top right icon, Markup Toolbox (the blue one in the screenshot below).
A new line of icons will appear underneath it and the standard selection tool will be provided.
Go to the area you want to crop, click and drag. The area will be surrounded with a rectangular dotted line that you can adjust.
When you're satisfied with it, hit the Crop button.
And that's what you get:
I leave the part in which I added the arrow to you, as an exercise :)
I'm a serial entrepreneur, blogger and ultrarunner. You can find me mainly on my blog at Dragos Roua where I write about productivity, business, relationships and running. Here on Steemit you may stay updated by following me @dragosroua.

https://steemit.com/~witnesses
If you're new to Steemit, you may find these articles relevant (that's also part of my witness activity to support new members of the platform):


Thanks for this super simple method !!!
https://lifehacker.com/5880928/the-best-screen-capture-tool-for-windows
I'm not a mac user... Do you know a way in windows other than PrtSrn button then opening paint then save? I can use programs for the same effect... but just want to know if there's another way.
Well composed highly informative.
Nice article