My Last Entry for the Anime thingy contest of @lennstar
For the last couple of days, I had been working on different things but obviously most of them are just drawing things and studying this and studying that. I know, I had to finish another entry for @lennstar's contest and I wanted my three entries to be all Anime reviews. The thing is, I struggle with making one that it takes me days to come up with something good to write(if you can call those writings good then give yourself a slow clap).
So just to make it up and finish this contest, I decided to make a Fan art for my last entry! But wait, that would be so unfair if I just do a fanart, so instead of me just making a fanart, I will also be including a tutorial! To be exact, a software tutorial for you noobs cause all of you are hopeless(OMG, I'm so evil).
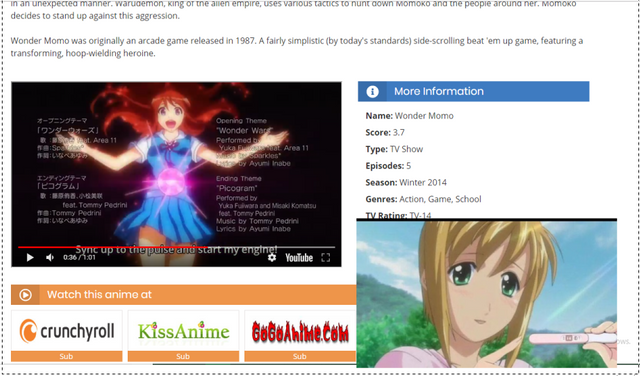
For today's fanart, I wanted to draw Bowsette but because Bowsette is a character from a game, I had to pick another character that came from an Anime! And since, I have no idea what character to draw for God's sake, I used a random anime girl picker.

The picker picked Wonder Momo. I have no idea who that is so I just ended up picking Pico from Boku no Pico! So what is the point of me using the picker? Well, nothing really, I just wanted to waste your time.
Let's do art about ice creams!
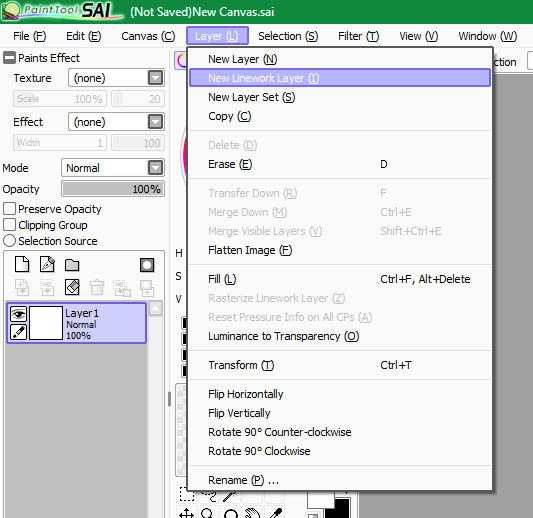
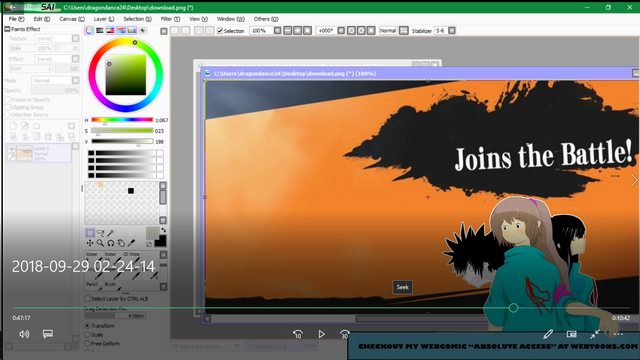
Today's tutorial will be about my favorite drawing software, Paint Tool Sai. Paint Tool Sai is designed more for doing line art unlike Photo Shop where things are more complicated since PS doesn't offers any function that helps doing the line arts.
Sai and PS have similarities like the use of layers and the use of the same short cut keys but as you learn more about them, you will tend to pick one over the other one depending on what jobs you usually do.
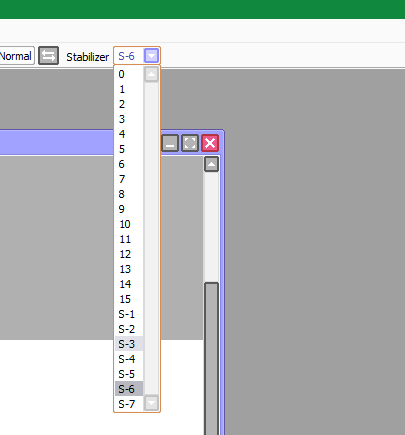
For everyone that doesn't know, Sai has vector like functions despite of it not really being a vector software, one of those functions is the use of "Linework Layer" which allows you to push and pull lines to make them go on what ever form you desire. My most favorite function in Sai is the "stabilizer" which helps you to draw smoother lines(only applies with a wacom, not a mouse).
With that out of the way, let us all move on into drawing Pico!
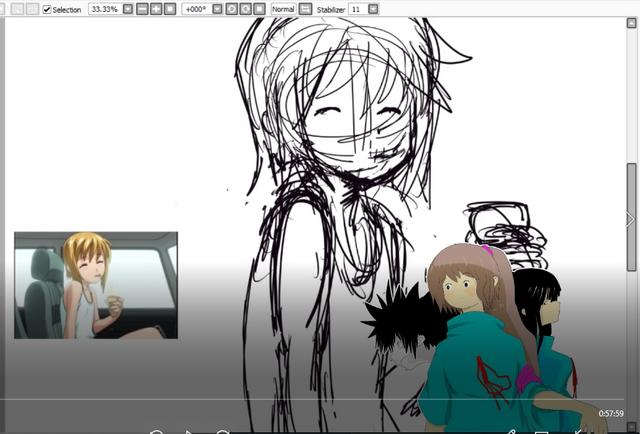
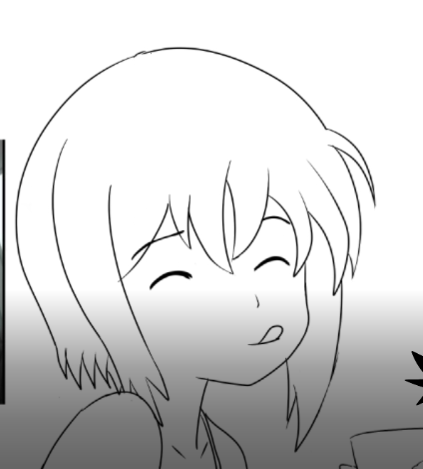
I started out with drawing the rough draft. Making this rough draft took me a lot of resizing and repositioning of parts. I think making the rough draft took the most time in making this digital drawing.
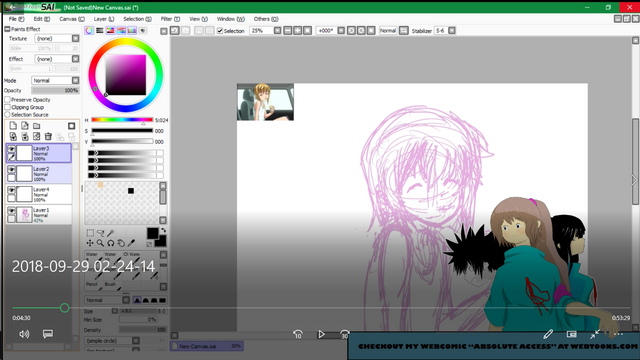
After finishing the rough draft, I changed it's line color to pink so I can distinguish my rough draft from my final line in the later part of this drawing session. So why did I pinked pink? Well, there is no particular reason, I picked the color out of random. Any color would do as long as its light enough to be differentiated from black easily but dark enough for my weak eyes to see. To do this process, hold CTRL and click the layer of the rough draft to select all the lines you made then pick the color that you want your lines to be into then press CTRL + F to fill the lines with the color of your choice. Simple!
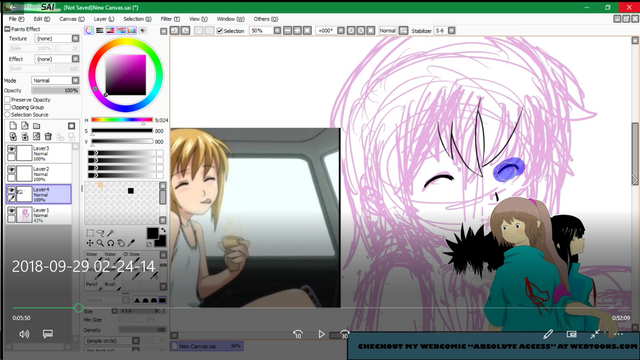
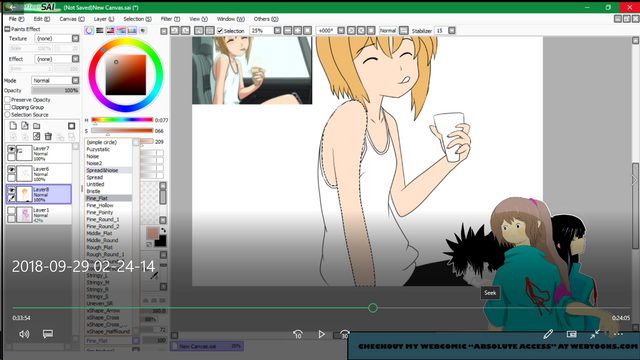
I then started drawing the final art over the rough draft. As I draw the final lines I kept on resizing and repositioning again and again until I get satisfied on how it looks. To do this, select the are that you want to move or resize with the select tool. Just spread the select tool on the area that you want to edit like on the display above(there should be a blue thingy on the selected areas). After selecting the area, press CTRL + T then resize, if you want to move the selected are hold CTRL and move your stylus.
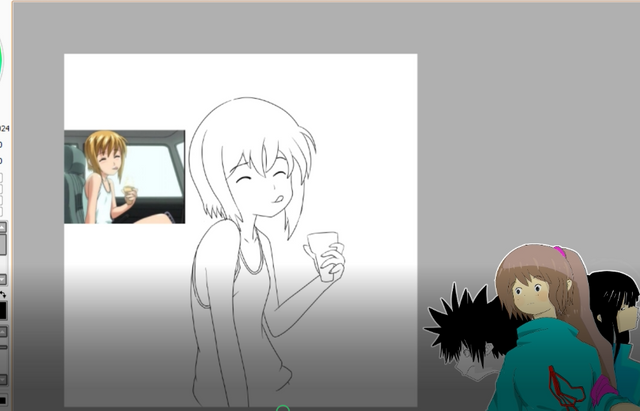
So there, the finished line art is done. Next will be the coloring. To color, just use the bucket tool so you can fill a whole area right away in one click. Oh, before that, be sure that every area in your drawing is completely closed so that you can use the bucket tool properly.
There!

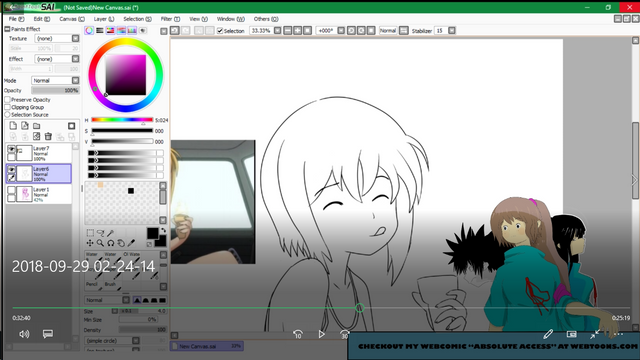
So you can do this by using the magic wand tool! Or you can just use the bucket tool like I said earlier. For coloring, be sure to make a new layer for the colors so that the work get easier to sort out. Always place the color layer down the line layer. Oh yeah, just in case you don't know, to hide a layer just click the eye on the layer, ya know that eye icon. I just mentioned it coz maybe you're wondering where did the rough draft go. Of course, I made a layer just for the final line separated from the rough draft.
And so I colored!
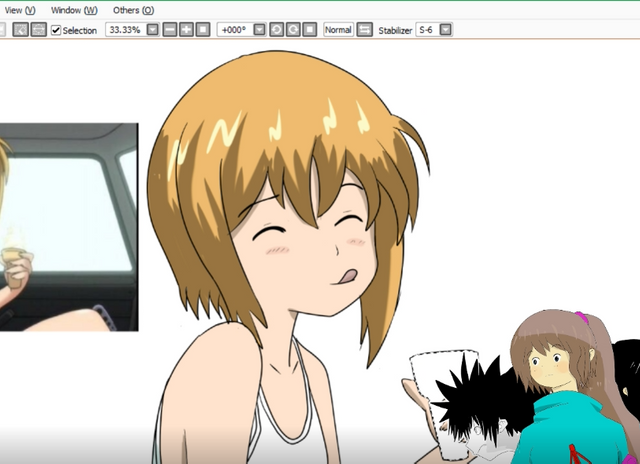
Applied some highlights...
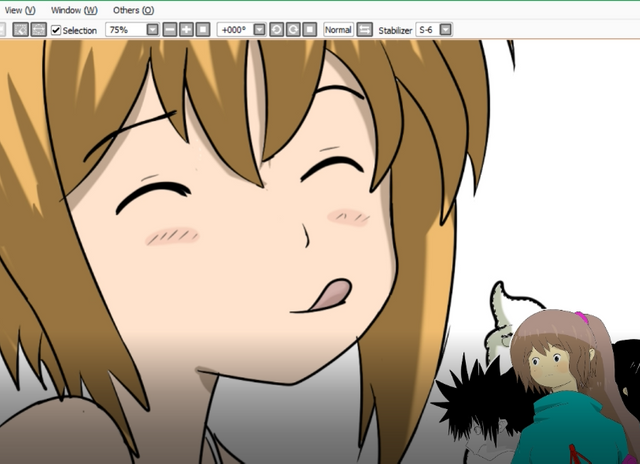
And added more details in this abomination.
I felt that the piece still lacks some sense into it to function and by that moment I suddenly remembered that Smash Bros. meme, and so, I looked for a template!
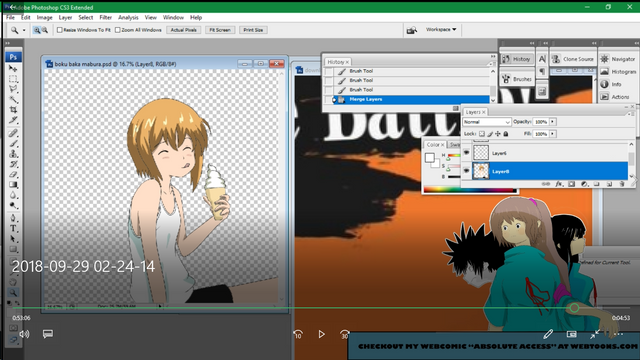
For doing the last parts like placing Pico on the template, I used Photoshop.
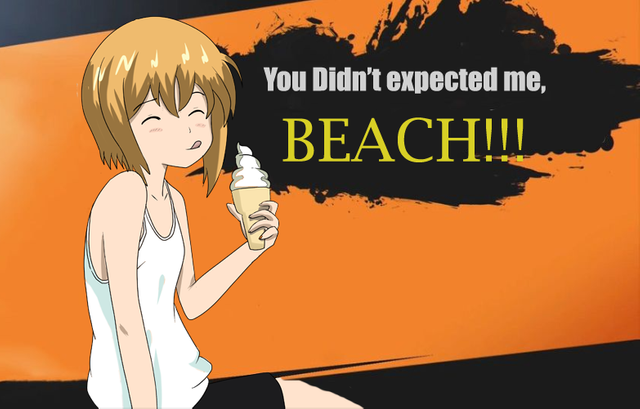
And there we have it, a beautiful fan art of Pico... How adorable.
To check out the speed paint video of me drawing Pico, just do check it out here in my channel! And please do give me subs, XD....
I upvoted your post.
Mabuhay, keep steeming.
@Filipino
Posted using https://Steeming.com condenser site.
Lol, steemit really is unique :P a boku no pico fan art getting votes instead of downvotes hahahaha.
But really, who is Wonder Momo? never heard of her/(him?) Sorry for the short comment but I really can't bring myself to think someone would go ahead and pick this :D :D :D :D