LearnWithSteem: How to Make Kuli-Kuli (Peanut Bars)
Hello Chefs!
It's another time of the day to share a unique recipe on my food blog. I hope it will be useful and be of great interest to every chef on steemit. Today, I have come up with step-by-step preparation procedures on how to make kuli kuli.

Designed with PixelLab
What is kuli kuli and what is it made of?
Kuli kuli is also called African peanut bars or groundnut cake. This snack is a local snack made in Nigeria which is mainly popular in the northern region of Nigeria. Kuli kuli is made from groundnut after extracting oil from groundnut. This snack is widely enjoyed throughout Nigeria now. It comes with various shapes and sizes; rolled, spiraled cones, flat and Small.
Apart from being a nice snack, kuli kuli are also rich in nutrients such as; vitamin, protein, minerals and carbohydrates.
Some health benefits of kuli kuli (groundnut cake) are below and all are good for the body.
- It has healthy fat
- It is high in dietary fiber
- It is good for weight loss
- It is high in magnesium & calcium
- It has good sources of vitamins like vitamin E
- It is healthy for pregnant women
Here are the steps I took in making my groundnut cake (kuli kuli);
| Preparation Procedures |
|---|
- Salt, fry and peel the groundnut
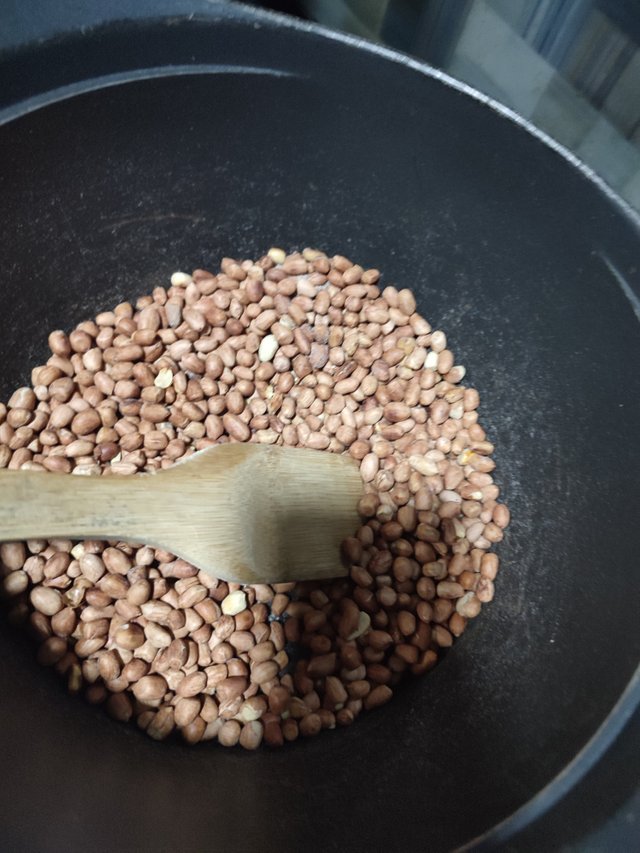 First step: frying First step: frying | 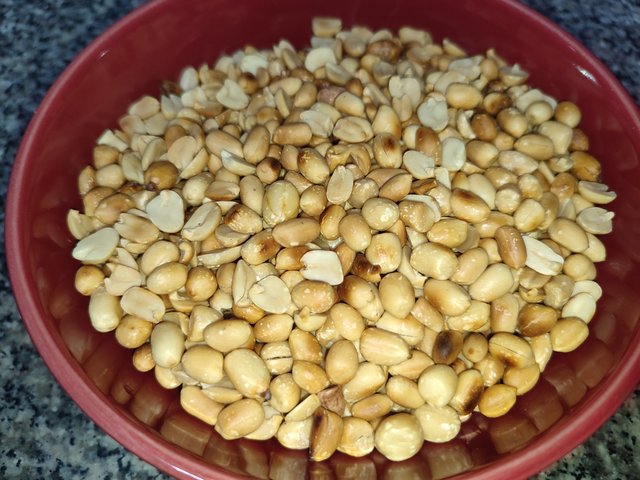 Peeled Peeled |
|---|
- Transfer into the blender and blend but not too smooth.
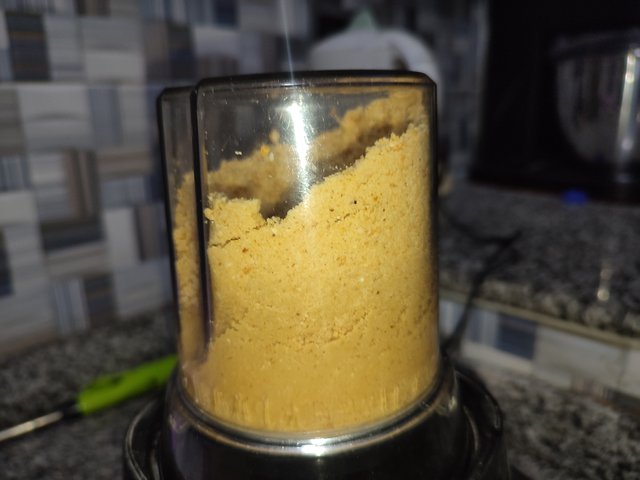 Blending Blending |
|---|
- Mix it properly and add hot water in an interval ( do not add too much water at once) and mix well
- Keep adding till the peanut oil start coming out (once you see oil coming out, stop adding water)
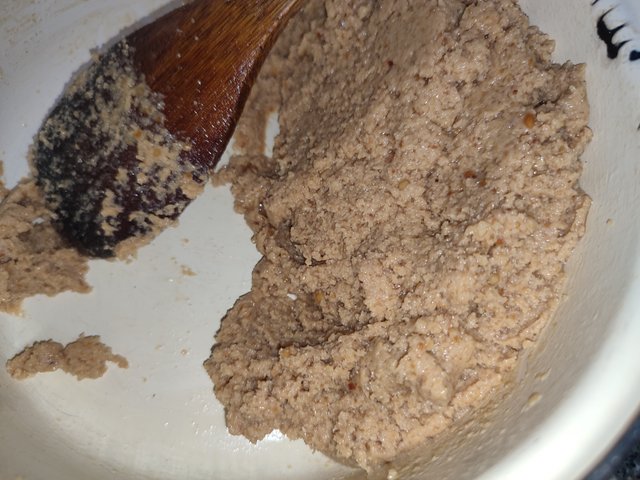 After mixing After mixing |
|---|
- Next step is to strain out the excess oil from the peanut using clothe sieve
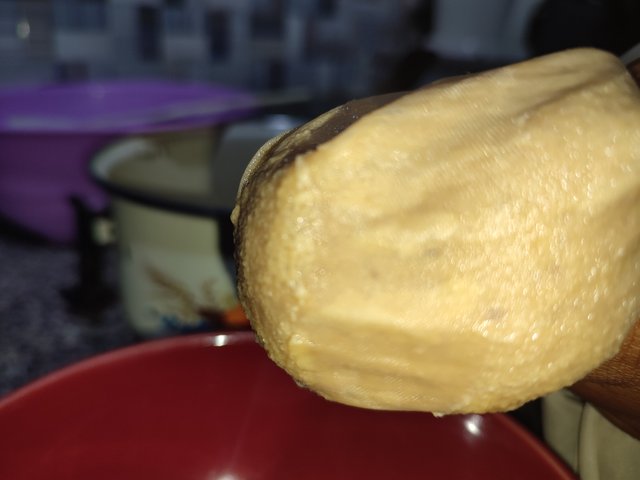 Straining the oil out Straining the oil out |
|---|
After straining, add 1/2 tsp sugar 1/4 salt
Mould it to your desired shape (I like mine flat so I made it flat).
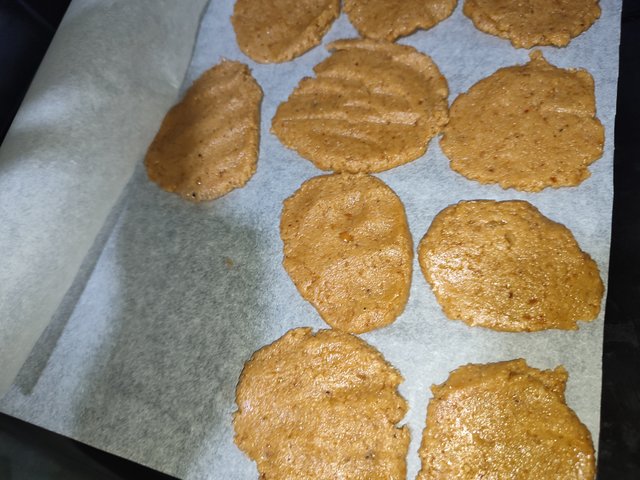 After moulding After moulding |
|---|
- Arrange it in an oven tray and put into the oven to bake for 30 minute. Monitor till it is dry.
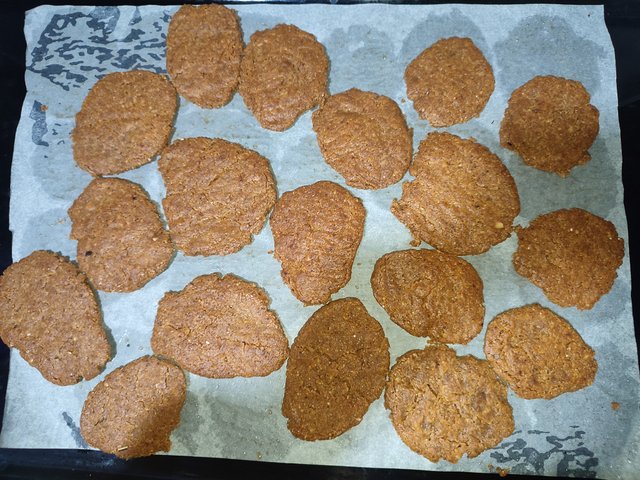 Well dried and ready to be served Well dried and ready to be served |
|---|
That's it for today's recipe, I hope you like my homemade snack? Thank you!
Greetings Chef @adylinah!
Thank you for being part of the community, we look forward to continue enjoying your delicacies and eventualities in your meals.
@steemesp |@steemeng|@steem.ind
Greetings.
Thank you