#STEEMGIGS: (TIL(Today I Learned)) — DIY stabilizer for DSLR Cameras
Hello everyone, I am here again for yet another DIY gig for you. This time, it will be about a DIY stabilizer I made for my Nikon D3100 SLR camera. Stabilizers on the market isn't cheap at all. It is so expensive and sometimes much more expensive than any entry level cameras like mine. So I searched for alternative ways on how to have a smooth video for my travel escapades.
Stabilizer helps a lot specially when you want a very smooth, not shaky shot and transition. Without stabilizers videos will be so shaky when running or even if you are just taking a shot while walking. That's the reason I made my own stabilizer. I will help you do your own to with the steps I will share below!
Materials needed:
- 2 pcs electrical tubing 90 degrees angle
- 3 pcs screw coupling
- Traxxas 1651 (I ordered from amazon at $2 usd)
- 1 pc skateboard bearing
- 1 pc 1/2 female pvc
- 1 pc pvc pipe (for the handle)
- plenty of washers for the balancing
- 2 screw for the washers
- 1 screw for the camera handle
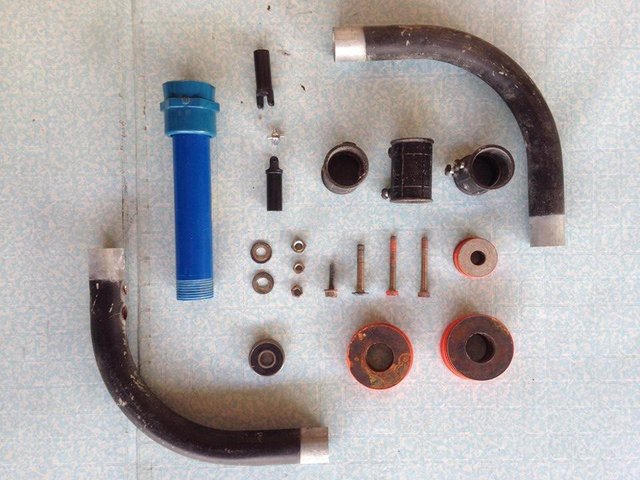
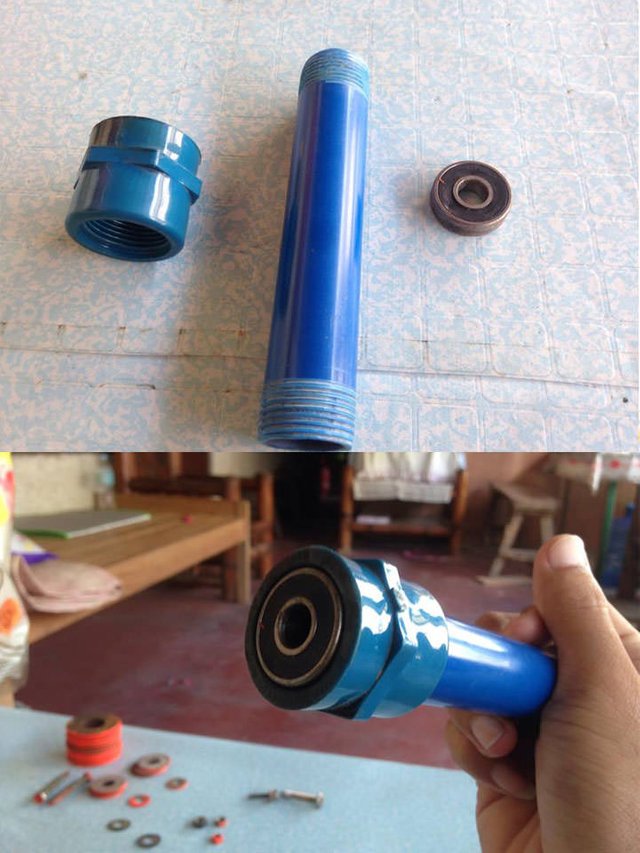
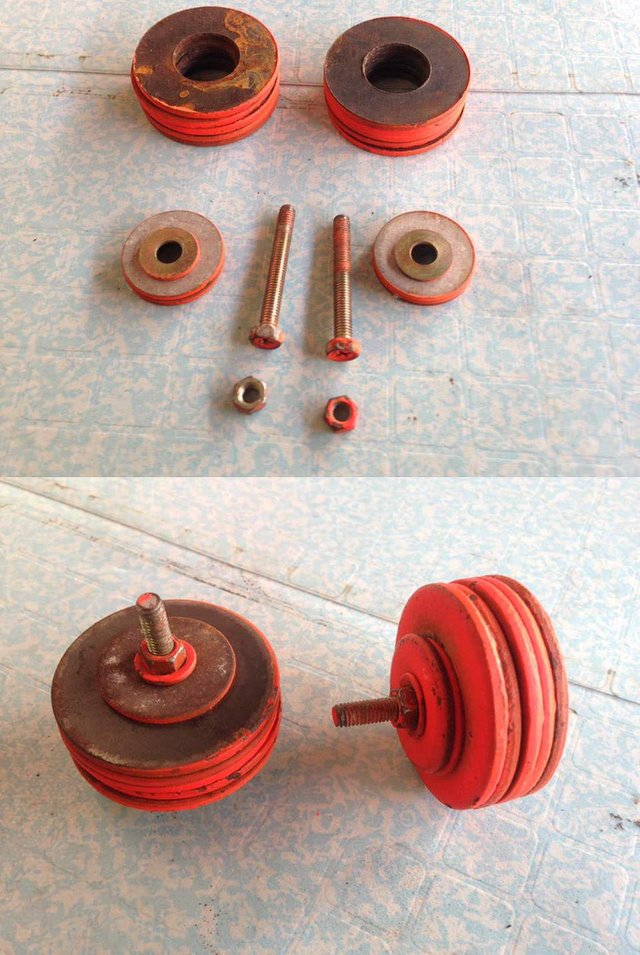
For materials reference. see picture below. the image below is the dismantled stabilizer of mine. I decided to dismantle my stabilizer so that I can document the whole DIY and share it to you for better reference.
Now let's start building your own stabilizer.
1st step:
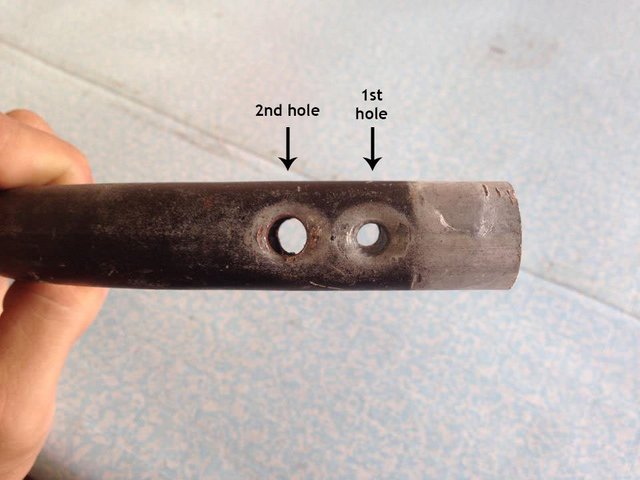
Grab 1 of the tubing and draw 2 holes on one end. The measurement is 2 inch from the tip for the first hole then 2 1/2 inch from the tip on the 2nd hole. Make sure that the 2nd hole is big enough for your traxxas to be inserted. see image below.
2nd step:
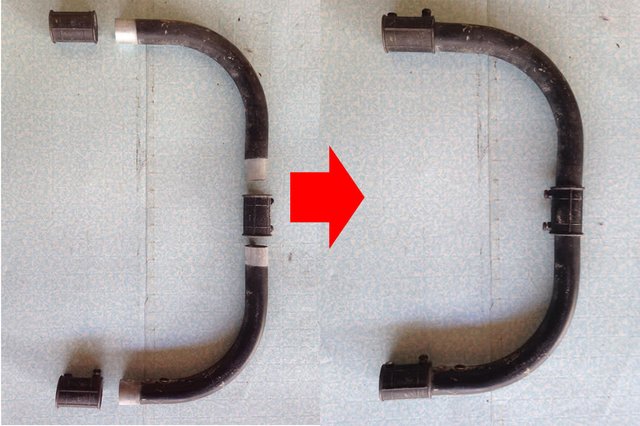
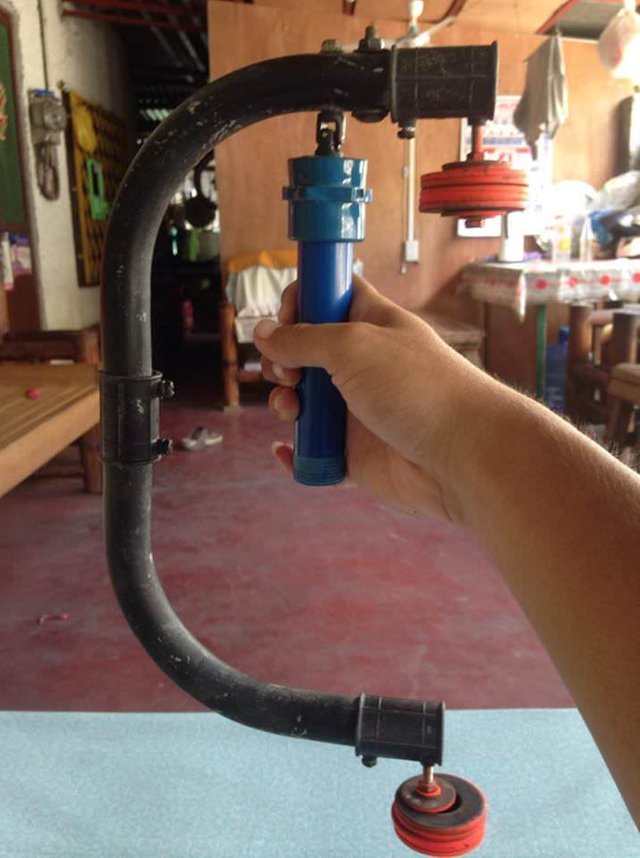
prepare your 2 pcs 90 degree electrical tubing and 3 pcs screw coupling. Start connecting the tube by making a C shape. See image below.
3rd step:
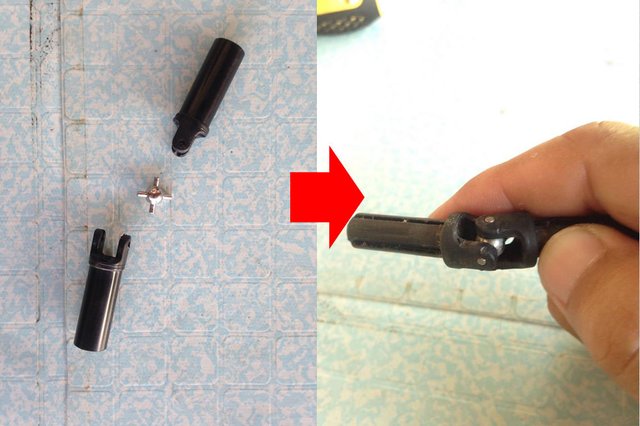
Assemble you Traxxas 1651. Your traxxas 1651 will serve as the main gimbal of your stabilizer.
4th step:
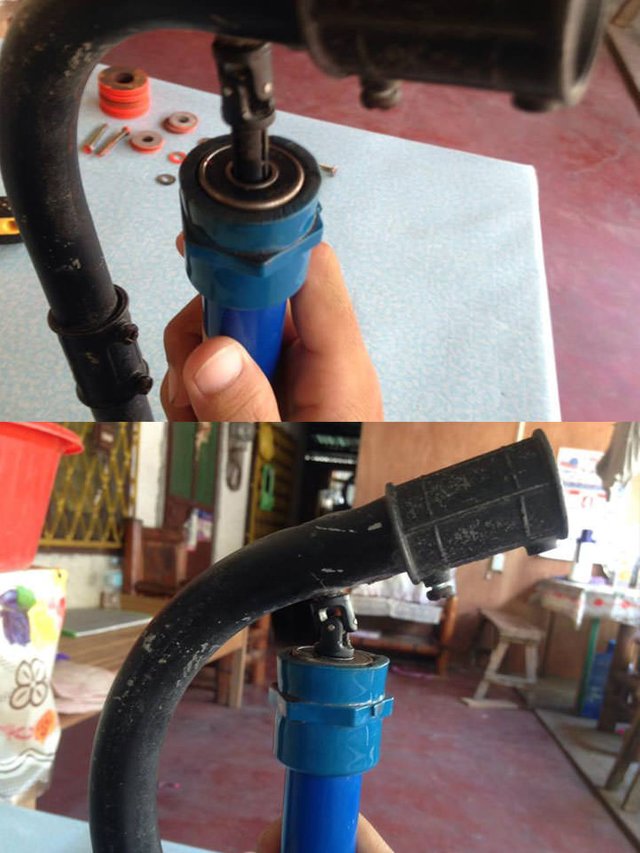
Now, let's make the handle. Grab your skateboard bearing and insert it into the unthreaded hole of your female pvc. Then knot the pvc pipe into the other hole. see image below.
after it's done, insert the traxxas into the center of the bearing and glue it.
5th step.
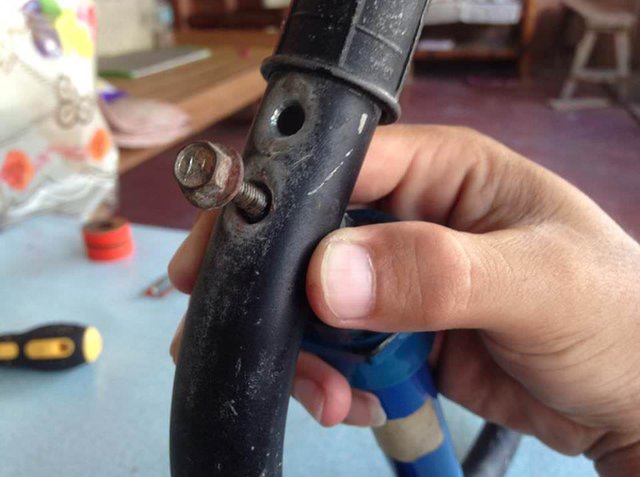
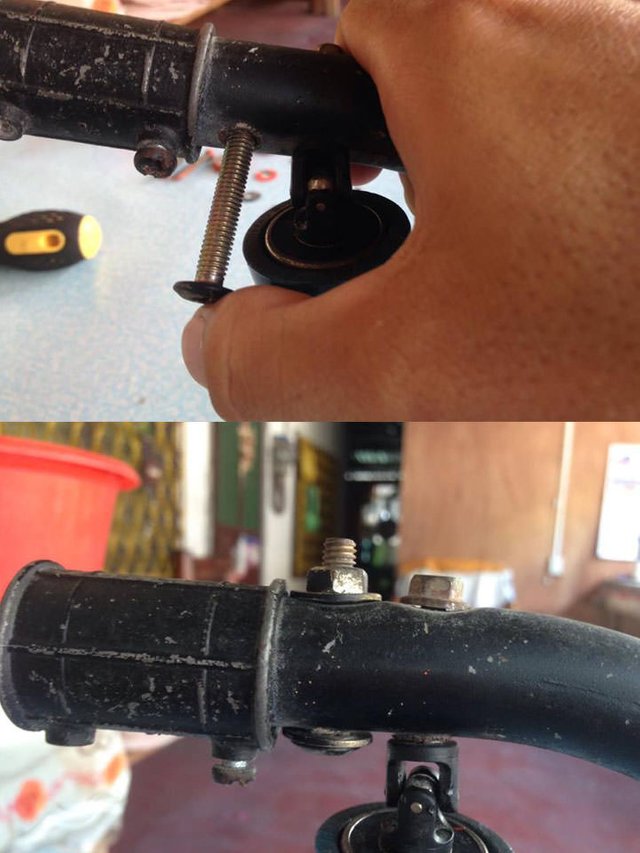
Screw the traxxas so it will be sturdy enough to carry the weight of the stabilizer and the camera. As per the screw size, I really don't know as I only got the screw from my father's storage box. See image below.
After you are done screwing the traxxas, it's time to put on the Screw on the 1st hole that will serve as the camera holder. I don't know the exact size of the bolt, what I did was I brought with me my camera and test the different bolt before I bought it.
6th step:
Gather your washers and divide them into two. Get your bolts and put them into each. See image below.
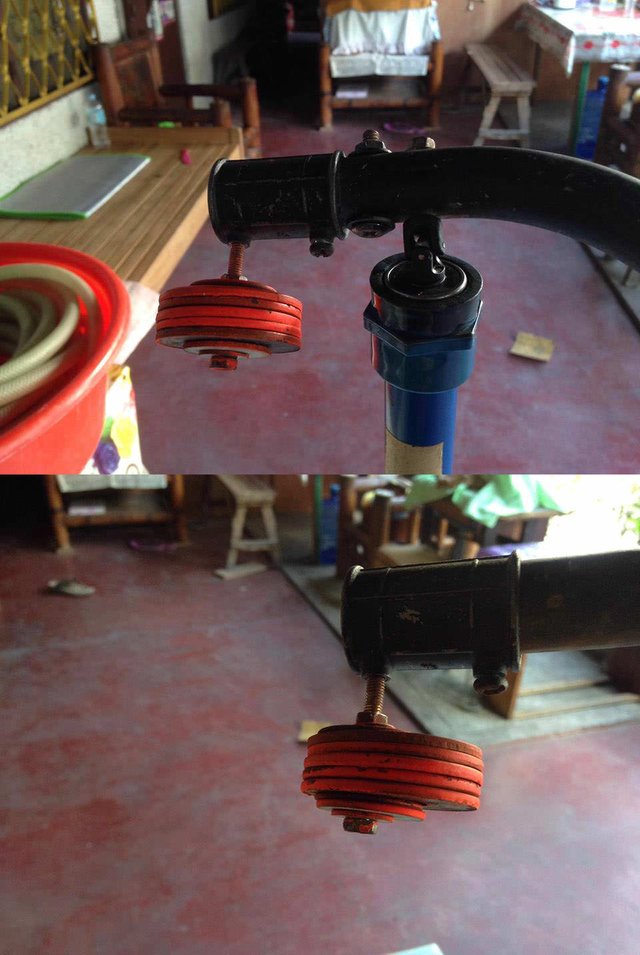
Then insert it to each screw coupling. See image below.
Now you have your stabilizer ready for testing. But here comes the most difficult part because by the time you will put the camera on top, it will swag and will be out of balance. So you need to balance the whole stabilizer including the camera with the use of the washers.
The camera is heavy enough to outbalance the washers you put below so you will need to add more washer on the lower set. get some from the upper washers and put it on the set of washers below until it is balanced.
Now that the stabilizer has been set up. Let's make a sample video of the difference between a hand held video and a stabilized video using my DIY steadicam. See comparison video below.
another video sample when following a subject.
I hope you learned something with what I have shared today. If you appreciated my efforts in creating this tutorial, please resteem this post. It will be very much appreciated. Thank you!

Awesome tutorial! Keep up the good work!
Thank you so much @redamazon
How you come up with some of this stuff I don't know! You're really crafty and inventive!
When I dream of some thing but can't afford it, I find alternative ways to own one sir. hahaha