TURN YOUR MacOS Into a Python SteemDev platform using Atom
MacOS Steem Python Atom Setup
I got myself a new Macbook the other day and decided to make this tutorial for setting up a local Python environment, installing and setting up the Atom text editor and getting steem-python working. (of course :) )
There are no strict requirements for MacOS, so you can easily adapt this for Windows or Linux.

Anaconda
Download and install Anaconda:
https://www.anaconda.com/download/#macos
Instead of using whatever version of Python that comes with your operating system, I would recommend you to use Anaconda instead.
To save space you might also opt for miniconda, which is a much smaller alternative without any additional packages. Have a look here: https://conda.io/miniconda.html
Install a Virtual Environment
Before doing anything with Python, let's create a virtual environment. That way we will have an isolated python environment for our testing, without worrying about adding unneccessary modules to our base environment. If something goes wrong, just delete the environment and start over with a new one. Create a virtual environment with:
conda create --name testenv (replace create with remove to delete it.)
Merlin:~ daniel$ conda create --name testenv
Solving environment: done

## Package Plan ##

  environment location: /anaconda3/envs/testenv


Proceed ([y]/n)?

Preparing transaction: done
Verifying transaction: done
Executing transaction: done
#
# To activate this environment, use:
# > source activate testenv
#
# To deactivate an active environment, use:
# > source deactivate
#
Check your available environments with:
conda info -e
Install Steem-Python
Before installing steem-python make sure you are in your virtual environment.
Merlin:~ daniel$source activate testenv
Install pip in your virtual environment and then install steem-python.
(testenv) Merlin:~ daniel$ conda install pip
You need pipenv just to be able to read the requirements file.
(testenv) Merlin:~ daniel$ pip install pipenv
(testenv) Merlin:~ daniel$ git clone https://github.com/steemit/steem-python.git
(testenv) Merlin:~ daniel$ cd steem-python
(testenv) Merlin:steem-python daniel$ pip install .
Steem-python DONE!!
Download & Install Atom
Head over to https://atom.io/. Download and install it on your machine.
Atom Python
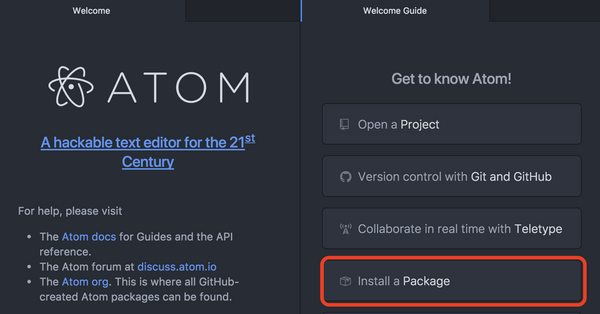
After starting Atom you will be greeted with a Welcome Guide tab. Click on Install a Package and click Open Installer.
Search for the two packages below and install them. When installing the Python Autocomplete Package, choose the Jedi, local engine.
Install PlatformIO IDE Terminal
Python Autocomplete Package
You might have to restart Atom for everything to load properly.
Let's get started with Python using Atom
Click + sign in bottom left corner to open up a terminal window.
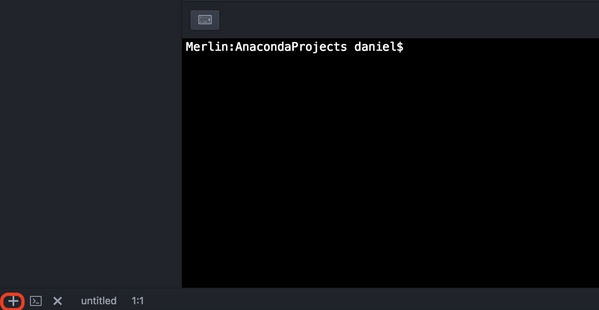
Run: source activate testenv to activate your virtual environment.
Test with some commands in Atom's terminal windwon as shown below:
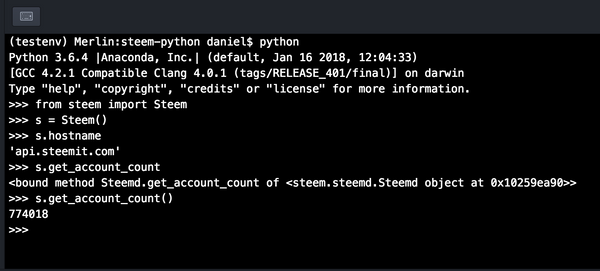
Ctrl+D to exit
Let's use Atom to create a python script
- Create a new file. Click File->New File.
- Save it with .py extension in your AnacondaProject folder, or which ever folder you prefer.
- Click Add Project Folder from the file menu and add the folder in the step above.
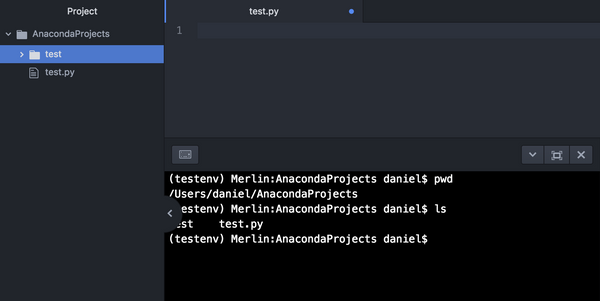
You should see something like in the screenshot below. Make sure your terminal window is in the correct folder and you can see your .py file:
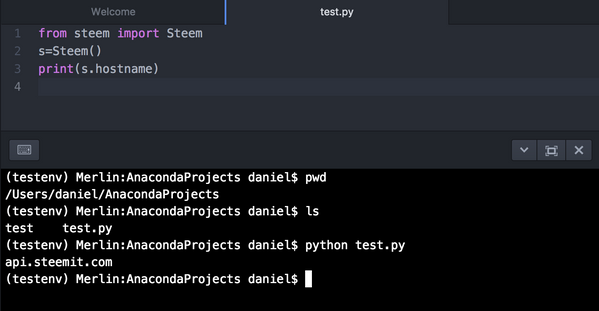
Add some simple code and execute it via the terminal window.
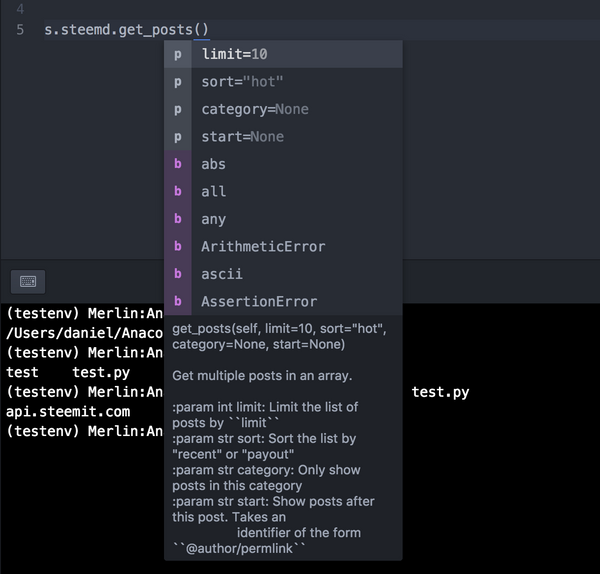
Extend the code to check out the autocomplete and help functionality. Use Tab to get an indent of 4 spaces. If you never worked with Atom before it looks like it is a tab, but it will be saved as a 4 space indent.
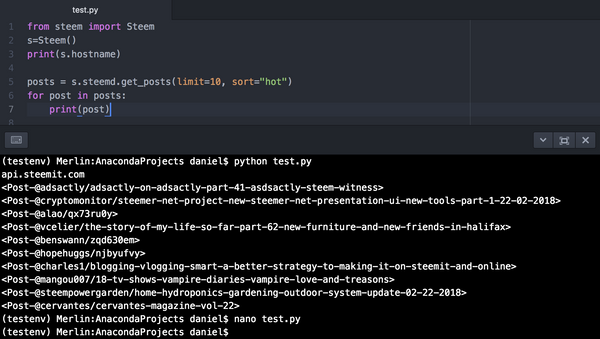
I'm just loving it!! :)
It is a breeze to work with Atom and I really like the autocomplete functionality.
In an upcoming post I will show you how I'm using Atom as well as a markdown editor. A SteemDev tool and a Steemit post creator, all-in-one. That's pretty cool! ;)


@abdulmanan Could you please clarify why Anaconda?
It is Conda I'm after, be it either Anaconda or miniconda. It just simplifies the setup and makes it more standardized among different distributions.
In my opinion, better to use clean python, because with anaconda you will get a bunch of packages that no needed in the described case. But anyway this post is very useful. Good job :)
If you by clean mean compiling it, I would agree. But I would avoid the version that comes with the OS, with Ubuntu for example. For conda, I prefer myself miniconda as there are no unnecessary packages. For this guide the key was simplicity, and I think getting Anaconda/Miniconda running was the easiest option to describe a standardize a way to get python going.
Check youre wallet @danielsaori...
Thanks and i'm sorry...
Thank Buil! That is the right spirit. It was my fault to do the transfer so I appreciate your honesty. Expect some nice upvotes, which will more than enough cover the err-transfer. Cheers Buil!
@dorabot ?winner test
No Winner!! No upvotes on this post... :(
@dorabot ?winner test
No Winner!! No upvotes on this post... :(
Very good amigo
useful information.
Thx! ;)
You haven't discussed my matter with #pal :(
This post has received gratitude of 8.78 % from @appreciator thanks to: @danielsaori.