How to Configure IIS in Windows Server 2016
Yesterday I had to configure IIS for a new Windows Server 2016, so I just wanted to keep this post as a reference for the future configurations. Though configuring IIS is quite easy, but we should know what all things we should Install for the successful installation.
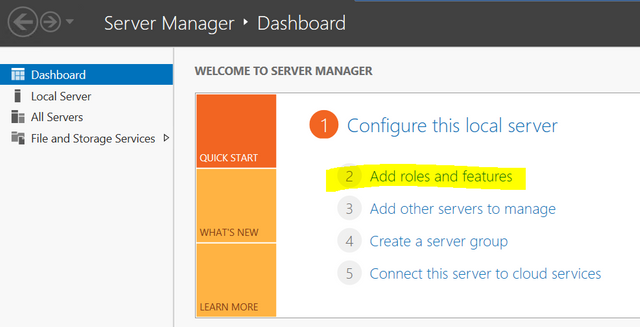
At first click on Server Manager on Top Left. You can easily find the server manager on the Start Menu or you can search.
After you open the Server Manager, click on Add roles and features as shown below.
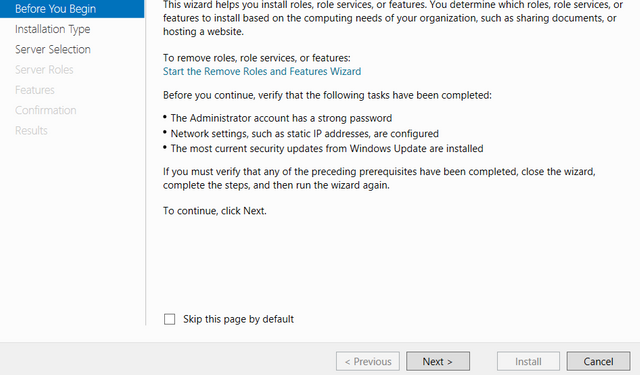
As you see that it says, "This wizard helps you to install roles, role services or features".
On clicking of next, you need to select the Installation Type which will be "Role-based or feature-based Installation"
The server selection will be the current server which will be automatically selected.
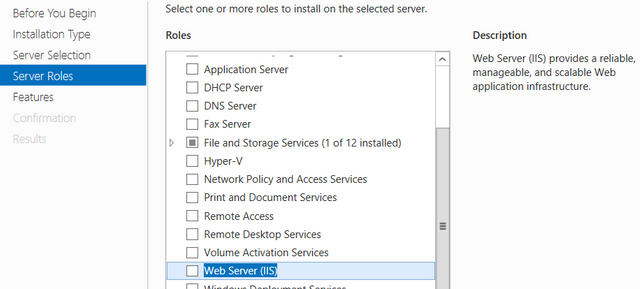
Now you have to select the Web Server (IIS) to configure IIS in the current server.
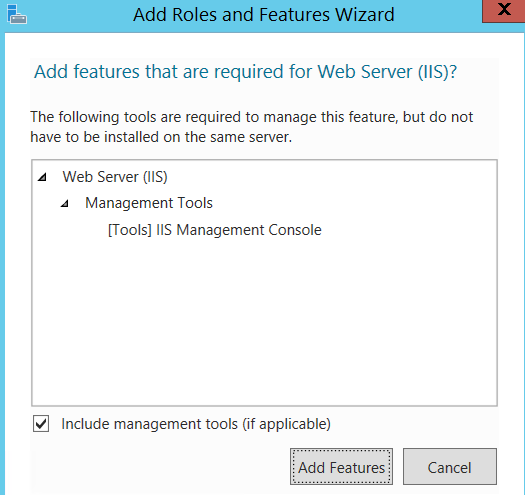
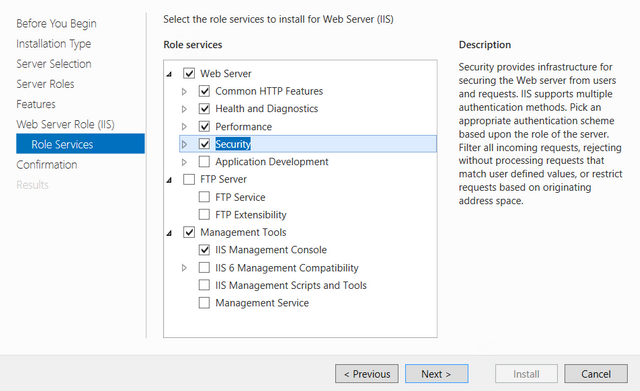
Since we just required IIS Management Console or the first time, I will be selecting that only. You can select whatever features you need.
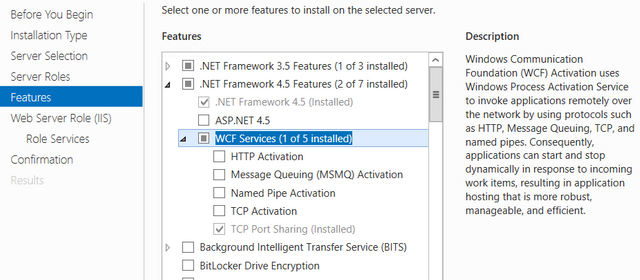
Next, you need to select what all the features you need for your IIS. Do not forget to select HTTP Activation which will help you to deploy your Asp.Net applications.
In the role services, some of the roles will be auto-selected, but you do have an option to change your selections.
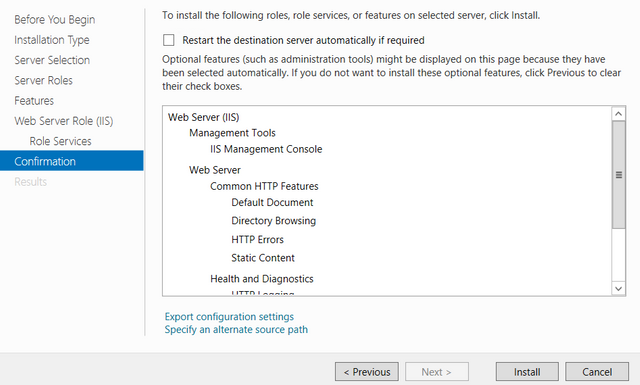
Now you can hit Install to install the selected Roles and Features. You do not need to restart the Server as IIS does not require the system to be restarted.
And then You are done, Voila !!!. You can search IIS from the search console.




This post has received a 1.46 % upvote from @booster thanks to: @codingdefined.