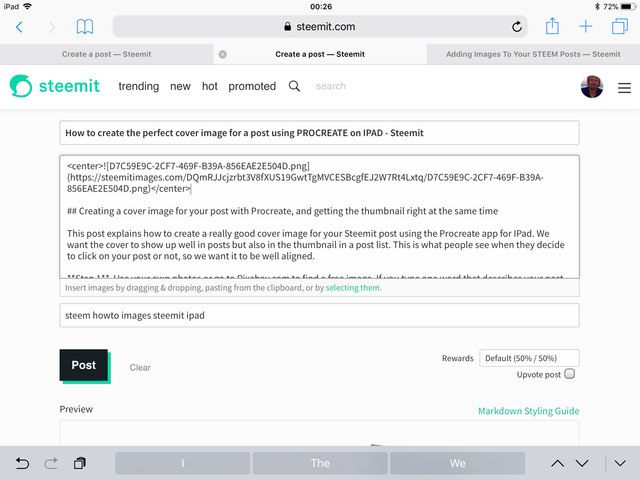
How to create the perfect cover image for a post using PROCREATE on IPAD - Steemit

Creating a cover image for your post with Procreate, and getting the thumbnail right at the same time
This post explains how to create a really good cover image for your Steemit post using the Procreate app for IPad. We want the cover to show up well in posts but also in the thumbnail in a post list. This is what people see when they decide to click on your post or not, so we want it to be well aligned.
Step 1 Use your own photos or go to Pixabay.com to find a free image. If you type one word that describes your post you can often find an appropriate image. Here, we look for an image of a sunset.
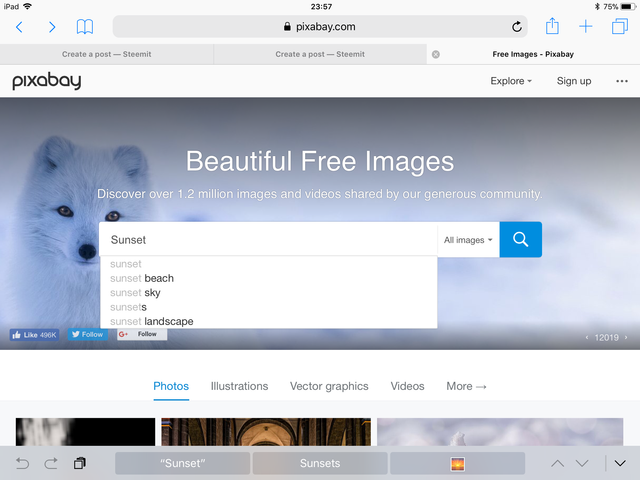
When you found a picture, download it to your camera roll
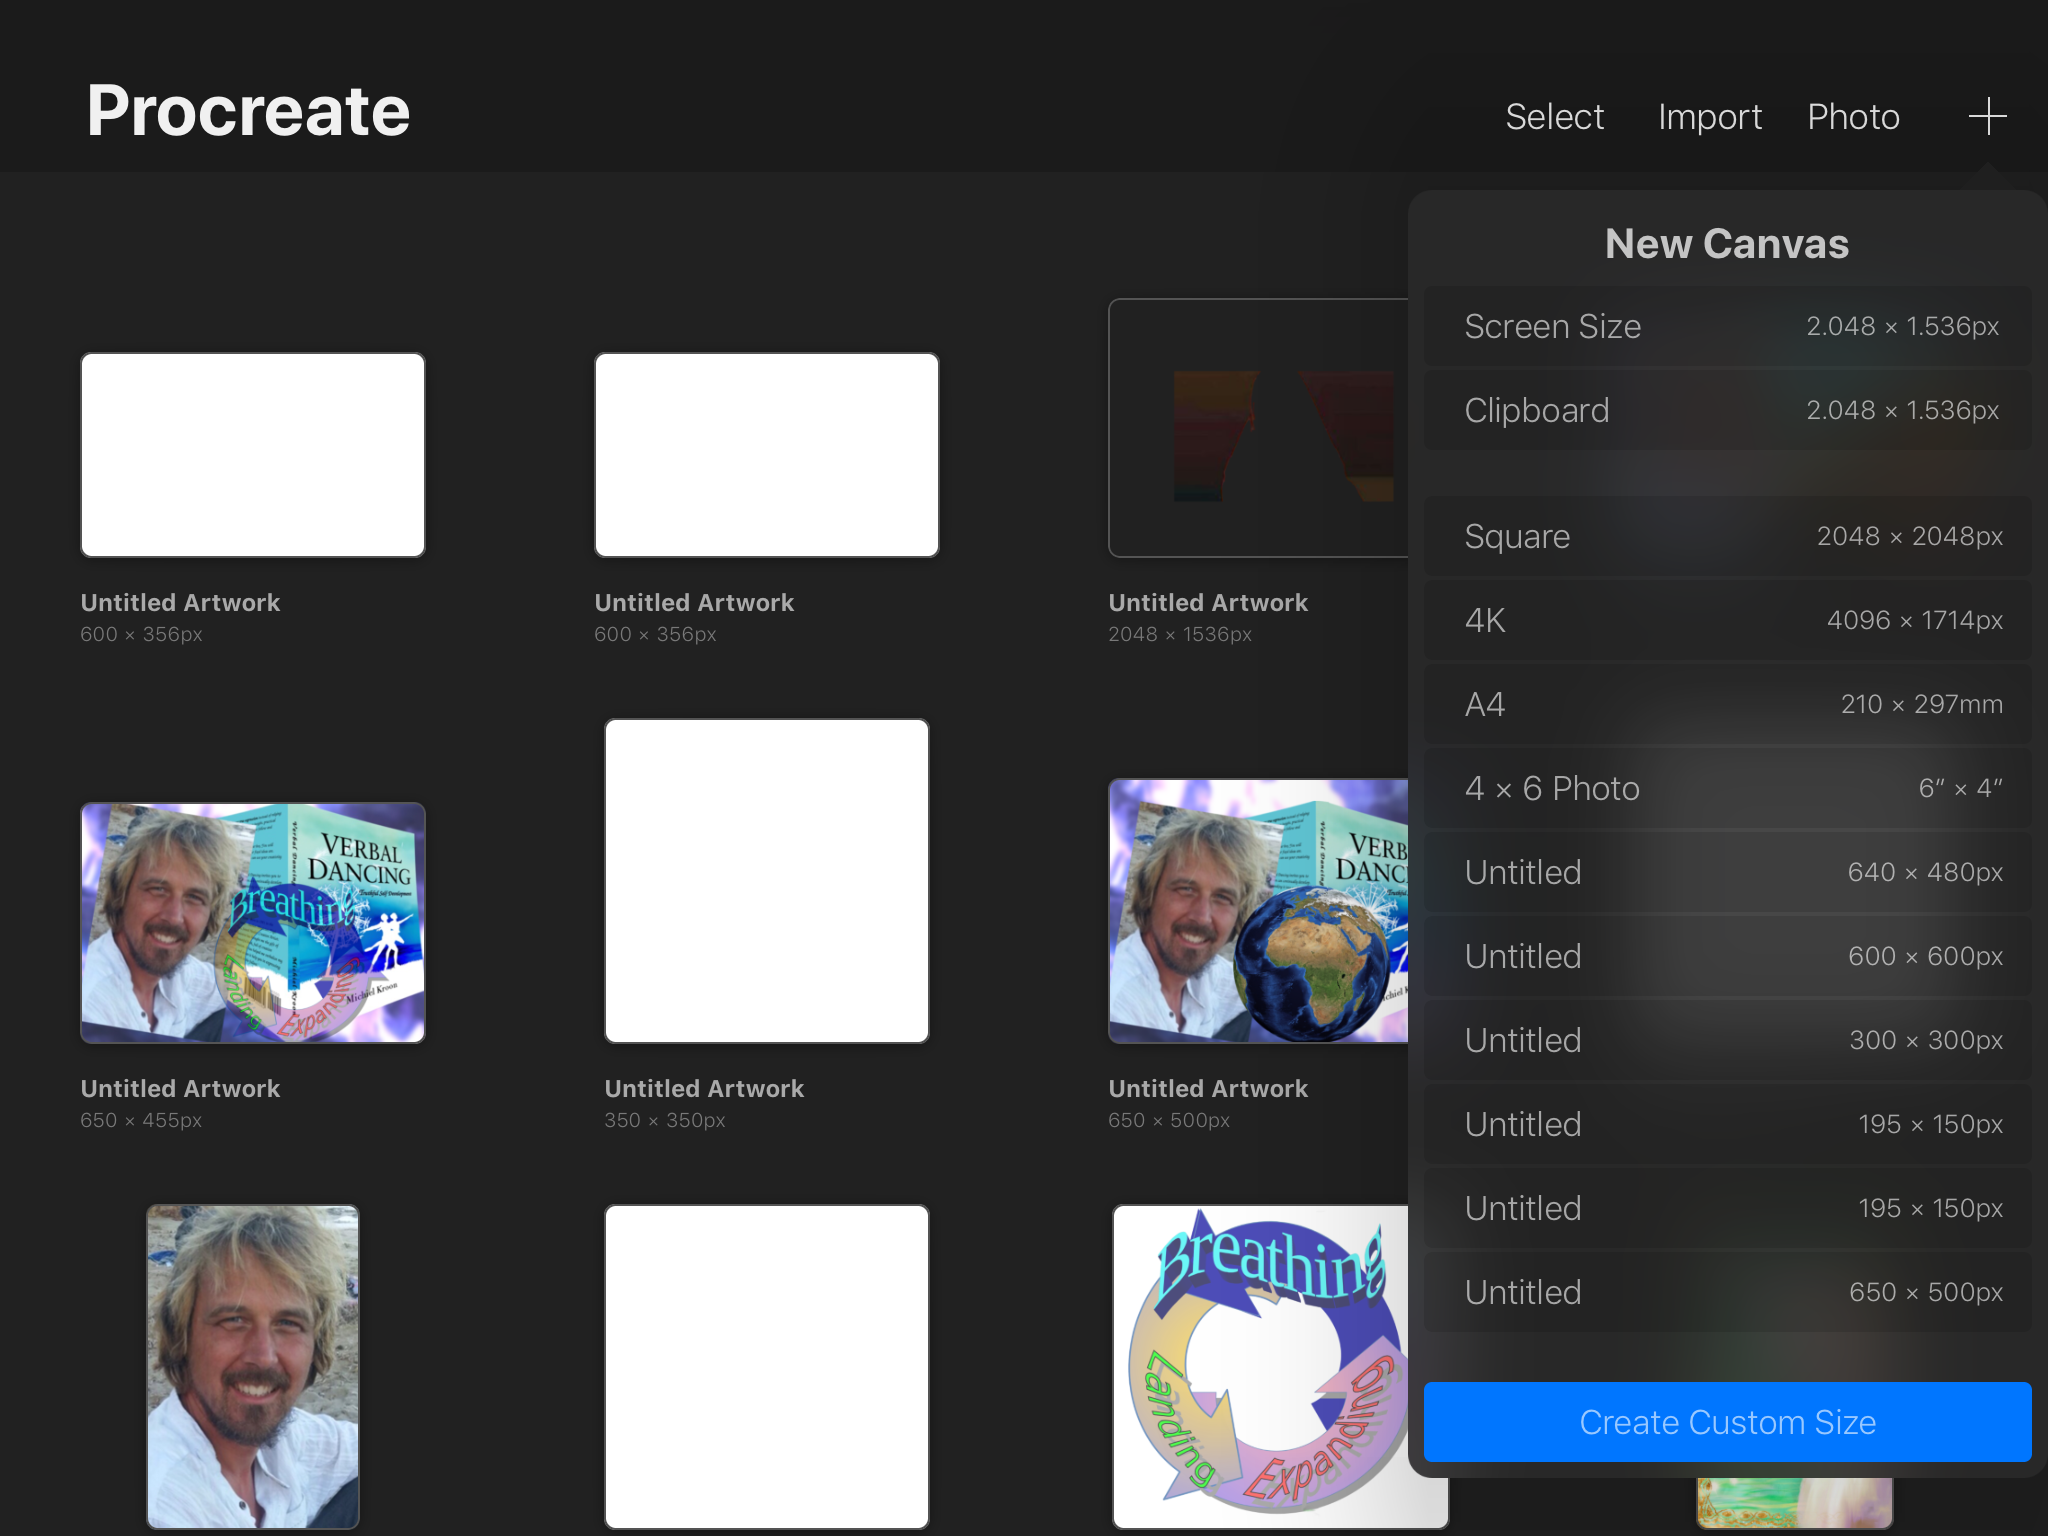
Step 2 Start Procreate and create a new image. Click on the + sign in the upper right corner of the screen to create a new canvas. Then tap ‘create custom size’.
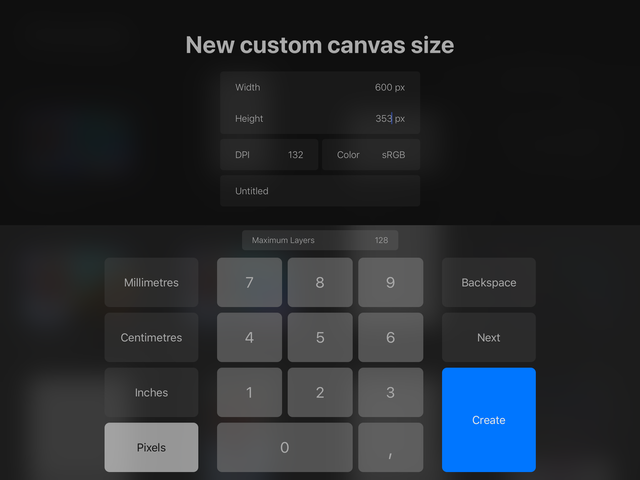
Step 3 The image resolution needs to be 600x353 or another measure of 1.7/1. Type it in as shown on the picture and click on CREATE
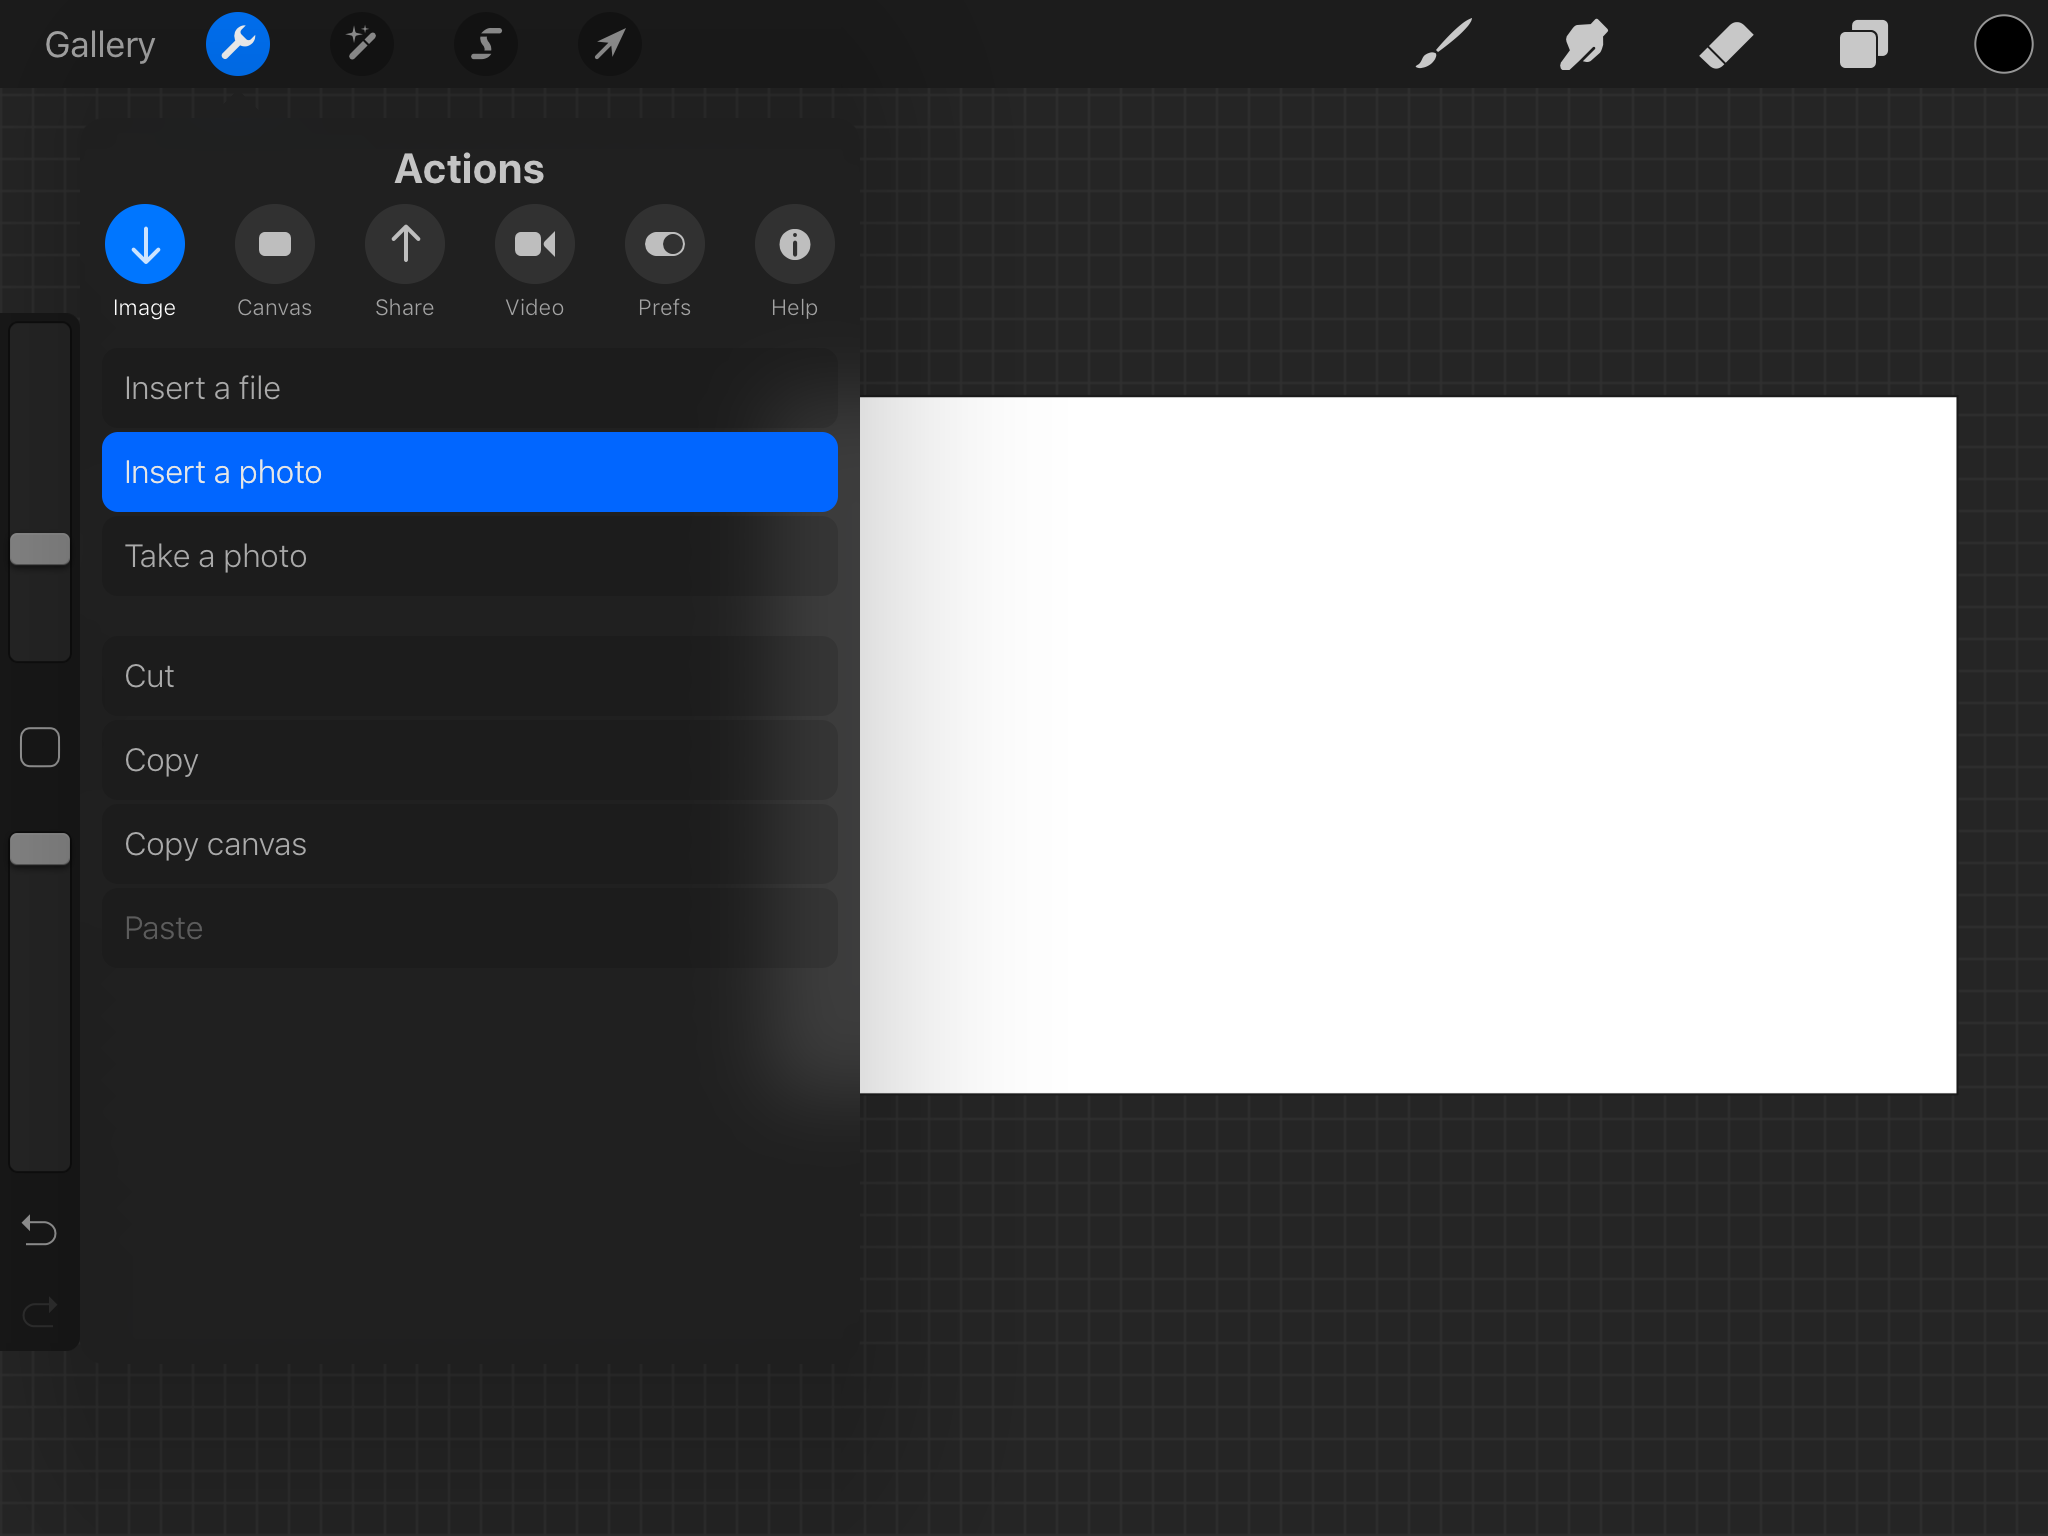
Step 4 Go to the actions menu and under image, click on ‘insert a photo’
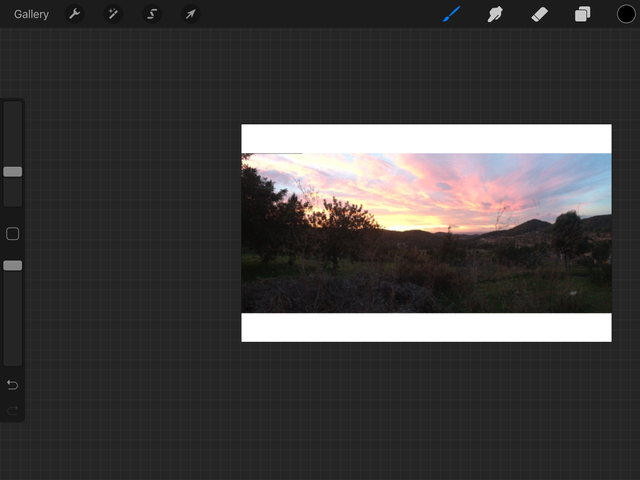
Step 5 Find your photo and insert it, but preferable DON’T RESIZE IT TO MAKE IT BIGGER as it could become very pixelated. Instead of enlarging the photo, it is often better to leave a border. We’ll make the border transparent in the next step.
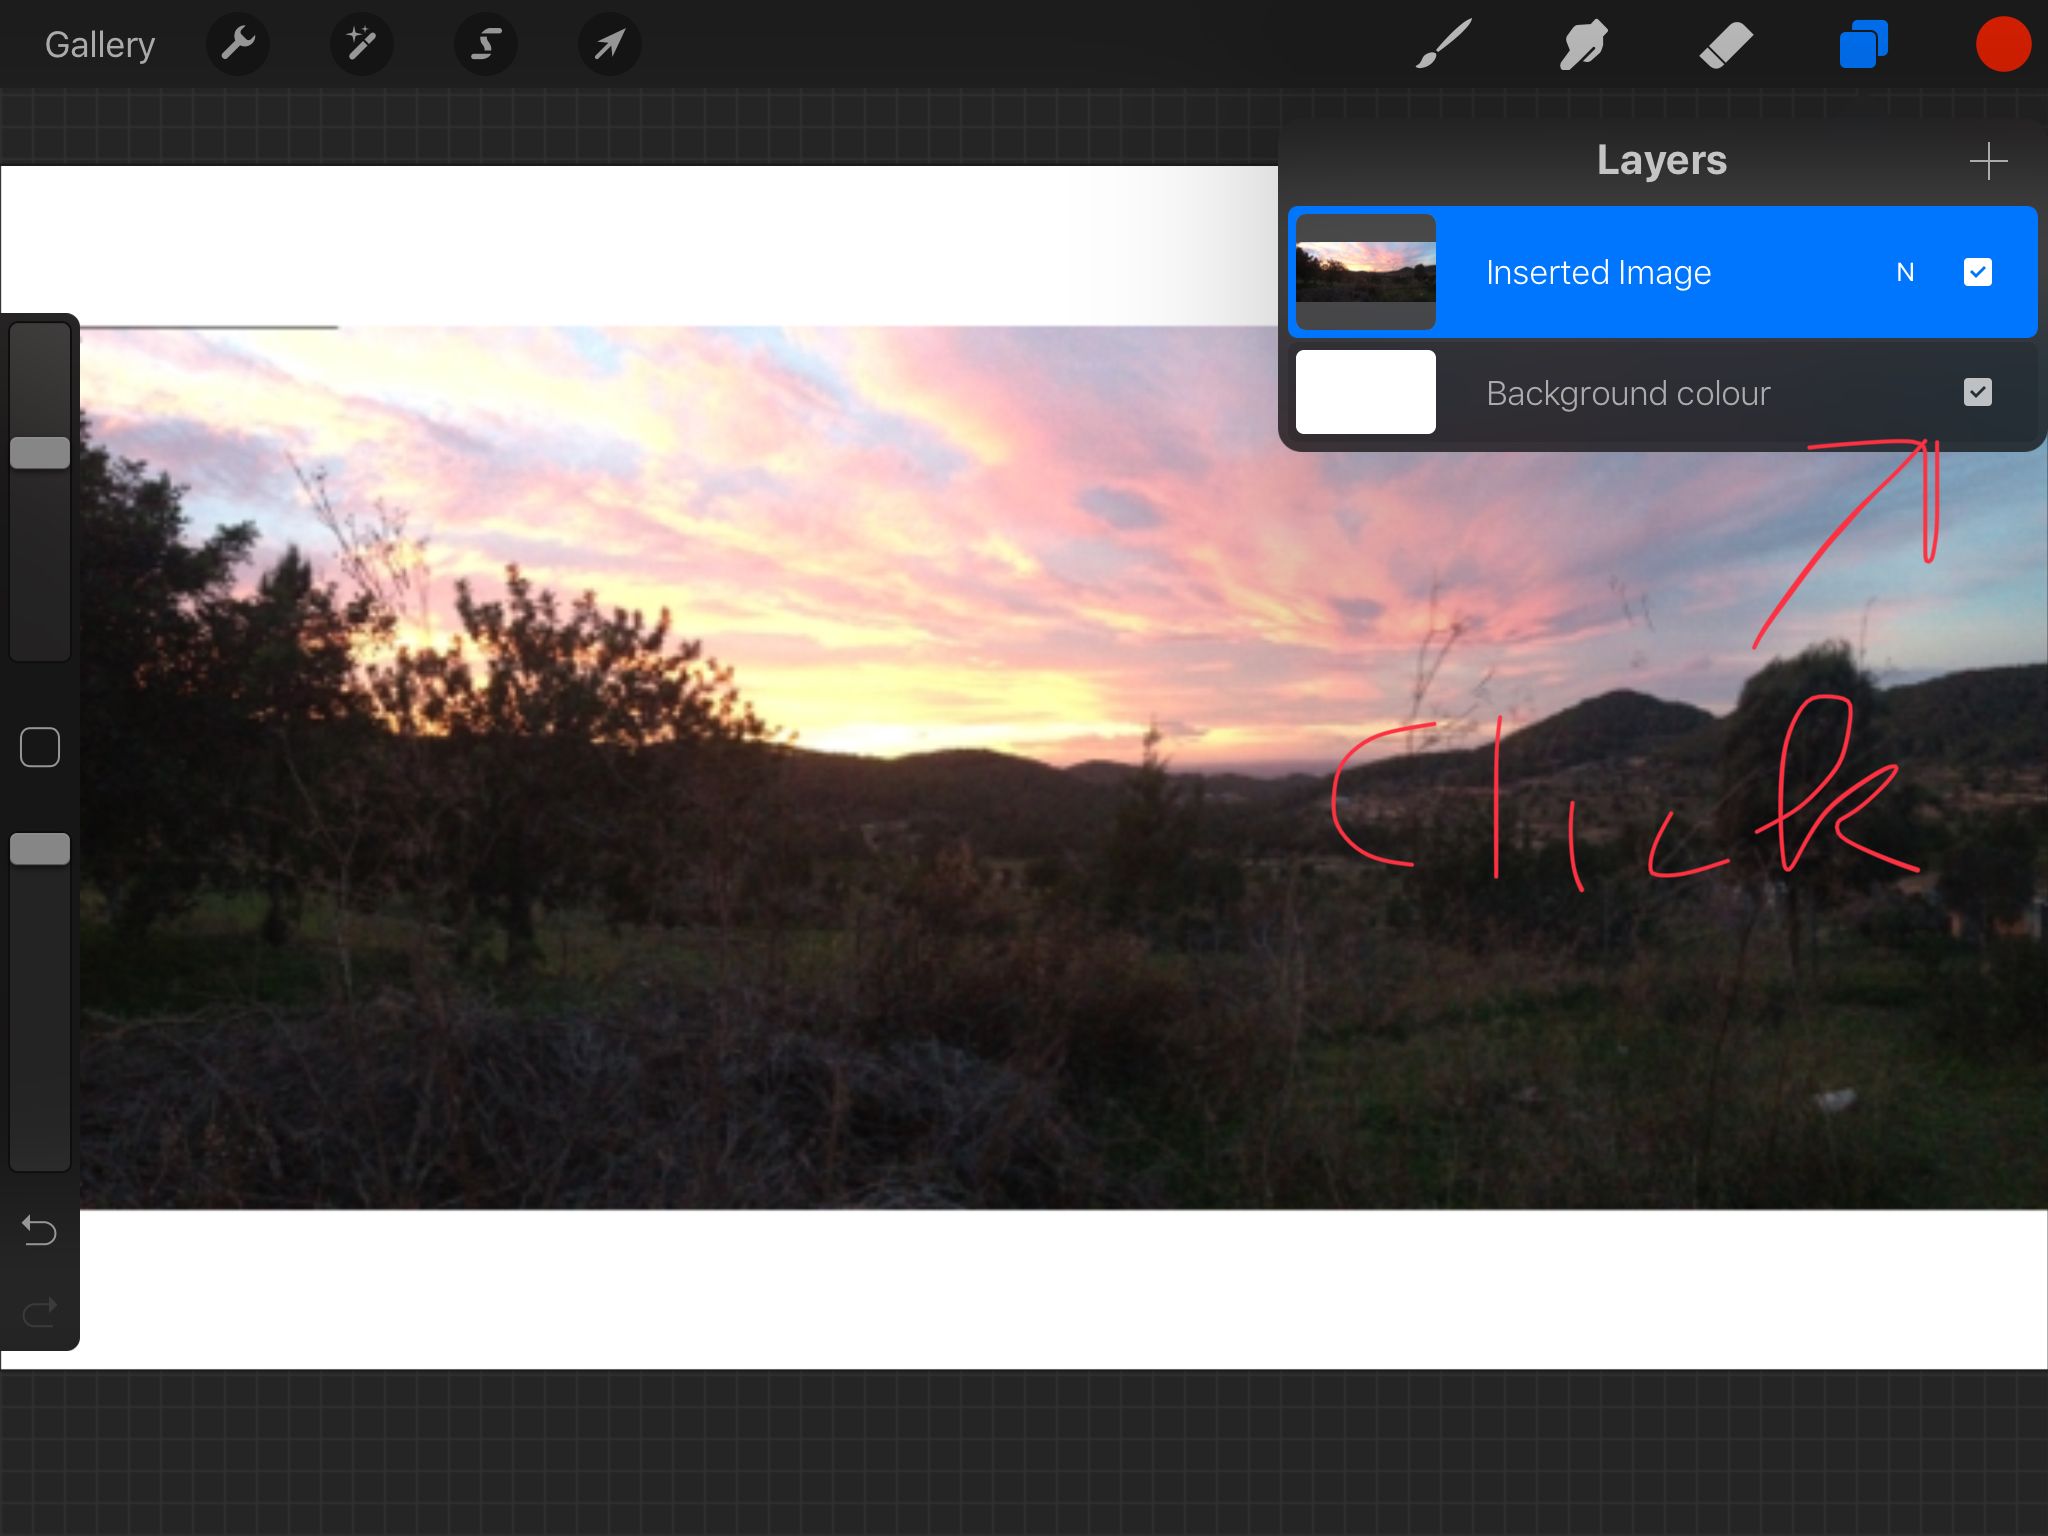
Step 6 We can now get rid of the white background. Go to the layers menu and untick the box next to background as shown.
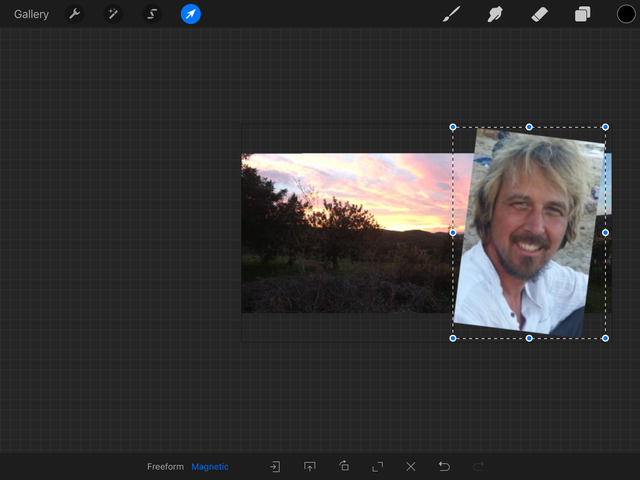
Step 7 Now we can insert another layer by repeating step 4 and 5, (or you could draw or use effects from Procreate to enhance your cover picture). Note: if you want a slightly rotated photo like in this example, then apply the rotation beforehand on a bigger version of the photo so it doesn’t become pixelated.
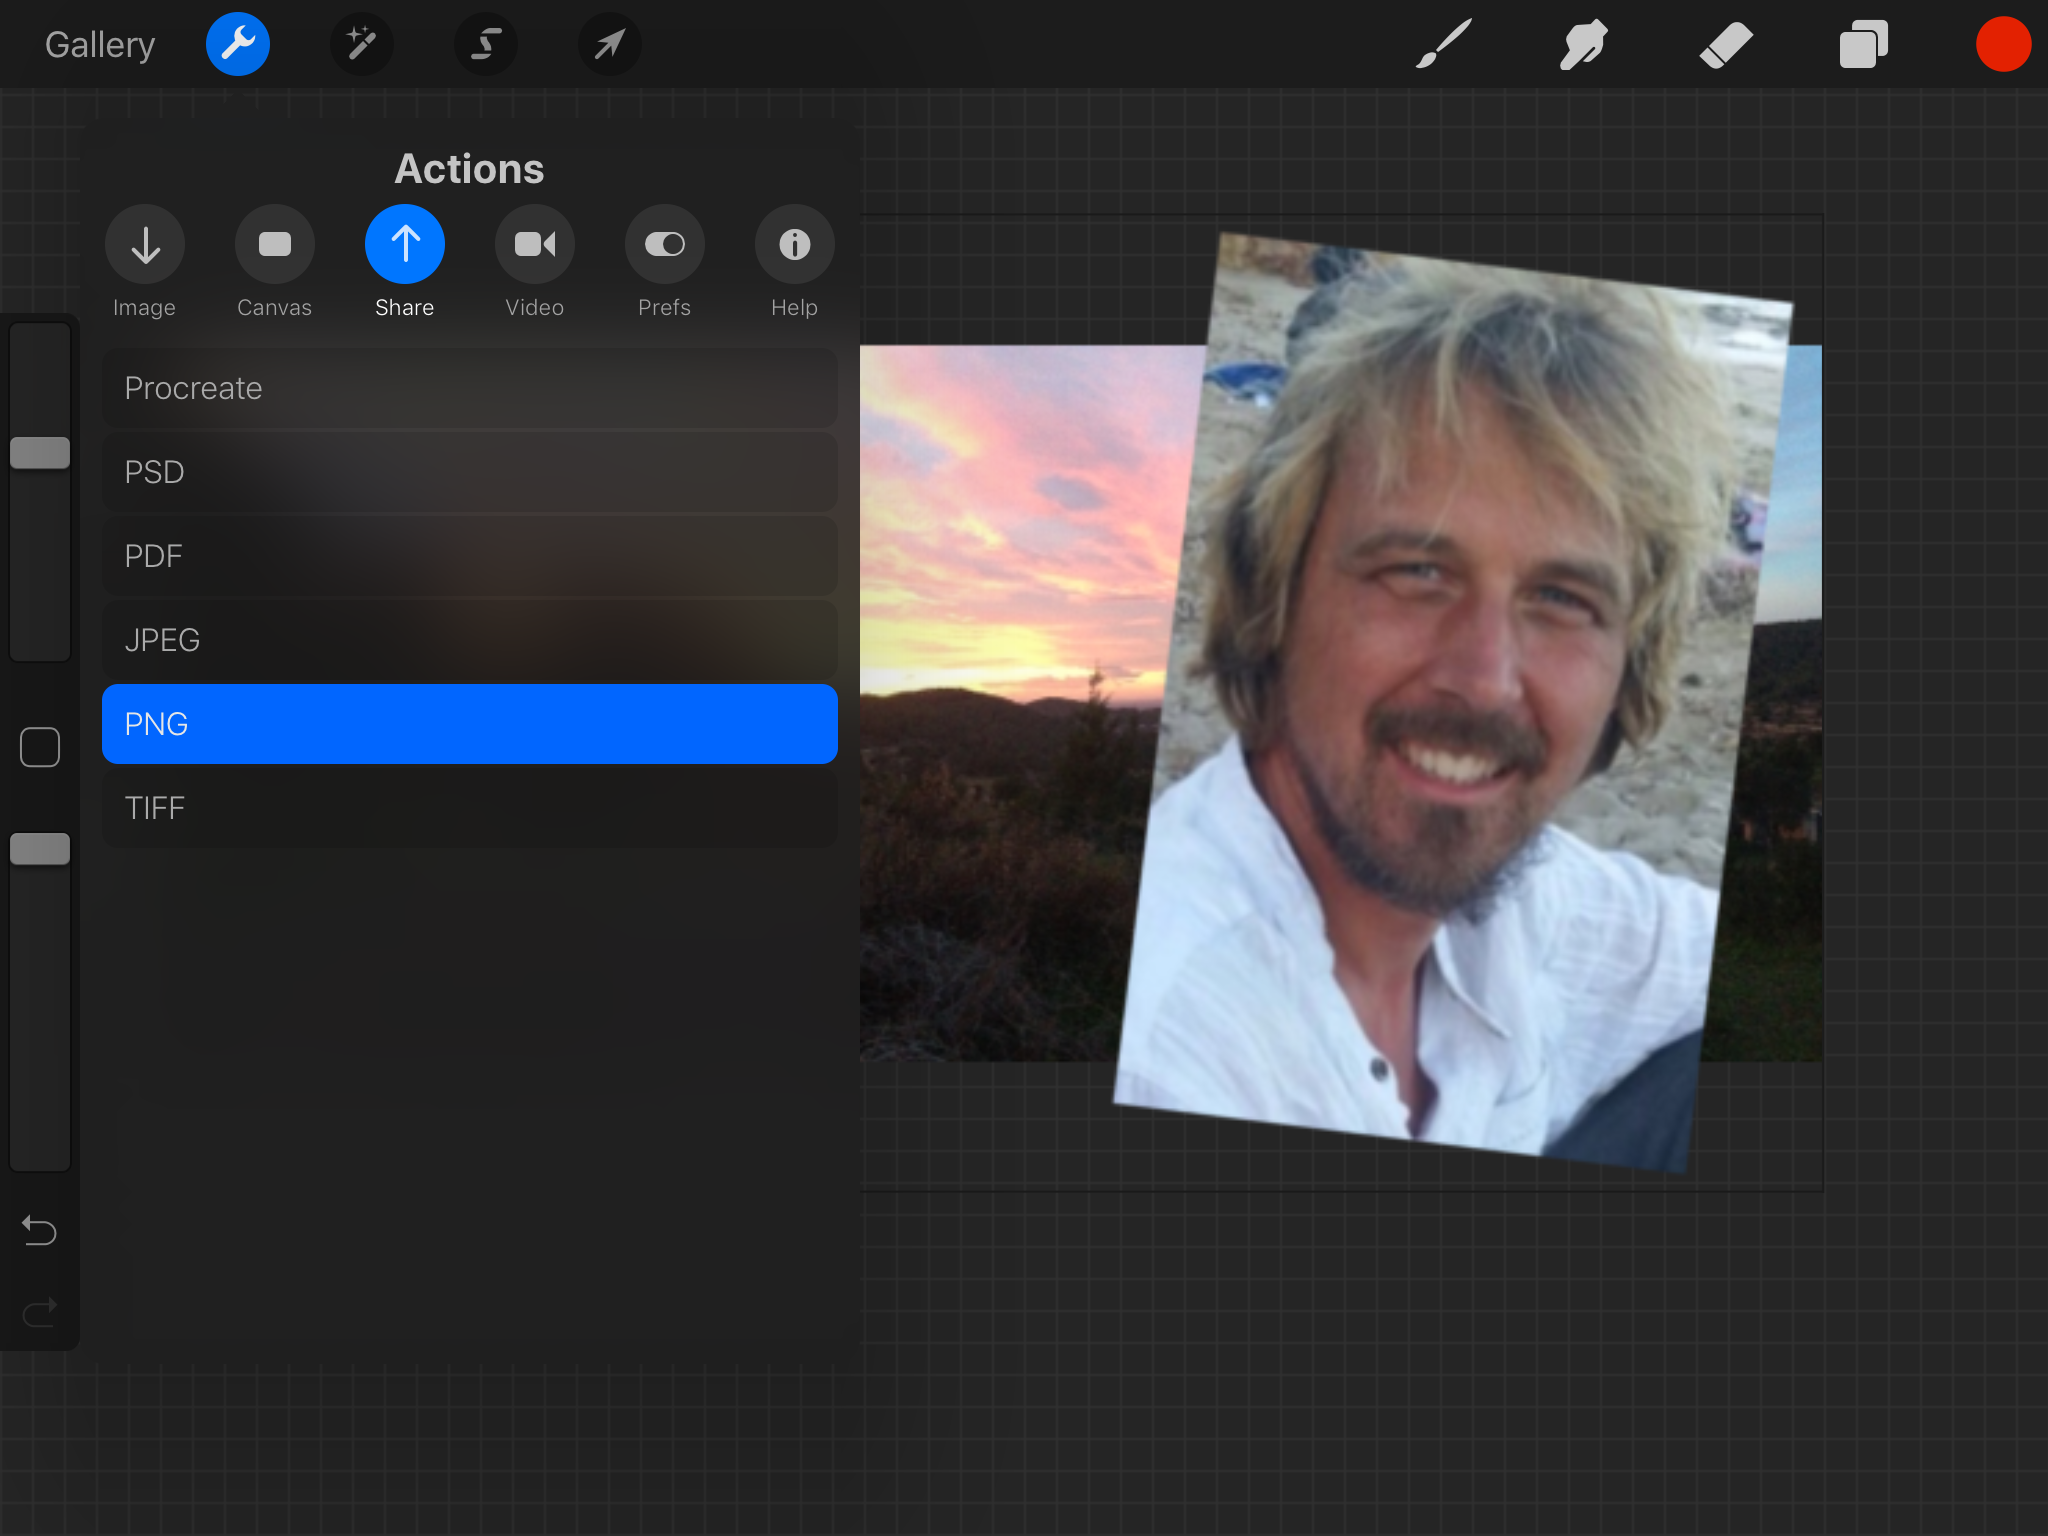
Step 8 Go to Actions, Share and choose PNG
Step 9 Insert the image into your post, making sure that it’s the first image in your post You can center the image in the following way
That’s all! Have fun creating your own cover image
Thank you @verbaldancing! Great tool... I kinda need it... lol.
This is cool. I am definitely going to bookmark this post. Thank you for sharing. :)
Great tutorial! I need to try your instructions. Thank you.
Thanks for your feedback :-)
It is my pleasure and my appreciation.
@originalworks
The @OriginalWorks bot has determined this post by @verbaldancing to be original material and upvoted it!
To call @OriginalWorks, simply reply to any post with @originalworks or !originalworks in your message!
This post has received a 0.08 % upvote from @drotto thanks to: @dreamingirwin.
Thanks for the gift!
Your Post Has Been Featured on @Resteemable!
Feature any Steemit post using resteemit.com!
How It Works:
1. Take Any Steemit URL
2. Erase
https://3. Type
reGet Featured Instantly – Featured Posts are voted every 2.4hrs
Join the Curation Team Here