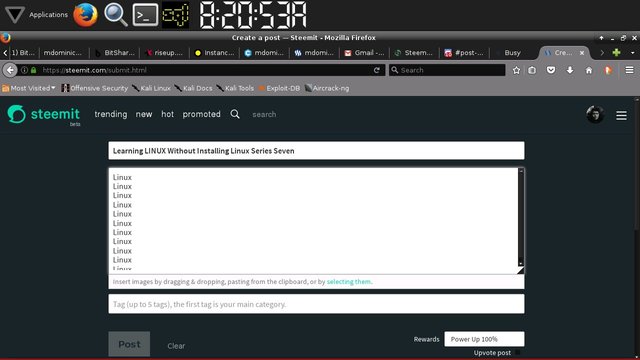
Learning LINUX Without Installing Linux Series Seven
My special Linux series is back in full force. After months of placing it in the back burner. I've finally decided to push through with the series and eventually finish it once and for all. Since Linux is the future of computing it must be perpetuated by those in the know to reinforce learning and mastery of this ever changing computer landscape. Most people nowadays are too busy losing money on cryptocurrency investments for they know nothing about the foundations of computing. Confidence and success comes to those who know how to wield the technology. You will soon find out that most of the successful ICOs and DAPPS will come from those who have Linux background. And only those with Linux background will be able to discern the best investments out of all these cryptocurrency white noise.
https://bellard.org/jslinux/vm.html?url=https://bellard.org/jslinux/buildroot-x86.cfg
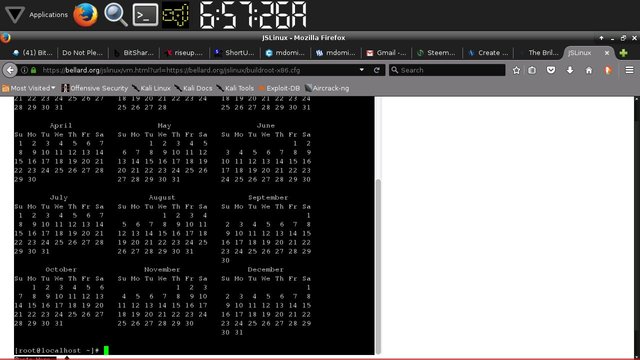
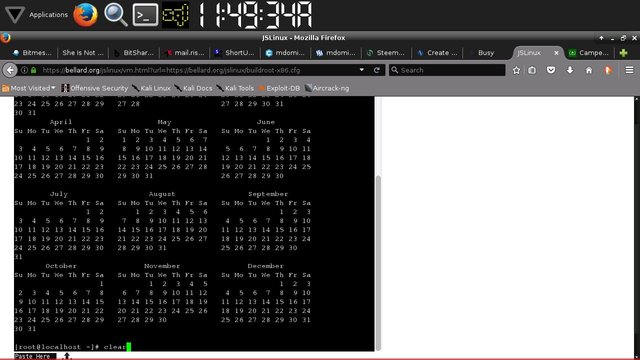
Yet again point your browsers to the Fabrice Bellard's link above. It will open the nerdy console of LINUX. You will need to use this to orient yourself with the so-called boring console. Wait for a atleast a minute and then let us proceed with the LINUX tutorial proper.
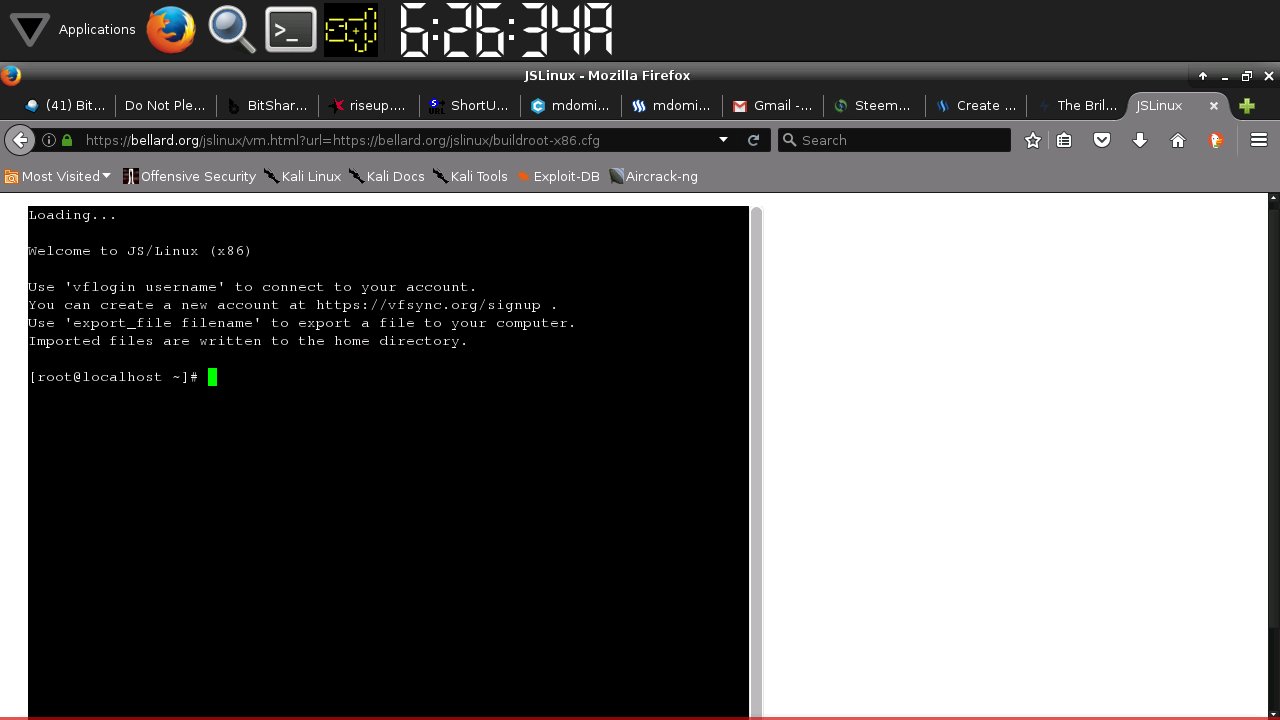
Again this is the so-called boring LINUX console. To those who are following the series. This is pretty much familiar. To those who are new to all of this. This is your entry point to technological acumen.
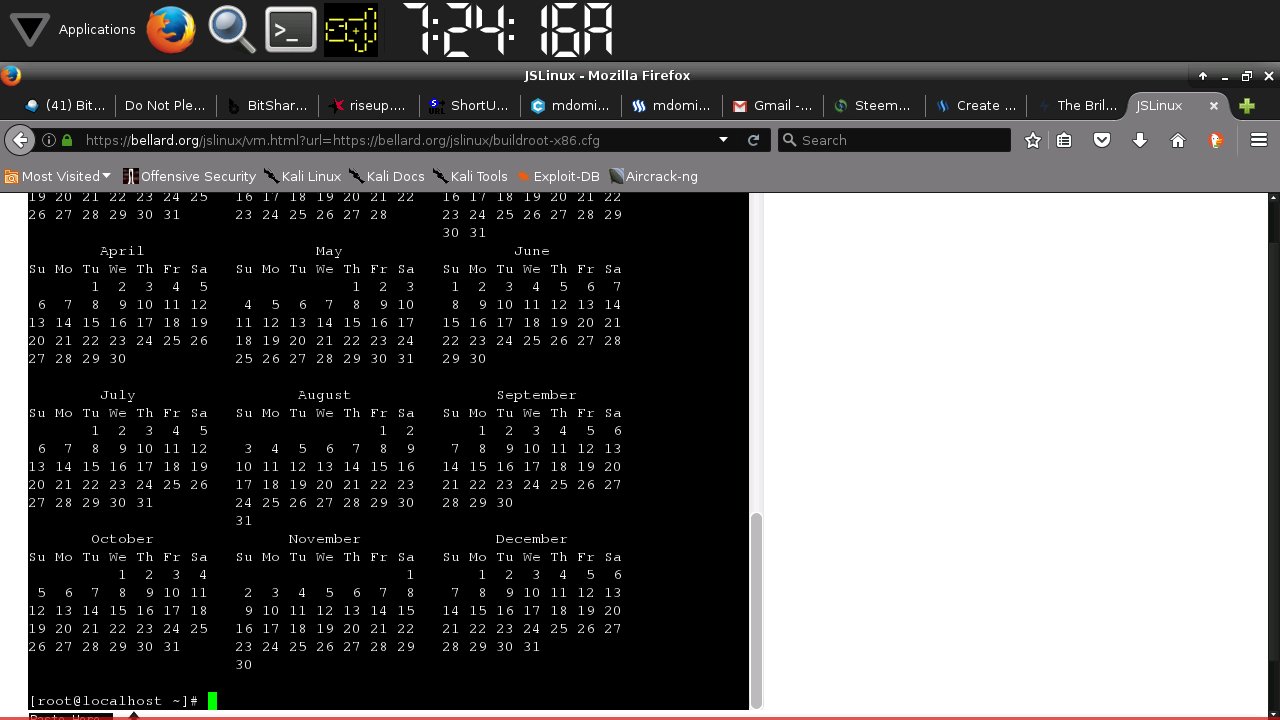
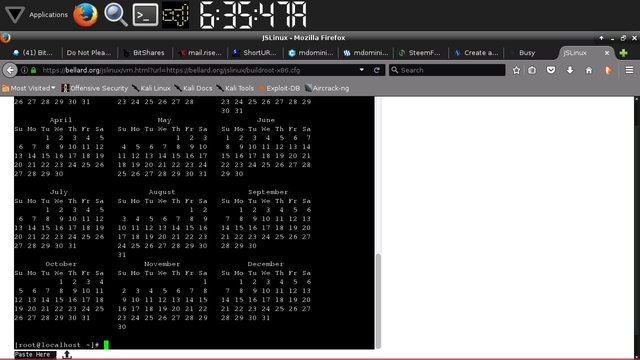
[ root@localhost ~]# cal 2018
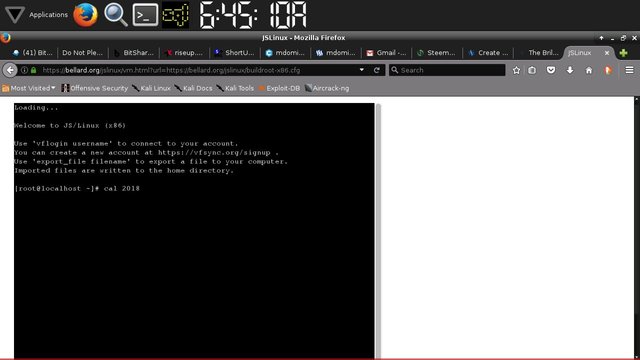
Type the command above into your console and then press the ENTER key.
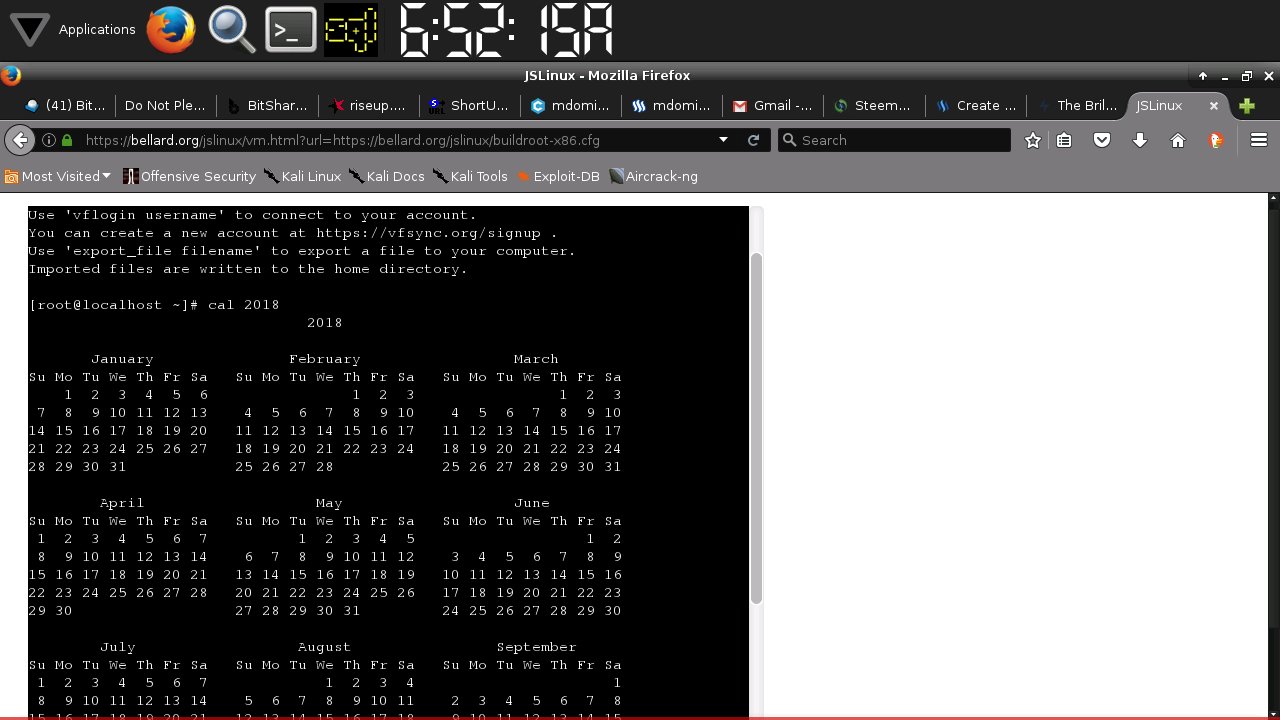
The command/utility will show the calendar for the year 2018.
[root@localhost ~]# cal 3000

Type the command above and press ENTER.

Of course it will show the calendar for the year 3000.
[root@localhost ~]# cal 5000
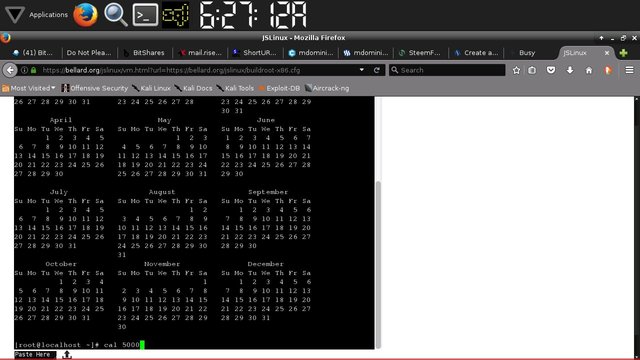
Type the command above and press ENTER.
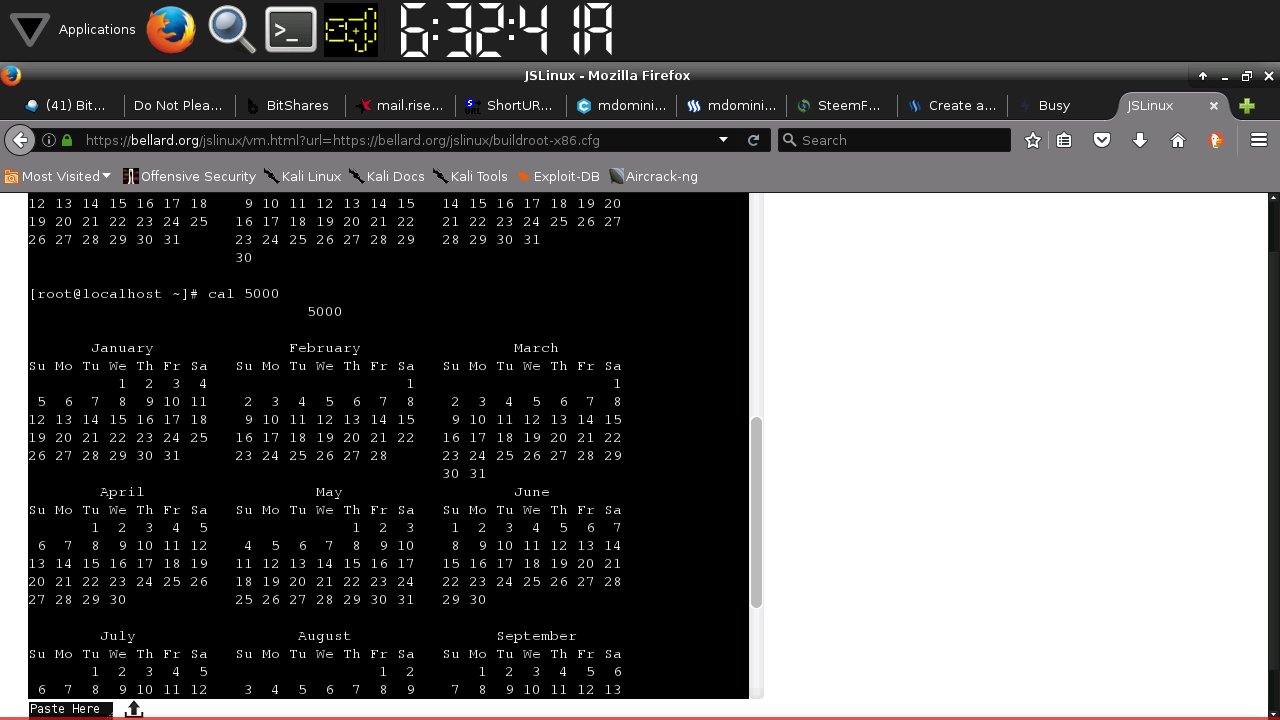
It will show you the calendar for the year 5000.
[root@localhost ~]# cal 9999

Type the command above and press ENTER.
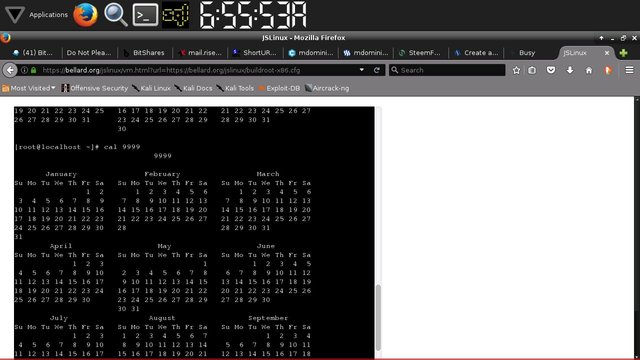
This will show the calendar for the year 9999.
[root@localhost ~]# cal 1 2018
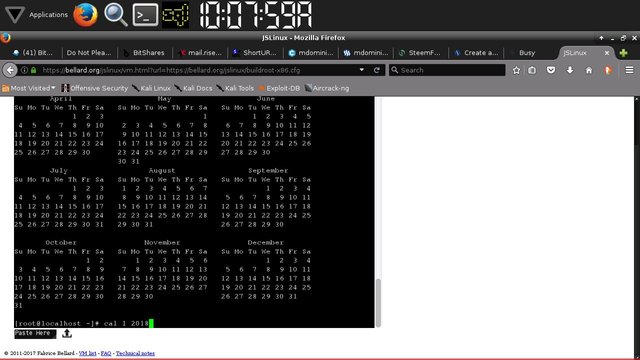
Just type the command above and press ENTER.
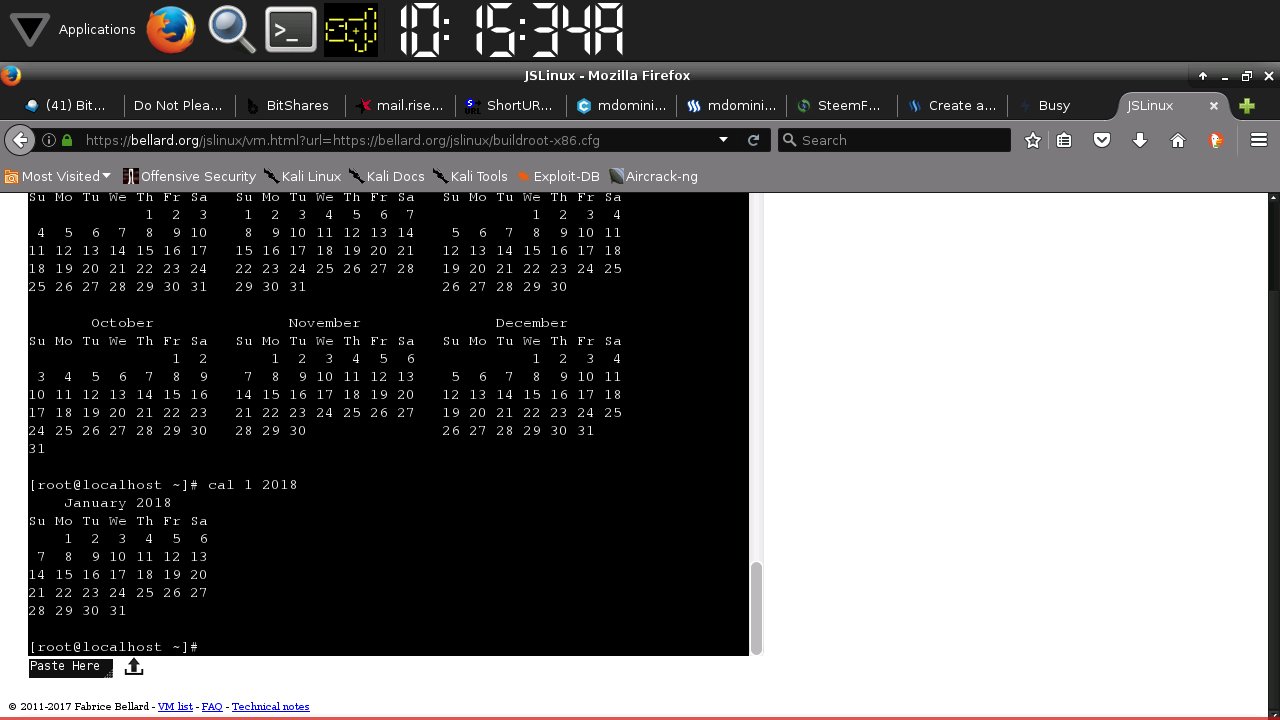
This will show the January portion of the whole calendar for the year 2018.
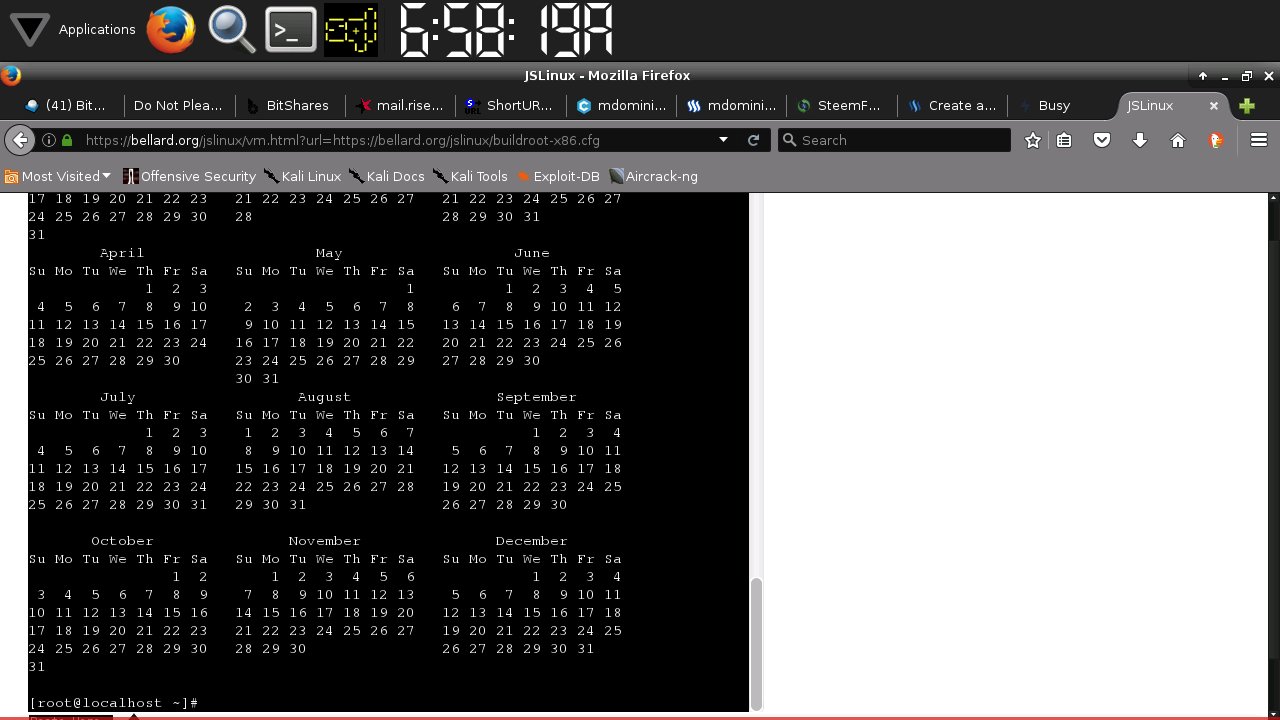
[root@localhost ~]# cal 1

Just type the command above and again press ENTER.
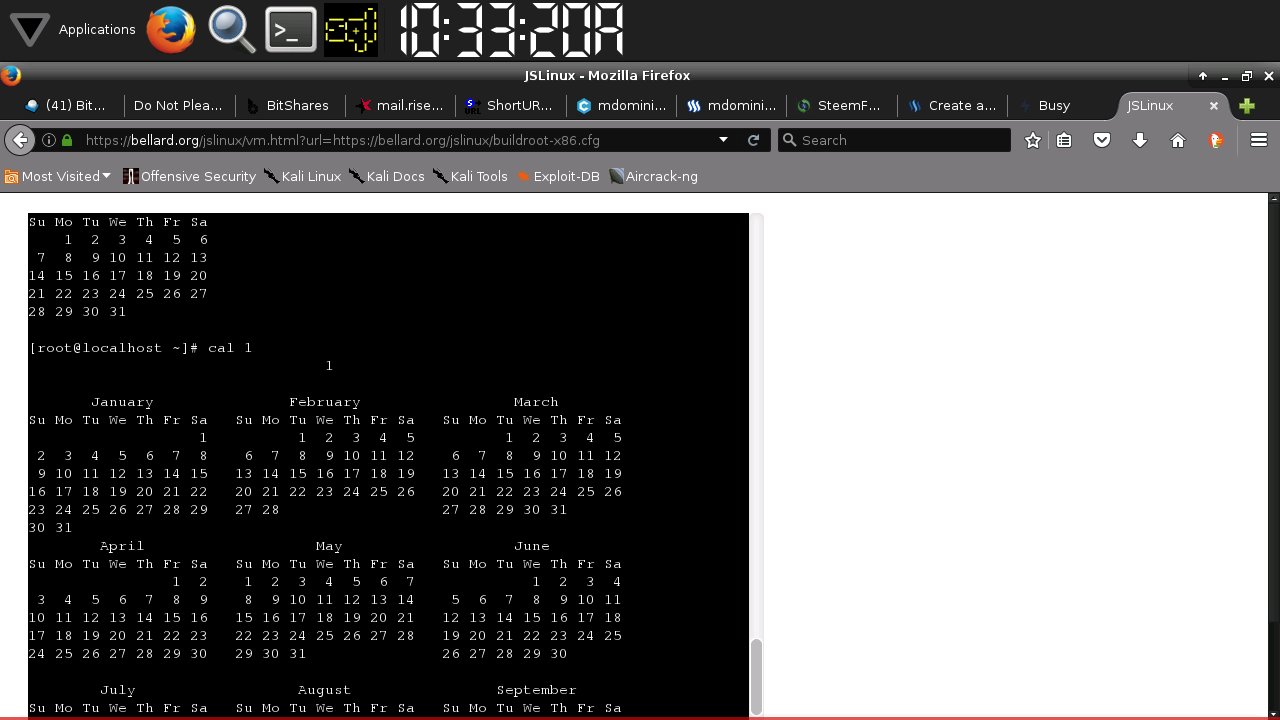
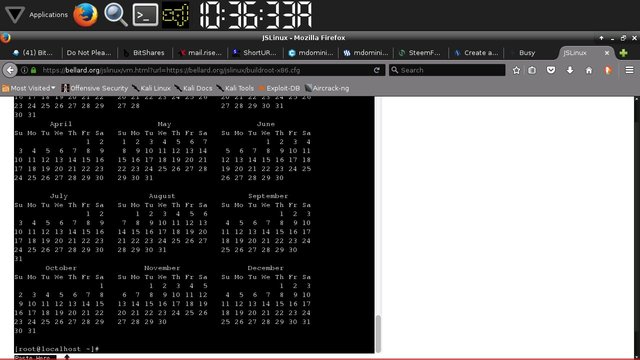
This is what the Gregorian Calendar would look like if it was implemented in 1 A.D.
You may be inclined to say that this may not work with real LINUX. Since the online version is just a simulation. Yes it is just a simulation but it works the same way as the real LINUX.
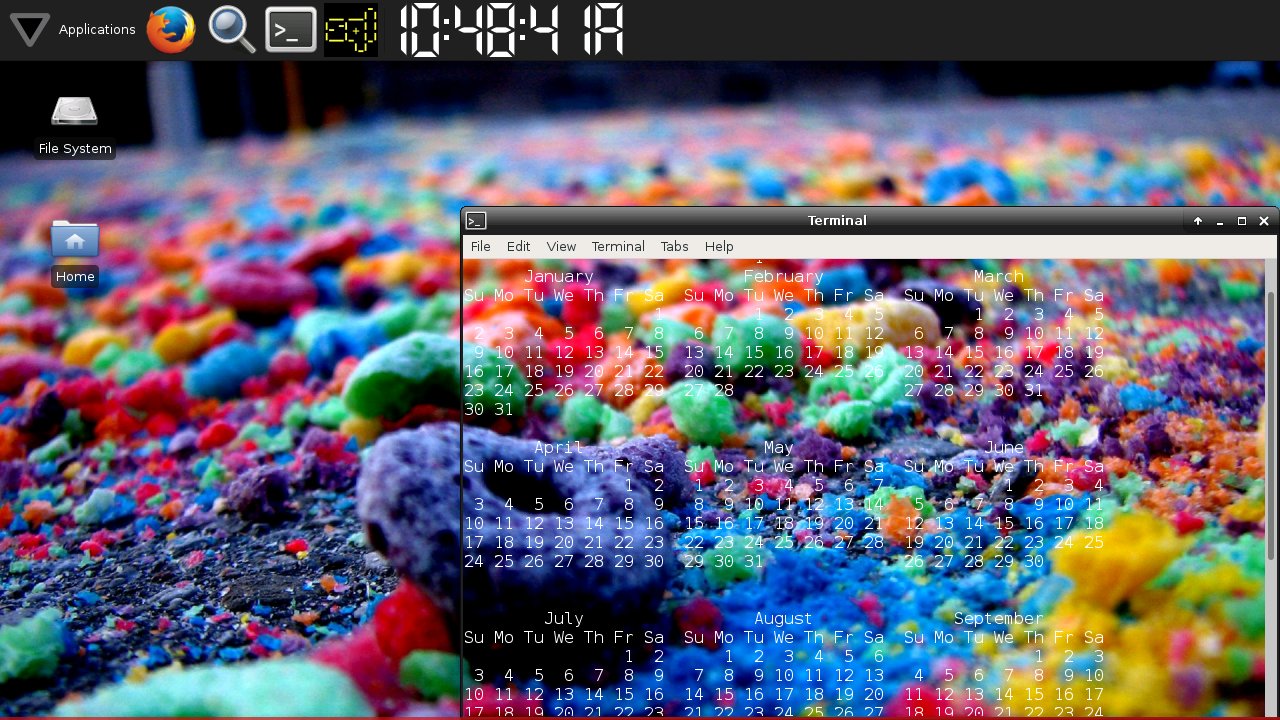
Above is the response of real LINUX. It made the same screen output as that of the online version.
{root@localhost ~]# clear
Just type the command above and again press ENTER.

If you are an avid follower of the series you know the result of this command. It will clear the mess in the terminal screen.
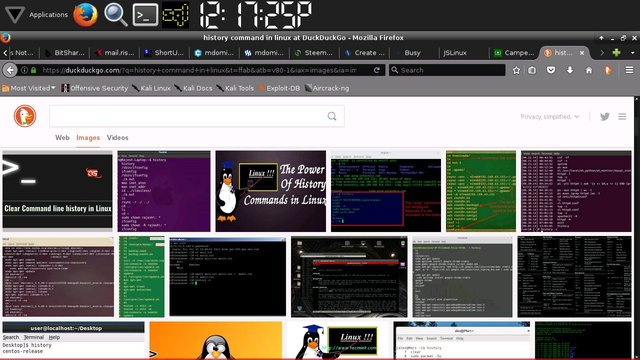
Let us discuss the idea of using the history command again and why will it play an important role in monitoring your VPS in the near future. The only way to feel at ease with Linux is to practice utilizing the commands as you progress.
[root@localhost ~]# history

Just type the command above and again press ENTER.
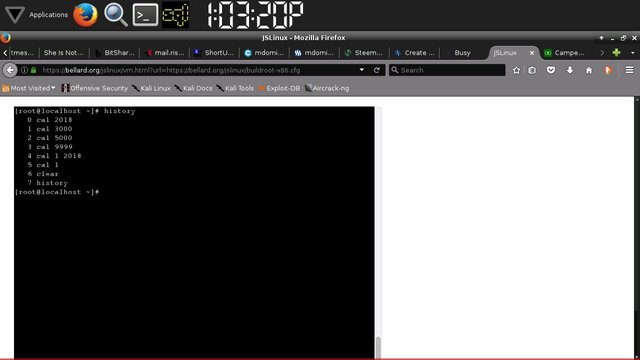
This will show you all of the previous commands which you have issued in the terminal. Everything is obviously being recorded so to speak.
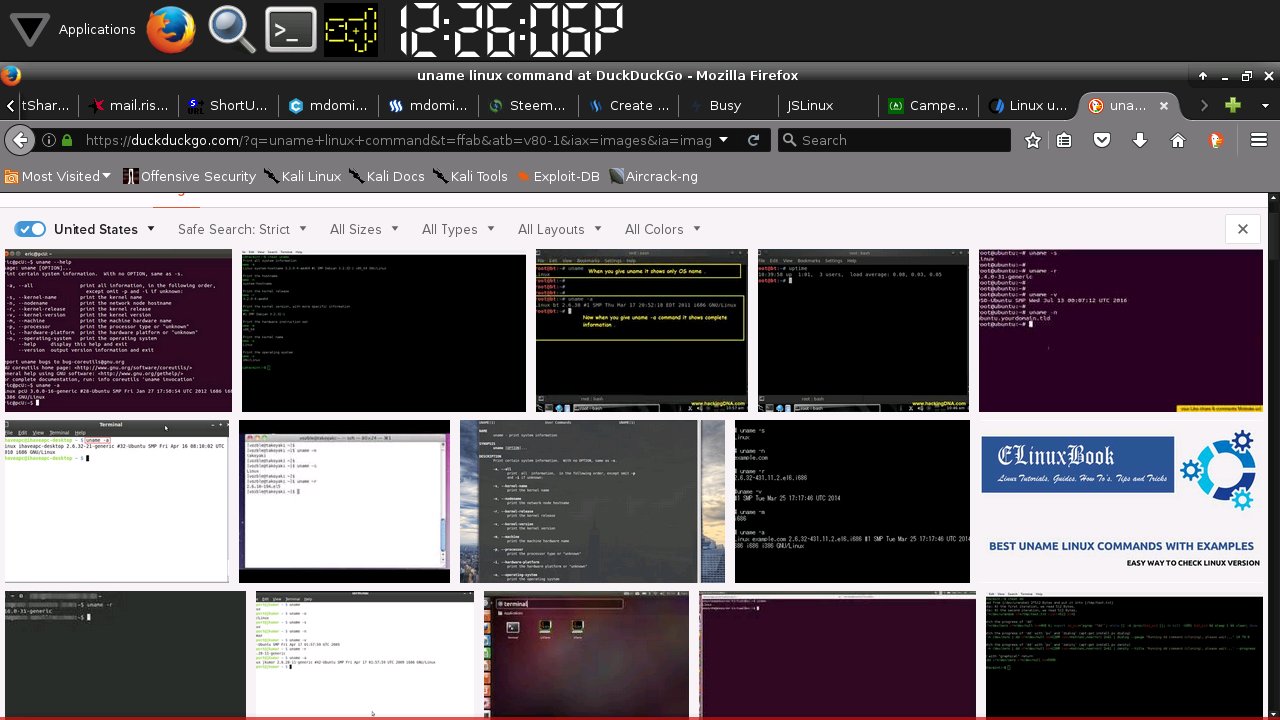
While we are at it. Let us make use of the UNAME command. It allows you to print Linux system information.
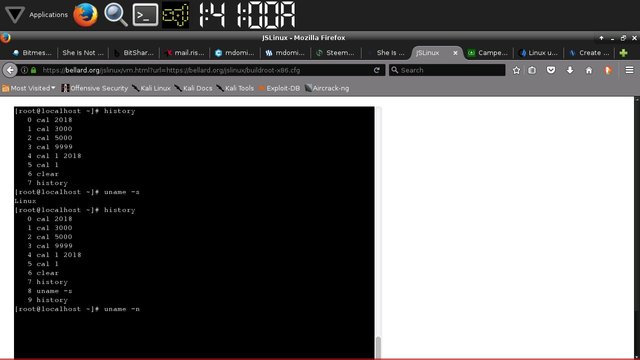
[root@localhost ~]# uname -s
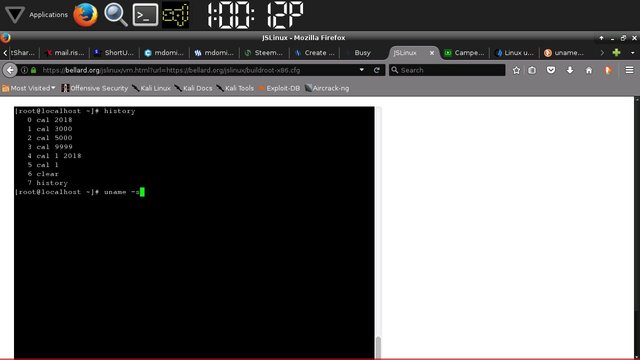
Just type the command above and again press ENTER.
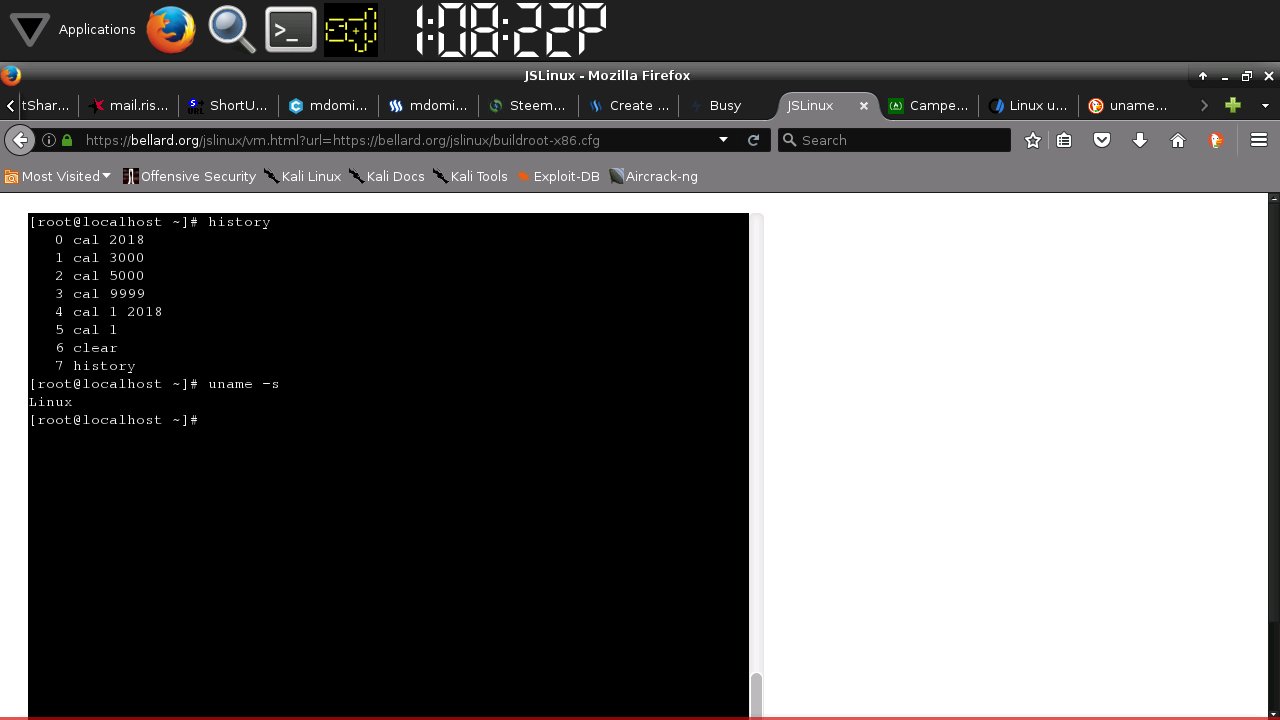
It simply shows Linux but in the real system I assure you that you will get more information.
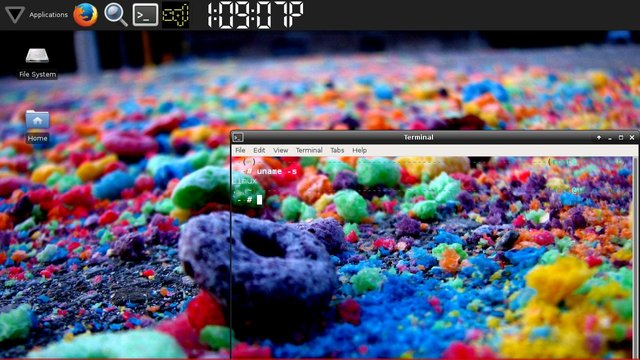
Maybe I spoke too soon. In the real system. The console displays the same information which is the name of the kernel.
Now let us check if Linux truly remembers every single command which we have issue so far.
[root@localhost ~]# history
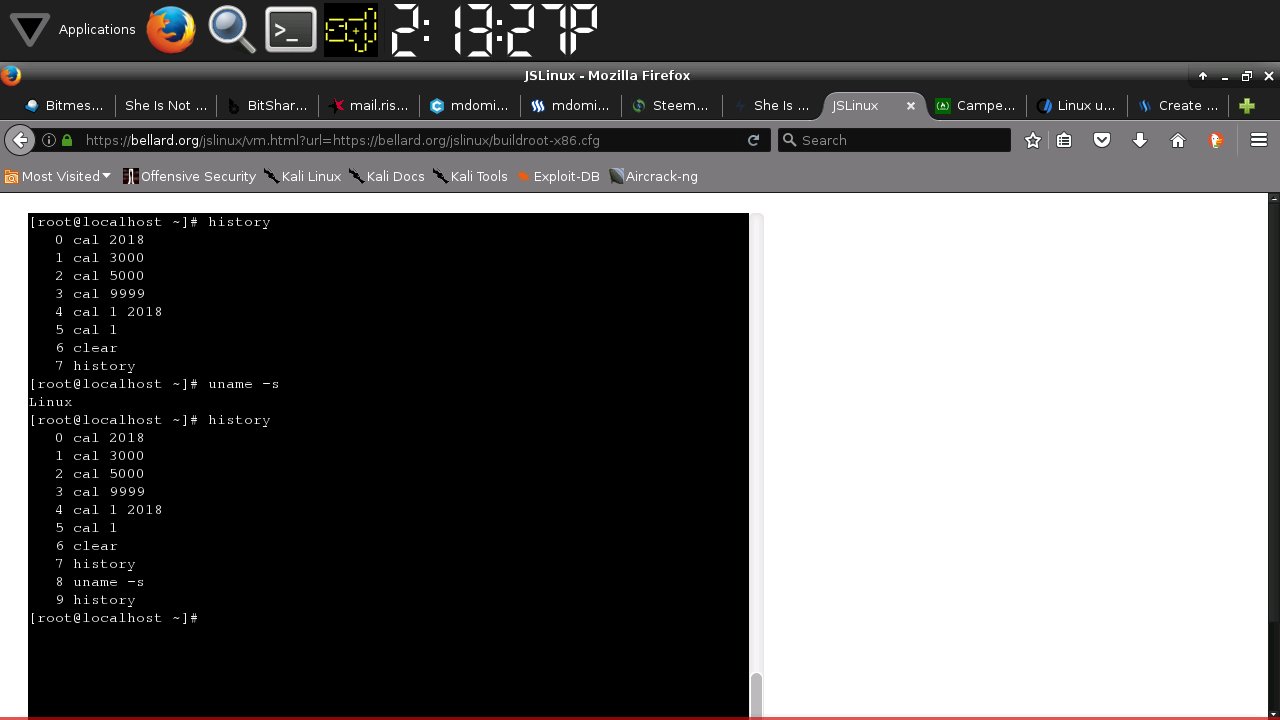
Just press press ENTER after the command and presto.
Now let us obtain the nodename.
[root@localhost ~]# uname -n
Just press press ENTER after the command.
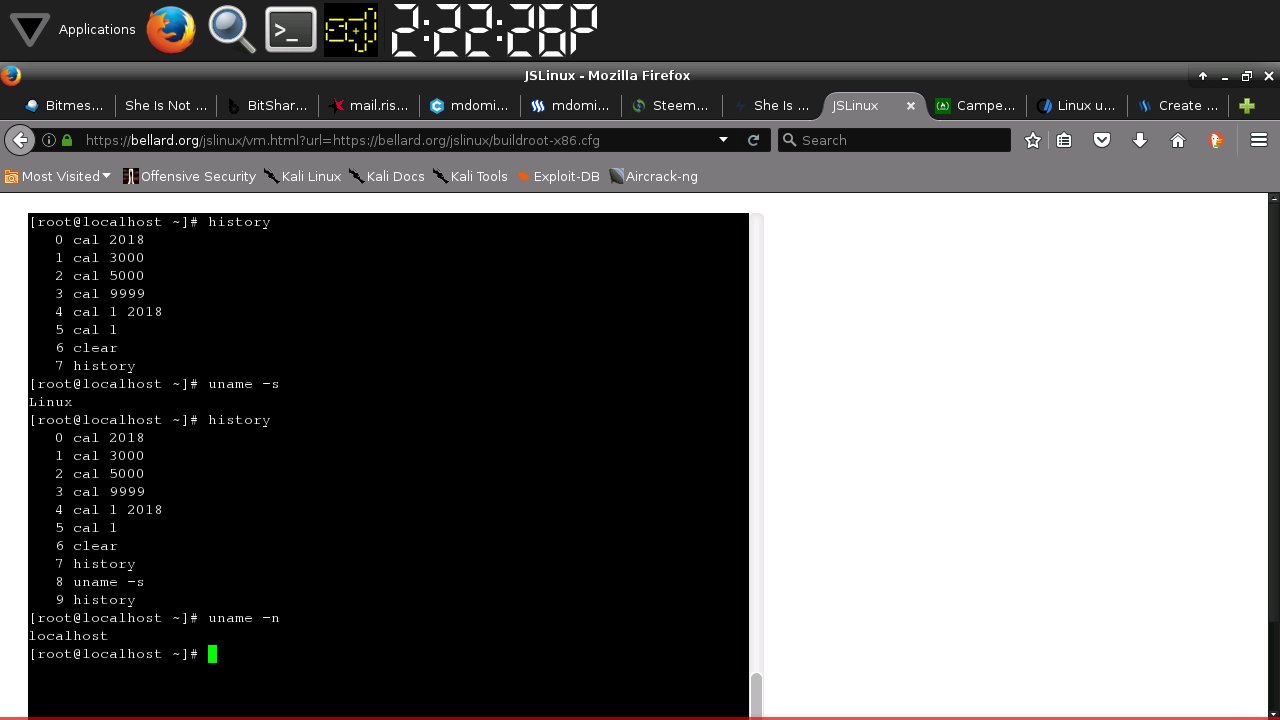
This is what it looks like in the real Linux system.
Obtain the kernel release information.
[root@localhost ~]# uname -r
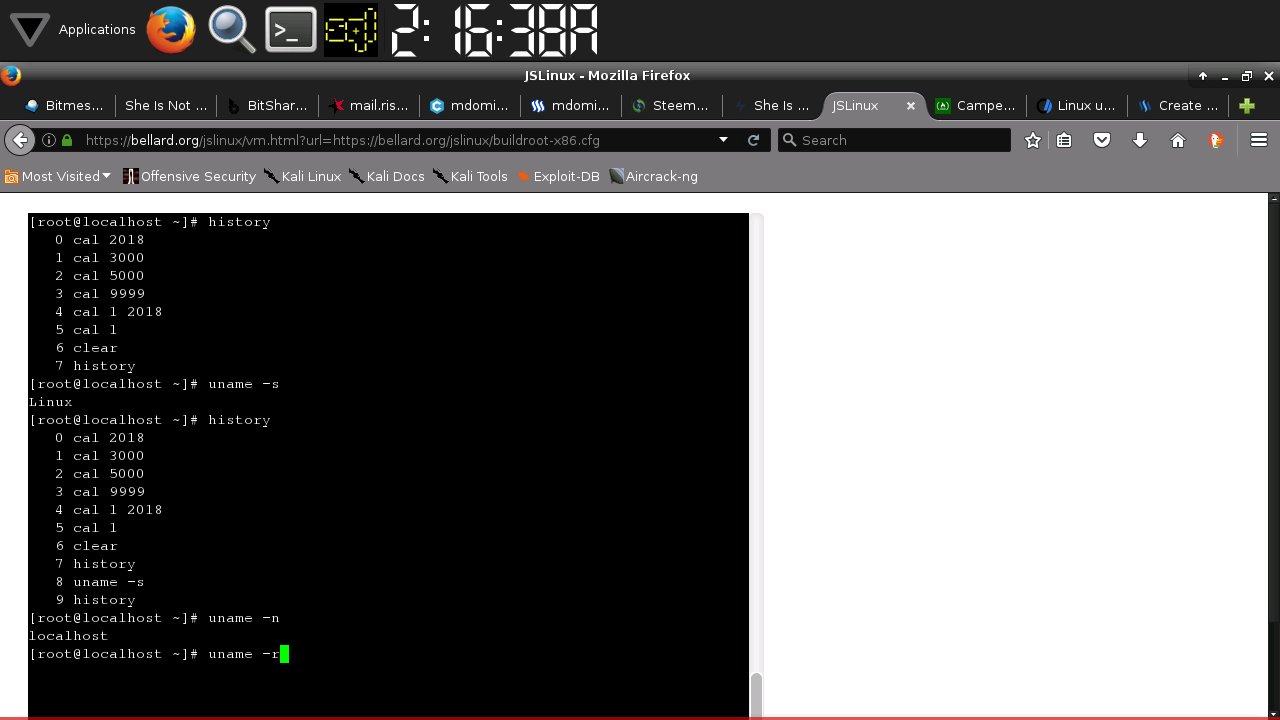
Just press ENTER after the command.
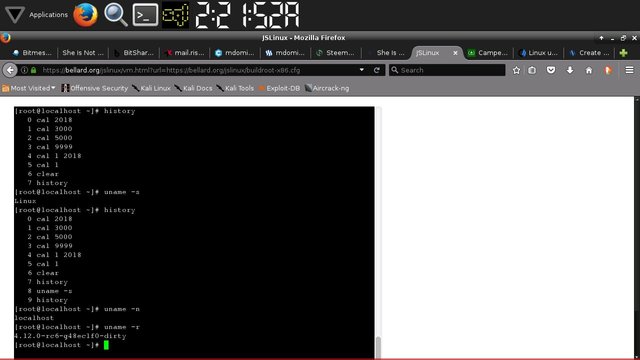
The reaction a real LINUX system.

Let us proceed to obtaining the kernel version.
[root@localhost ~]# uname -v
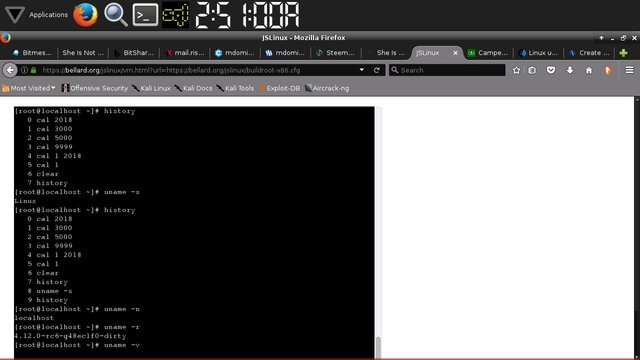
Just press ENTER after the command.
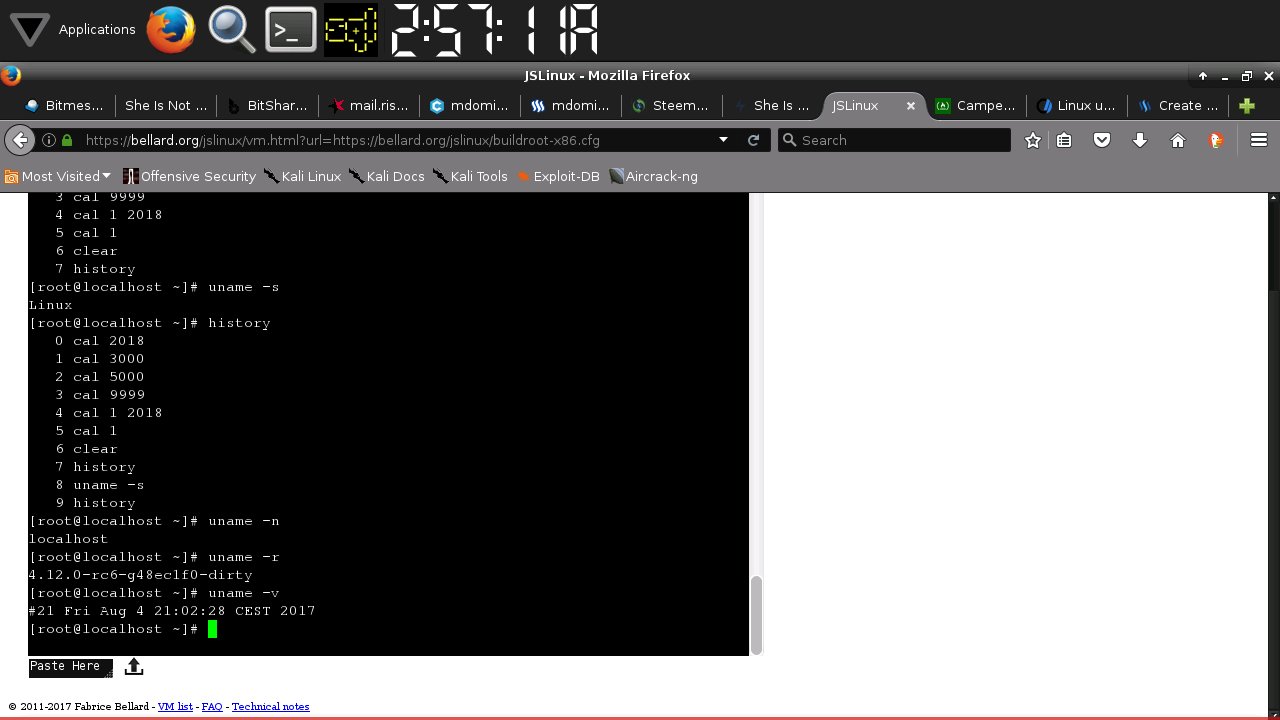
Response of the real LINUX system.
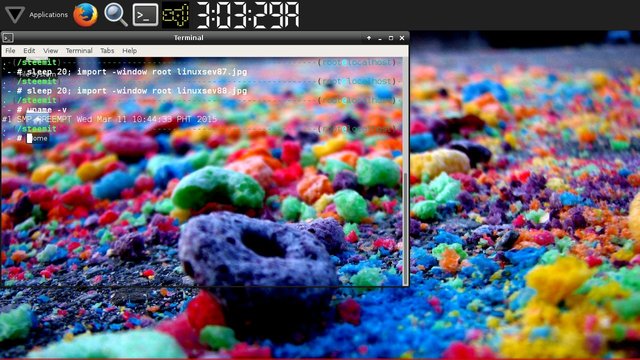
Now let us obtain the machine hardware name.
[root@localhost ~]# uname -m

Response of the real LINUX system.

Obtain the processor, hardware platform and the operating system.
[root@localhost ~]# uname -p
[root@localhost ~]# uname -i
[root@localhost ~]# uname -o
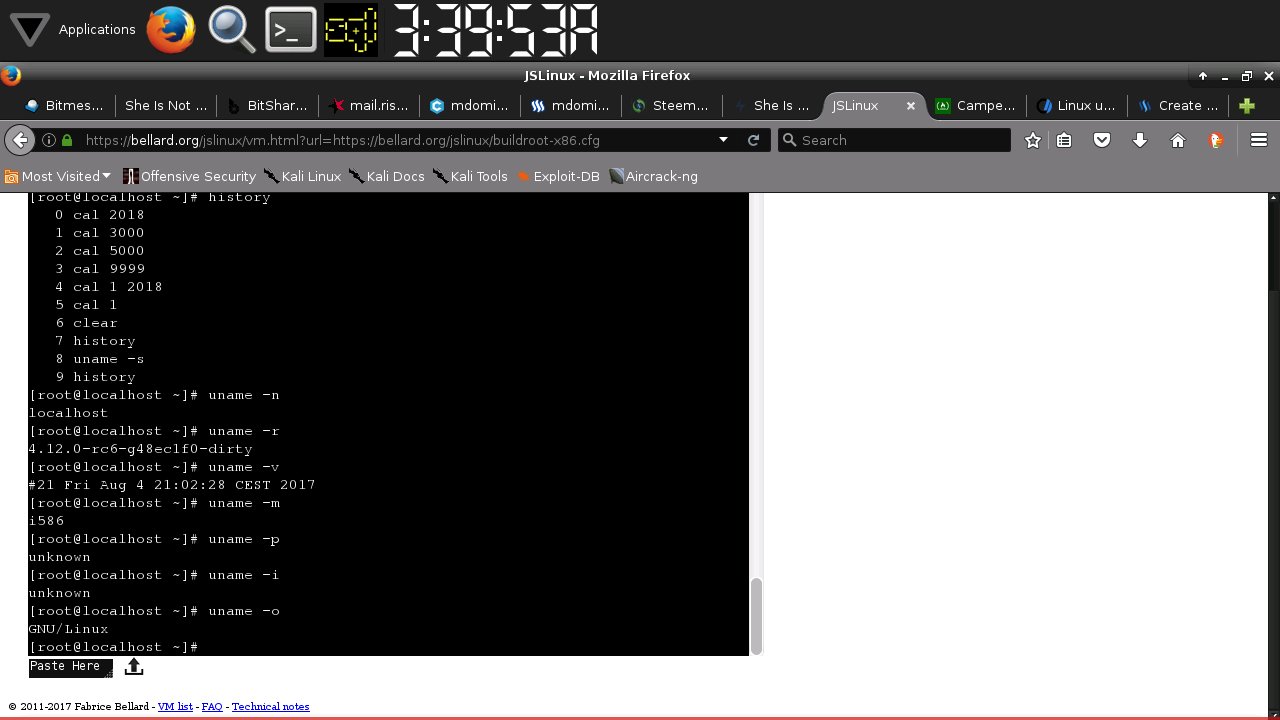
Response of a real LINUX system.

Obtain all information.
[root@localhost ~]# uname -a
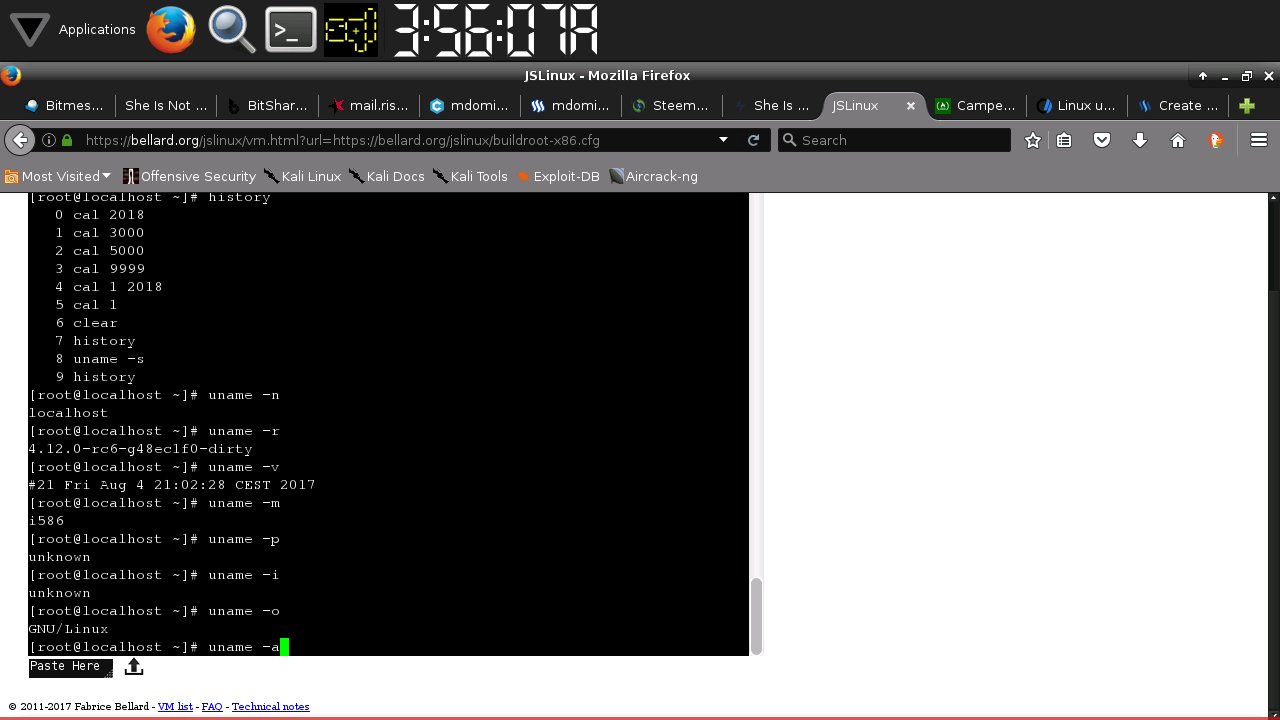
Press Enter.
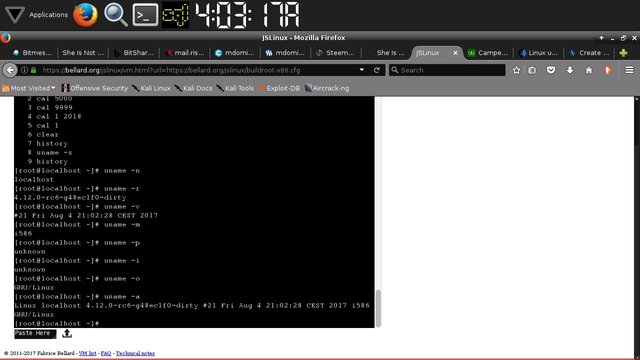
Response of real LINUX system.
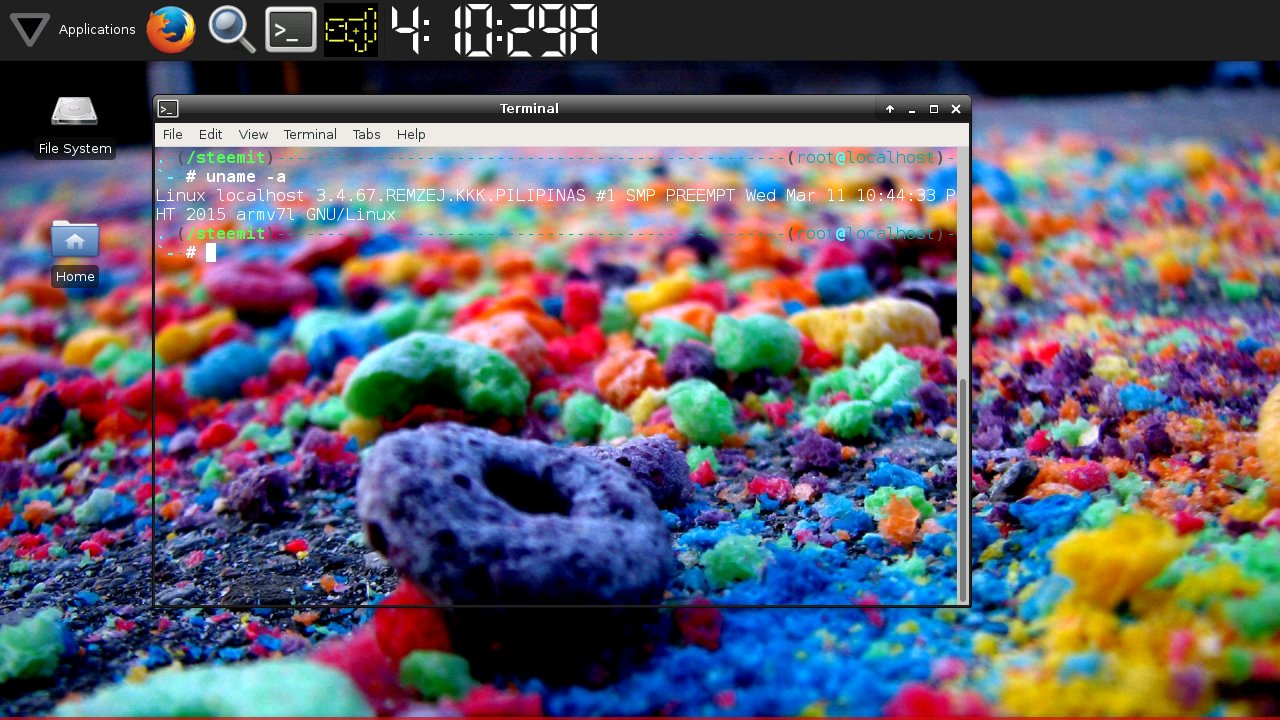
Excellent!
I love Linux, and want to replace Windows 10 (which I despise) on my laptop with Linux Studio, which I am already running on my desktop. I'll definitely be checking out your other videos.
Linux is SO much faster, and more reliable, not to mention that it doesn't force-update when I'm trying to do other things, rendering my laptop unusable until it completes.
Have I mentioned that I despise Windows?
My question is this: I have an 8GB micro SD with Linux Studio on it, but the Bios on my laptop won't recognize it as a boot drive, so I am thus far unable to install it successfully.
Any suggestions on how to properly upgrade my Bios without bricking my laptop entirely?
I appreciate any help you can give me, as though I'm pretty computer savvy in general, this is entirely outside my area of expertise.
Nice post,
Thank for you