Adding Images To Your STEEM Posts
Introduction
STEEM is great but it can be confusing and a bit tedious to add images to your posts. This guide will walk you through using imgsafe.org to store your pictures and will show you the special markdown characters you will need to use to reference it.
Let's Get Started
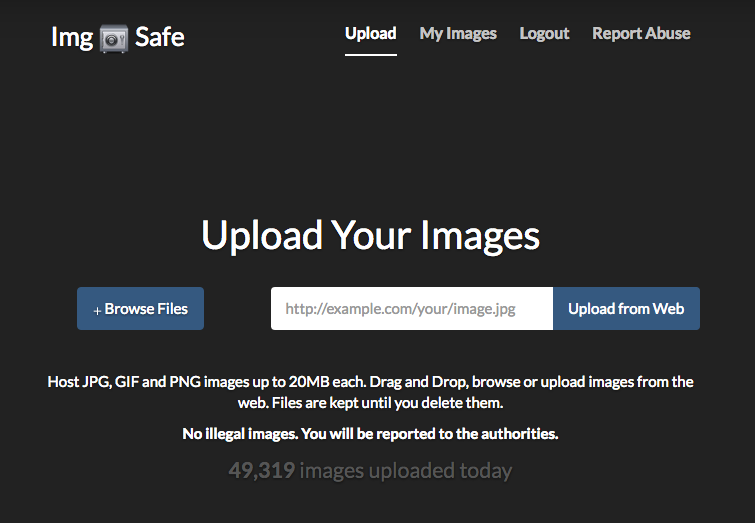
Navigate to imgsafe.org. Once there, I prefer to upload images securely, so choose the https:// link in the center of the page. The home screen should now look like this
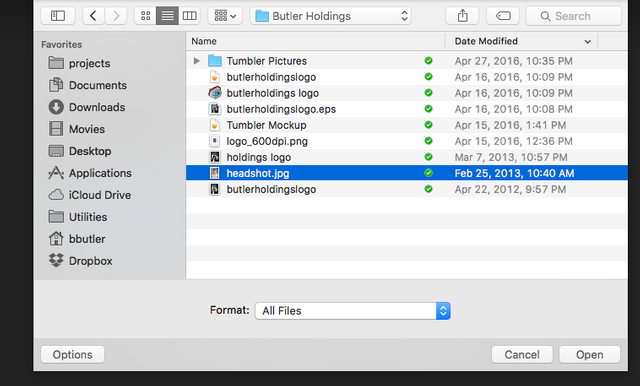
You can either Browse Files or Upload from the Web. For consistency, I will either take a screenshot or download images from the web onto my local machine, so I always choose to Browse Files form my local machine. Once you have identified a file and downloaded it to your computer, click Browse Files. This bring up your file picker.
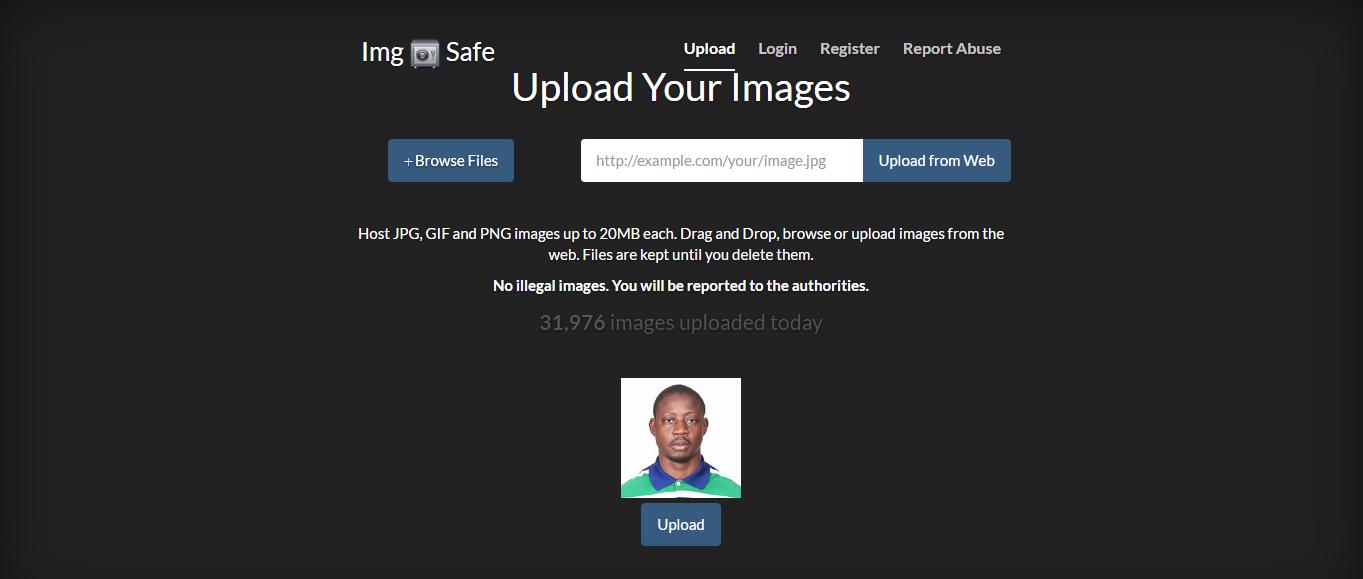
I am choosing to upload a headshot.jpg. Make sure you click the Upload button underneath the image.
Next, click on the image itself. This will open up a new tab with just the picture and the address to reference it in the URL bar of the browser.
Copy that URL (shown in above). Now paste it into a specially formatted bit of text like this within your document
in the preview area of the text editor. Keep in mind that this guide assumes you are in the markdown editor, not the fancy HTML editor. I hope this guide helps someone.
STEEM On!


Once you have added images a few times it becomes second nature