Tutorial: Use of DC volt meter.
Assalamu alaikum Everyone. I am @imranhassan From #Bangladesh
.png)
A few days ago I made a 12-volt power supply to check my battery charger and various electronic devices. But I felt that I needed to reduce its voltage from 1 volt to 12 volts to check various modules. Then I replaced the DC-to-DC step-down voltage converter.

Now I have used this circuit to use 3 volts, 6 volts and 9 volts to work on various small projects, so now I had to understand how much volt output I would work with through a digital multimeter. Then I wisely bought a voltmeter from the market and decided to replace it. So now I will show you today how I replaced this voltmeter, and I can understand my DC output very easily and can work on the project with the output.
Step -01

The DC voltmeter that you can see in my hand now can be bought in the market for 80 taka in our Bangladeshi taka. This voltmeter operates with a minimum input voltage of 4 volts, and it shows an output from 1 volt to 100 volts. Let me show you step by step how to replace today's voltmeter in the power supply.
Step -02
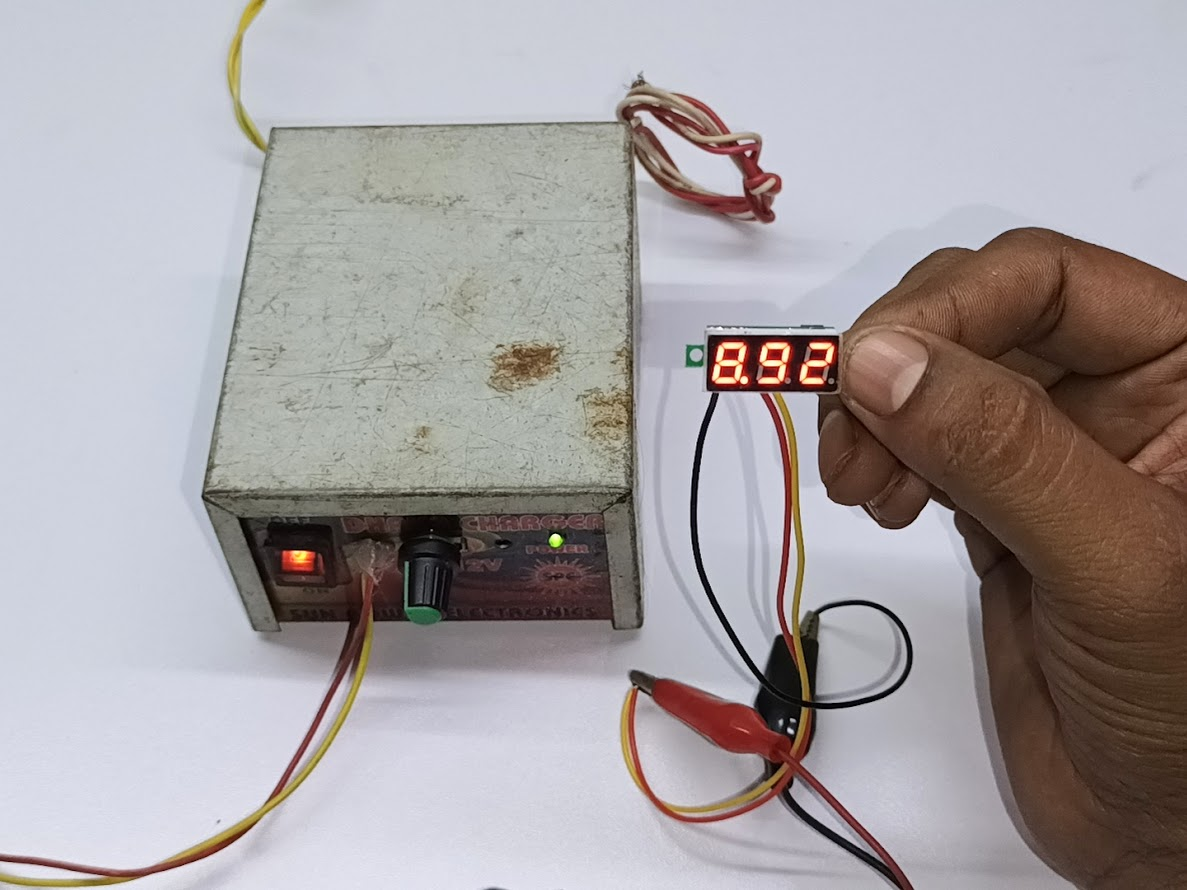
You can see that I have given a positive connection to the yellow and red wires in the output line and a negative connection to the black wire. The positive red wire and yellow wire detect the voltage, and the black wire is negative, which is the three wires through which this voltmeter is powered. I hope you understand, and you can see that we have taken the output from the power supply and run the voltmeter. Now we will replace it inside.
Step -03

Now you can see that I have removed the body cover of my power supply and replaced the digital voltmeter inside and placed it outside, and you can see that I have made the connections at the output of my step-down DC converter, which you can see nicely in your video.
Step -04

Now you can see a small fan in my hand, which I have removed from the old inverter to keep my power supply cool, so now I will replace it. Let's see how we replaced it.
Step -05

Now you can see that I have connected the input connection of the fan to the 12-volt output connection of the voltmeter.
Step -06

Then I applied 220-volt AC input voltage to the power supply, and you can see that my power supply has power, and the voltmeter is running along with the small fan I installed, which is also running. Now all my work is complete, and I will now fit the power supply.
Step -07


Now you can see that everything is complete; the voltmeter is glued, and the fan that I installed is also installed. You can see it on the transformer site, and through this air, the transformer circuit will be cool.
Step -08

Last and final, I have now installed the body casing, and my work is complete, and you can see that I have completed everything very nicely, and a voltmeter is always used like this. If you need it, you can also connect it to a 12-volt charger, you can connect it to a battery, and you can also connect it to any power supply.
| Video Tutorial: To better understand the practical part of this tutorial, you can watch the video below. |
|---|

✅ CC: My friend @rmm31
✅ We support @pennsif and @pennsif.witness for the growth of this platform. pennsif.witness his contribution to the Steemit community. Vote for him as a Witness here: Click to Vote
| Photography Details | 📱 Device: Walton Xanon90 | 📍 Location: Narayanganj, Bangladesh | 📷 Captured By: @imranhassan |
|---|
Upvoted! Thank you for supporting witness @jswit.