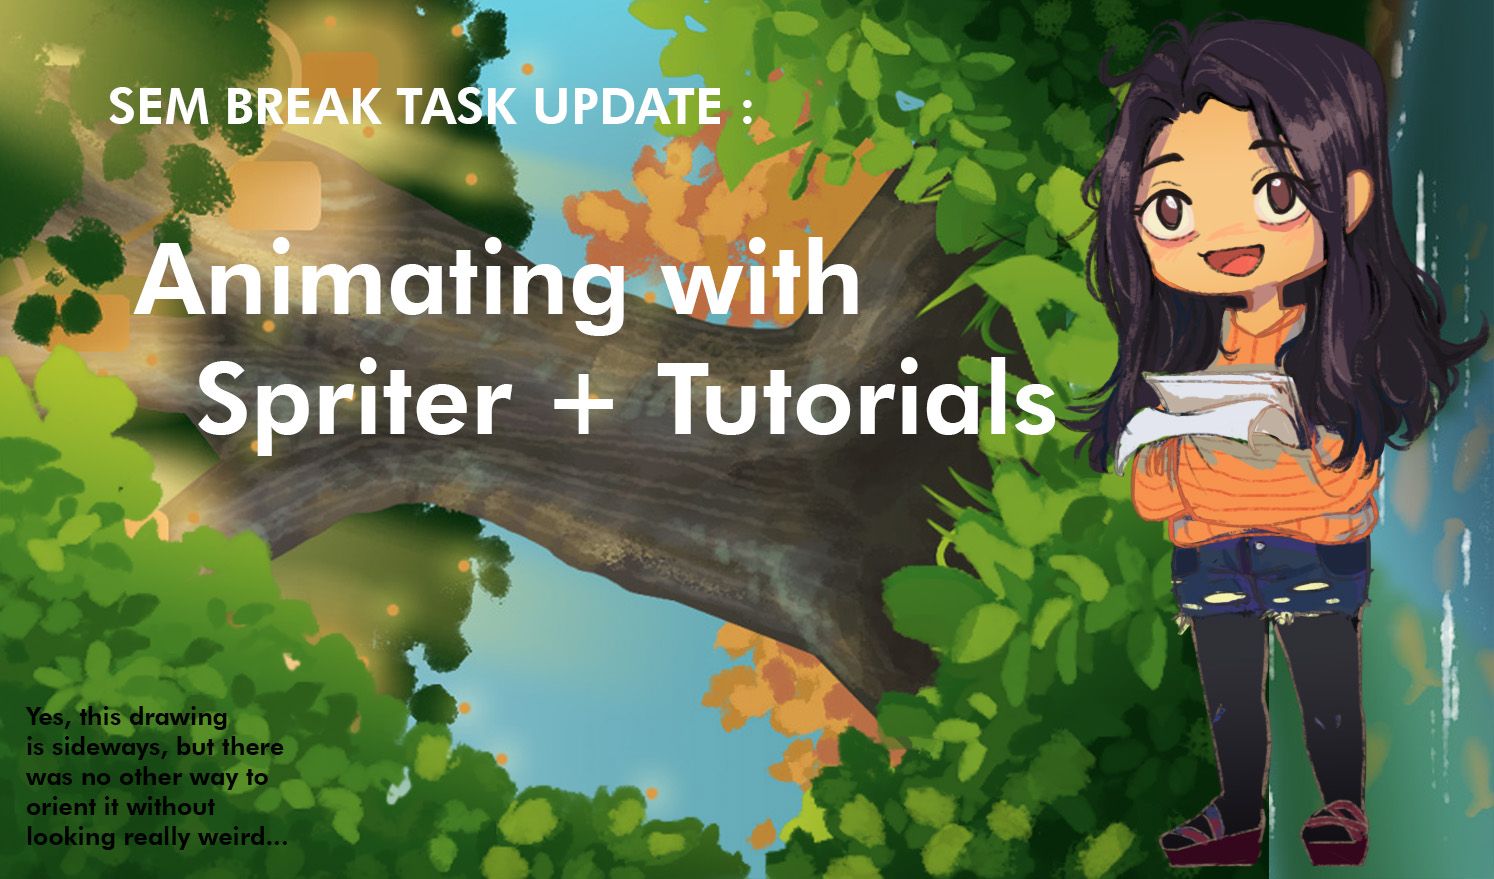
Semester Break Activity Update 1 : Animating with Spriter + Tutorials
Trying a new animation tool for games, Spriter.
What do you think of the results?
This is the first time I used such a tool so the animation I did is relatively simple. I can say the software itself is quite easy to use, though it takes some time to get used to.
I've explored a few other tools such as Live2D, DragonBones, and Spine. Live2D is somewhat similar to Spine in terms of functions and tools, however the tutorials and help videos are mostly in japanese (because it's a Japanese software and that's not my native language, it would be quite difficult to find help). So, my father suggested Spine.
Spine is a very good software for making professional animations for games. Instead of drawing frame by frame, all you have to do is draw once and apply bones to it that you can move around. Of course, that goes for all the software that mentioned but Spine's animation can be converted to coding softwares. However, Spine is quite expensive... Firstly, it's divided into two. One is Spine essential and the other is Spine Professional. Professional has a range of very nice tools that you can utilize to create nicer animations. If you want the full force of Spine, it was recommended to buy the Professional version. However... Spine Professional costs $299... which is like RM1170. For a student that's like 2 months worth of food, and with how low the steem prices has been, things hadn't been looking good for us. It is a very good software though, I just have to decide whether to commit to it or not (and whether to commit to the Professional version, or the Essential version).
Dragonbones is another software that promoted itself as free, but is actually not. Which was a real turn off for me and I instantly uninstalled it once it asked me to pay to save my files.
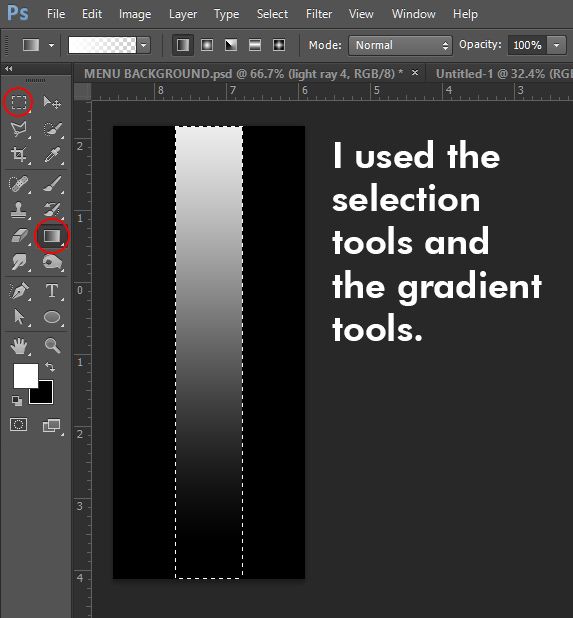
Then, there's Spriter. Here's basically how I used it :
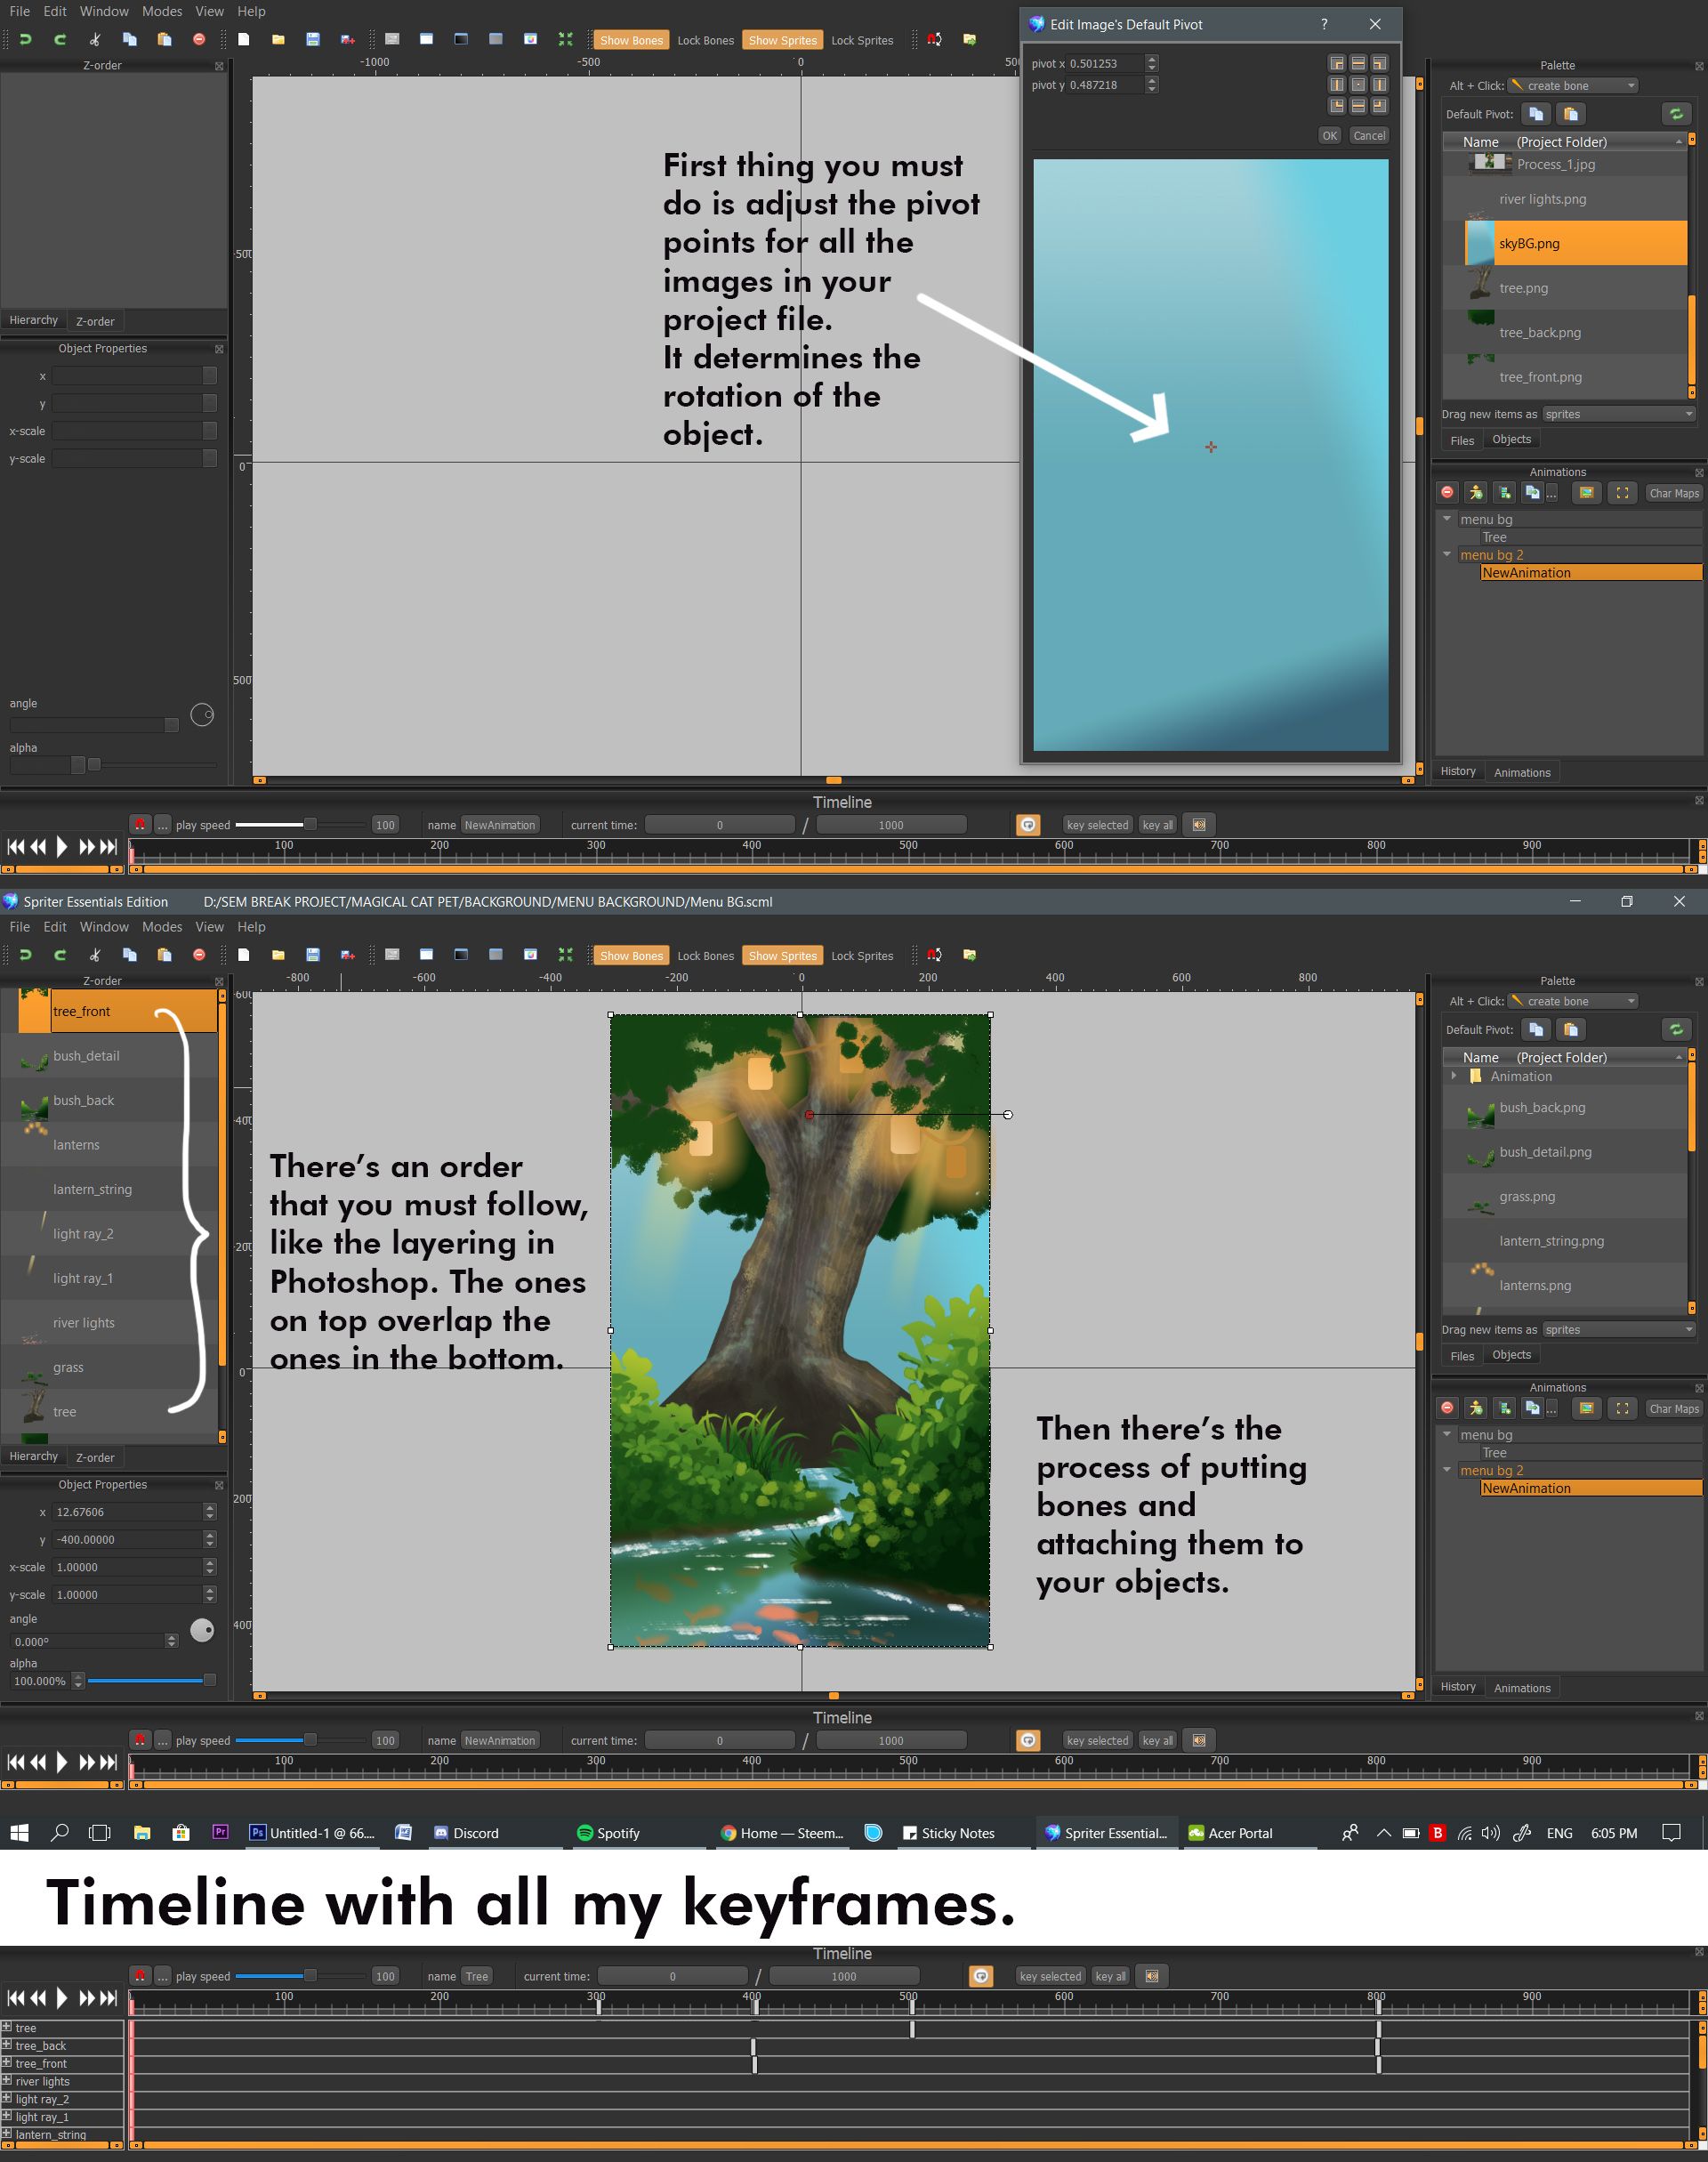
I followed a 7 minute tutorial on it and I could grasp the basics, which shows how simple it is to use. Although, a lot more time is probably required to utilize Spriter. It's not really for these background animations as it is for character animation AND I can't convert to code. It doesn't have that. So, keep that in mind if you want to download it.
I think I might use it for my future 2D animations, maybe as short projects or such. I really like exploring with this so far, there are a lot of really nice 2D animations that utilize technology to shorten the workflow.
Here's some nice examples :
Live2D
Spine by Dao Le
Dao Le's animation with Spine were actually the first I've seen that used these new softwares. I was really taken with the smooth movement and the ability to keep the nice details to hand drawn strokes which was why I decided to explore this. If I could I would really like to buy it. It would be so useful to any of my future projects. Or even just to mess around with!
And without further ado, here's my...
STEP BY STEP DRAWING PROCESS GIF
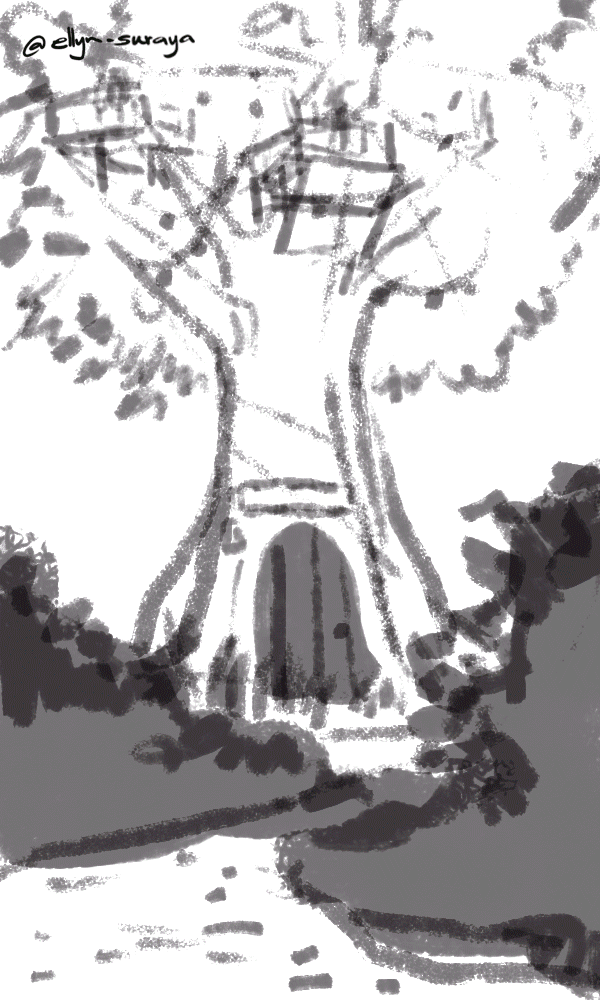
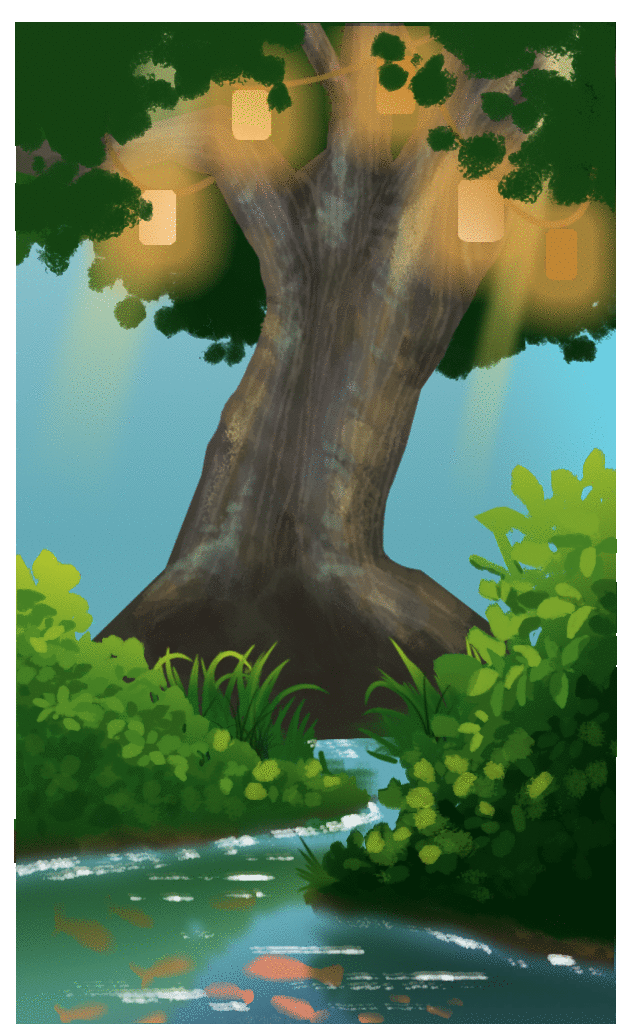
Step 1 : The Sketch
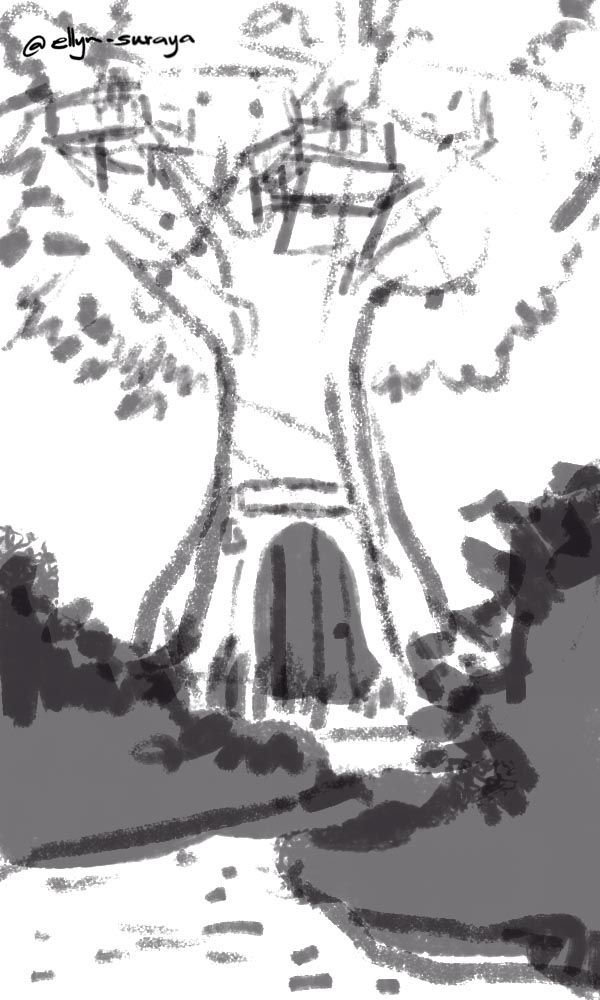
I liked how really simple the sketch was. The main focus is just that mysterious tree, hiding behind some bushes. Those bushes had to be shaded darker so that I could understand that it's in front of the tree. It's a small detail but it can help you see the overall.
Step 2 : Adding the objects and the simple shades
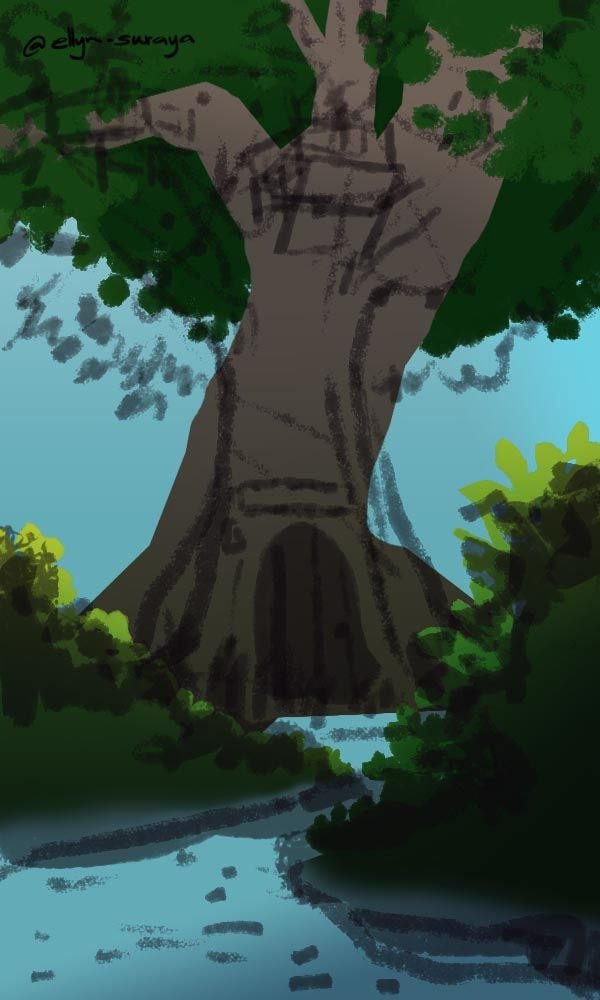
After figuring out the basic shapes of the bushes, tree trunk and leaves (while keeping the sketch for me to see), adding a gradient with the highlights and shades helps determine the mood of the drawing. I wanted mine bright and happy.
Step 3 : Detailing
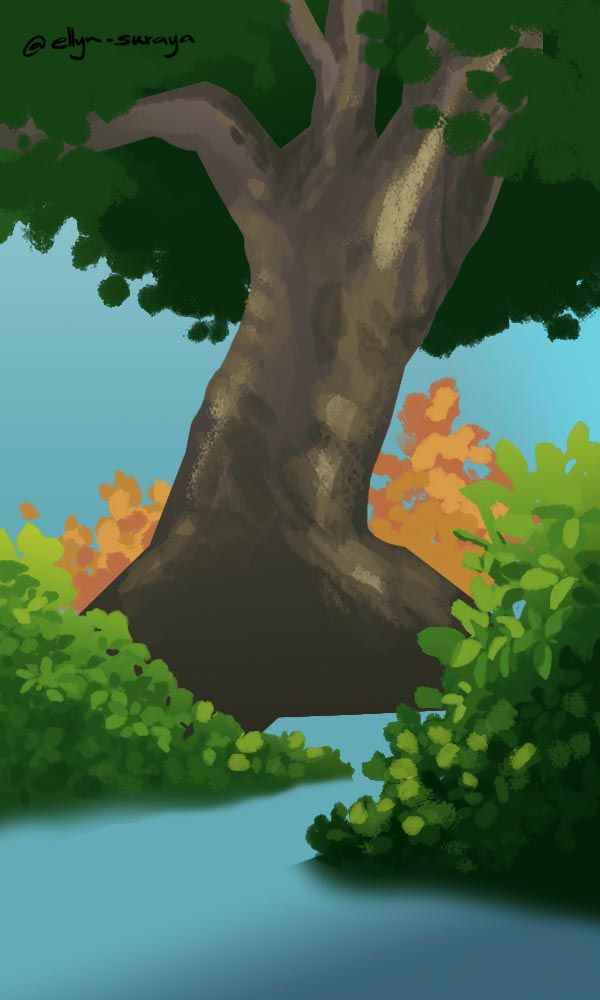
Exactly as it says, make sure you keep the shapes of the leaves and trees correct. Let the leaf look like a leaf. Because I found leaving it like dots doesn't have the same effect. For far away bushes, it's fine because it's distance. Even in real life your eyes can see the details of a bush 5 miles away. Also, follow the colours from the gradient you determined earlier.
Step 4 : More Details
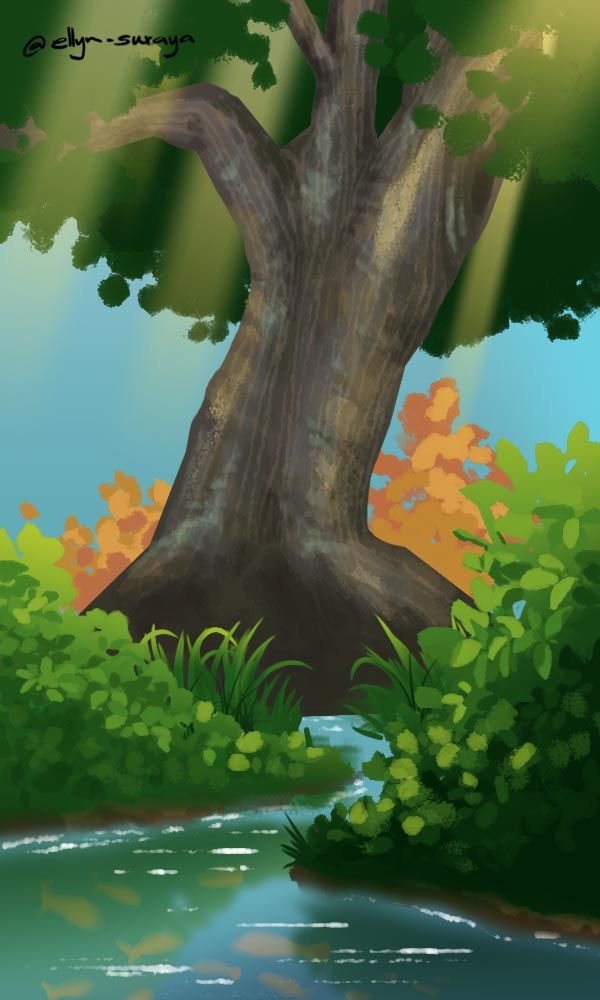
As you can see, I've added 3 things. Light rays penetrating through the trees, little lights and a reflection of the bushes on the surface of the water, and tiny fishes. All three are useful for adding a magical yet realistic effect to your drawings. The reflection on the bushes is something you have to play with in Photoshop. The opacity and colour are something you need to adjust until you get the desired effect. Mine was set to 'Darken' with 80% opacity. The fishies you can mess around with. The light rays were created with a square that shaved off its sides with blurriness.
Hope you guys learned something useful from this post, and that's it for part one of my Sem Break Journey. Thanks for reading!

Wow this tutorial awesome. I m not into games. But I like the finishing from this software! I would like to try one and introduce it to my son. He likes to watch dinasour from youtube and always making dinasour from his lego and sometimes sketching too. Need the link to download Spriter pls. Thanks! ;D
You definitely should try Spriter, your son would have fun creating his own animations. Dont give up learning.
Here! https://brashmonkey.com/
Hope he has a good time!
I thought people used the wiggle effect in after effect for this kind of animation XD. Nice one !
You can do that too I suppose XD
But in game they need to do it real time
wow it looks very good! some of the other examples you showed are also very impressive :O!!!
Very!! Very interesting too! You should invest some time in learning it too
it'd be interesting to try it out, but for now I have so much going on xD, it'll have to wait