Steem Carton : Established Shot Background Painting
The purpose of established shot is to tell the audiences where the story took place. It is usually a wide shot or an extreme wide sjhot. For animation the process to create an established shot takes time and it needs details. Here I will share a bit of my knowledge on creating this challenging piece.

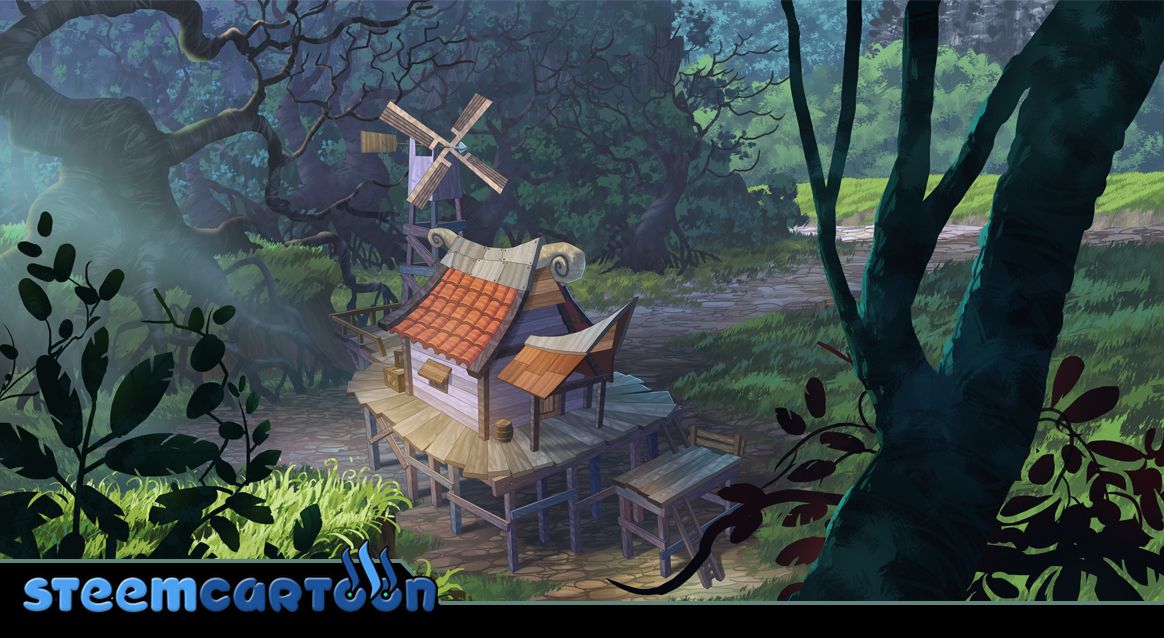
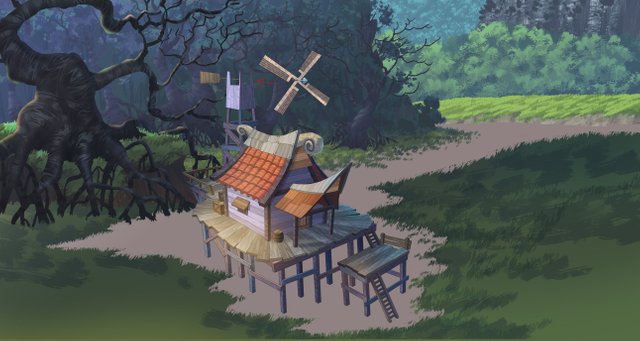
This is a wide scene from a storyboard that I have completed. The location is at the fringes of the forest. I need to plan carefuly to play with the shadow and lighting to create and interesting shot.
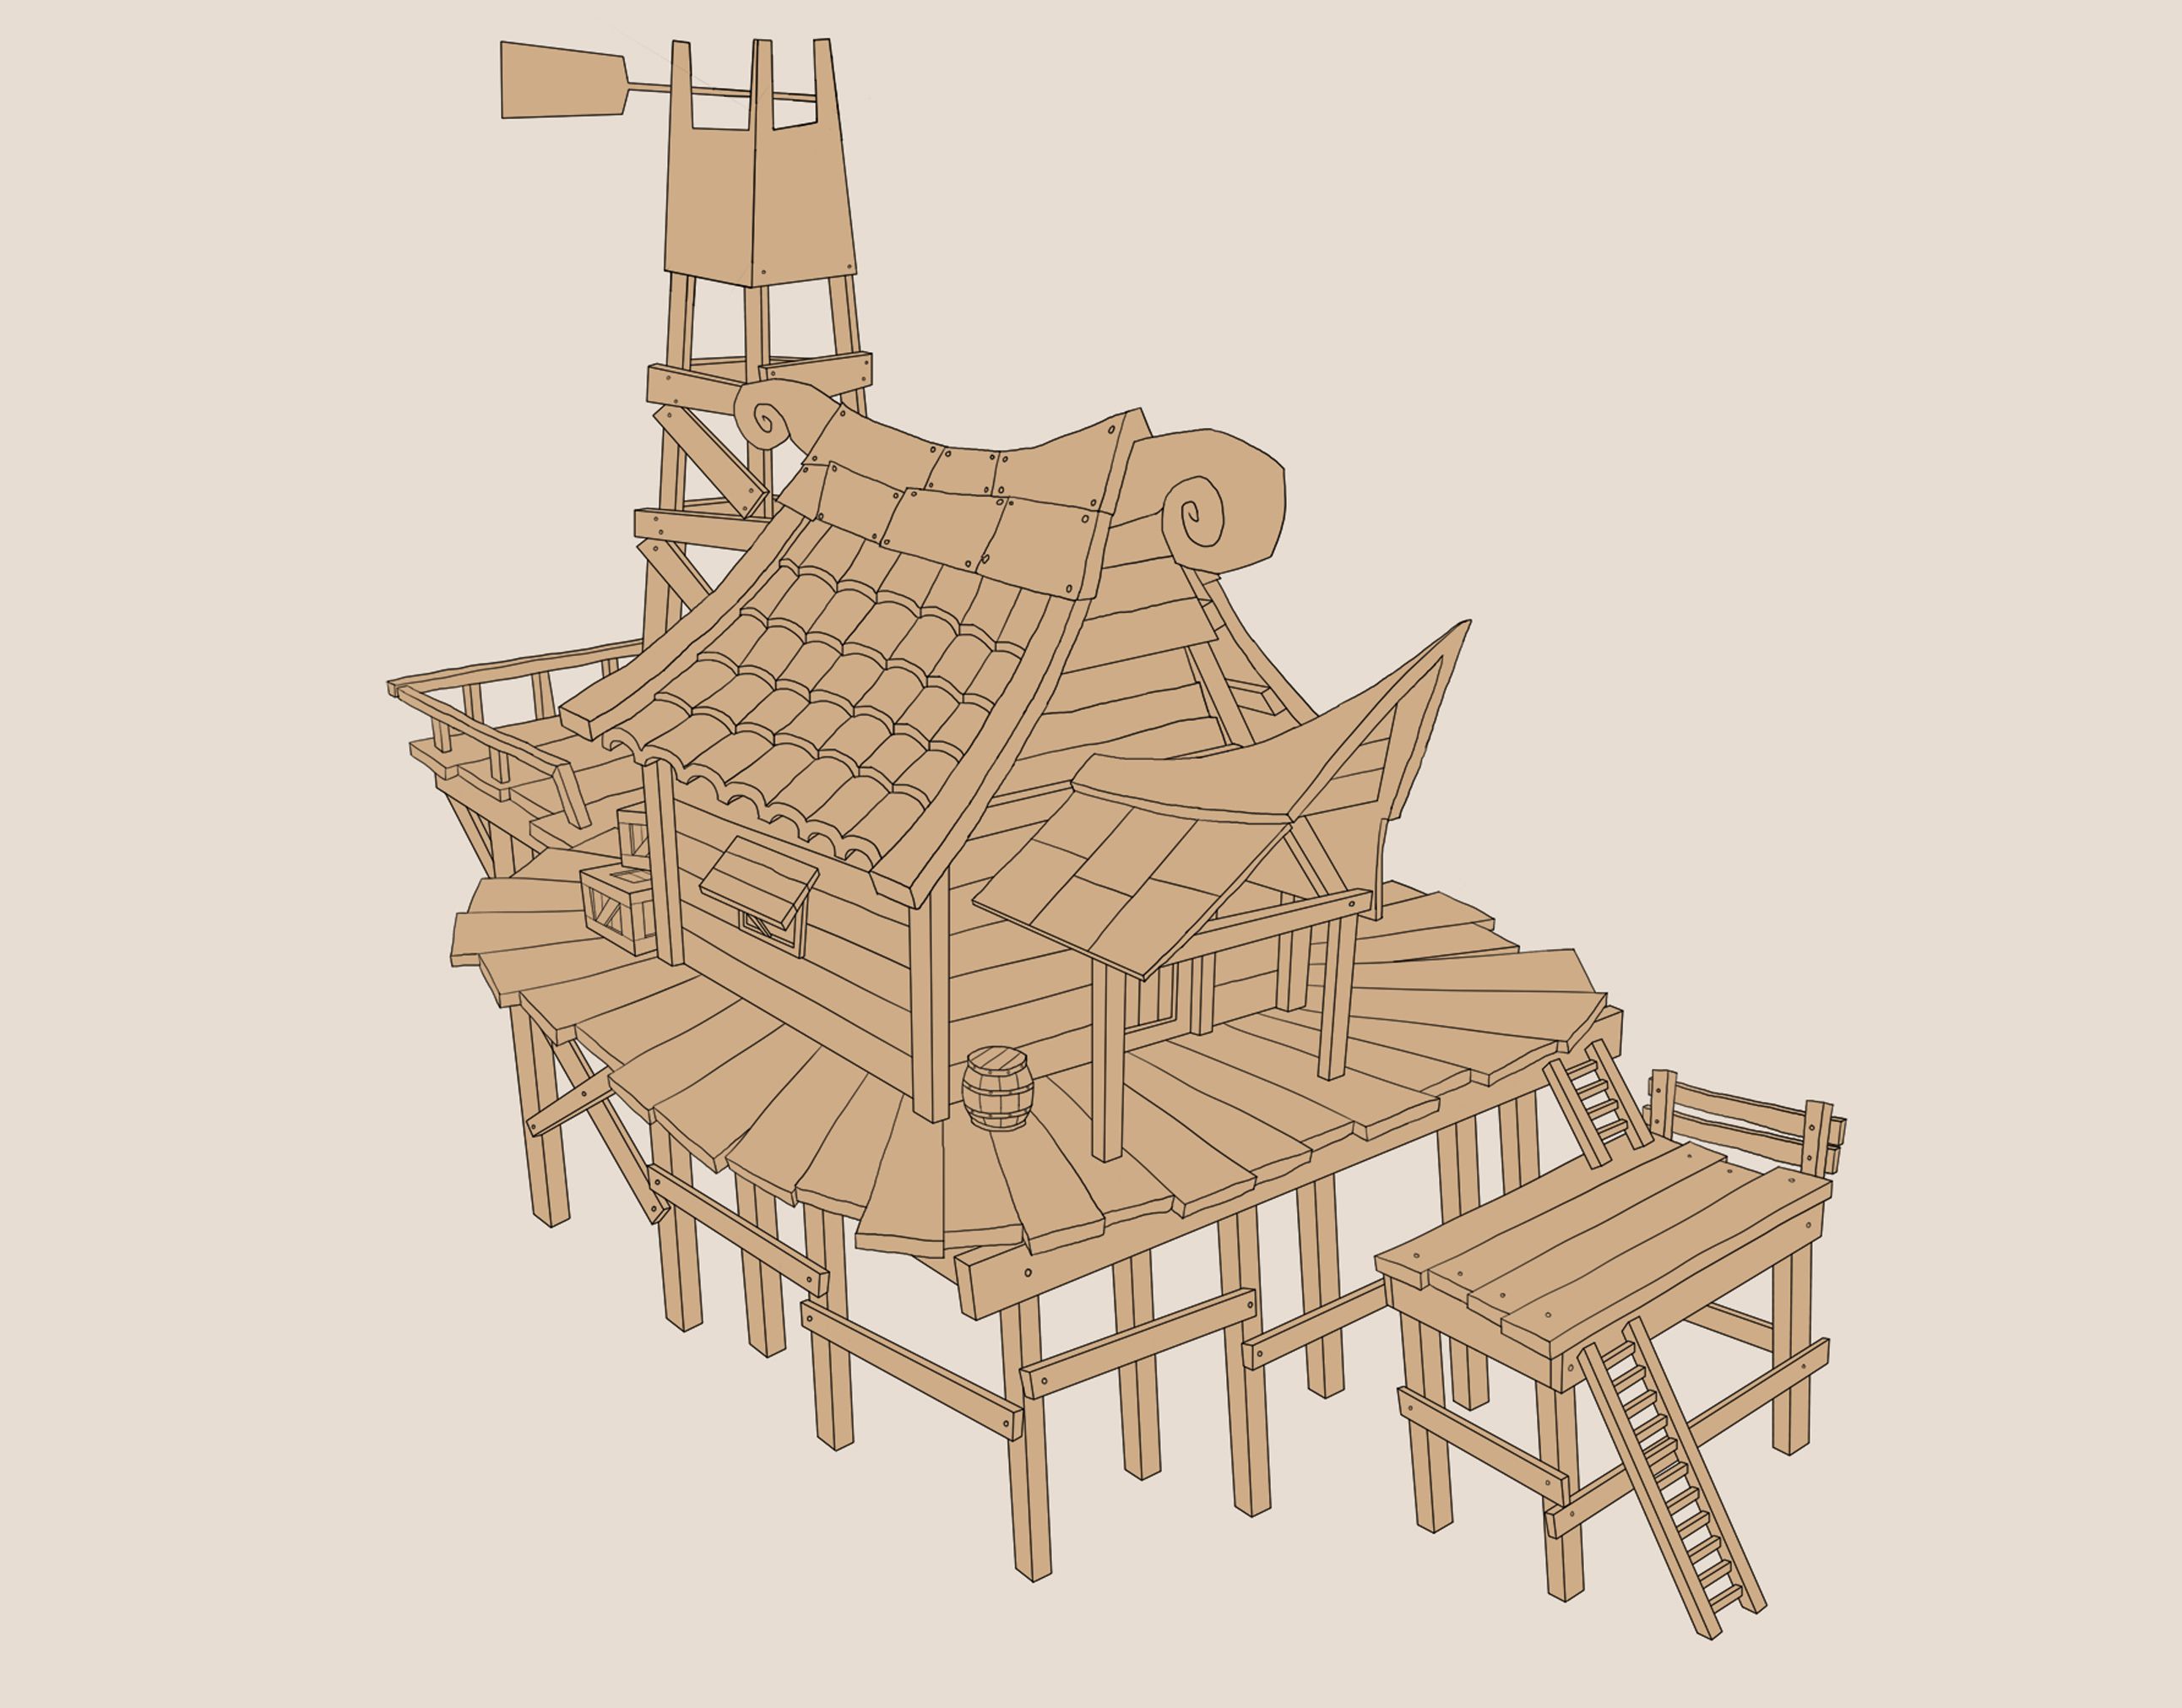
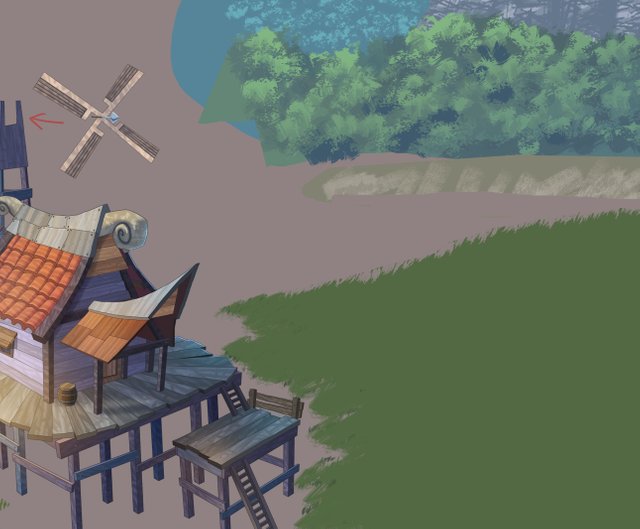
For the next process I need to finish the layout of the house first. I use the sharp line brush so that I can blend with my painting thereafter.
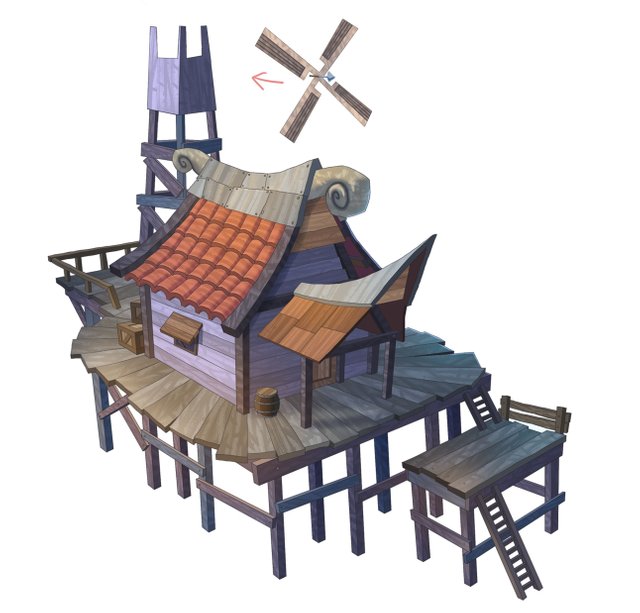
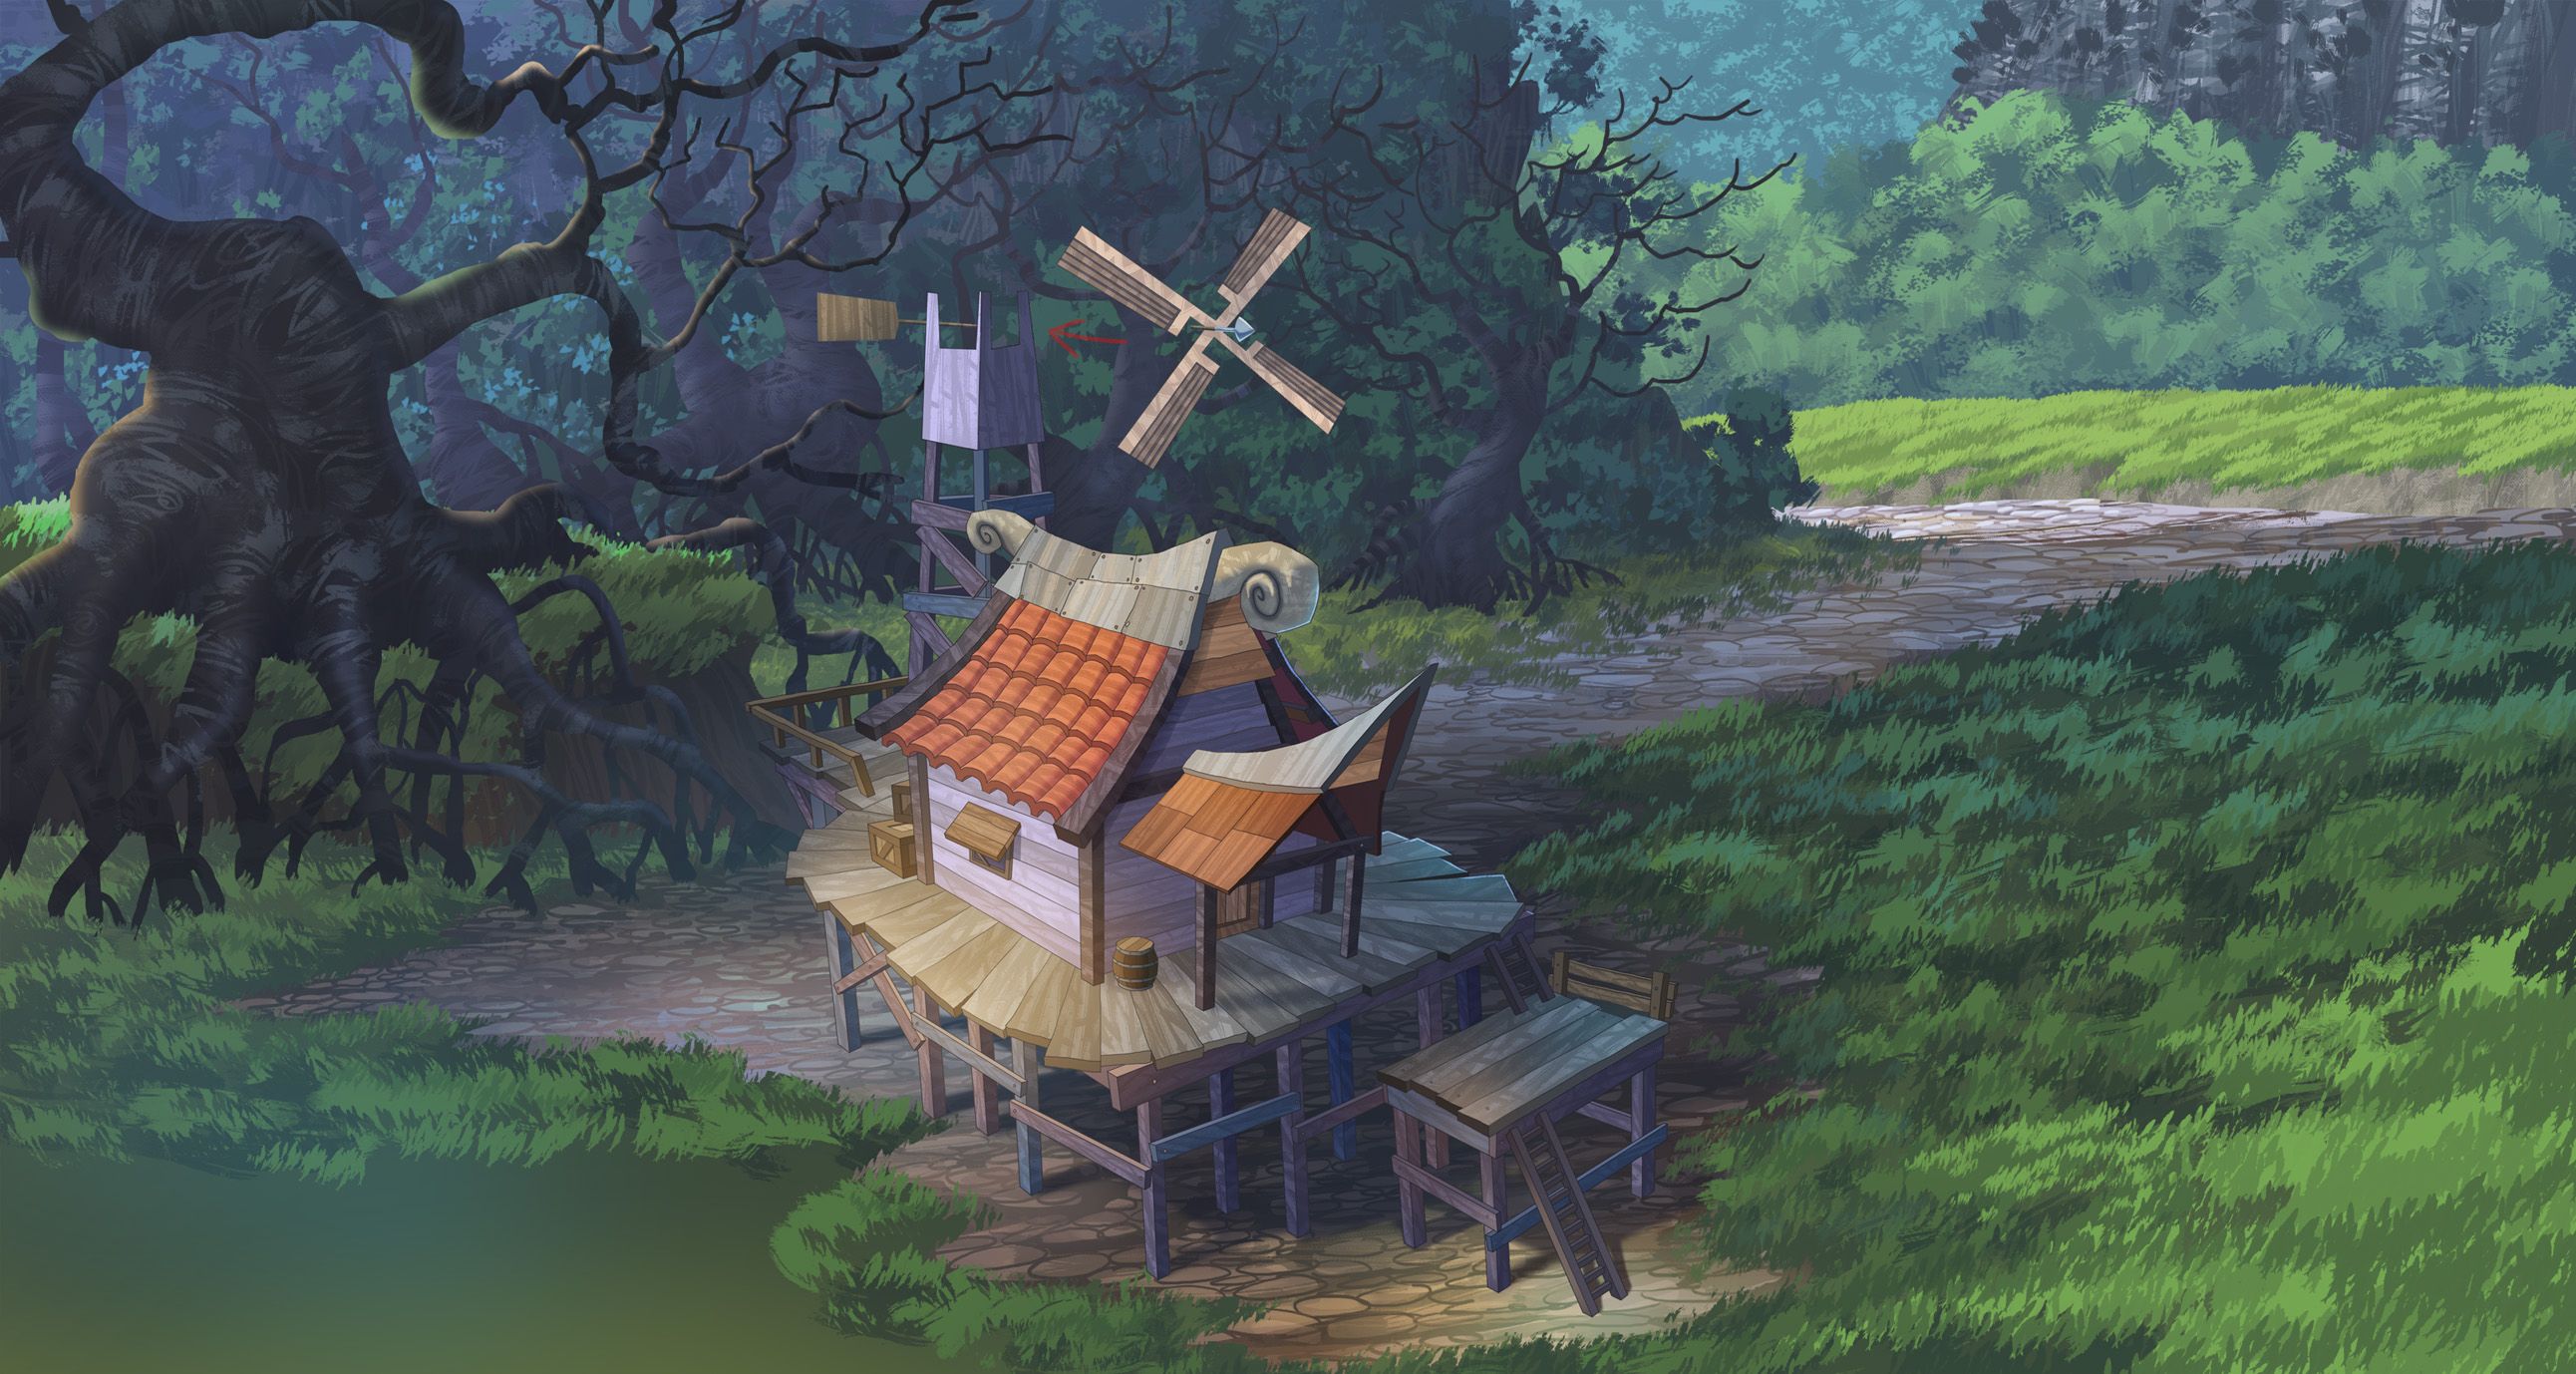
Now to the process of colouring the house. I need to be very detailed to complete it because tjhe first subject that the audience will see is the house first. The parts of the house I have to separate and the windmill has to be apart so that the animator can make it move.
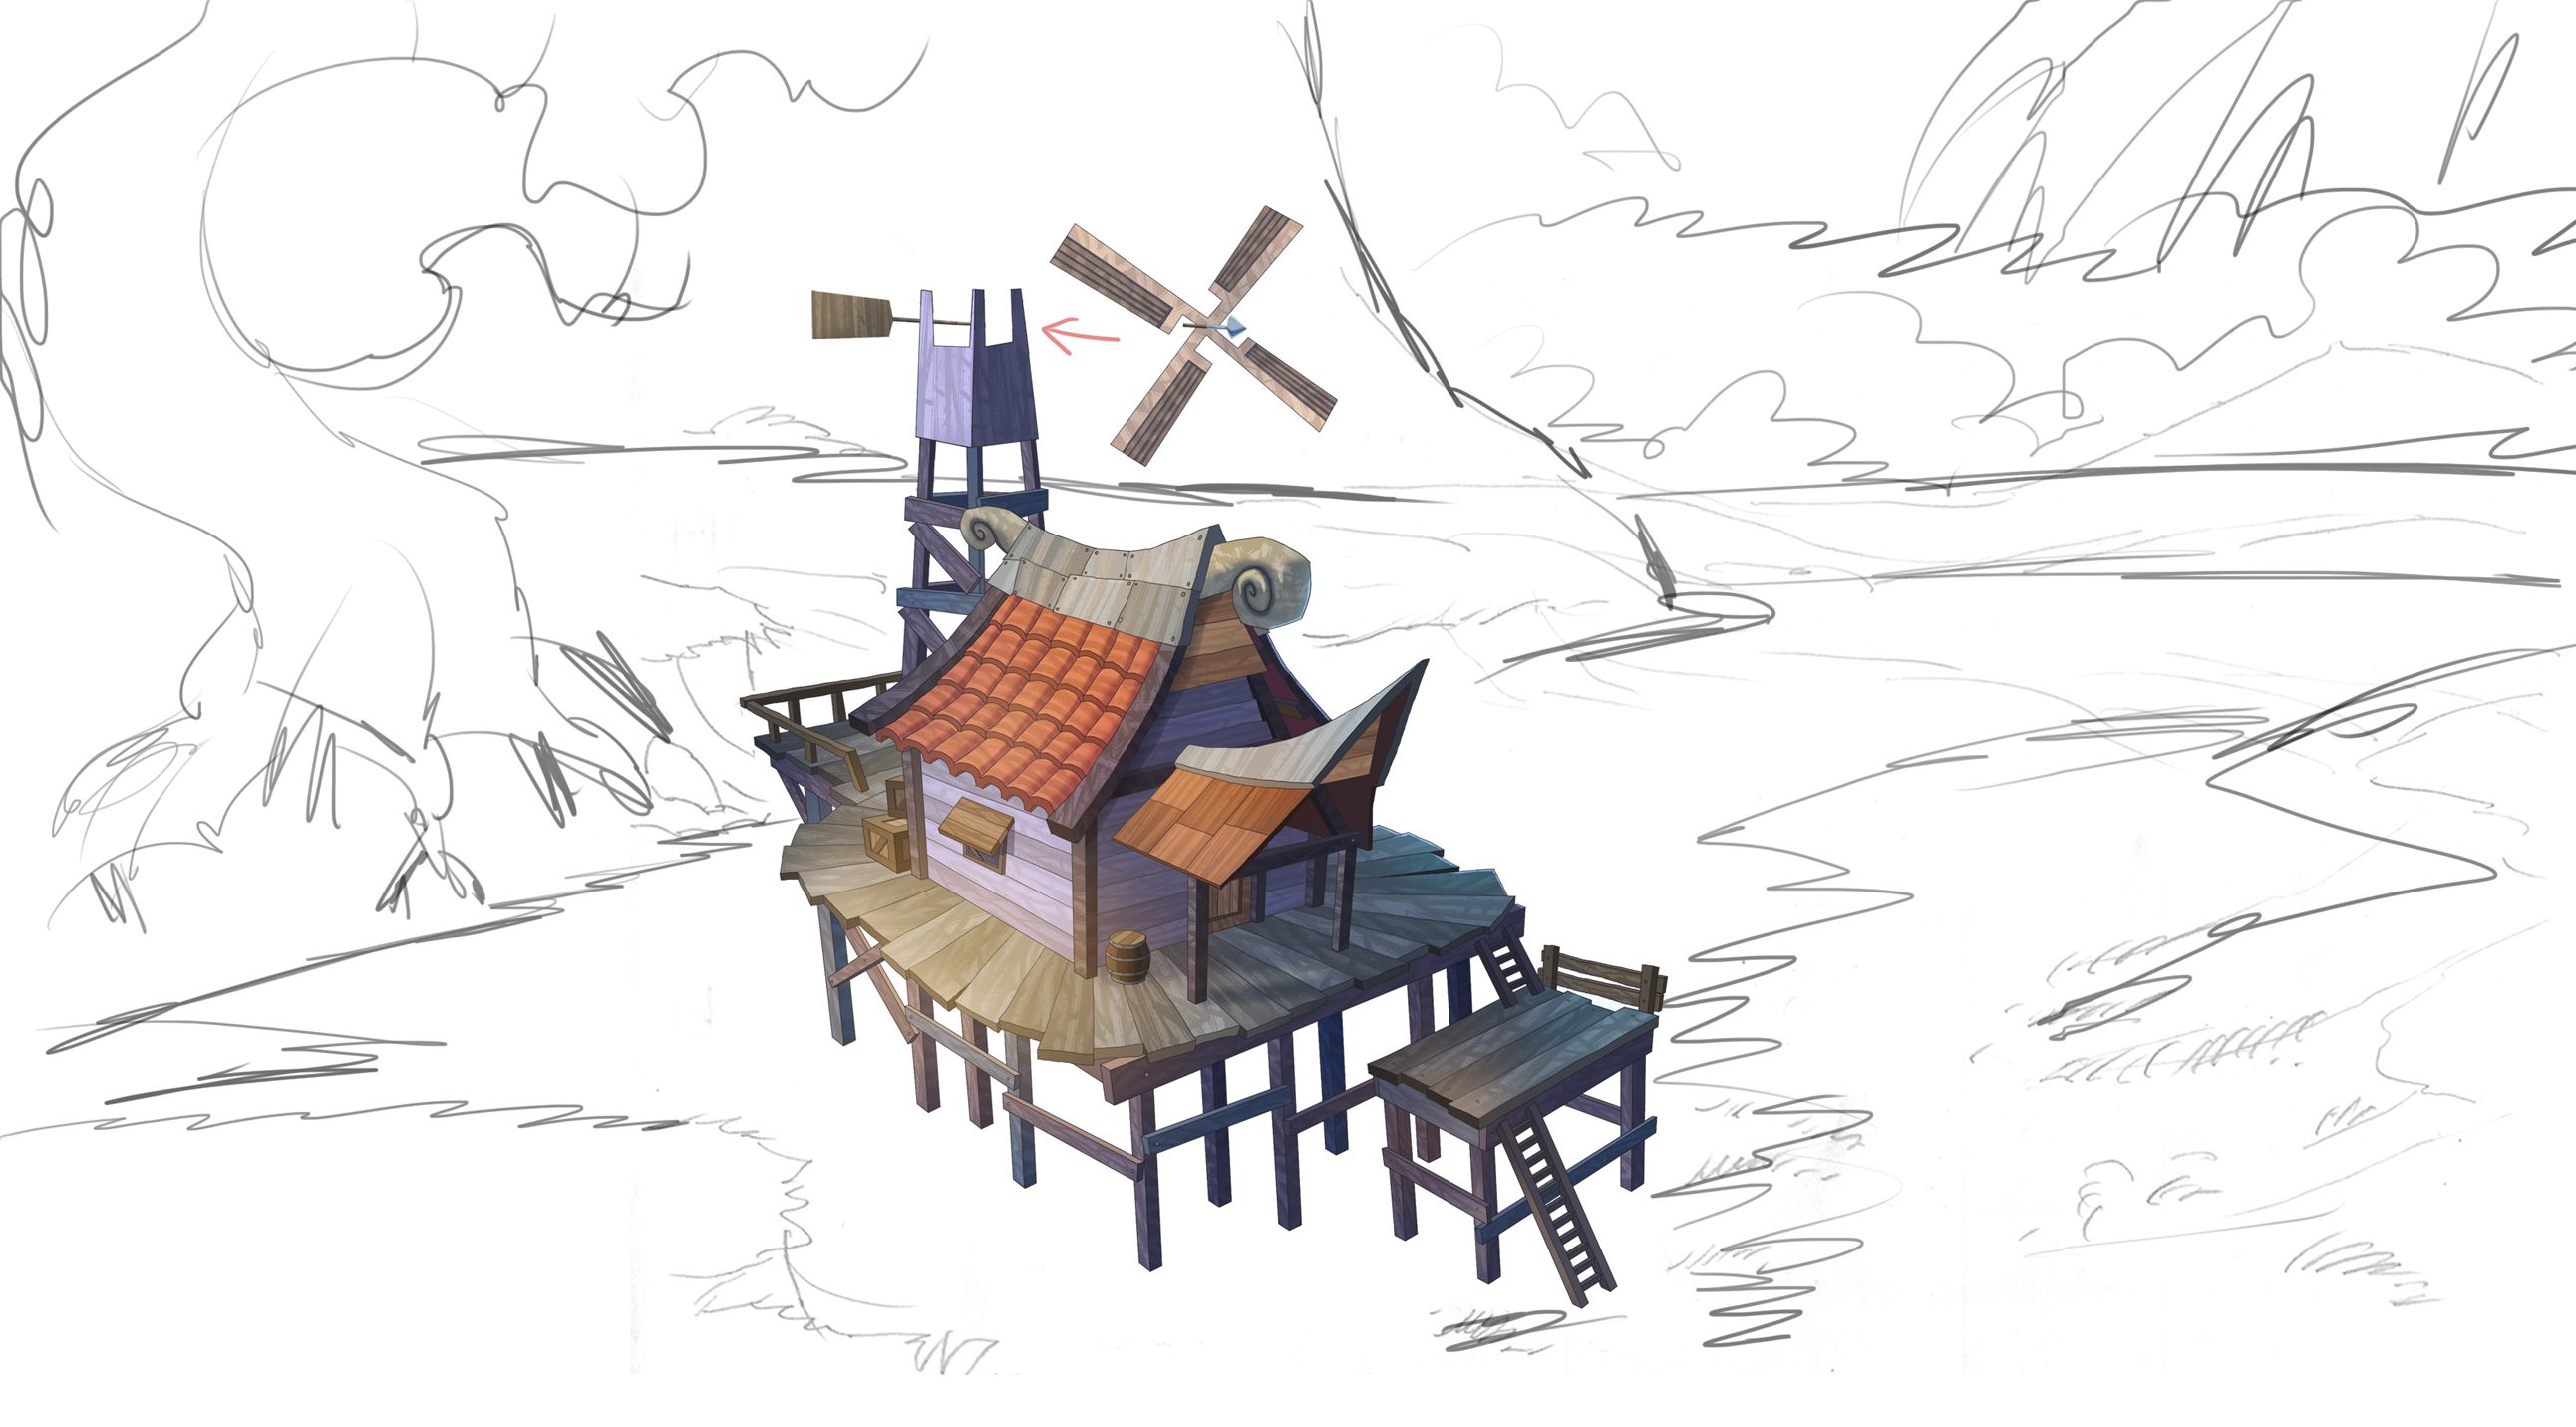
After competion of the house I now move to the entire surrounding and I start with a rough sketch first. If I follow the story of the animation, this is supposed to be a dried up river.
I start with the colouring process of distant object first with bright colours to show the places that is exposed to the sun.
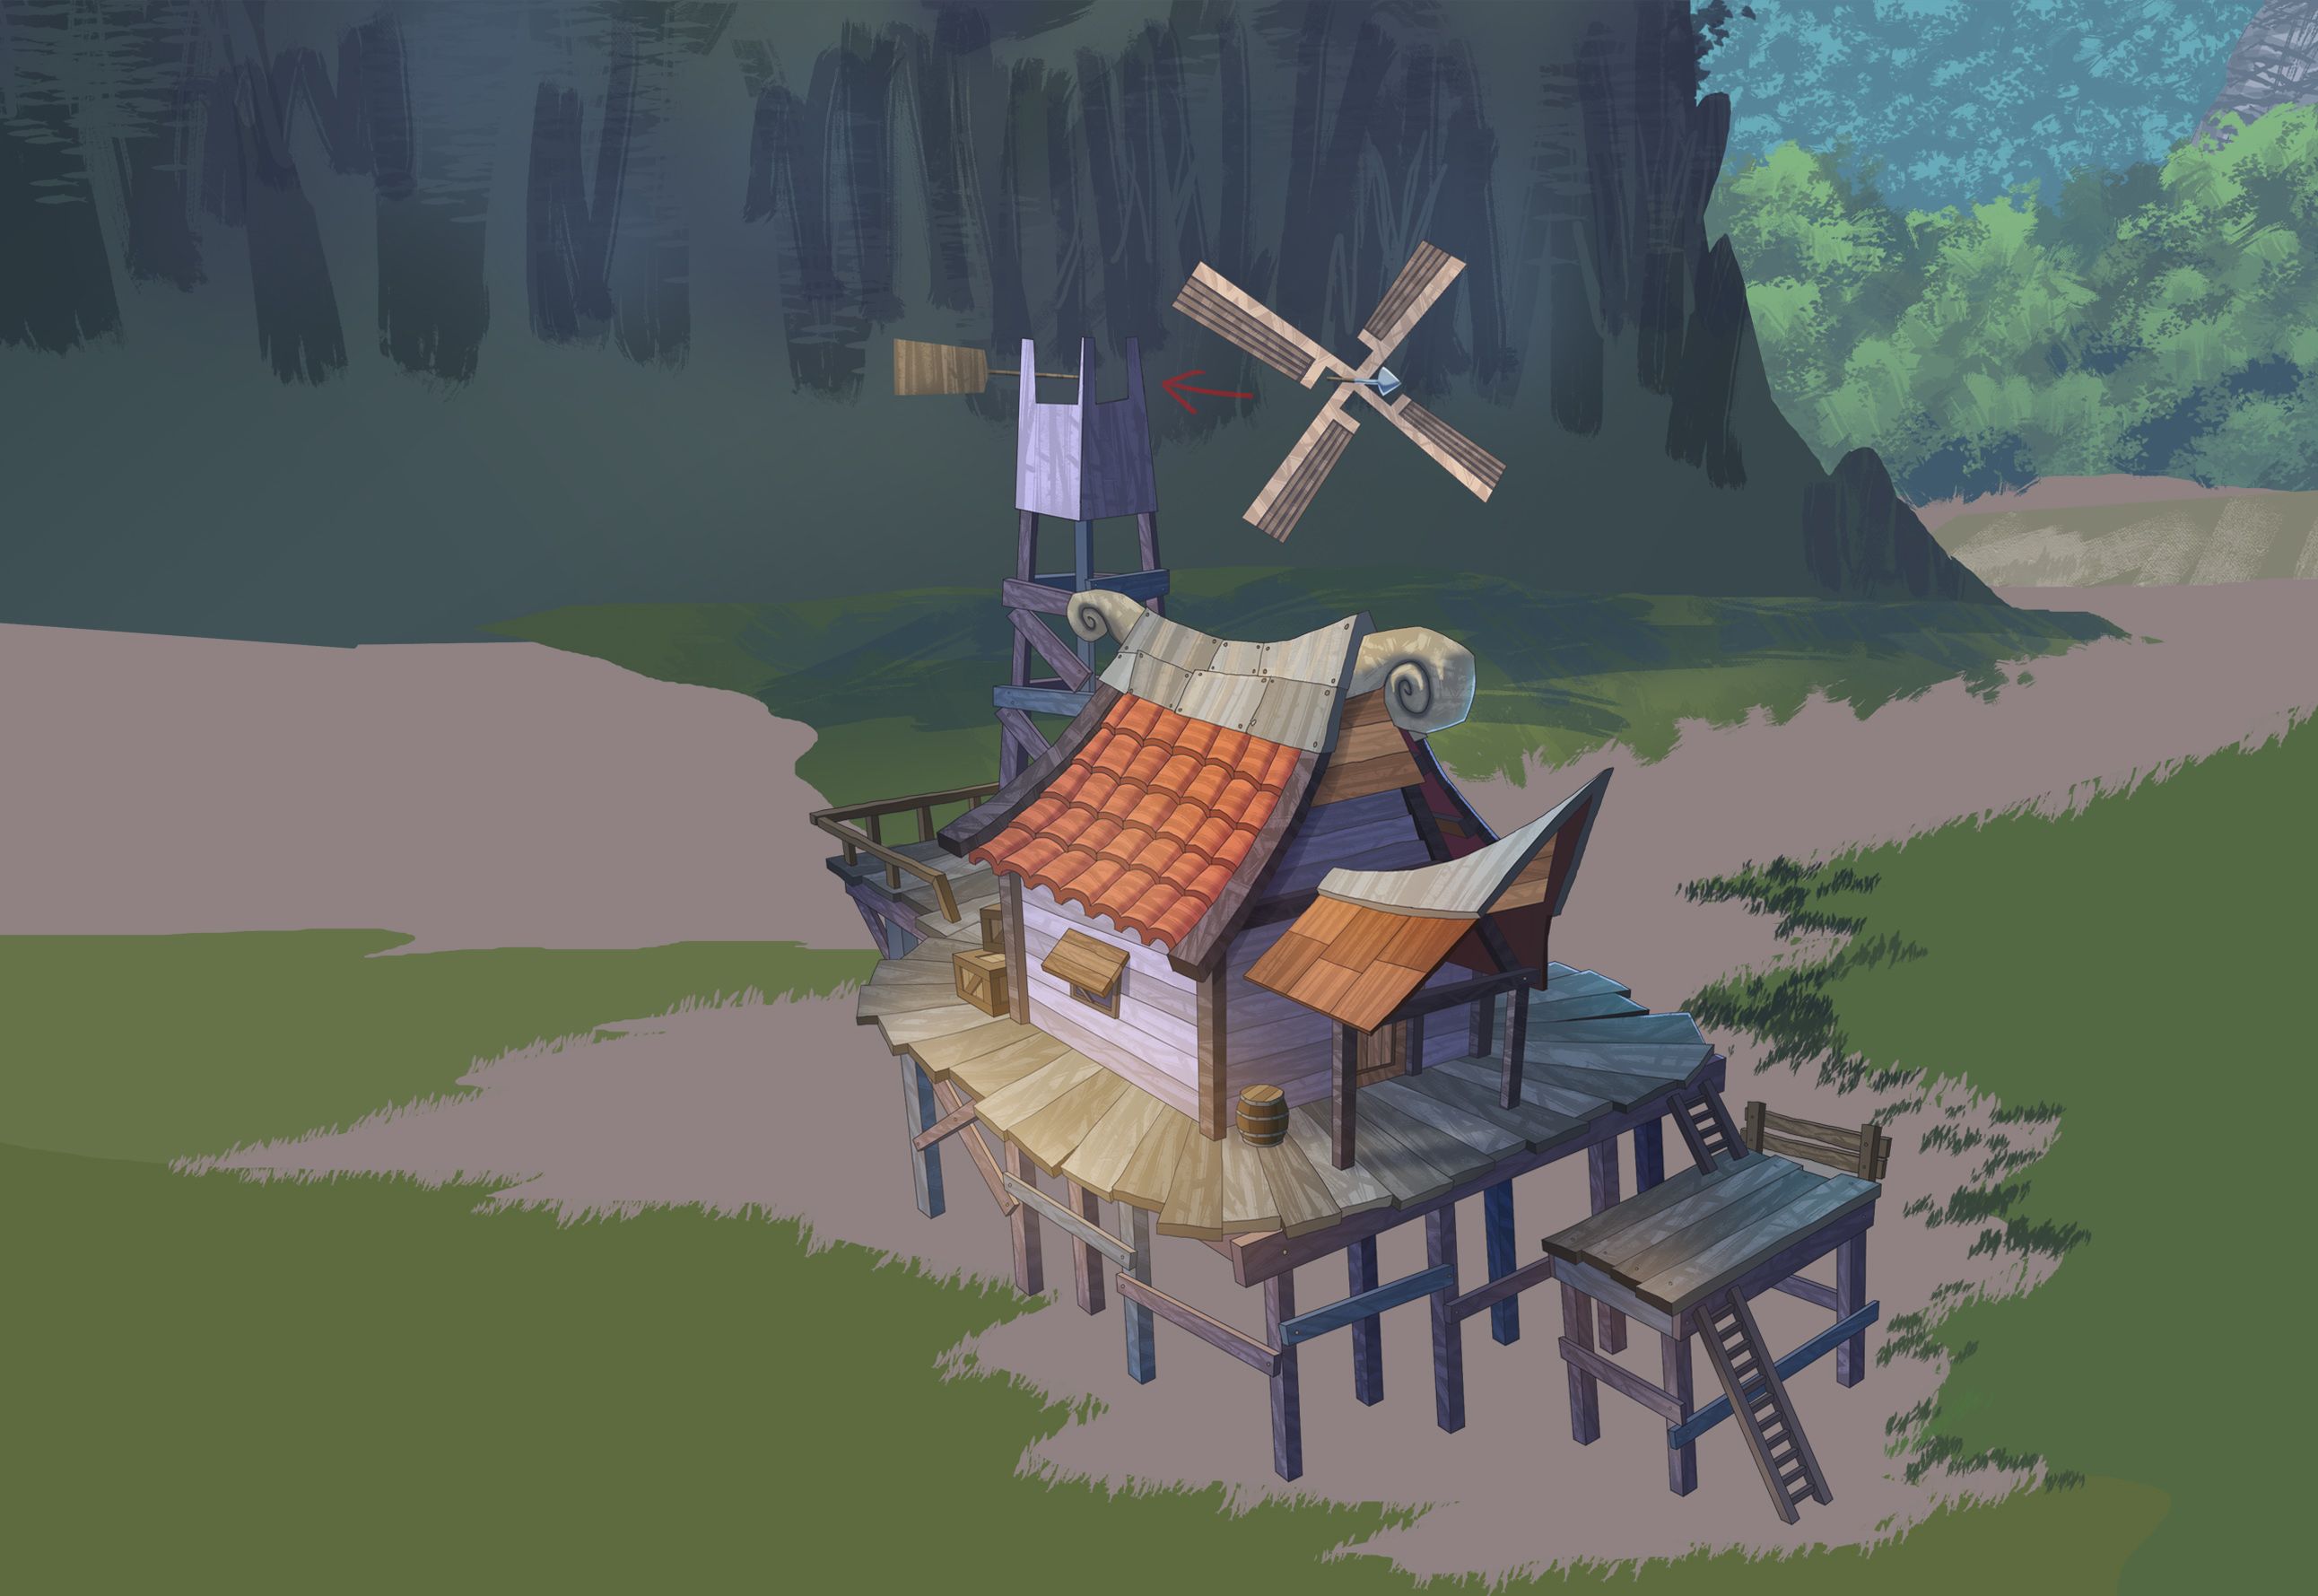
In the part of the hill the middle ground I would slightly darken to increase the focus on the main object which is the house.
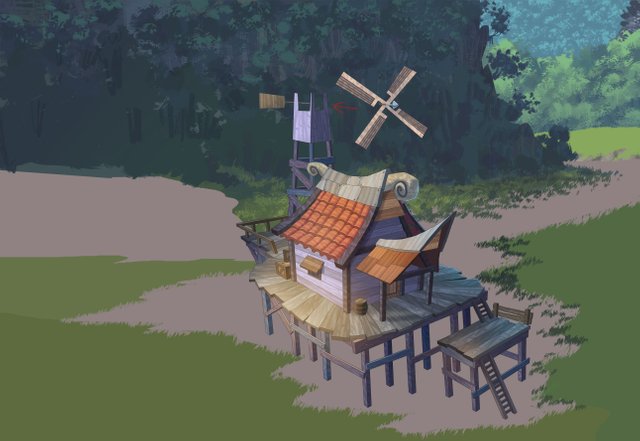
After getting the right colours for the hill, I will detail more on the surrounding trees.
I now add more subjects such as the big trees to give a more accurate size of the house. To distance the trees from the big tree I add a source of light behind the tree.
I now move to the grass and the field around this area. I create the grass using a rough brush.
To get the right colours I use the texture brush which is more detailed on the part of the grass that has been completed. Now we move on to the dried up river to incorporate the right texture.
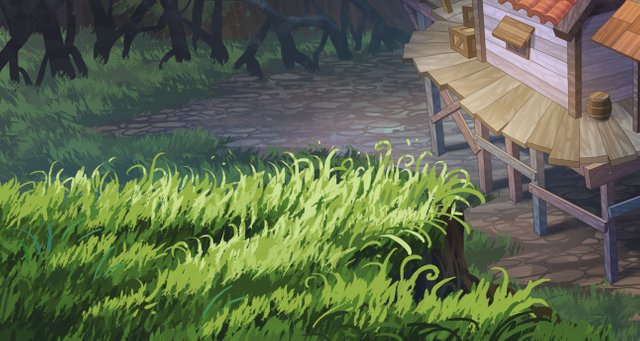
To increase the depth of field on the surrounding of the house I add small hills. The colour contrast of the hills I will increase so that the hills appear to be closer to the camera.
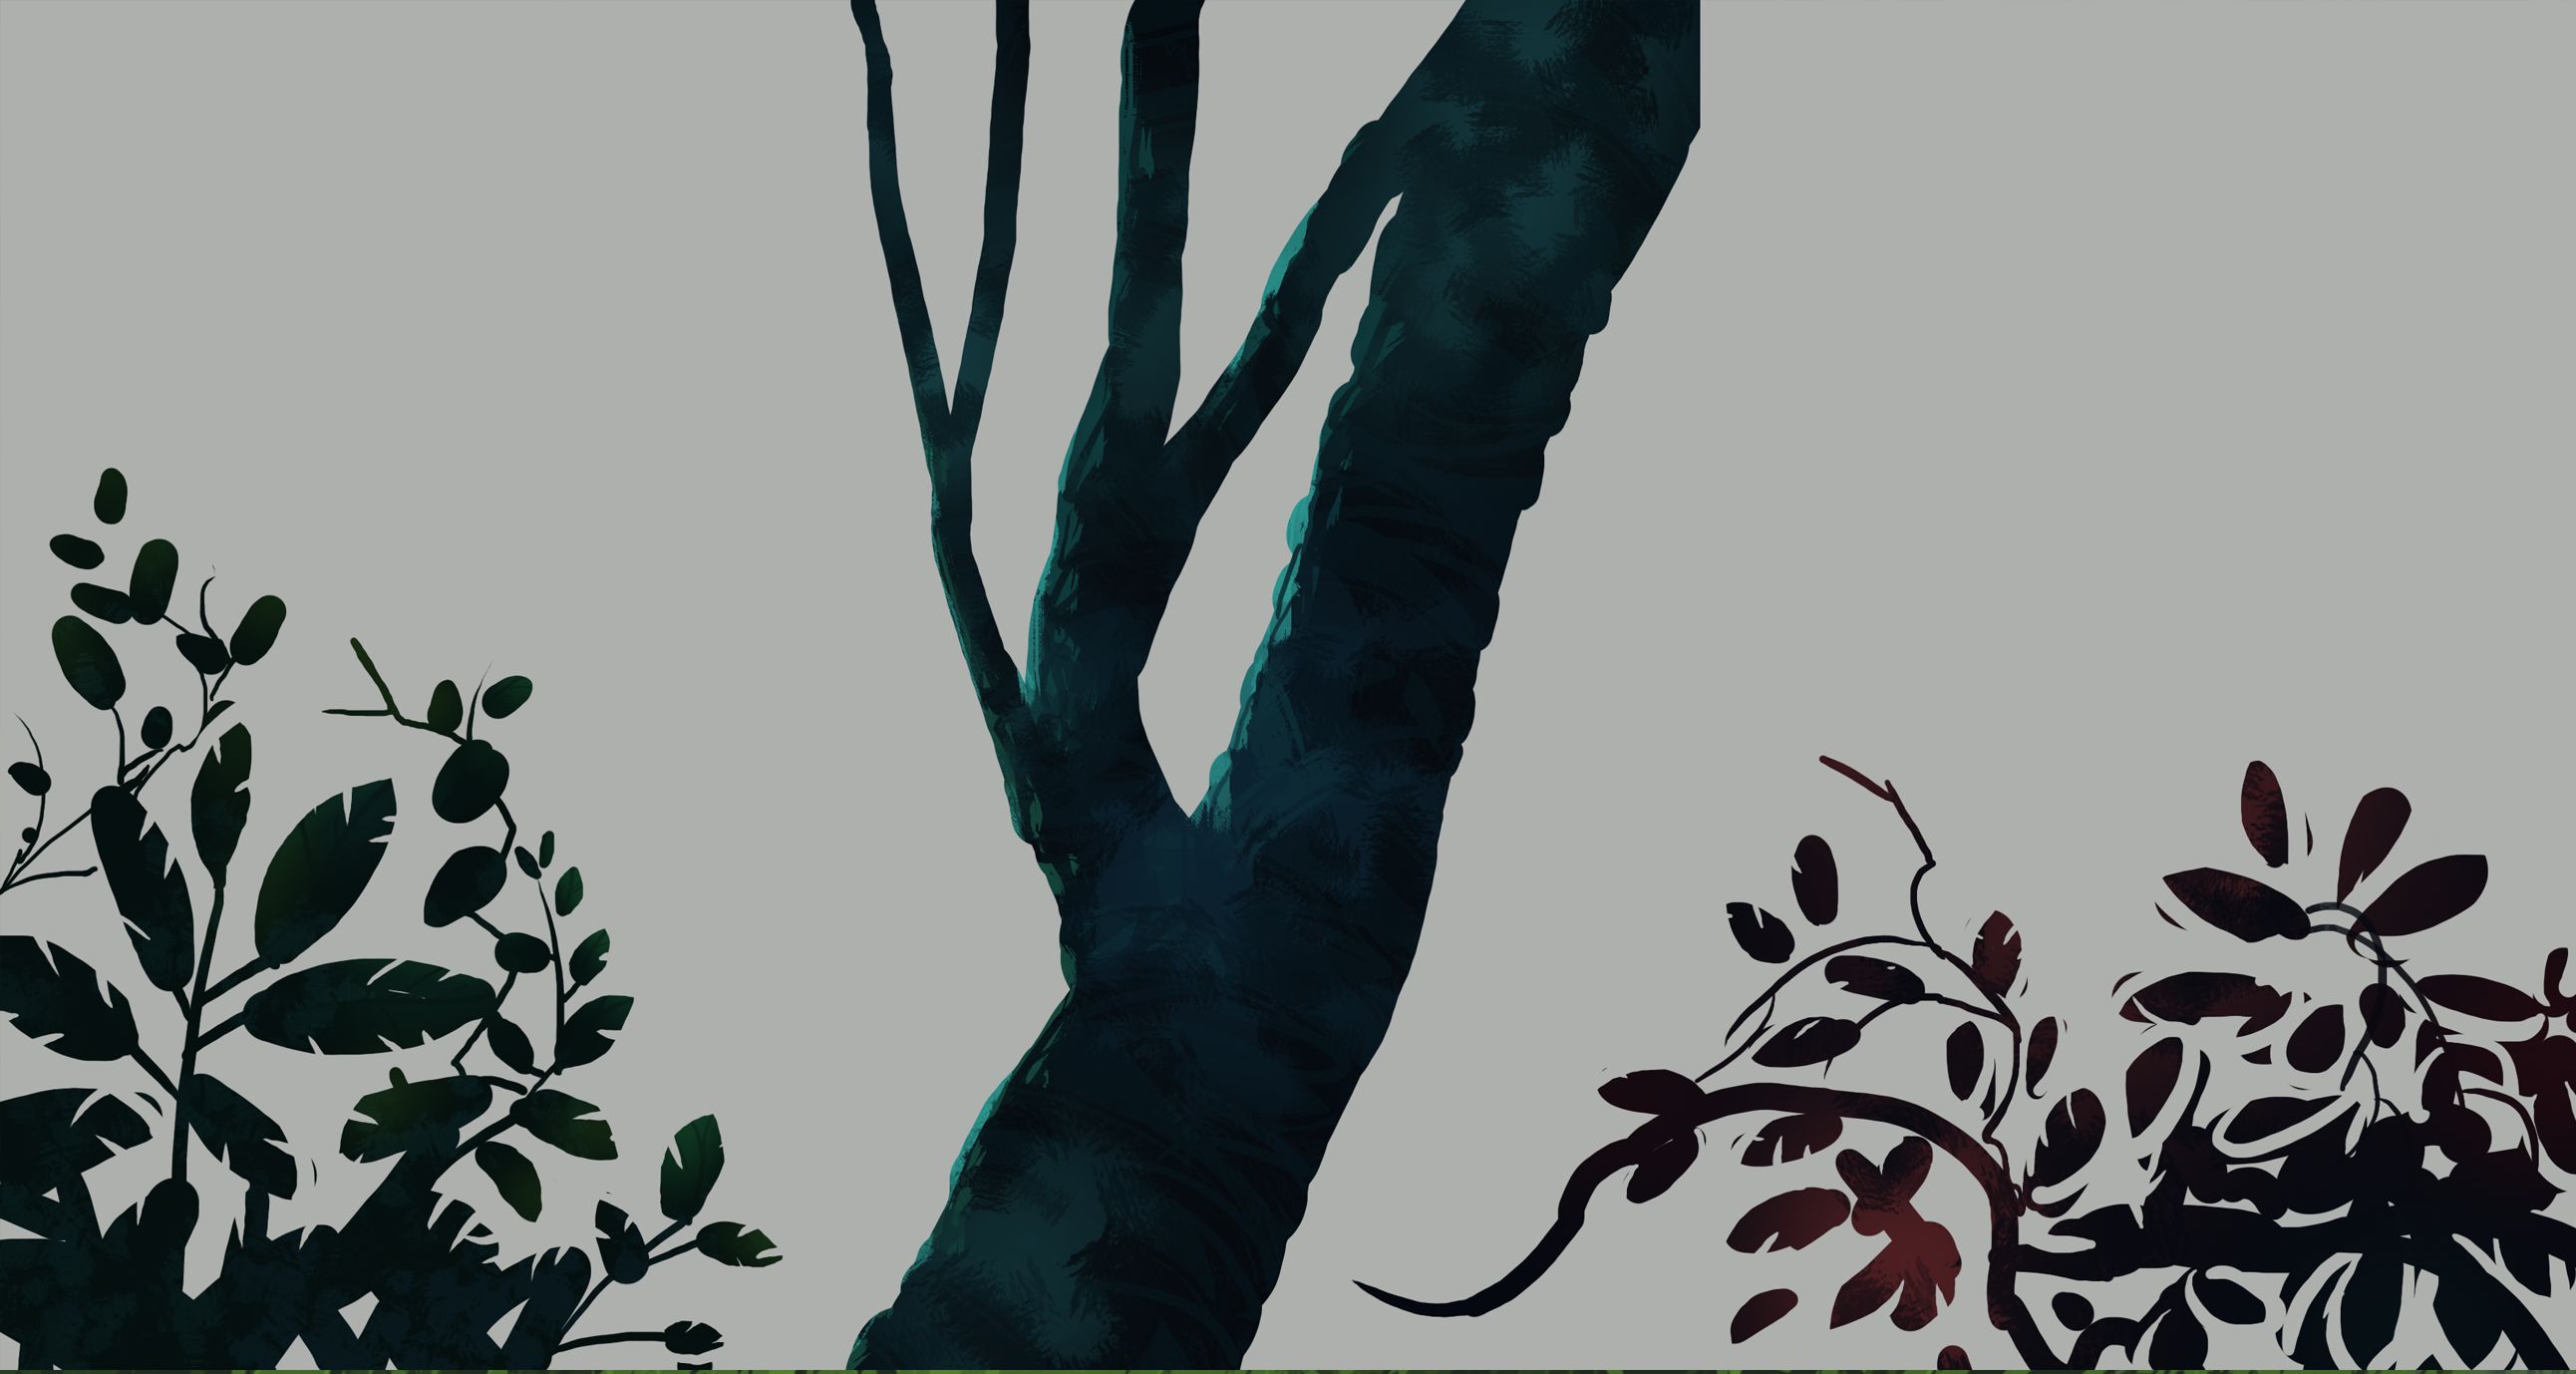
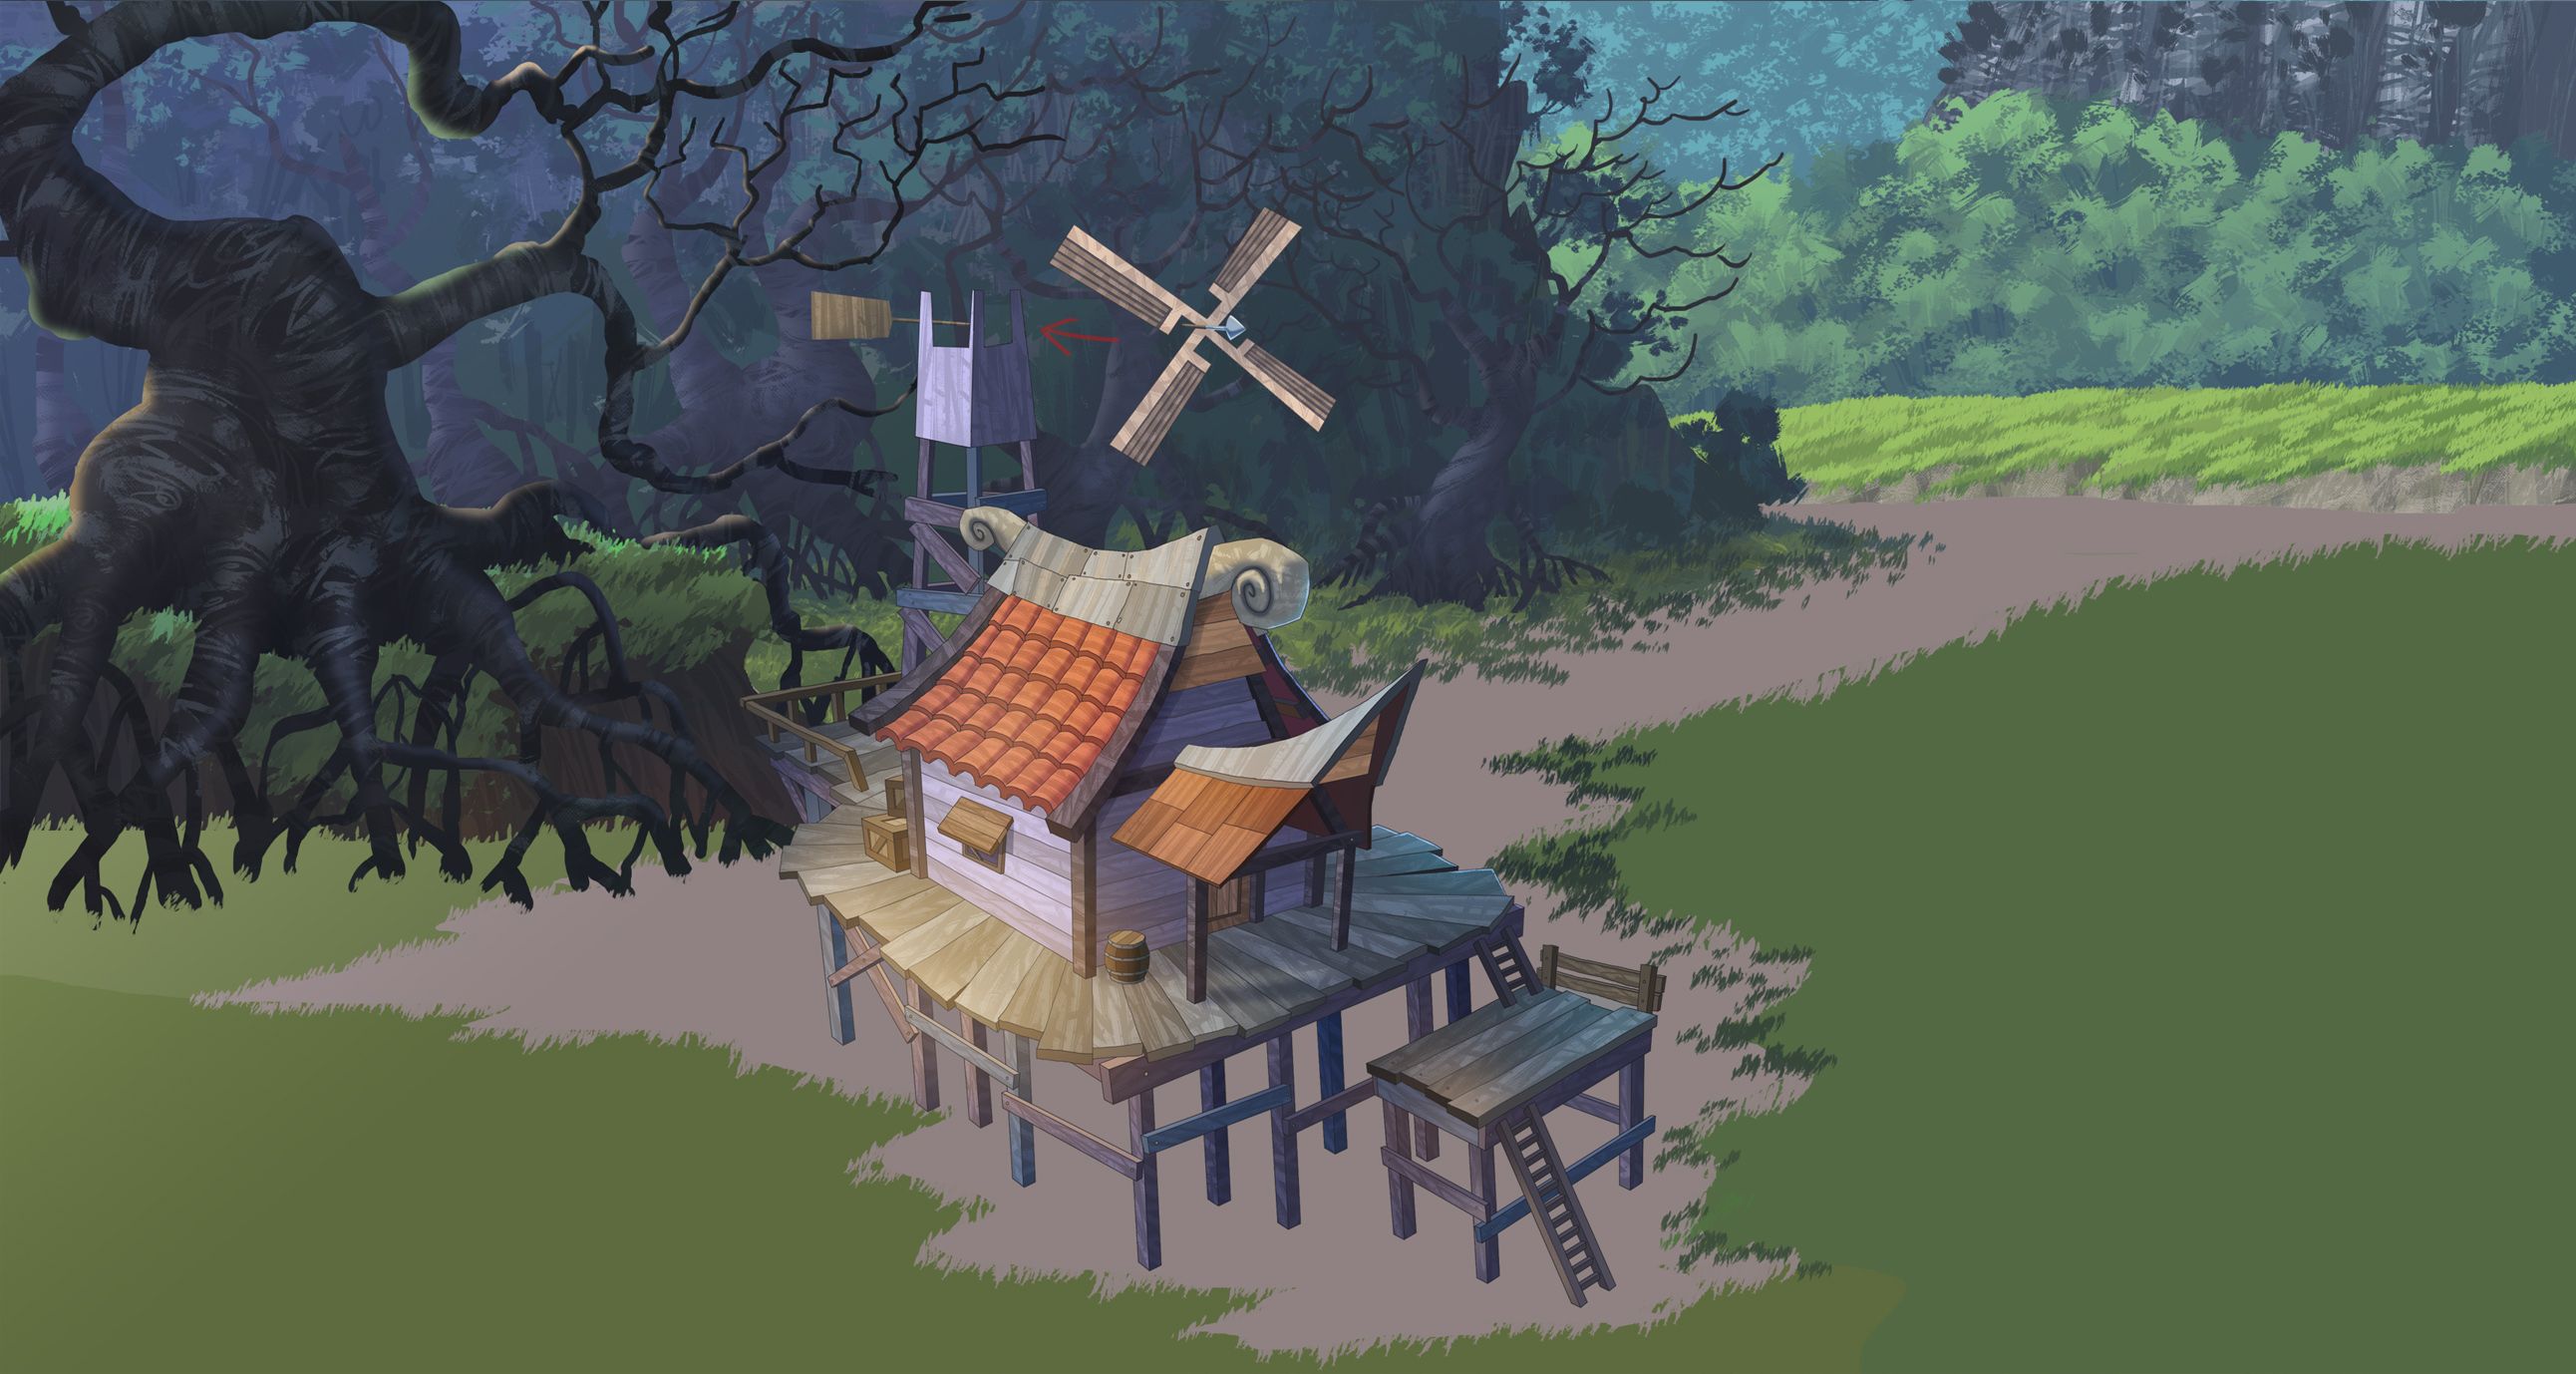
Now we add one addition to the foreground by including trees and leaves that are dark and shielded by the sun to give the house more focus.
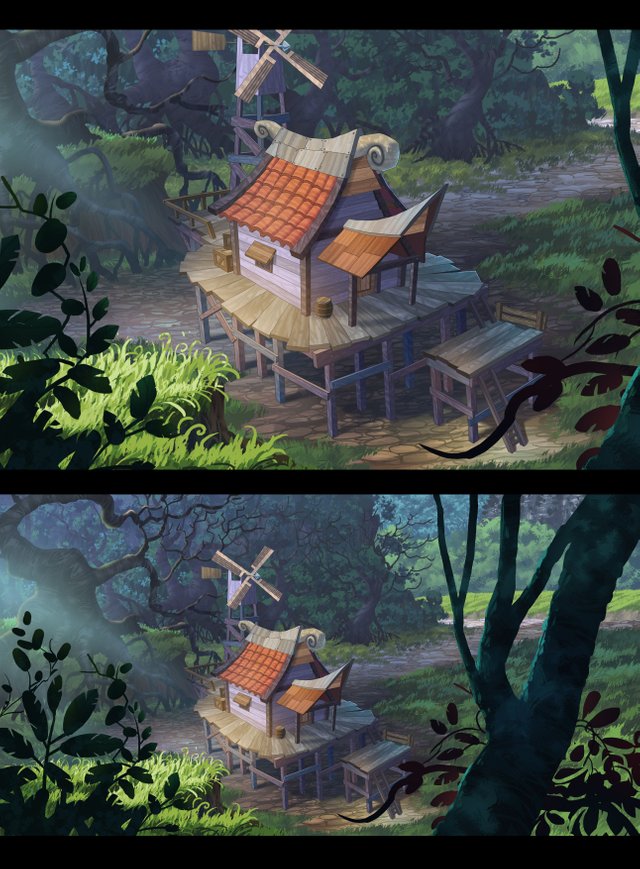
After completing the painting, I include a ray of light on the house to make it appear more appealling.
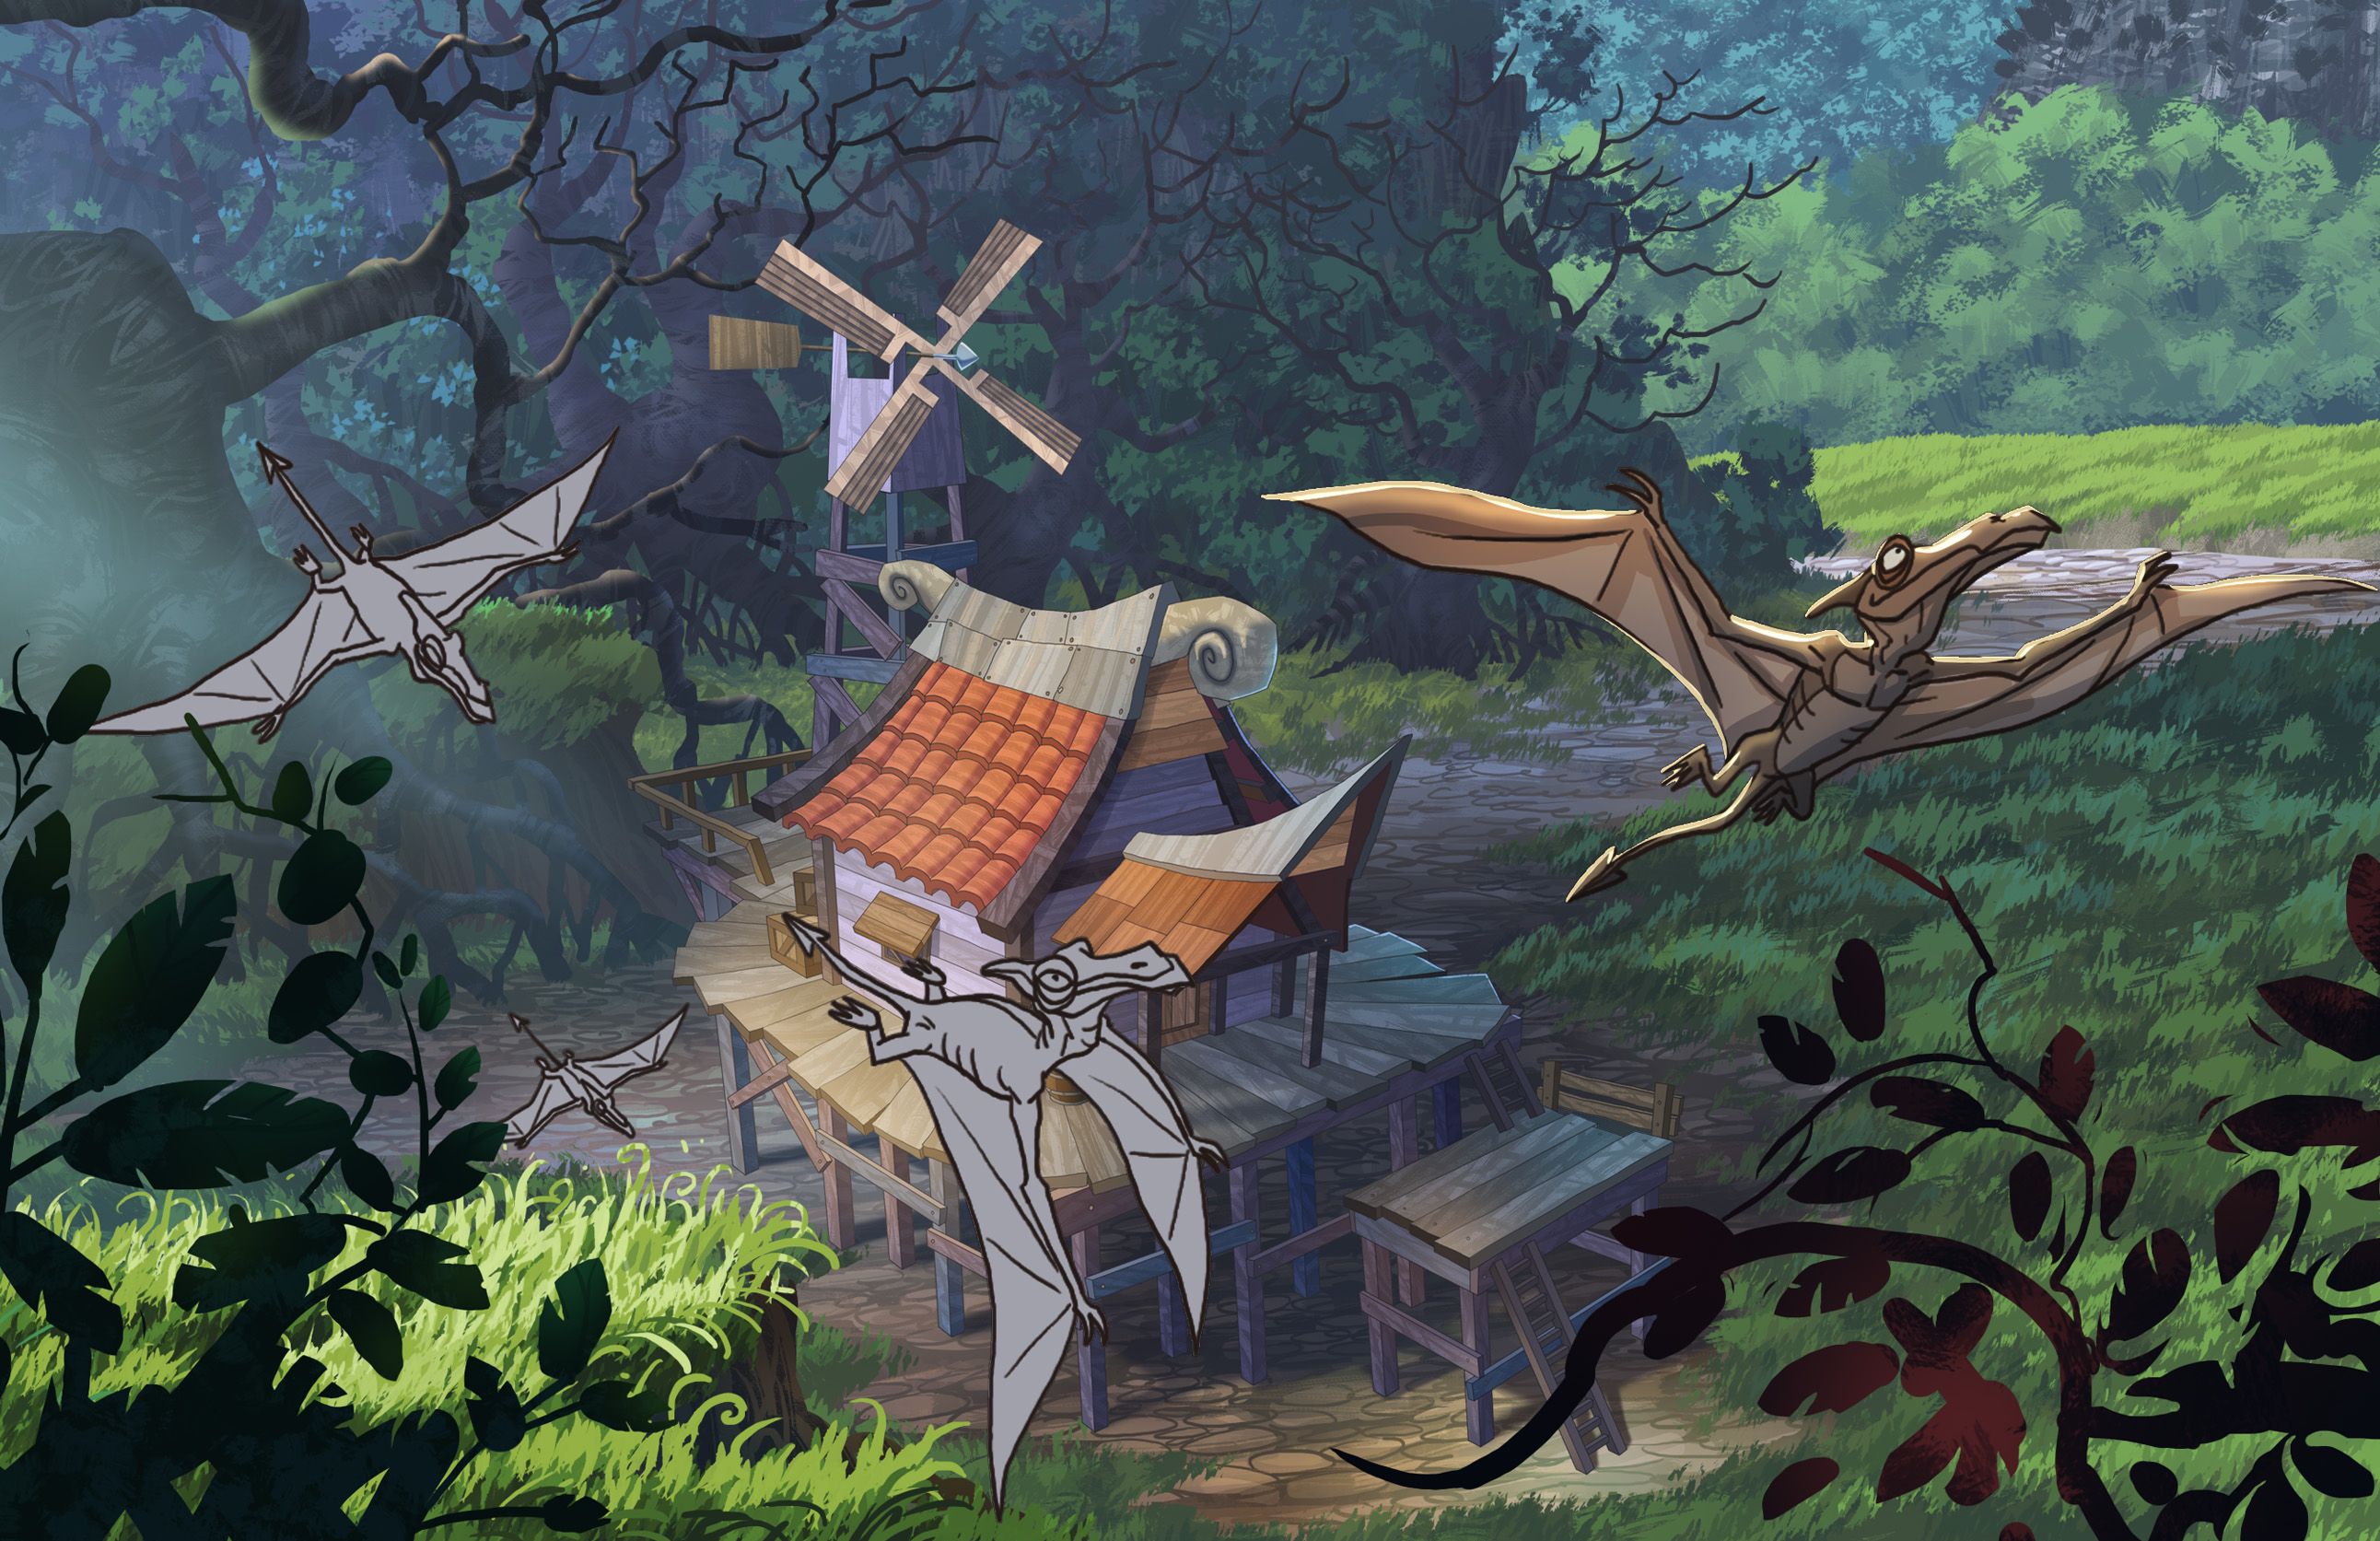
After the completion of the entire painting, I will include a prehistoric bird that is in the storyboard to give a guide to the animator and the cleanup artist on the shadowing and lighting.

![]()
credit to @zomagic

awesome post man! Very interesting, I follow you!
Thank you 🙏
Hey @aurah, great post! I've developed a better appreciation for art and it's nice to see good content here on Steemit! Cheers
Thank you @exxodus glad to hear that and thanks again for Reading My Blog Cheers bro :)
You are the man. Both, the explanation and the artwork are very clean and clear. Very nice post.
Thank you @javicuesta .I hope you found something useful from this post. :)
I like a lot the way you combine a more painterly aproach for the environment, with the completely detailed fine line drawing and careful coloring of the house. It´s very inspiring.
aummmm...
aummmm...
Bro where is this place?
hahaha I have no idea bro where is this place.
Congrats, awesome picture!
This was so clear and instructive! Useful even if you're not doing an animation piece. Thanks!