How I installed /e/ on my Samsung Galaxy S7
/e/ is an OS based on Android, designed to let you use your favorite Apps without the need of Google Services. It focuses on privacy and free software.
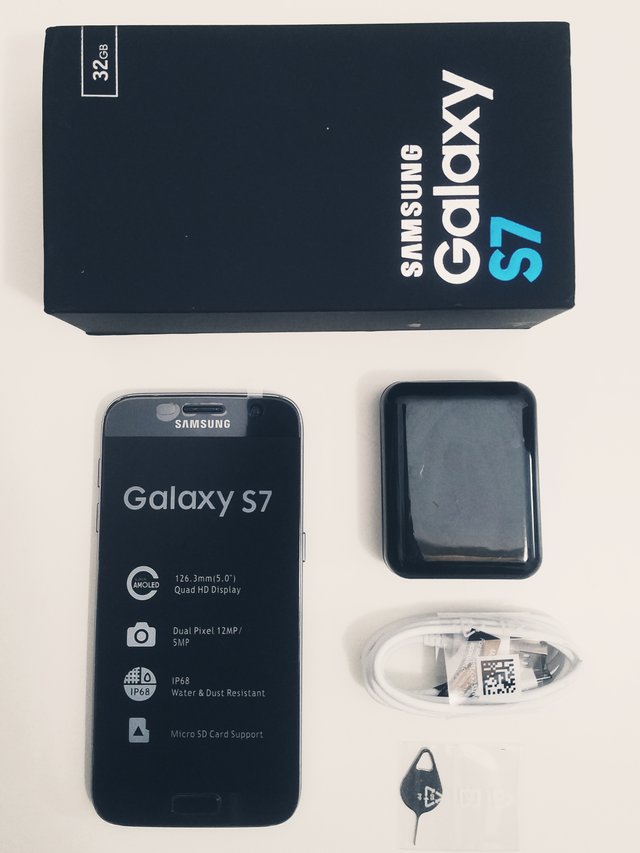
This article is here to show you the procedure I followed to install this OS on my smartphone, a Samsung Galaxy S7 (Model SM-G930F).
First of all, I've been here to verify if /e/ was available for my phone.
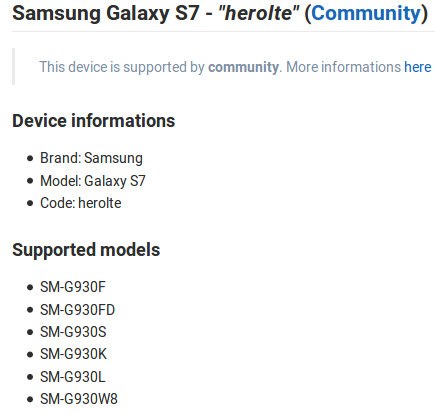
The SM-G930F is there.
I. THE PREPARATIONS
I'm starting by downloading the last ROM adapted to my Galaxy S7. It is a pretty big file so I better do it from the beginning. In the end, I do not forget to verify the integrity of the file by checking his MD5 sum.
I'm going through this installation with a computer operating Ubuntu. You can find a Windows tutorial here.
Before entering the heart of the matter, I must insure that adb and fastboot are installed on my computer. These programs facilitate the communication between the smartphone and the PC.
To configure my Linux PC, I have to:
- Download the necessary offered by Google.
- Extract the archive.
- Add to the file ~/.bash_profile:
if [ -d "Extraction_path_of_the_archive" ] ; then


export PATH="Extraction_path_of_the_archive:$PATH"


fi- Restart session
Once done, I enable the developer settings on the S7 (by touching multiple times the build number in the "About Device" menu) and I authorize the USB debugging. Then I plug the device to the computer using an USB cable and I type in a terminal:
adb devicesA window appears on the phone asking about USB debugging, I select "Always authorize USB debugging from this computer" and validate. ADB is now ready.
To check fastboot, I turn off the smartphone et turn it on in Fastboot mode. Since the S7 is using a different mode called Download, I'm doing this verification with a Wiko Cink Peax 2. After typing in a terminal:
fastboot devicesMy smartphone is listed, fastboot is ready.
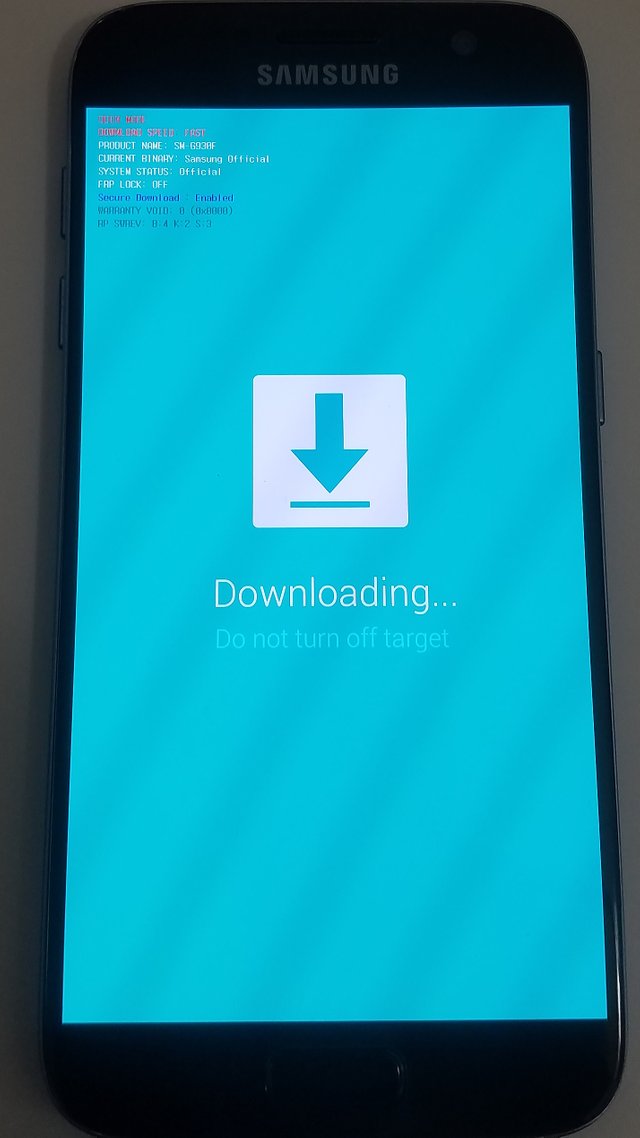
II. BECAUSE SAMSUNG DOESN'T DO LIKE EVERYONE ELSE.
As I said, the S7 is using an unique boot mode called Download. To use this mode and install a new system, I'm going to use the software heimdall.
I install the package heimdall-flash.
The command line:
heimdall versionallows me to check that it is properly installed.
After having booted my S7 in Download Mode (press and hold Home + Volume Down + Power buttons), I connect it to the computer via USB.
I then type:
heimdall print-pitThe phone reboot, which means that heimdall is ready.
III. LET'S START THE SERIOUS BUSINESS
I am now about to use heimdall to install a custom recovery on my smartphone. The objective is to modify the S7's recovery mode in order to reset it with a system different form the factory one, /e/ here.
- I download the last version of the TWRP custom recovery for my smartphone (here again I check the MD5 sum).
- I turn off and unplug the smartphone, then I turn it on in Download Mode.
- I re-plug the phone.
- Via the terminal, I move where my custom recovery is located and I type:
heimdall flash --RECOVERY twrp-x.x.x-x-herolte.img --no-rebootBy replacing the x's so that they match the recovery file I have.
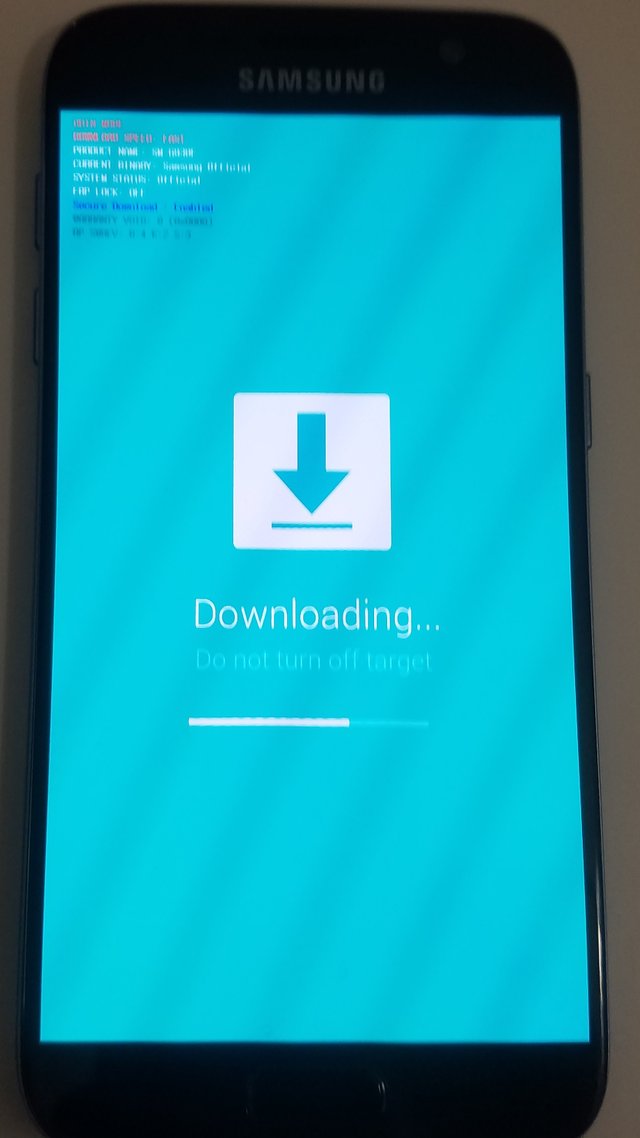
A loading bar appears.
- Once the command is finished (in my case the loading bar never went to the end, see this subject on XDA) I unplug the USB cable, I hold Volume Down and Power, then at the exact moment when the screen turns black, I boot in Recovery Mode (same way as for Download but with Volume UP instead of Volume Down).
- I arrive on the custom recovery interface:
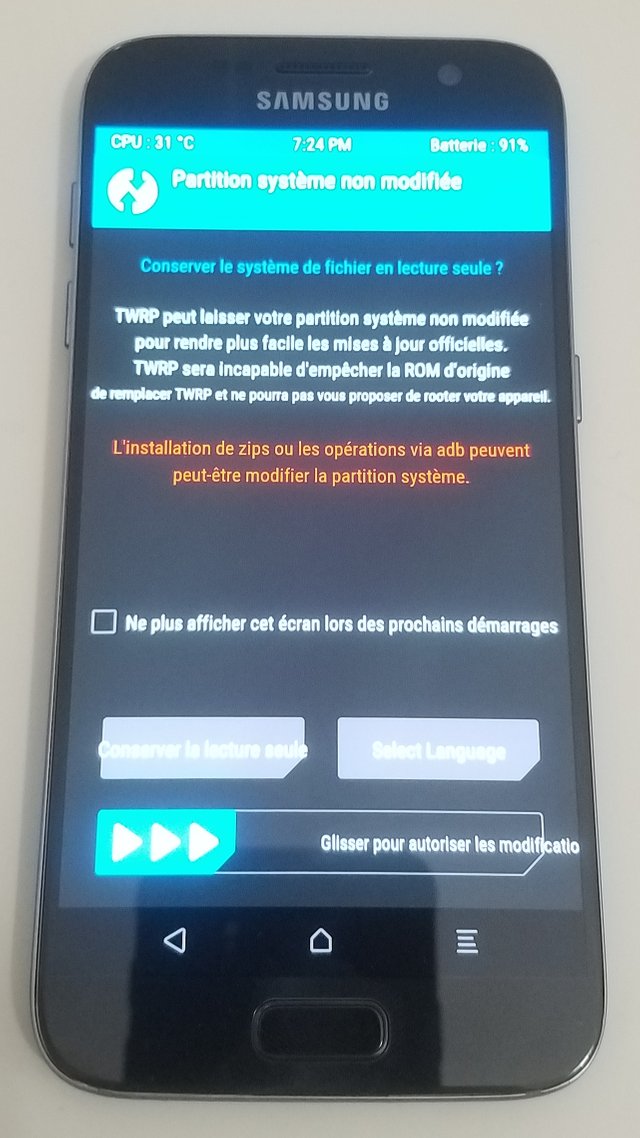
I choose the language.
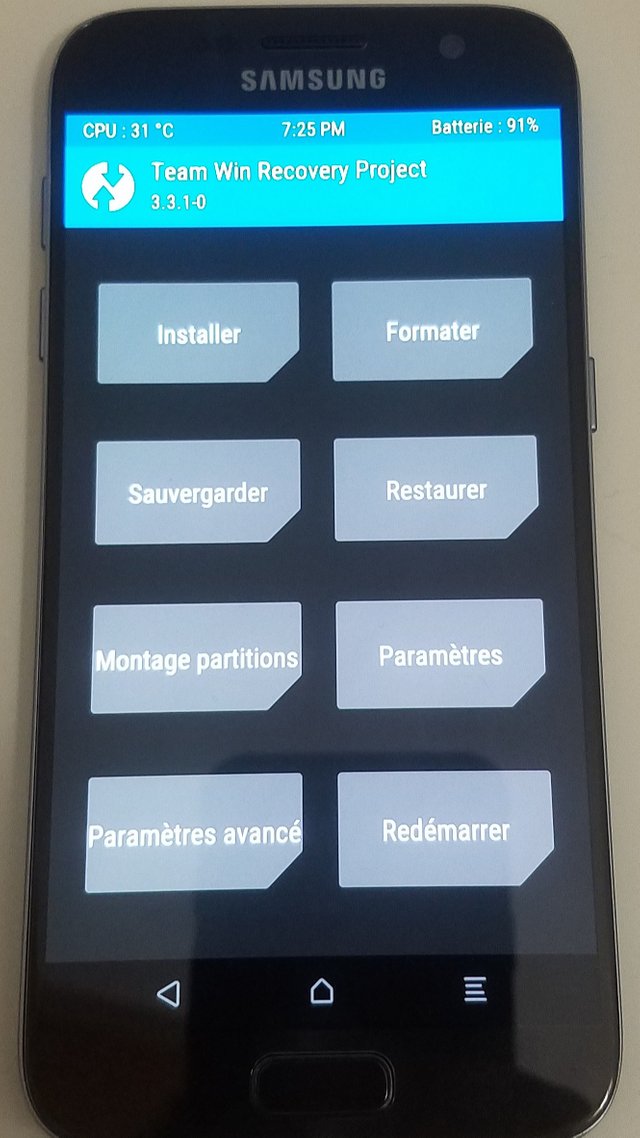
The main menu.

I take this opportunity to make a full backup.
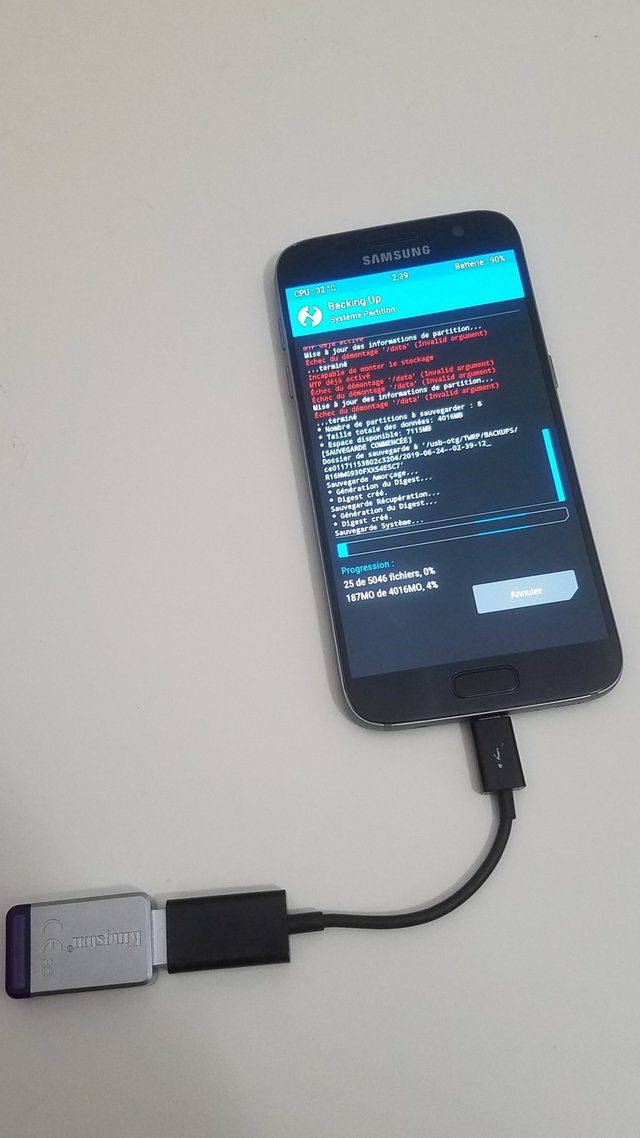
Backup in progress on a USB key...
IV. TO BRICK OR NOT TO BRICK, THAT IS THE QUESTION
It is finally time to install /e/.
- In the custom recovery, I tap "Wipe" then "Format Data" and continue. This as the effect of deleting all the phone's data (photos, applications etc).
- Here I had to reboot TWRP in order to solve a mounting error on /data. Do not forget to start in Recovery Mode.
- Still in "Wipe" menu, I tap "Advanced Wipe" then I select "System" and "Cache" and Swipe to Wipe. THIS AS THE EFFECT OF DELETING ANDROID ON YOUR SMARTPHONE.
- I re-plug the USB cable from the PC to the S7.
- In the "Advanced" menu, I select "ADB Sideload" and Swipe to begin Sideload.
- Finally I type, in the folder where the /e/ archive downloaded at the beginning is located:
adb sideload filename.zipBy replacing filename.zip with the name of the archive.
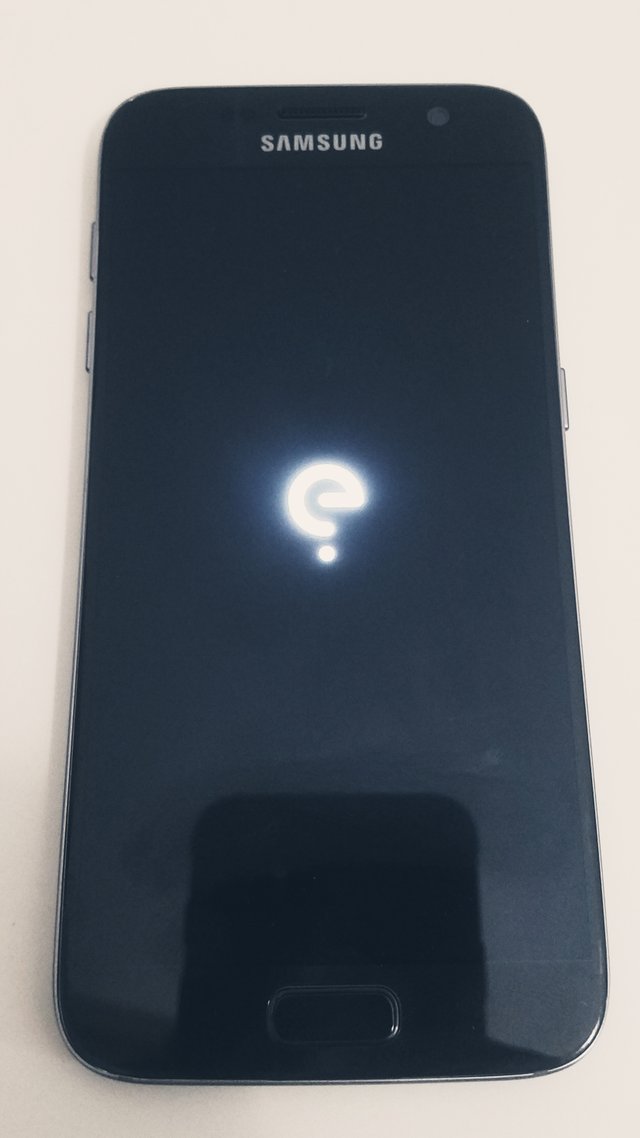
- When finished (I had to type it twice), I return to the main menu, tap "Reboot" and then "System".
V. FREEEDOOOOOOOOOOOOMMMMMMMM!!!
The installation is a success, I won't have to use my phone to wedge a door. This took me 5 hours including the writing of this article, this is the first time I've flashed a smartphone. All that remains is to configure everything.
SHAKE GOOGLE!