🎨 Accessory in MDF for Laser Cut, Mechanical Model: SteamPunk Owl 🎨
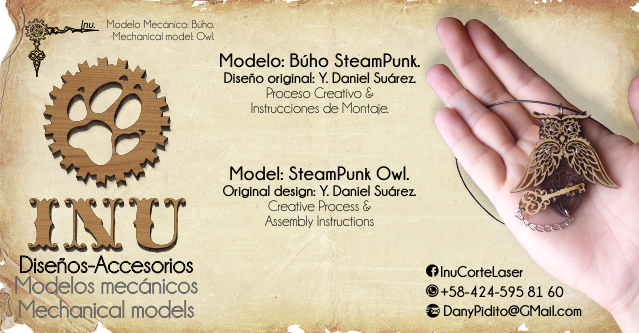
Photography: Y. Daniel Suárez. Camera: Panasonic, Model: DMC-FX01. Resolution 72ppp 24bits. Original dimension: 2112x2816 without Flash. 05/03/2018
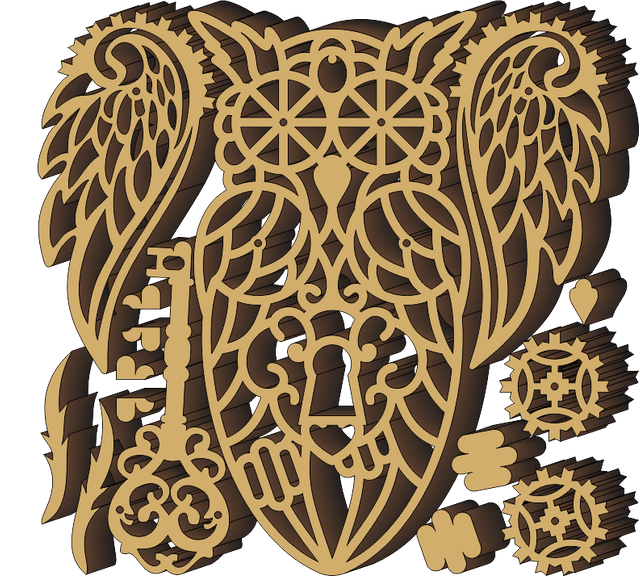
 Model: SteamPunk Owl.
Original design: Y. Daniel Suárez.
Creative Process & Assembly Instructions.

Creative Process:
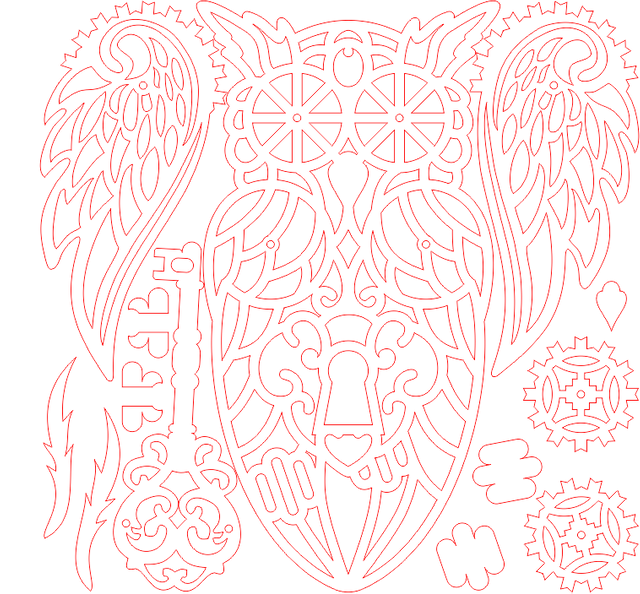
SteamPunk Owl, Superior Structure.

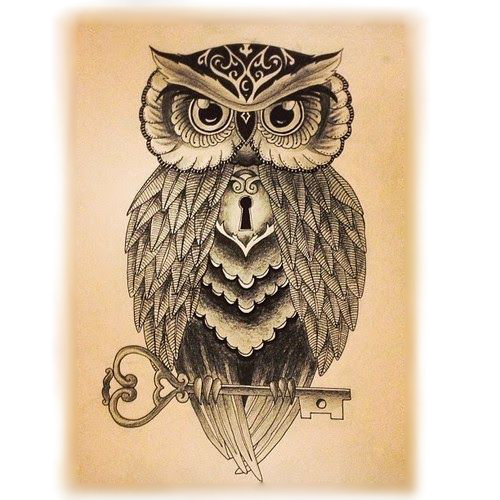
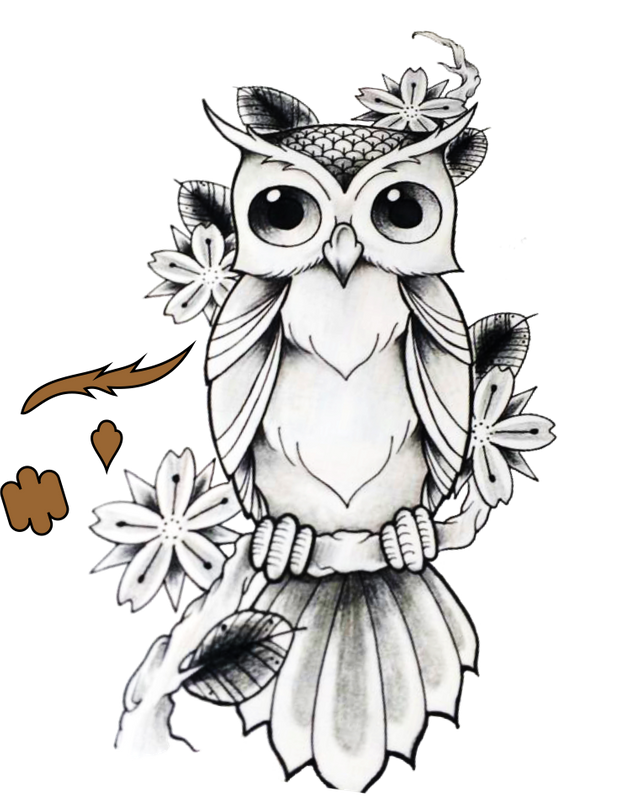
Like everything in life, every activity starts with an idea, it originates from a colleague, Yan Carlos Quiñones, which, motivated to the realization of an original and unique gift, shows a referential image of the idea that it possessed (Refrential Image # 1), in which I wanted to generate movement through a sequence of gears (previous idea to previous works done by my person in MDF), this leads to a consequent investigation of the form that was wished to represent and of what elements and proportions this elaboration would have.
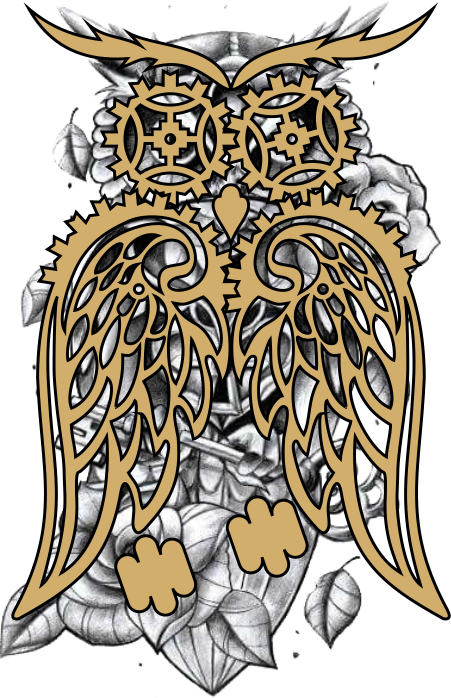
Considering elements of the shape desired for the Owl, the structure of Referential Image # 2 is taken into account, where it is taken in resemblance of the basic form, to then include the desired graphic elements, in this case the gears that previously they had been designed; using for this a gear of 12 teeth for the structure of the eyes and one of 19 teeth to then be added to a winged structure hollowed (Referential image # 3).
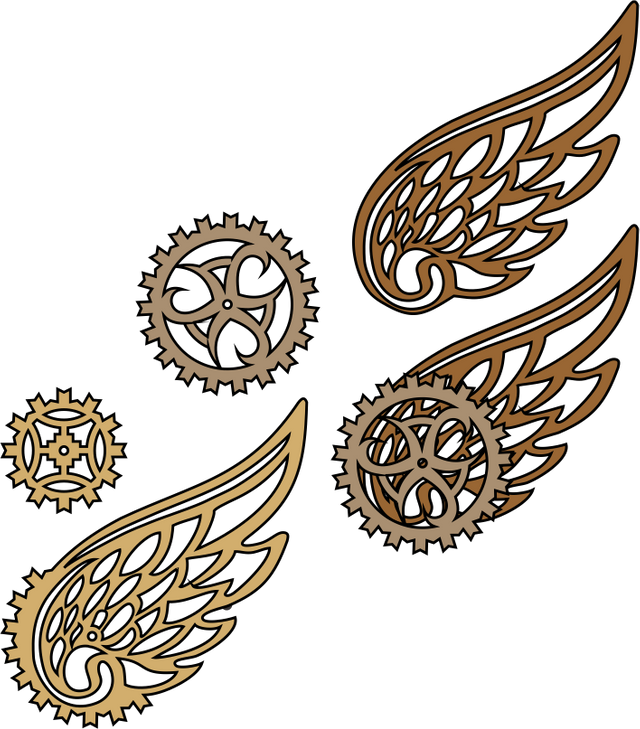 Referential image #3
Author: Y. Daniel Suárez.
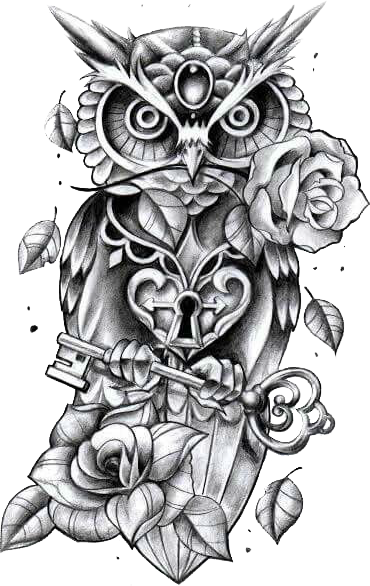
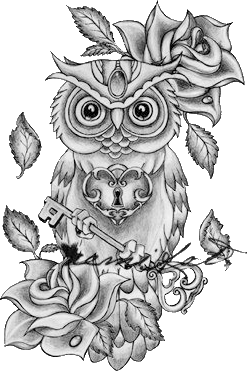
Other visual elements were taken from Referential Image # 4, this served as a reference for the basic shape of the eyebrows, beak and claws.
Referential Image #4
Link: https://www.pinterest.com/pin/421790321340300297/
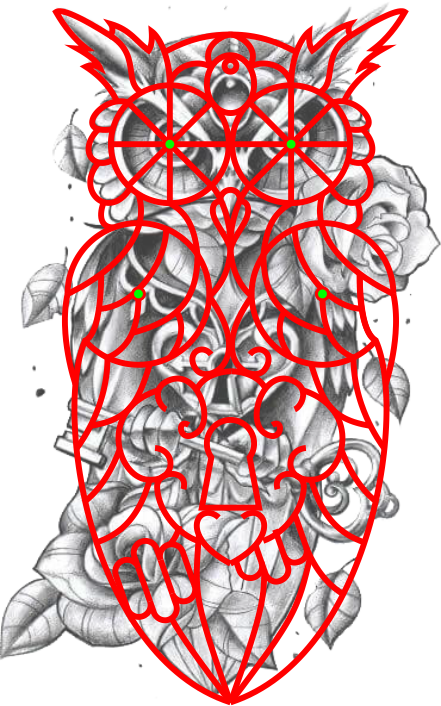
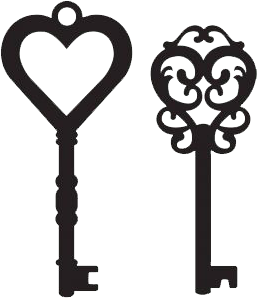
 Referential Image #5
Owl SteamPunk, Base Structure.
 Referential Image #6
Imagen referencial #7 https://emi-kot.deviantart.com/art/12-319045439_
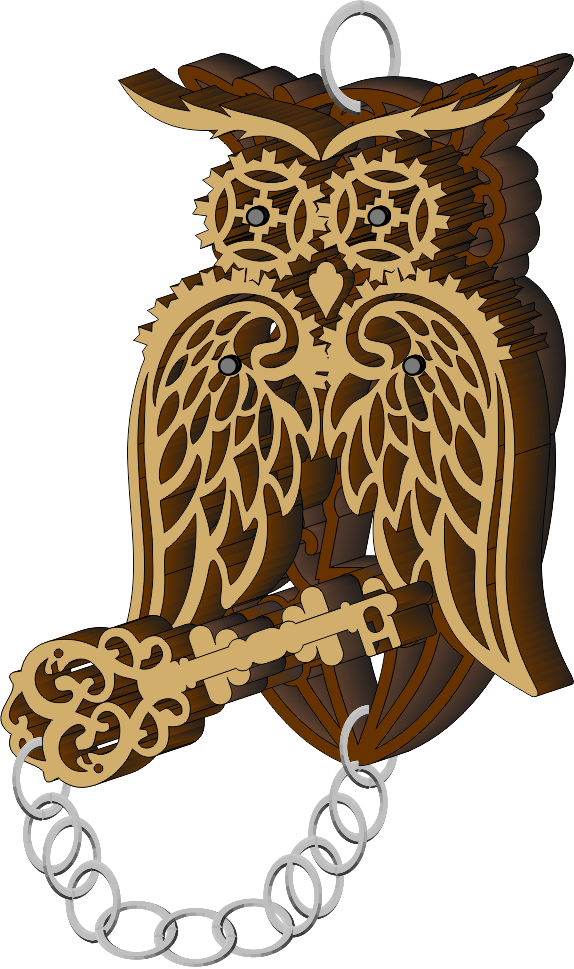
Owl, Removable Structure.
Assembly instructions:
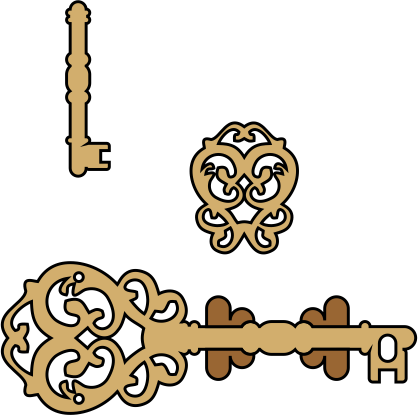
Owl, Laser Cut Structure.
Recommendations:
Make sure you have all the cutting elements, since there are very small pieces.
Check the location of each of the pieces.
Before assembling, you can lubricate the tacks with a common candle (frute with the candle).
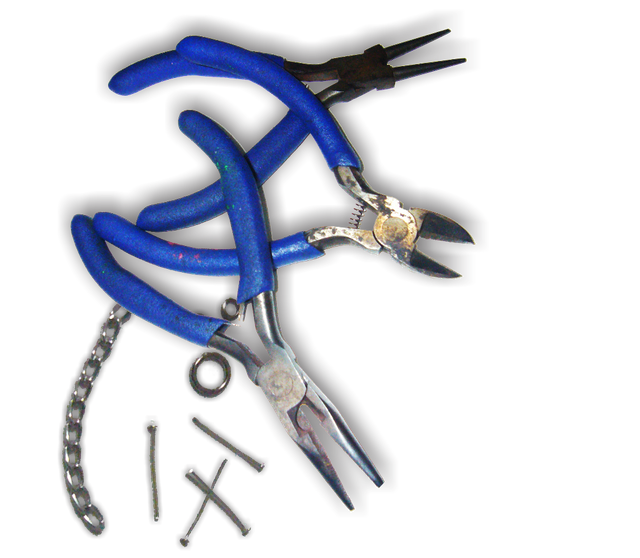
Materialss:
The pieces cut in 3mm MDF.
Jewelery tweezers.
4 Jewelery tacks.
1 Medium ring.
2 Small rings.
1 Piece of string or rope.
Carpentry glue or some strong glue.
Brush or toothpick for glue.
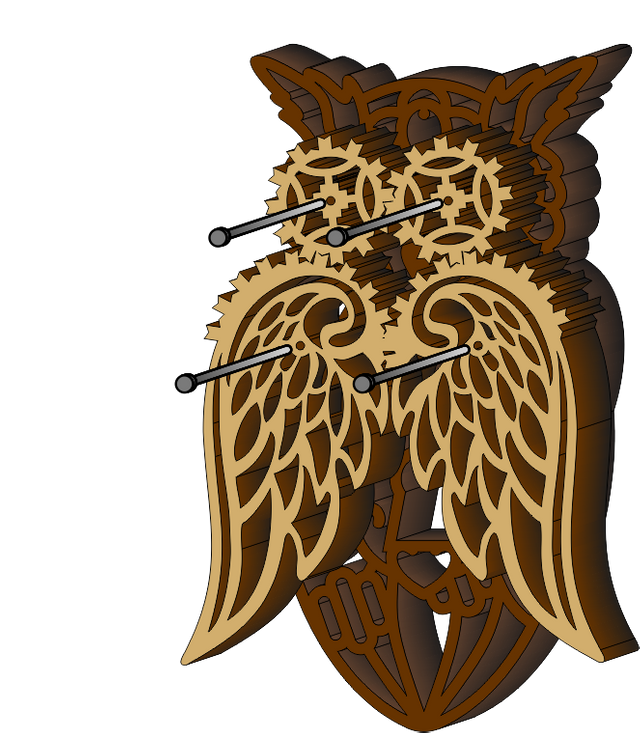
Step 1: we must place the mobile elements on the base, we can take into account the right and reverse side of the piece, in this case the base will be placed on the right side and the rest upside down, to generate a visual contrast, it is at the pleasure of Each one, once put the pieces, we will pass the jewelery tacks through the holes located in the center of the gears and then to its corresponding axis in the base. With the help of one of the jewelery clips, in the back part of the base we will make a doubles in the tacks, placing the tip inside one of the hollow panels of the base, so that this way it does not tear the skin or the clothes .
As the pieces are 3 millimeters deep, it is recommended to use studs 9 millimeters long, so that they can pass through the 2 pieces and then be folded. In the case that the studs are longer they can be cut once inside the shaft, so as not to have trouble with the burr.

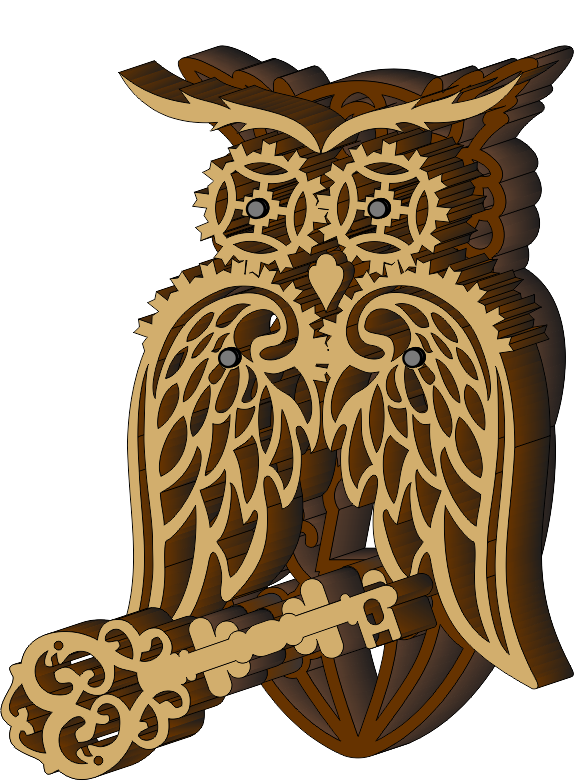
Step 4: the rings are placed in the hollow grooves with the help of the jewelery clips, one medium in the upper part of the base (head), another in the lower part (Tail) and the last in the adornment of the key, the ring of the tail and the key we will join by a piece of chain or rope, everything depends on the pleasure of the person. It is also worth noting that the key can be free or in the same way as an additional piece of gift or as part of a game - set.
Greetings to everyone who in one way or another found stimulation and inspiration in the knowledge provided in this presentation. I know it's simple, but at the same time the Steampunk Style Owl pendant has been well received by the public, as it is a striking, attractive, seductive, fun and especially de-stressing piece, since when performing the movement of the wings causes a feeling of pleasure.
My name is Yorvy Daniel Suárez Matheus, Venezuelan, and I like to create mechanical models using different types of gears or simple but colorful moving parts at the level of ornate Steampunk Style.
Thank you for having traveled the road with us.

Mechanical models.
Barquisimeto, Venezuela (2018)

This work is under a Licencia Creative Commons Atribución-CompartirIgual 4.0 Internacional.
You may also be interested:
Model Article: Mermaid Article
Know a little about me:
Do not forget to leave your comment and opinions below, also that idea you have together we can make, so do not be sorry and contact us.
Dear friend, you do not appear to be following @artzone. Follow @artzone and get added to our voting list for valuable up-votes!