Refurbishing Old Shoes
I enjoy refurbishing things. Take something old, ugly and useless and make something nice out of it. Give something a new life. Transform something.
Making shoes helps me pass the time and keep my mind of all the crazy stuff which is going on around me. It's a peaceful, humbling activity. But oh my, I already have so many shoes in my closet that I have a hard time finding space for them, not to mention to find an opportunity to wear them all.
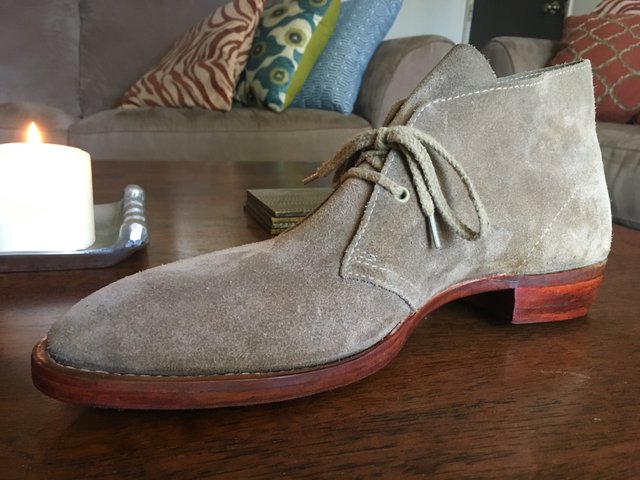
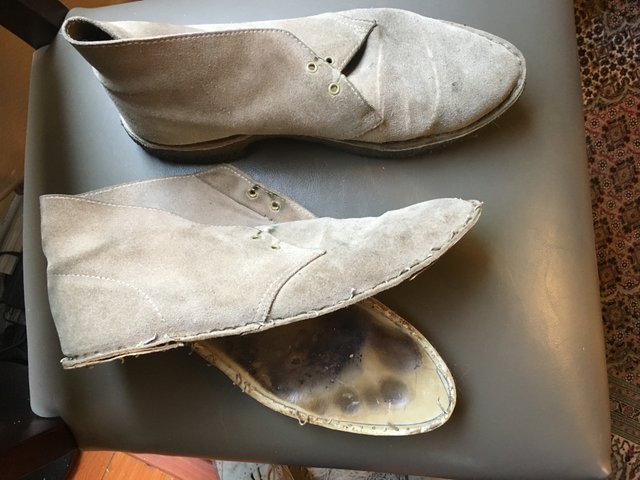
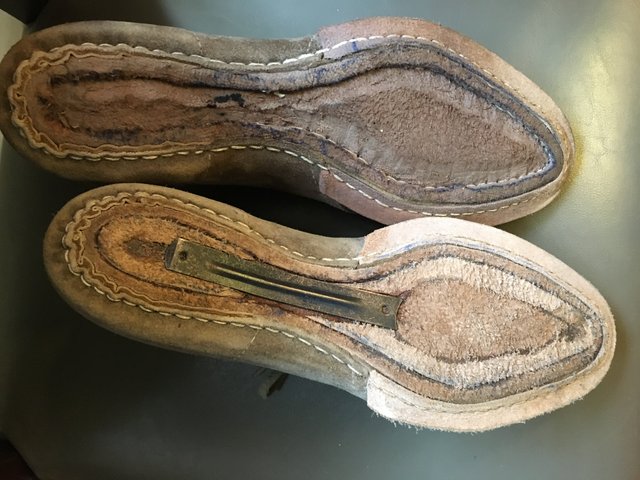
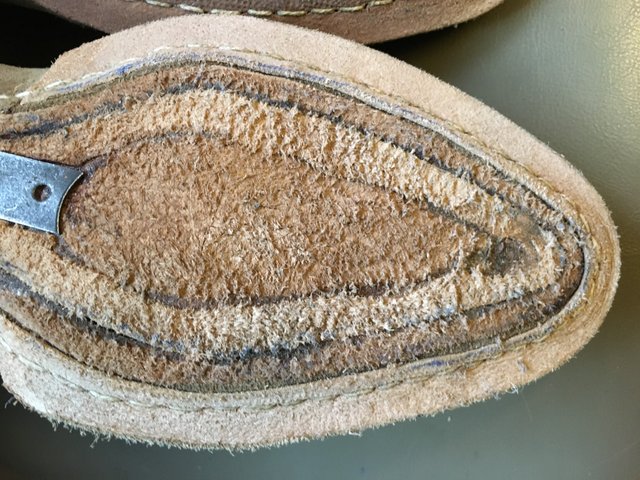
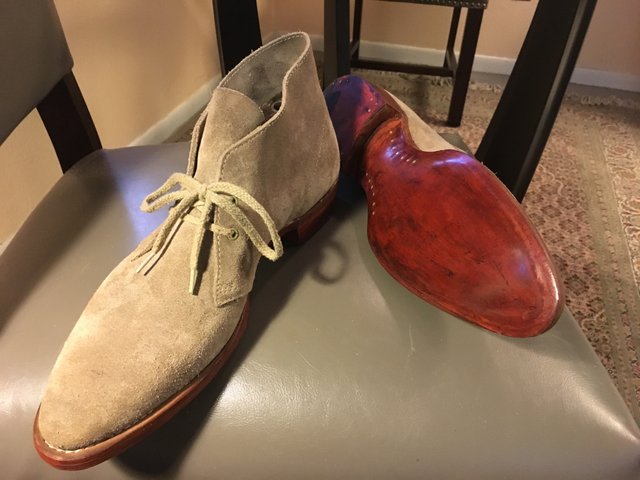
This project gave me about a week of occupying my mind with something other than chemtrails, gender, vaccinations and 5G. I used a pair of Clark's Desert Boots which I had already refurbished once, two years ago. I had made them fit to size and put on a new Crepe Sole. Unfortunately Crepe Soles look only good for a very short time, then they turn black and not very pretty anymore. So this time I decided to elevate them to a pair of welted Chukkas with a nice leather sole.
First step is to remove the upper from the soles, which in this case is a breeze.
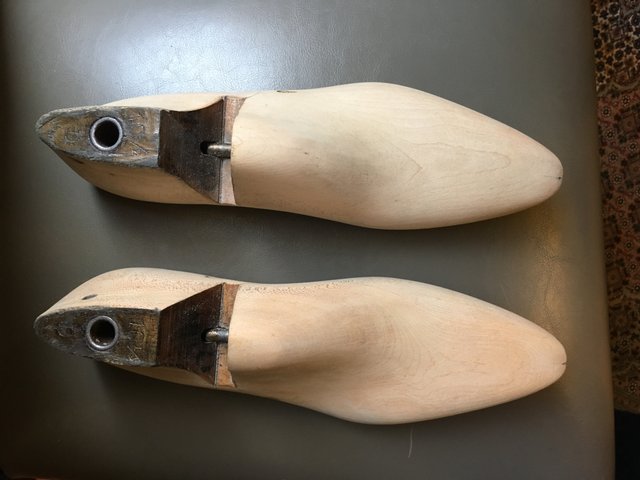
I am using my favorite last because this time I'd like to make them sleek and narrow.
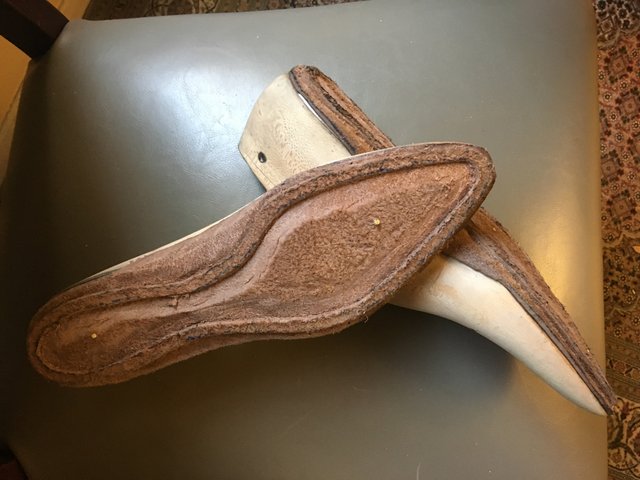
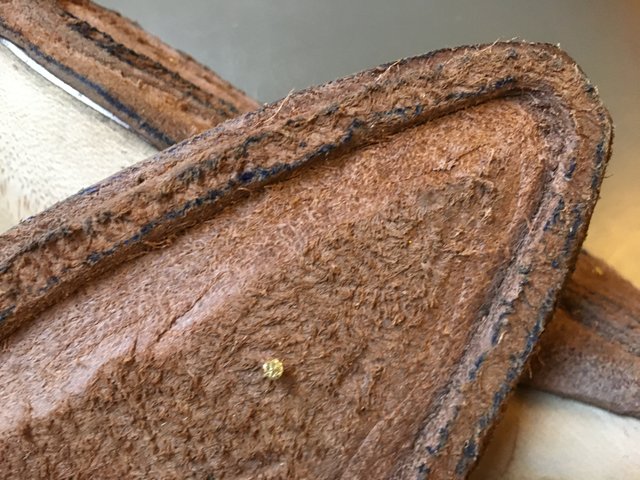
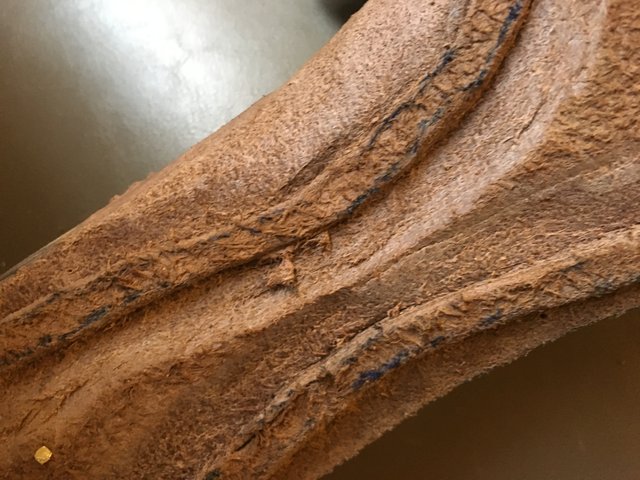
This is the insole. On a piece of leather a “holdfast” gets cut. This is a ridge in the leather onto which the upper and the welt will be stitched on. On this pair I also made an arch support to make my puppies even more comfortable.
This is a close-up of the holdfast. The leather I cut from the inside I safe and glue it back in later.
The waist I want to make pretty narrow, just wide enough to fit a shank into.
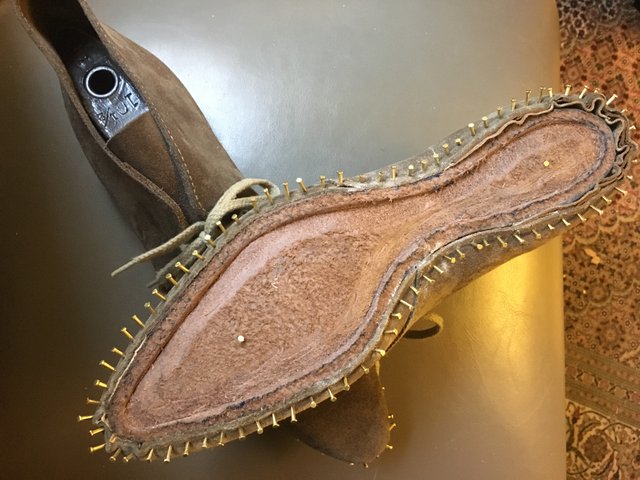
The wet leather gets stretched over the last and secured with nails. I like to use brass nails, specially on suede shoes because they do not cause nasty black spots from oxidation.
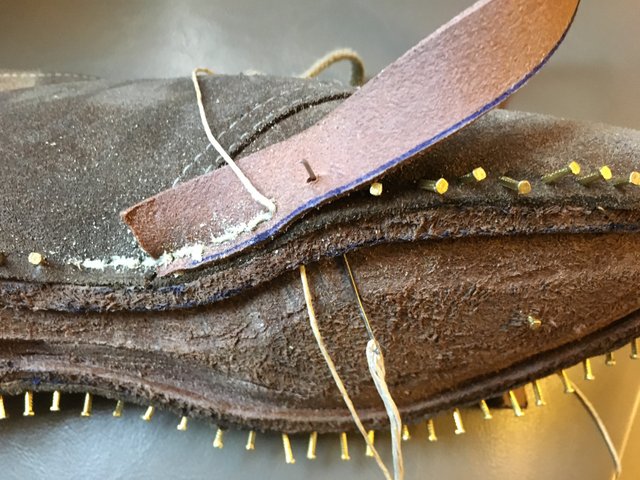
Now a strip of leather, the “welt” gets stitched onto the upper leather and insole.
On this project I use a welt only on the forepart of the shoe. The waist and the heel has no welt to make it more sleek and narrow. The upper gets stitched onto the insole only. The right shoe in this picture has already a shank and the saved leather from the holdfast glued back in.
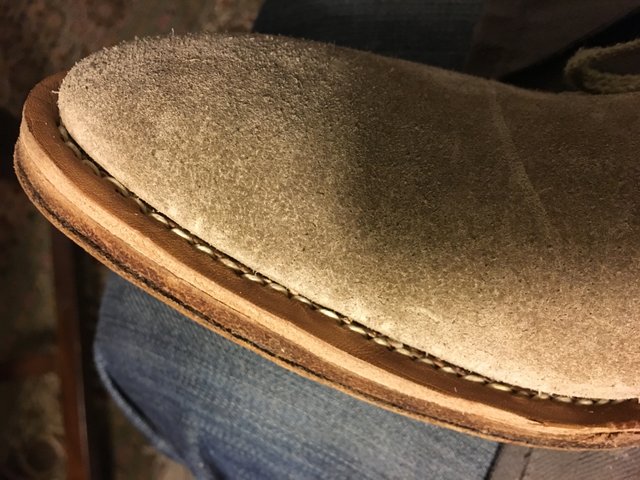
This picture is mostly out of vanity, because I am kind of proud about the cleanest toe I made so far. It is a bit challenging to avoid a bulging up of the leather in narrow parts.
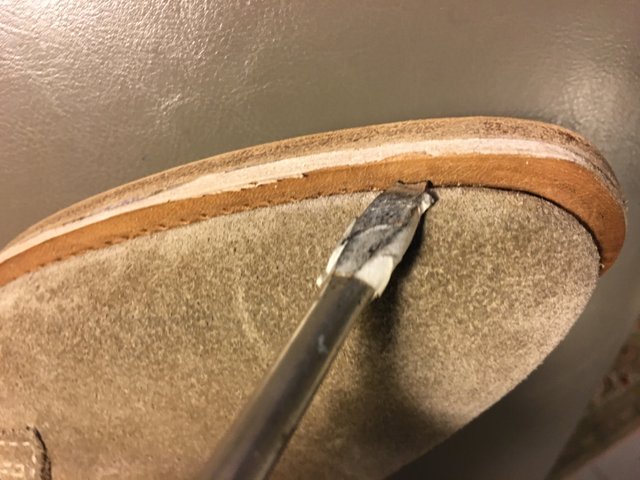
Now the outsole gets glued on, and with an old screwdriver I had modified I mark the stitches.
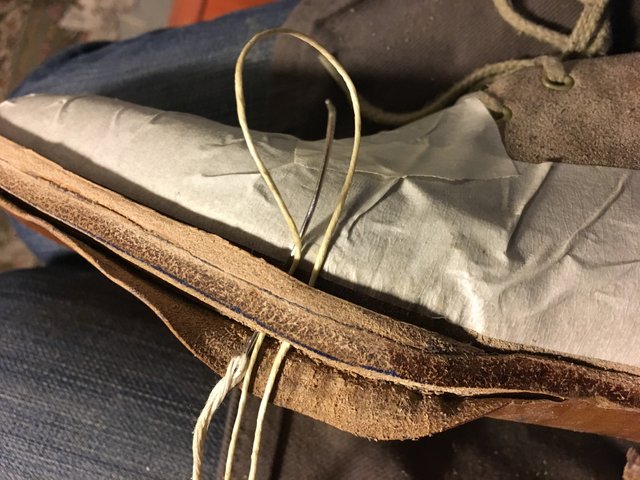
A channel gets cut into the outsole to create a hidden stitch and the outsole gets stitched onto the welt.
Since I had protected the upper with a piece of tape, there are no awl marks on the leather.
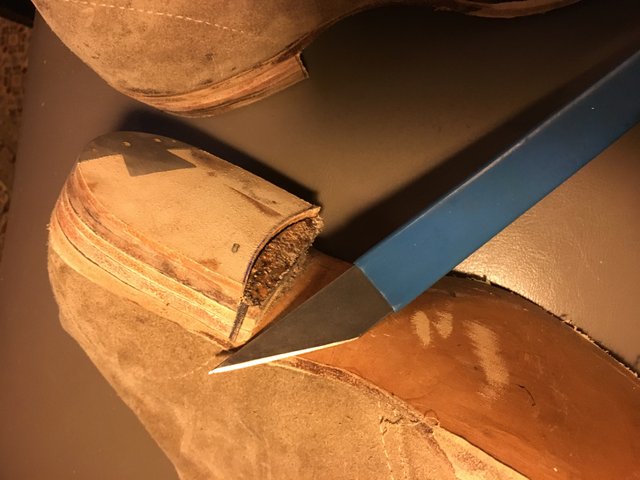
Now the heel gets built out of several pieces of leather which are glued and nailed on.
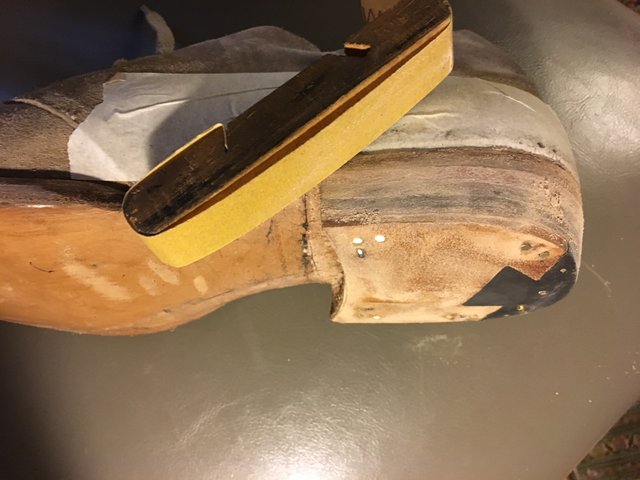
A lot of sanding is needed to shape the heels and give them an even and smooth finish.
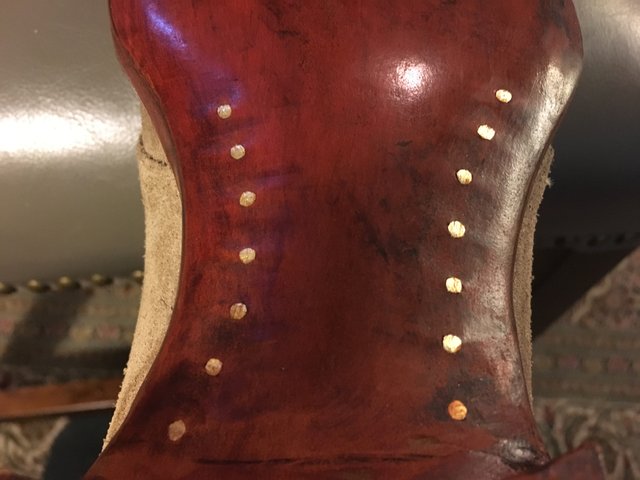
The outsole gets dyed and finished with brass nails. I use Brass nails because they will not rust...and they are pretty...
And here we are, some new kicks for an old fart :)
Very cool. I looked into a shoe making seminar once. It was 3-4 days to make a pair of couture quality ladies pumps. So Youtube...
Do you ever make them completely from scratch?
Thank you! Yes, I do make them from scratch also. If you are interested, I have lots of pictures on my website http://shoes.alexanderleeb.com/
Thank you!
Fascinating reading. Thanks again.
I'm flattered! Thank YOU!
Wish I knew... before I departed my Dr. Martin's... If you can do this, ur a master!
Bravos to you!!
Thank you my friend! I am just an old fart with too much time. Learned how to make shoes a few years ago off youtube videos. It's actually not that hard.
Doc Marten's would be fun to work with :)