Steemit got talent season 2 week #6.My portrait drawing with pictures and video procedures.
Dear Steemians,
Here comes another great day, like you guys do know, I would love to always post my drawings with pictures and video clips, and thank God for the privilege given to me today, I had done it again, a portrait drawing of a young Asian boy with video and pictures you can learn from.
My Portrait drawing.
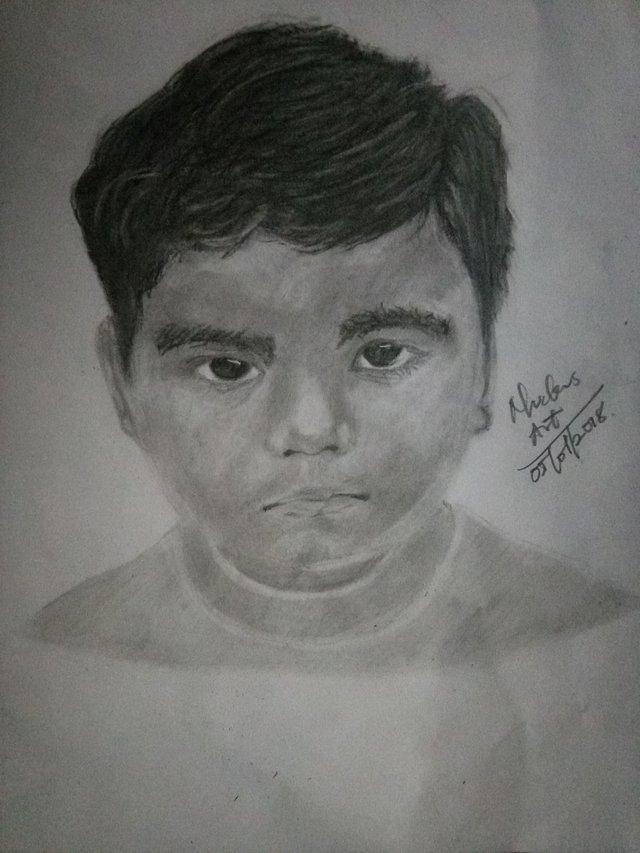
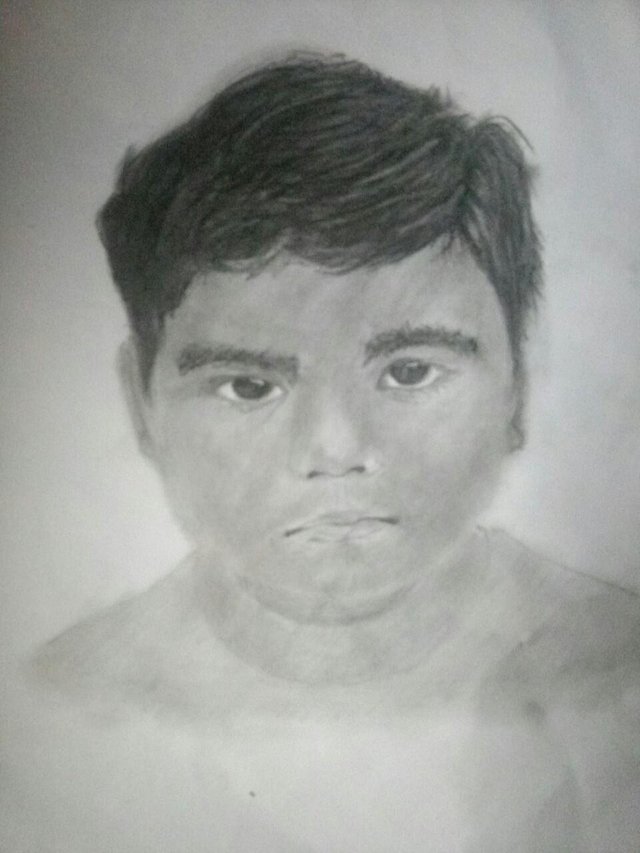
The above picture is the best shot I have as my final work, it took me much time to make the drawing though, but still not up to 3hrs. I made the drawing hoping to get something more realistic, but I think I still gave it a great shot. Now to the next step, the procedures including a video you need to watch, not to long, below 2mins, but you could still learn a lot from it.
My Drawing Procedures.
(Step 1).
And the picture which is the first step of the drawing, the sketch which I am such that many of you guys that has been visiting my blog should have known as the first stage of all my drawings. Well, like always I made my sketch with my H pencil and I also made sure I got my sketch as light as possible for easy corrections on the long run.
(Step 2).
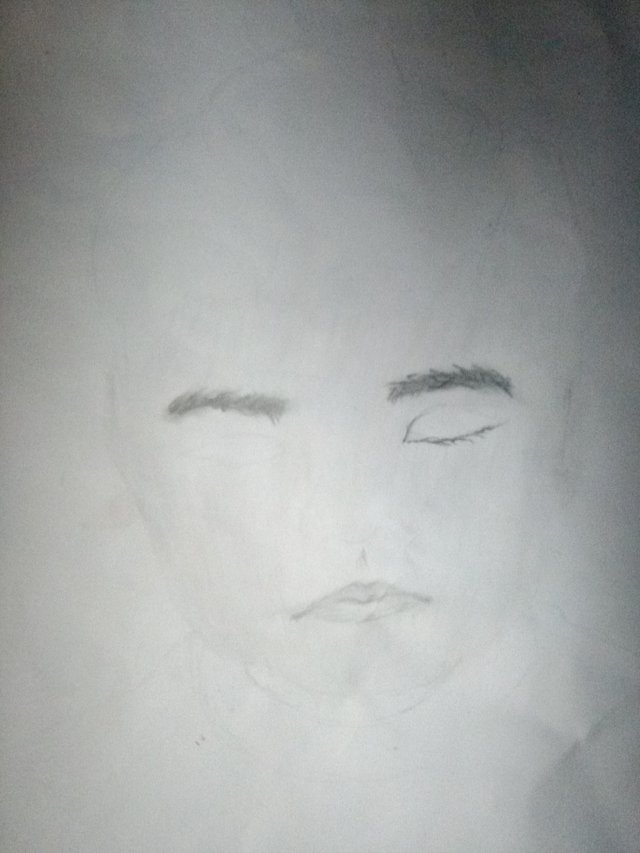
At the second stage of the drawing, I just decided to do some detailing which I did on the mouth and the eyebrows, I shared the mouth with 2B pencil and I blended the shades as usual with my soft tissue paper, likewise the eyebrows, I shaded them with my 9B graphite pencil while I blend it with my soft tissue paper.
(Step 3).

At this stage, I decided to shade some parts of the face, I shaded the face with my 9B graphite pencil and I blended it with my tissue paper and I also gave some details, as you can see on the nose and some parts of the eyes area.
(Step 4).
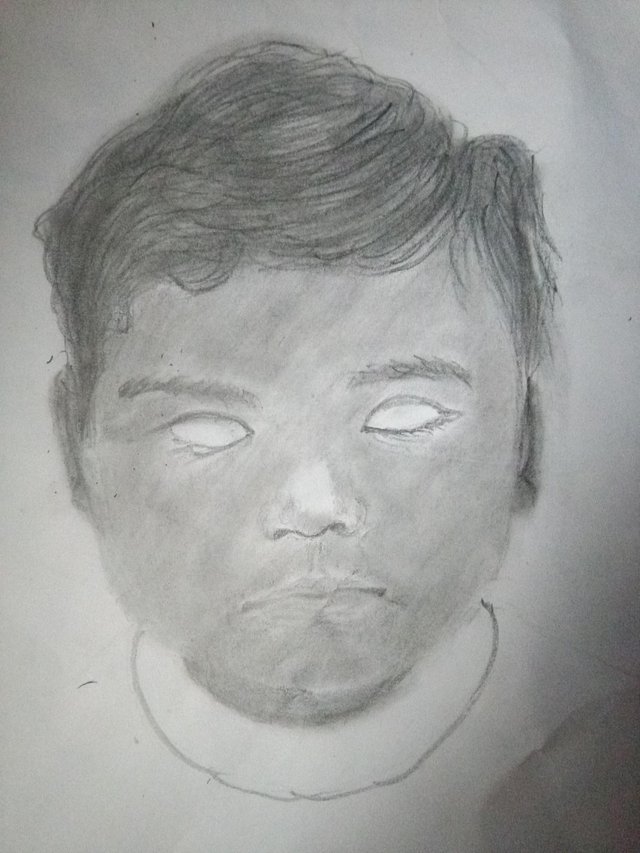
**
At this stage, I had shaded all the part of the face and I also ventures into shading the hair on a lighter note and I gave some few details there for you to know that the hair didn't appear all black like that . I shaded the hair with my 9B pencil, the same pencil I user in shading the whole face and I also used my tissue paper as usual to blend all the shades.**
(Step 5).
A very significant stage, at this stage, I had to give more details on the hair and make it appear darker like it should be. I shaded the hair this dark with my 4B charcoal pencil while I blended the shades with my soft tissue paper.
(Step 6).
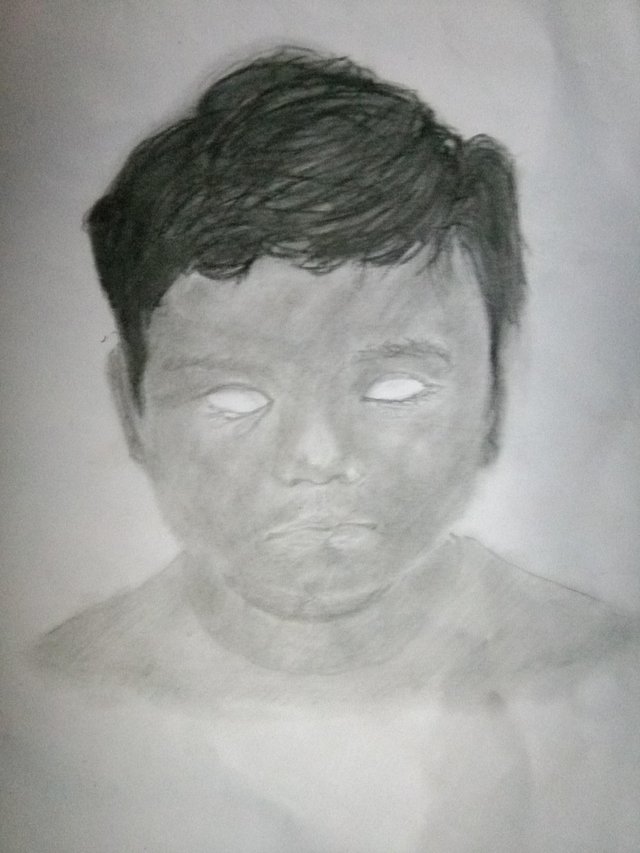
Almost done! At this stage, I had picture a real human being facial expressions while inserting the eyes into the drawing, this picture ought to be darker than this but I guess some light fell on the picture when I was about taking the shot, but nevertheless, I still have a nice shot with the light.
(Step 7).
The master piece!.... And the final picture is here, all I did here was just giving details on the full picture which I did using my eraser. Using my eraser to remove all unwanted shades on some parts of the drawing and that was all!.
Kindly watch the short video below it could be of help too.
You can also join the contest by using the link below.
https://steemit.com/sgt/@bambam808/steemits-got-talent-official-news-and-updates-sgt-s2-week-6-has-begun-come-and-win-more-prizes-this-week-love-from-sgt-hq
Thanks for stopping by.

Amazing, keep it up👆
Thanks boss.
Great work bro.. You are amazing
Thanks boss