Reviving a Vintage Transmission Electron Microscope - The Philips EM 420 Part 5 - Logic Circuits and Achieving High Vacuum.
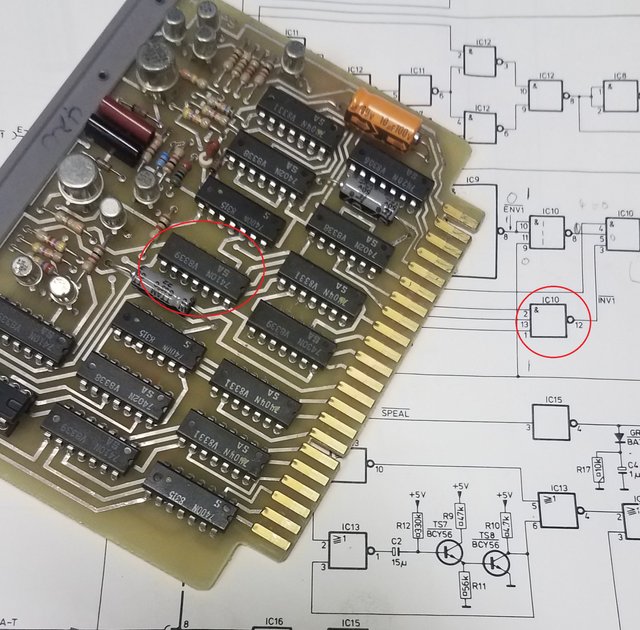
Figure 1 – The Pre Vacuum gauge and pump PCB, and some of its circuit diagram.
Made some good headway this evening. I had been having a problem with the Buffer Tank valve (V1) and the Projection Chamber roughing valve (V2) not opening. I could force them to open “manually” so I knew that their solenoids and pneumatic were functioning. After looking at the Pre Vacuum circuit diagram (Figure 1 & 2) and testing some points I found that a low signal was not present. In electronics speak, “Low” means essentially a zero. Now its really not a zero when you go measure it with a multi meter. Different types of logic chips have different acceptable ranges of voltages they can detect or output. For TTL those levels are 0.0 to ~0.7 Volts and 2.0 to 5.0 Volts. If you are new to electronics, can you guess which one of these, in the binary scheme of things, would be read as a 1?
A good explanation of logic TTL levels
So when I find a missing signal I like to jump into somewhere in the circuit about half way and see if its there or not. If it is, then the problem is closer to the output, if not its closer to the origin, which would be a power supply. I keep bisecting the circuit until I find the problem. Now with Logic Gates its not to difficult, however sometimes I come across some pretty odd logic schemes, or their could be muliplexing going on or intermittent problems which can drive you nuts.
My next clue was a missing high signal upstream on a 7410 Triple input NAND gate (IC 10 in figure 1, circled). The next step in the start cycle of the 420 was being stopped because the instruction created by 3 combined signals at the NAND gate was simply not happening. I would rather not explain logic gates, so I have a good link for you all to learn up on them if you need.
All About Circuits is an excellent resource BTW.
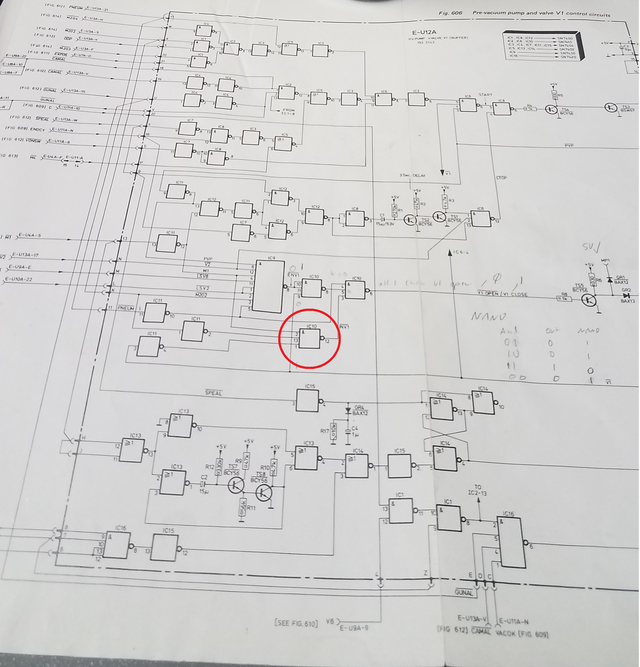
Figure 2 – More Pre Vacuum Gauge and Pump circuitry. This circuit diagram is a 3 page fold out!
Now this time I got a little lucky, and recalled that sometimes the Pneumatic switch in the back gets stuck. Its purpose is to tell the scope that there is compressed air present. When its is switched off, you can have all sorts of problems. All the valves are pneumatically actuated, with the air to each being turned off or on by solenoids that are far away enough from the column to not cause electromagnetic interference. Anyways, I went back and cranked its trigger point down a bit and VOILA the roughing pump (PVP) kicked on, V1 opened, pumped for a while, then V2 openend. The next thing that is supposed to happen is the Oil Diffusion Pump starts to heat.
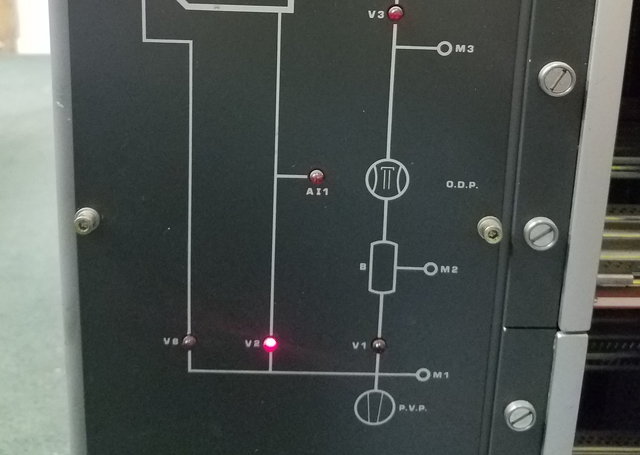
Figure 3 – V2 open, projection chamber being evacuated.
The ODP takes about 30 minutes to get up to temp. As it heats the heavy oil inside, in this case its a perflourineated ether called Santovac 5, High Vacuum readout 1 (HV1) will slowly to descend.
More on vacuum pumps, by someone who really knows his stuff
ODP at 2:10
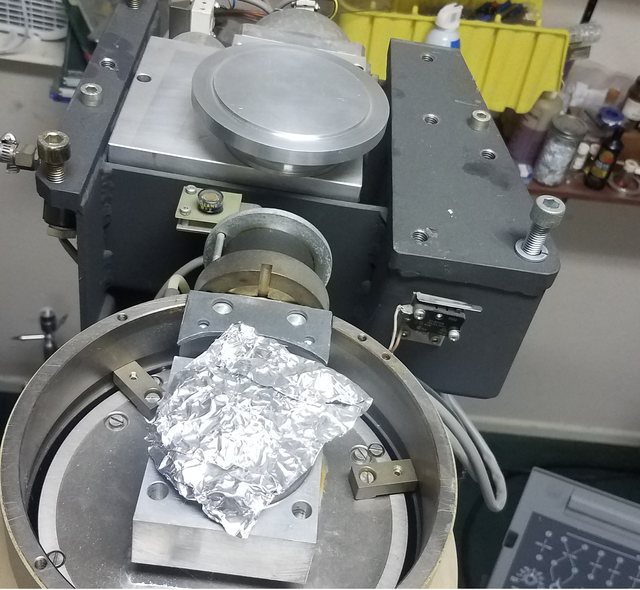
Figure 4 – Gun “Backpipe” connection plugged, and the opening above the Gun Valve covered in foil to keep dust from getting in. That foil has been there from the time the gun was pulled off this thing. The gun valve itself is unplugged and stuck in its closed state until I am happy with the vacuum in the column. The ODP works by converting the oil into a gas which then accelerates upward, the jettisoned back down via baffles. As it is forced back down it is cooled and re condensed. This process pulls air molecules from above the pump down. They are then removed from the ODP by the PVP and buffer tank. It is not uncommon to find ODP oil in the lines going to the Buffer Tank for this reason.
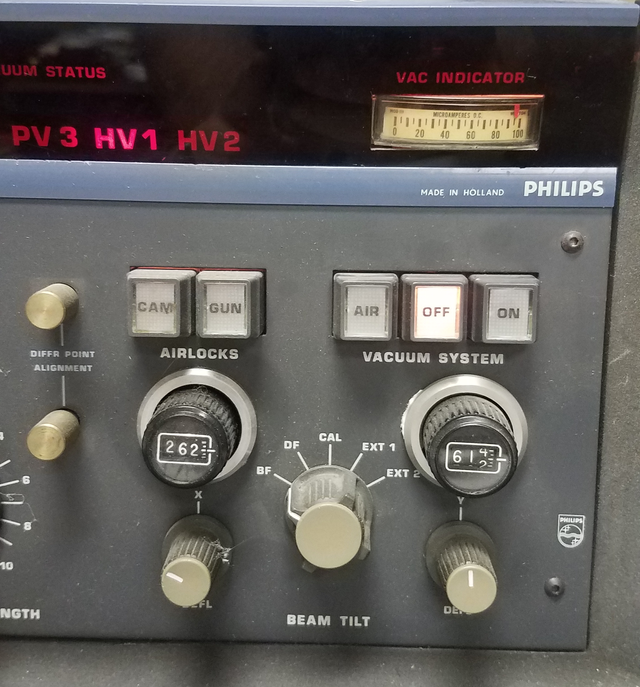
Figure 5 – HV1 reading around 90. I want to add that Philips had a peculiar way of backlighitng some of their buttons. In the case of the ON, OFF, VAC ON Buttons etc, the button that would be pushed lext is lit up. In this case, if one chooses, they can turn the vacuum off when they are done using it, and then entire scope. So, thats why the VAC OFF button is lit up. Yep, its very strange.
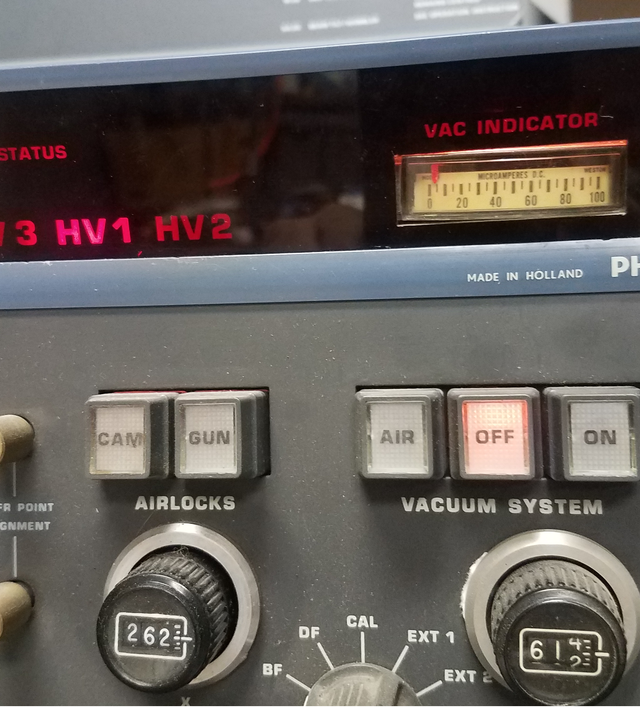
Figure 6 – HV1 reading about 5, it will not get much lower. This meter works on all five gauges, and automatically shifts from one gauge to another during pump cycles. Each gauge can also be manually selected. PV1,2 and 3 are the pirani gauges, and HV1 is the penning gauge. HV2 is for the IGP.
All right, so the next thing I need to do is remount the gun. Now the EM420 also has an Ion Getter Pump, but I can get a beam with just HV1 being low enough. This is only okay for Tungsten filaments, the brighter and more coherent Lanthanum Hexaboride sources will be destroyed within hours without the high vac supplied by the IGP. So, we will just wait on the IGP and go with Tungsten for now. That is about it for tonight. However, I have attached some photos of the Gun and its insides :-). Enjoy!
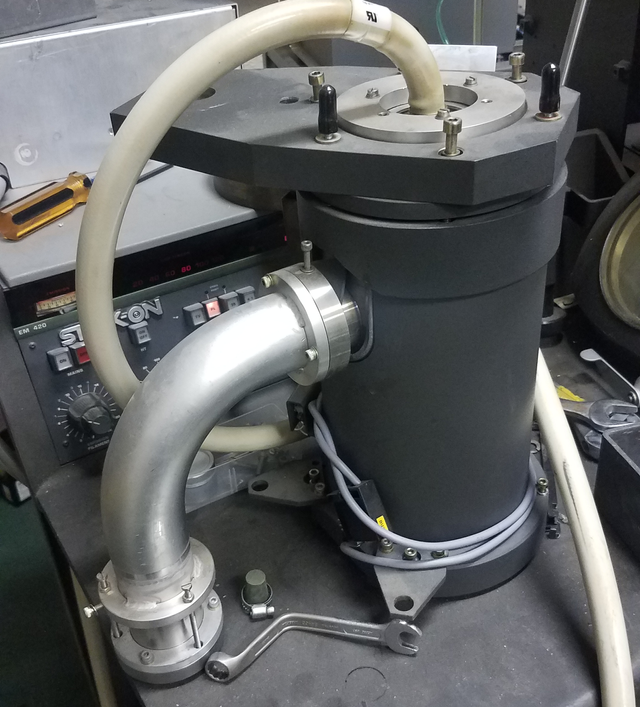
Figure 7 – The gun chamber, the curved pipe is the backing pipe.
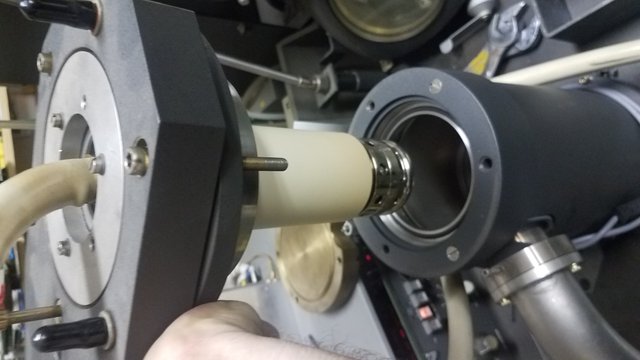
Figure 8 – The Gun insulator and Wehnelt at bottom. Sorry, its flipped. Still dont know how to stop Steemit from doing that.

Figure 9 – Looking into the emission chamber. The colored bands are either from contamination or heat. They look like heat bands to me, but I am also a fabricator and have heat treated my own unique tools by hand in the past. The colors are reminiscent of this process.
Congratulations @roguescientist84! You have completed the following achievement on the Steem blockchain and have been rewarded with new badge(s) :
Click here to view your Board
If you no longer want to receive notifications, reply to this comment with the word
STOPTo support your work, I also upvoted your post!
This post has been voted on by the SteemSTEM curation team and voting trail in collaboration with @utopian-io and @curie.
If you appreciate the work we are doing then consider voting all three projects for witness by selecting stem.witness, utopian-io and curie!
For additional information please join us on the SteemSTEM discord and to get to know the rest of the community!
Hi @roguescientist84!
Your post was upvoted by Utopian.io in cooperation with @steemstem - supporting knowledge, innovation and technological advancement on the Steem Blockchain.
Contribute to Open Source with utopian.io
Learn how to contribute on our website and join the new open source economy.
Want to chat? Join the Utopian Community on Discord https://discord.gg/h52nFrV
I'm amazed there haven't been more comments on this article (it's been a bit quite in recent times on Steemit). But I'd like to say well done on your very interesting series 👍.
Some of the previous parts had some good threads. Thank you!