ROS MoveIt Robotic Arm
This is going to be a series of articles about making a robotic arm controlled with ROS(Robotic Operating System) and MoveIt. If you are into robotics ROS is a great framework that will help you to build better robots faster. It allows you to re-utilize packages for different robot systems(computer vision, kinematics, path planning, SLAM, etc) that other people created. ROS is great, but unfortunately it does have a steep learning curve. So this tutorial is step-by-step guide to making your first robotic arm with motion planning, aimed at upper-beginner and intermediate levels. I assume you have no knowledge of ROS, but do have some basic knowledge Linux and Python, Arduino programming skills.
Step 1: Prepare Your Environment
My environment for development is Ubuntu 16.04 LTS running in a Virtual Box(Windows 10 host machine). If you want to run Ubuntu on VM it's fine, I can confirm ROS Kinetic works, albeit with some quirks(notably 3D acceleration and USB support). If you have regular Ubuntu installation, it would work better. Note: You can install ROS on Raspberry Pi, but unfortunately it's not powerful enough to run the simulations in Rviz, let alone Gazebo.
1) Install ROS Kinetic. Follow this guide on how to install ROS Kinetic on Ubuntu 16.04.
2) Install MoveIt. MoveIt! is a package for ROS for mobile manipulation, i.e. robotic arms.
3) Check if everything works. Run
roslaunch panda_moveit_config demo.launch rviz_tutorial:=trueif you want, go through moveit basic tutorial
4) You'll need to install urdf_tutorial package as well, we'll use it to visualize our work in progress.
sudo apt-get install ros-kinetic-urdf-tutorial
Step 2: Create Urdf File
If you followed MoveIt quickstart tutorial you should have created catkin workspace in your home directory(the name of the workspace might be different, default from moveit tutorial is ws_moveit). Go to ~ws_moveit/src and clone my github repo there.
https://github.com/AIWintermuteAI/ros-moveit-arm.git
If you are using the same robotic arm as I do or just want to practice you can leave the urdf file unchanged, otherwise you'll need to change it to correspond the arm model you have.
Here's a brief explanation of urdf file, looking at my example and the robot model in rviz will help you to understand it better and apply for writing your own urdf file.
<link> links are the parts of the robot, like a wrist or a platform. They have following properties:
<visual> used for visual representation in rviz and gazebo. Uses high-quality meshes
<collision> used for collision checking during path planning. Recommended to use low-quality meshes, but for tutorial's sake I'm using the same as for visual.
<joint> joints in urdf are connections between links which describe how the are positioned in relation to each other and how they move. They have following properties:
<axis> the rotation direction of the joint(along x, y or z axis)
<limit effort> minimum and maximum degree of the joint in radians. Only applicable to "revolute" type joints("continuous" joints have no limits, since they, well, rotate continuously)
<origin> the position of the joint in relation to the origin
<parent link> <child link> describes which two links are connected with the jointIf you are using the same robotic arm as I do, you'll need to copy 3D meshes of the arm to urdf_tutorial package folder. Do it with this command
sudo cp <names of hte files to copy> /opt/ros/kinetic/share/urdf_tutorial/meshes/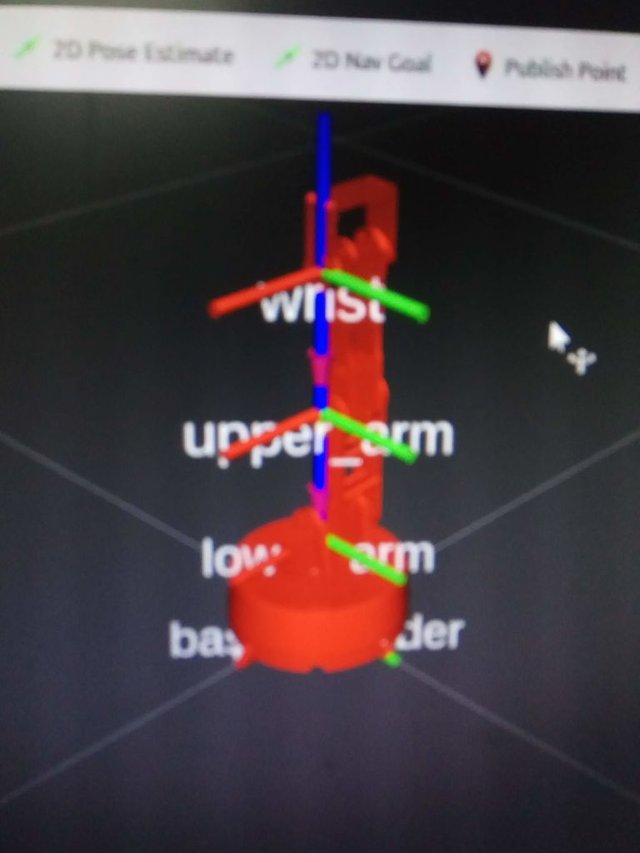
If you're using your own meshes make sure they are centered around the origin(xyz 000 in your favorite 3D modeling software) before you export them to binary(!) stl format. Now you can launch rviz to visualize the results with this command
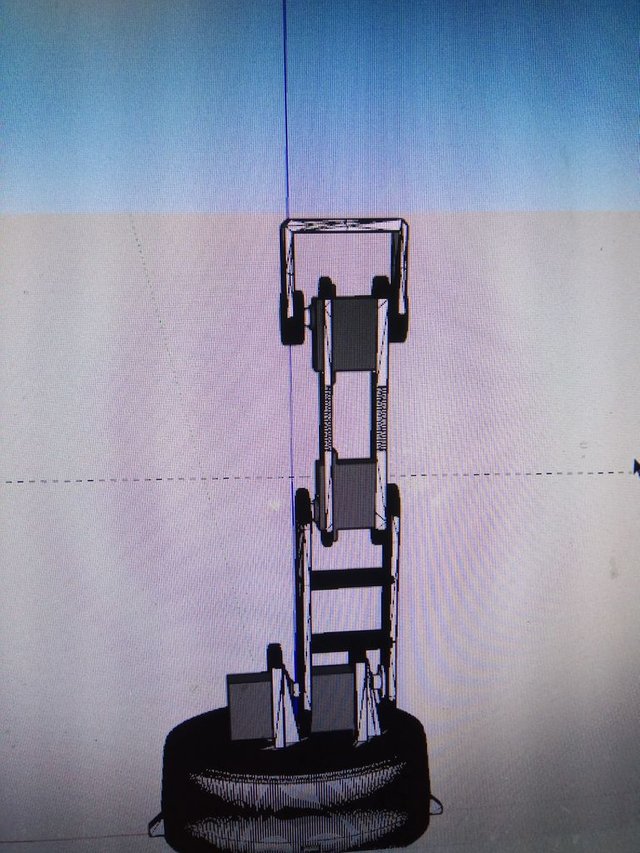
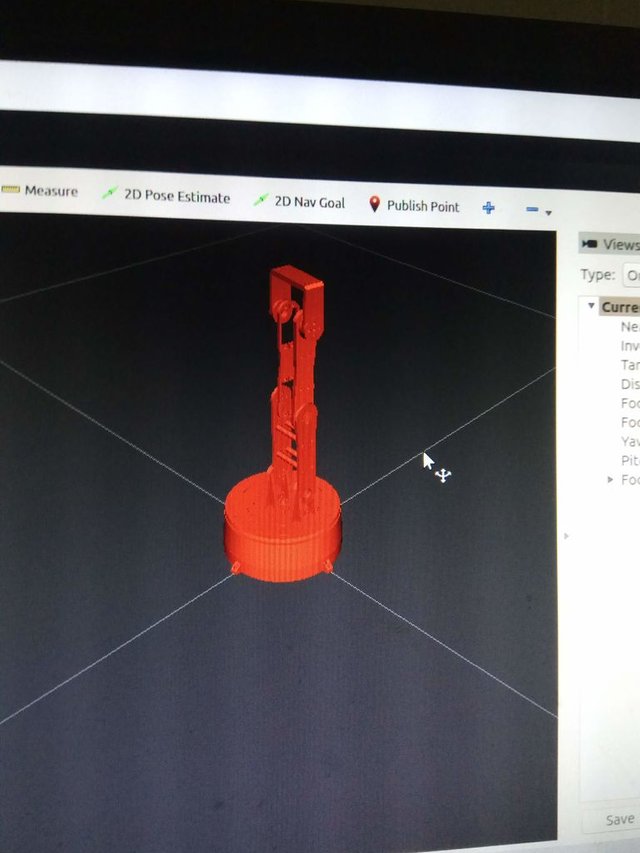
roslaunch urdf_tutorial display.launch model:=arm.urdf(launch it from the folder with the urdf file you created just now)Check the joints and the links, make sure they are rotating and positioned exactly how they are supposed to. If everything is okay, move on to the next step.
Step 3: Create Robot Configuration With MoveIt Setup Assistant
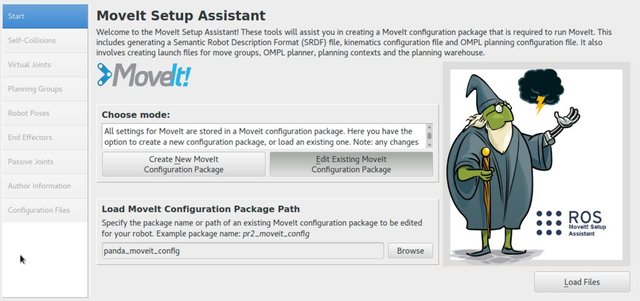
Now when your urdf file is ready it's time to convert it to robot configuration package. Launch MoveIt Setup Assistant with the following command
roslaunch moveit_setup_assistant setup_assistant.launchThe process is very well described in MoveIt official tutorial, which you can find here
After you created the configuration package, go to your catkin workspace folder and execute
catkin maketo build the package. Now you can launch it with the following command
roslaunch my_arm_xacro demo.launch rviz_tutorial:=truewhere you will need to change "my_arm_xacro" to the name of your package.
Step 4: Done!
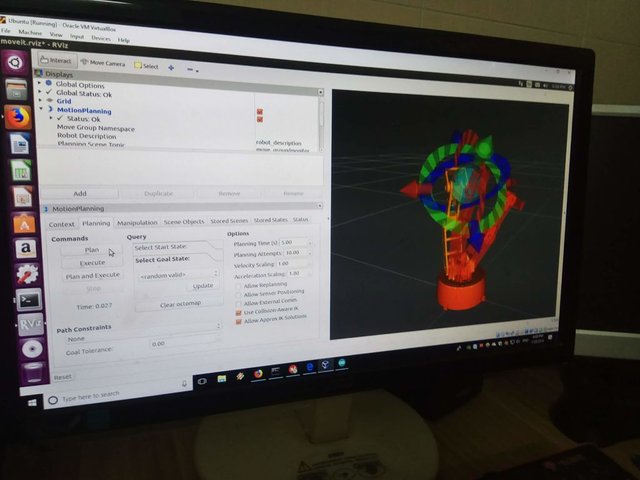
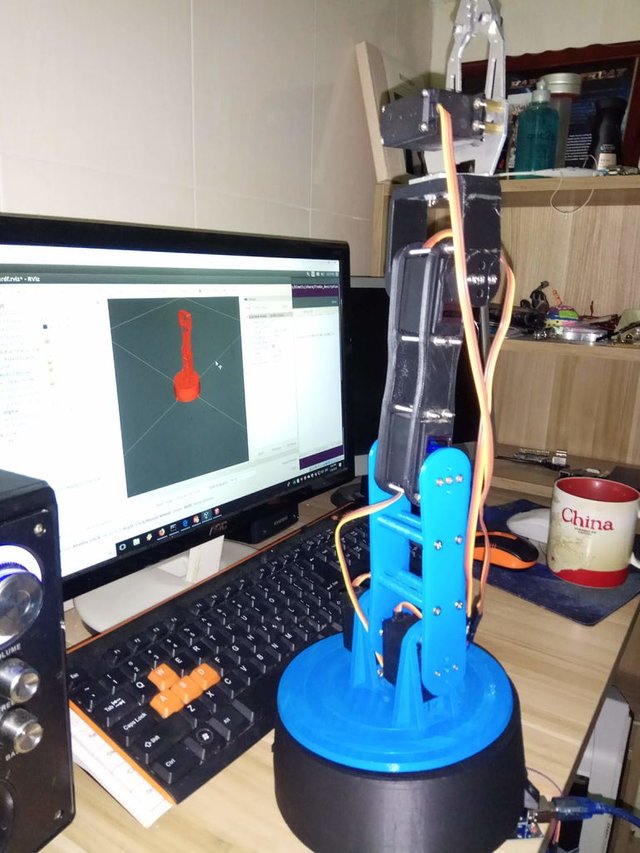
If you successfully launched the package you'll see your robot model with interactive markers. You'll be able to control it in simulation, using the markers and then press "Plan and execute" for the kinematic solver to find hte right path to the desired state.That was the step one, we created a model of our robotic arm and can harvest the power of ROS to calculate and execute motion in the simulation! Next step - do it with the real robot, for that we'll need to write simple robot controller...
Nice stuff. ROS is on my list of things to learn anyway...wanted to try this for one of my robots. Can't wait to read more about it.
Your InMoov robot is awesome! How much time did it take you to build it?
Here's the second part of the article
https://steemit.com/robotics/@wintermuteai/ros-moveit-robotic-arm-part-2-robot-controller
I only did it in my sparetime so it took about 3 years.
Join our Discord Channel to connect with us and nominate your own or somebody else's posts in our review channel.
Help us to reward you for making it ! Join our voting trail or delegate steem power to the community account.
Your post is also presented on the community website www.steemmakers.com where you can find other selected content.
If you like our work, please consider upvoting this comment to support the growth of our community. Thank you.