(Review/Guide) Hotmine X5 upgrade kit for Antminer S1/S3/S5
(Review/Guide) Hotmine X5 upgrade kit for Antminer S1/S3/S5
Picture copyright (c) Hotmine.
Author:
HagssFIN
https://bitcointalk.org/index.php?action=profile;u=348185
- Opening post
- Overview
- April 7, 2017 update
- April 10, 2017 update part 1
- April 10, 2017 update part 2
- How to order
Last updated in: February 17, 2018.
Nicely formatted version (February 17, 2018) is available for download here (Mega.nz cloud service):
https://mega.nz/#!c0FhDK6Y!pTfZtThRodoOKWTxeF9R1yd3ee4J4f6We0uGF6nLcrY
Bitcointalk.org thread: https://bitcointalk.org/index.php?topic=1857129
1. Opening post
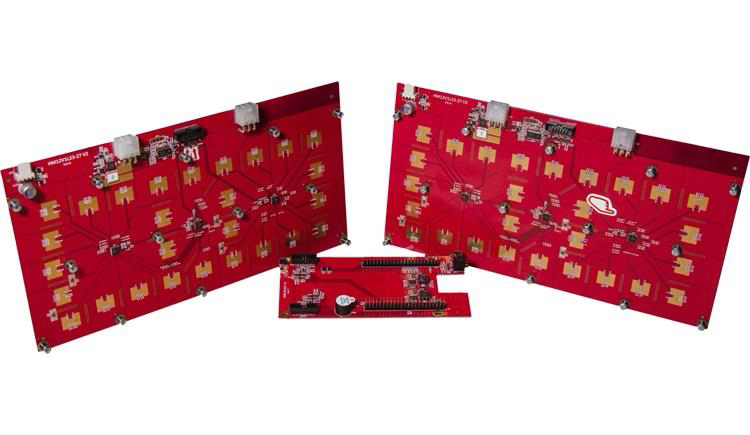
So, this is Hotmine X5 upgrade kit for Antminer S5,
which consists of two hash boards and one controller board.
Manufacturer is Hotmine, and their headquarters is located in Kiev, Ukraine.
Hotmine:
http://hotmine.io/
Products page:
http://hotmine.io/#products
It uses a 16nm node process ASIC chip manufactured by Bitfury.
The chip model is more specifically Bitfury BF16BTC8162.
Also known as Bitfury BF8162C16 (maybe different revision or marketing name ?).
Bitfury:
http://bitfury.com/
You can also use Antminer S1 or S3 parts (frame, heat sinks, fan) with this,
but you need to buy Beaglebone Black / Antminer BB board separately.
Beaglebone Black / Antminer BB board is needed for the controller board.
And you also need some additional screws and mechanical support parts for the controller board.
I will come up with some kind of solution for this.
I have Antminer S1 in my shelf, so I bought the BB board separately from forum user Mammon.
Technical specifications:

Delivery for this upgrade kit from Ukraine to here Finland was pretty quick via Ukrposhta.
I paid 0.45 BTC including shipping
(this was in April 6, 2017).
2. Overview
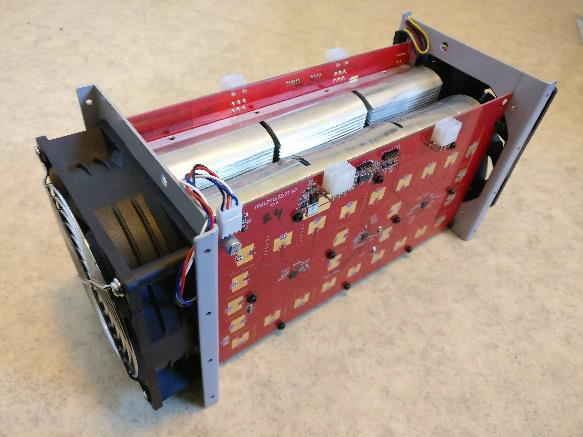
Here are some pictures of the X5 upgrade kit parts and my Antminer S1 parts.
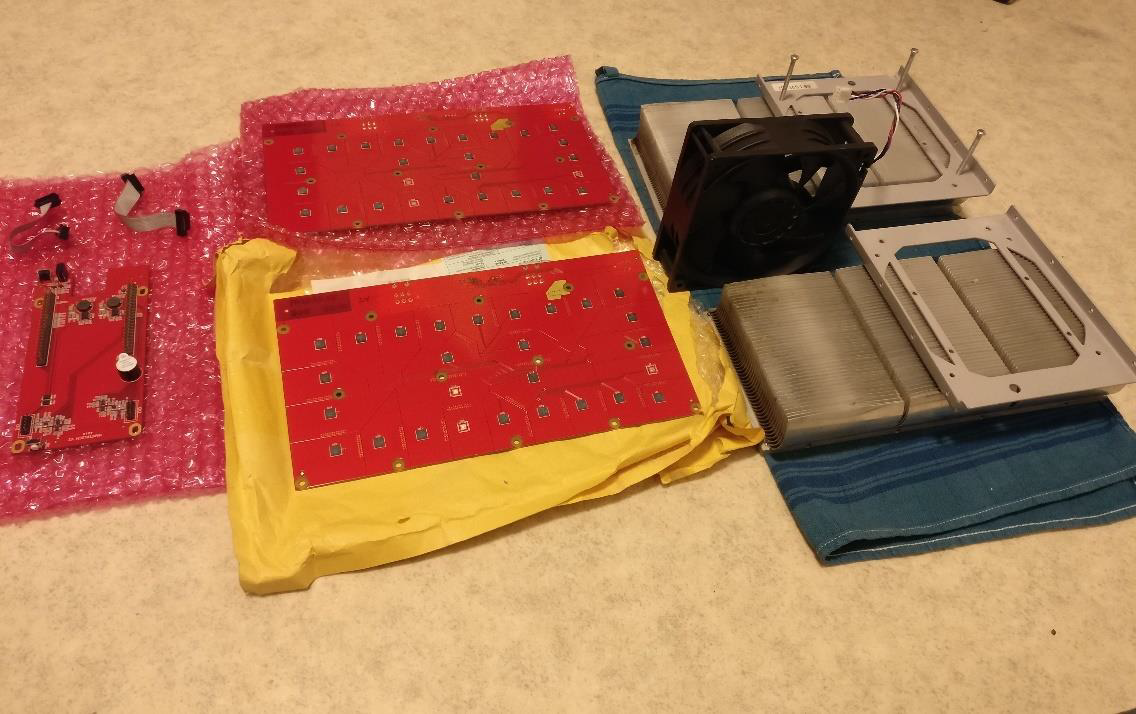
Hotmine X5 upgrade kit and Antminer S1 parts.
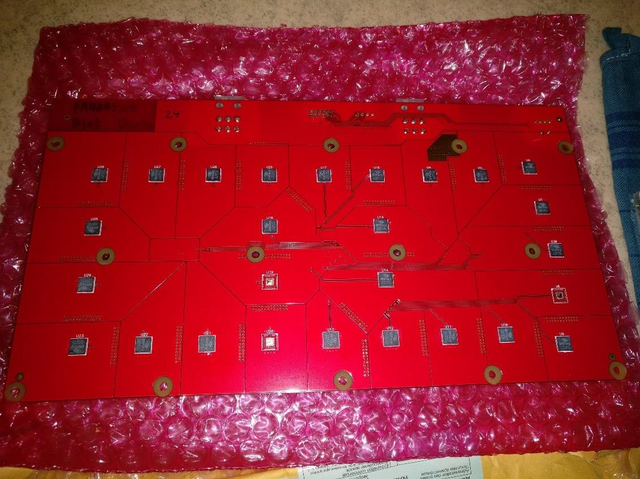
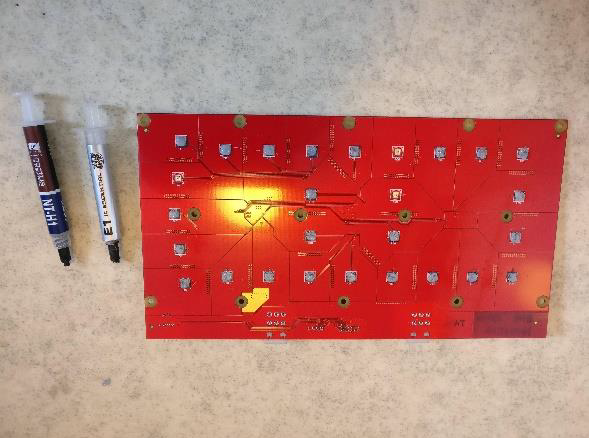
Hash board picture 1.
Hash board picture 2.
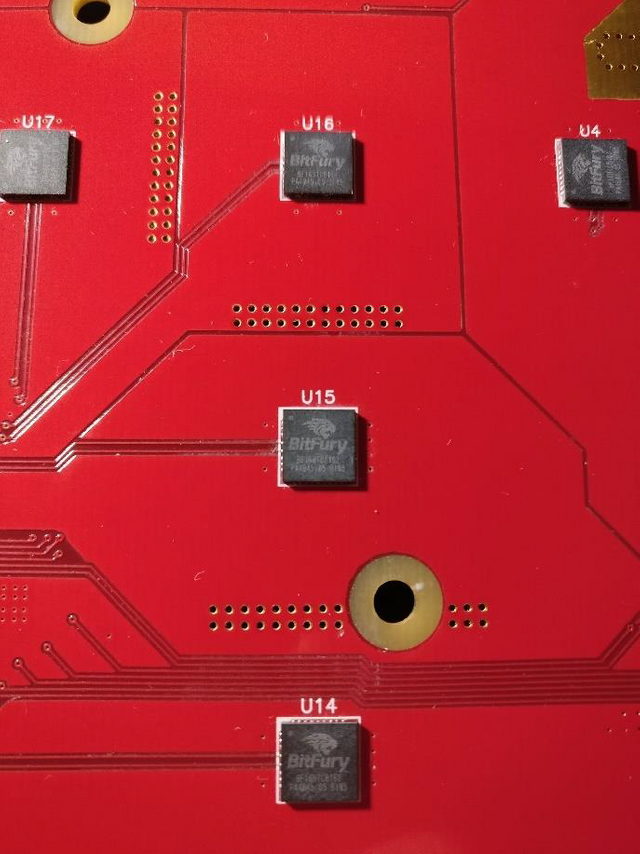
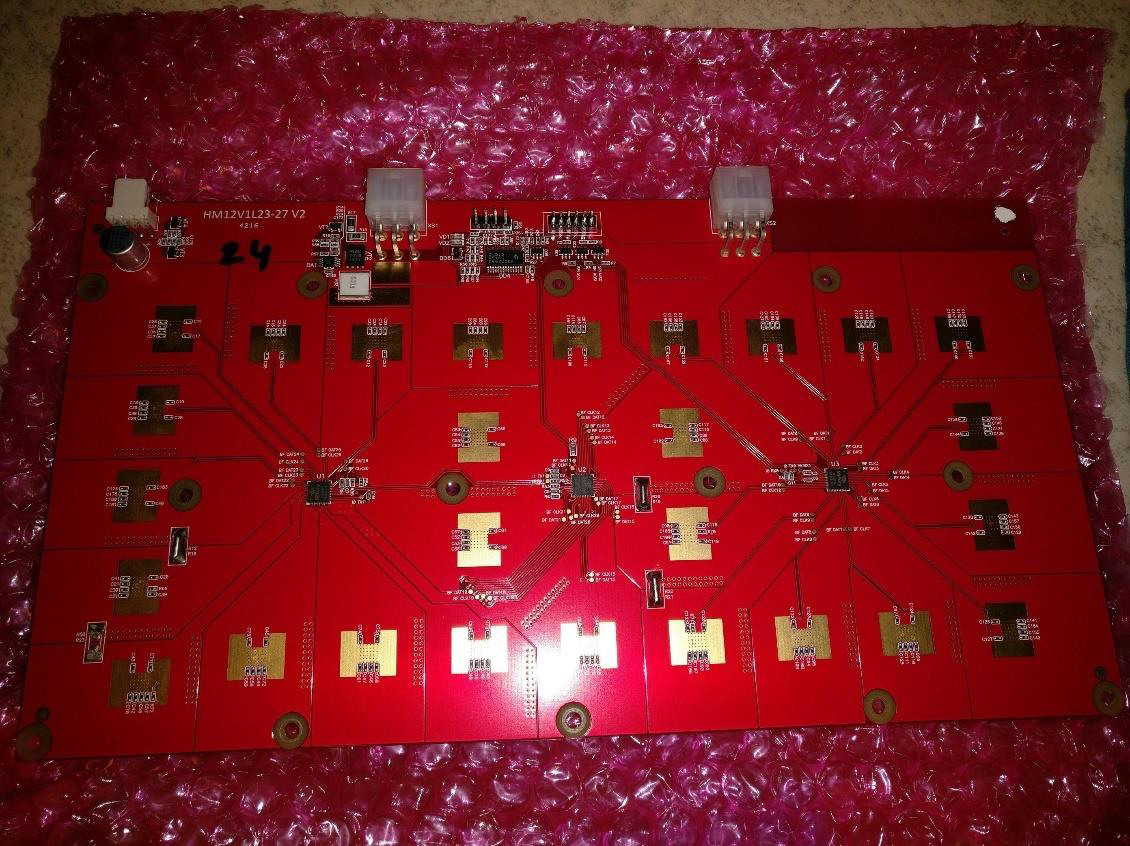
A closer look on the hash board and Bitfury chips.
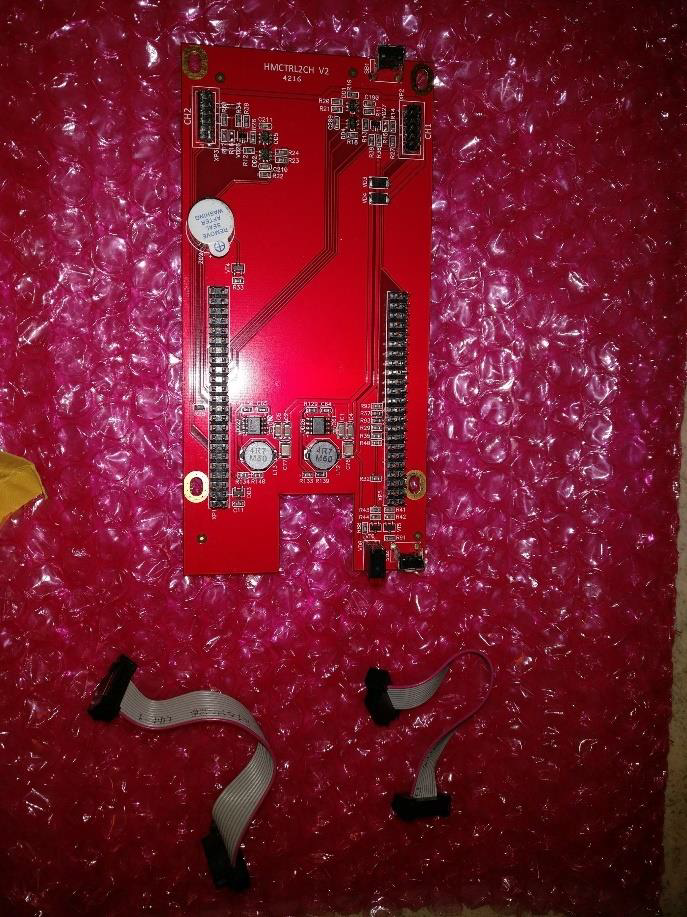
Controller board (without the BB board installed).
3. April 07, 2017 update
I did some assembling today though I'm still waiting for the BB board (for the controller) to arrive.
I used some thermal paste I had left and installed heat sinks and frame parts.
Applying thermal paste.
Hash board with heat sink installed.
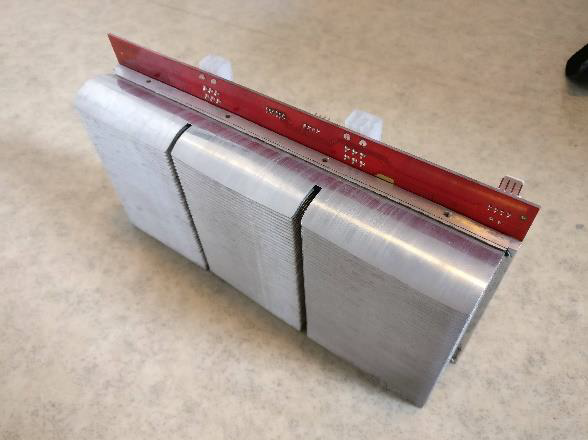
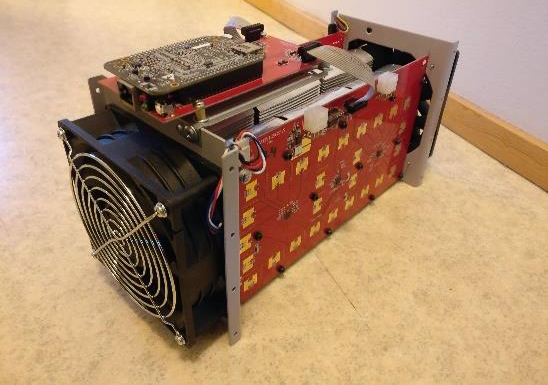
Both hash boards, two cooling fans (in a push-pull configuration) and frame parts installed.
When installing a heat sink to the hash board, screws must be very carefully and evenly cross tightened.
You don't want it to go "taco".
4. April 10, 2017 update part 1
If you have a empty micro SD card you want to do following things
after which you have a working Hotmine firmware:
1. Download ’Tools and Instructions to Image SD card’ and follow the instructions.
Download link mirror #1 (Bitmain.com):
https://shop.bitmain.com/support.htm?pid=007201604120945219855QObfk20066C
Download link mirror #2 (Mega.nz cloud):
https://mega.nz/#!4lVkUYDT!3D_hQKJC6ScoZtqK2NX8uttP3TIVV1lavIcWFUPC1cY
2. Unzip the X5 firmware tar.gz archive and copy files to the BtmBoot section of the SD card.
X5 firmware (March 23, 2017): https://mega.nz/#!xtVmwJgS!RBtNcPpBahclSH0joGfiXGcXbIBSvbUwvrqrc41nR-w
3. Delete the old .dtb file and your BtmBoot section with files in there should then look like in this screenshot:
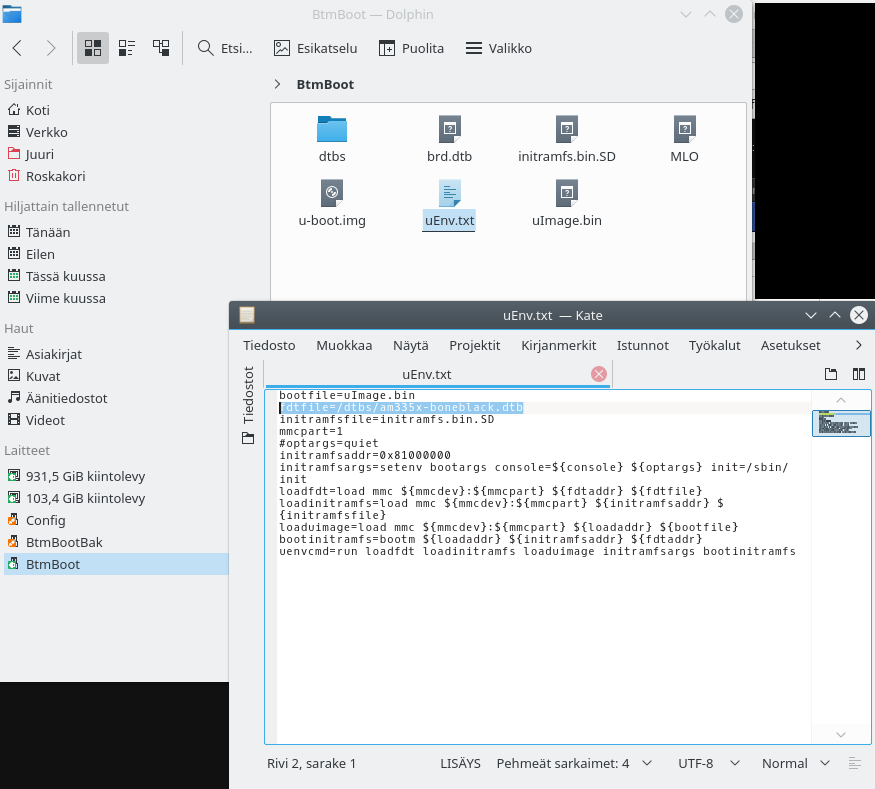
Screenshot.
4. Edit the uEnv.txt file with code shown highlighted in the previous screenshot image.

5. Put the micro SD card to the BB board and you are good to go.
5. April 10, 2017 update part 2
Today I received the BB board in today's mail, and it was time to move on with this build.
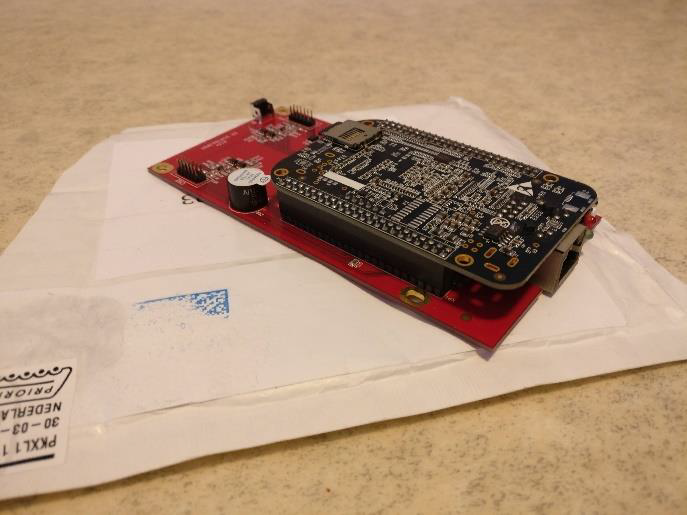
BB board attached to the controller board.
I made a support bracket for the controller by using parts that I was able to find in my everything-box.
It consists of two PC case PCI-slot covers, some screws and other stuff.
Pictures will tell more about the details.
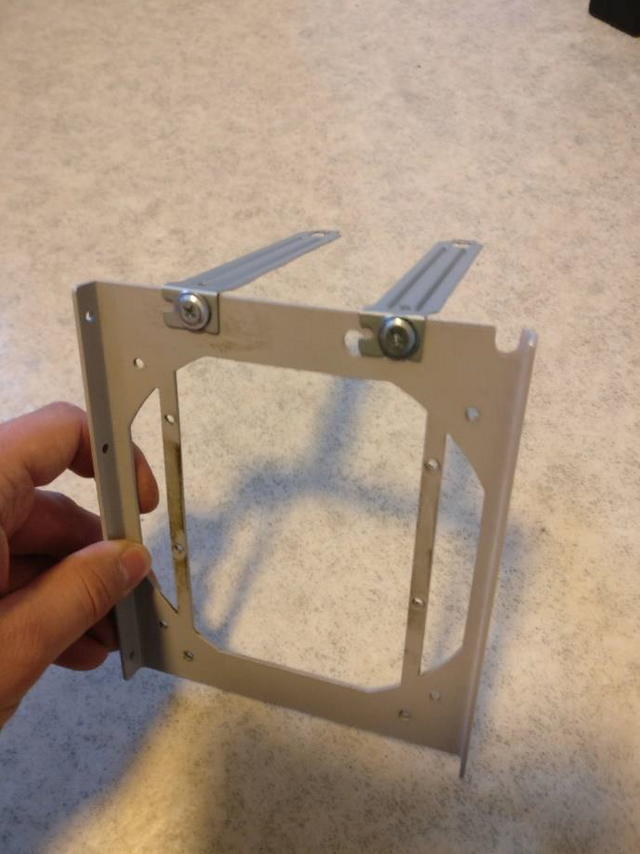
Controller support bracket.
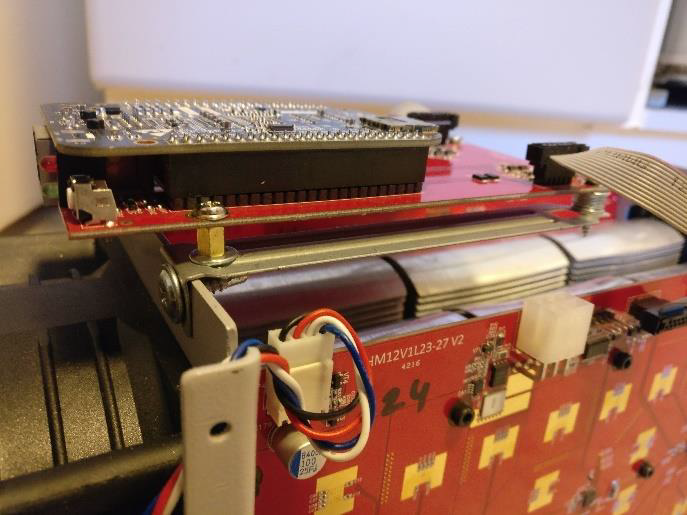
Controller board with the BB board installed on the miner and connected.
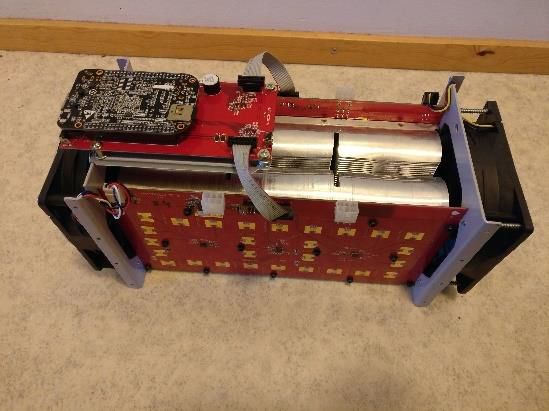
And this is how the finished miner looks like.
And here is the test setup.
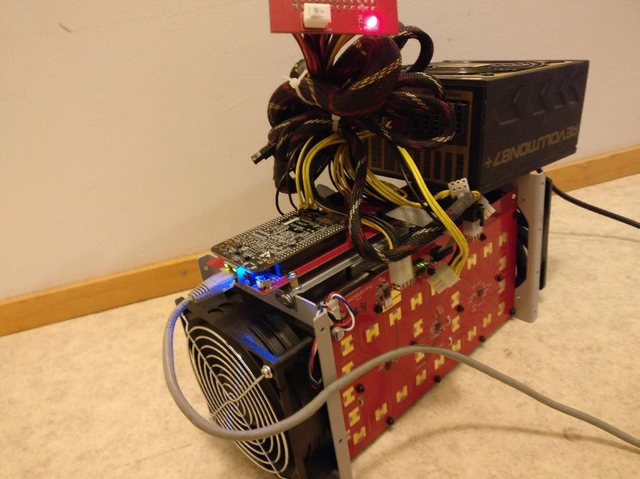
After some testing I decided to change fans and these type fans are nice and quiet ones that I use now.
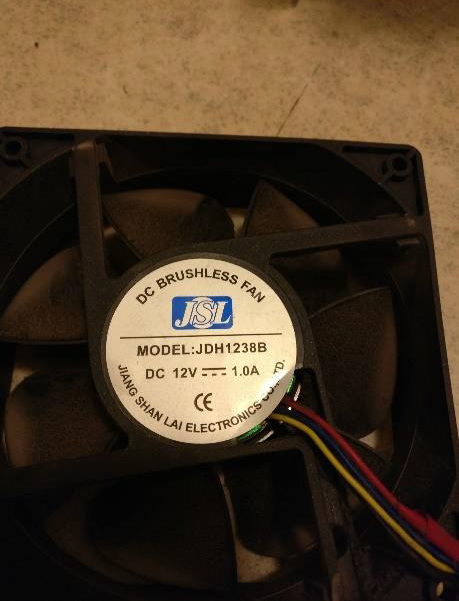
Front cooling fan (JSL).
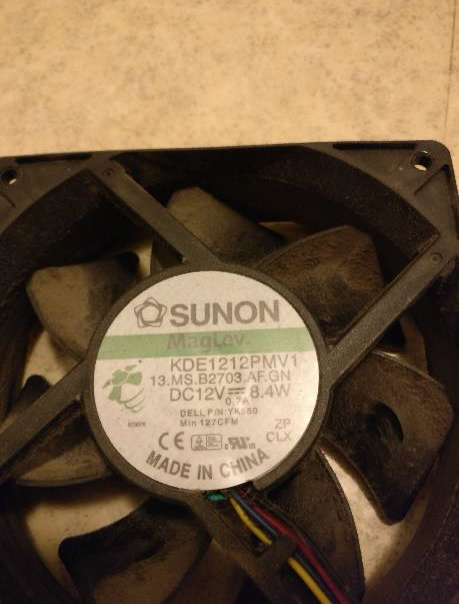
Rear cooling fan (Sunon).
Here are some performance results after one and half hour of mining with the quiet fans -setup.
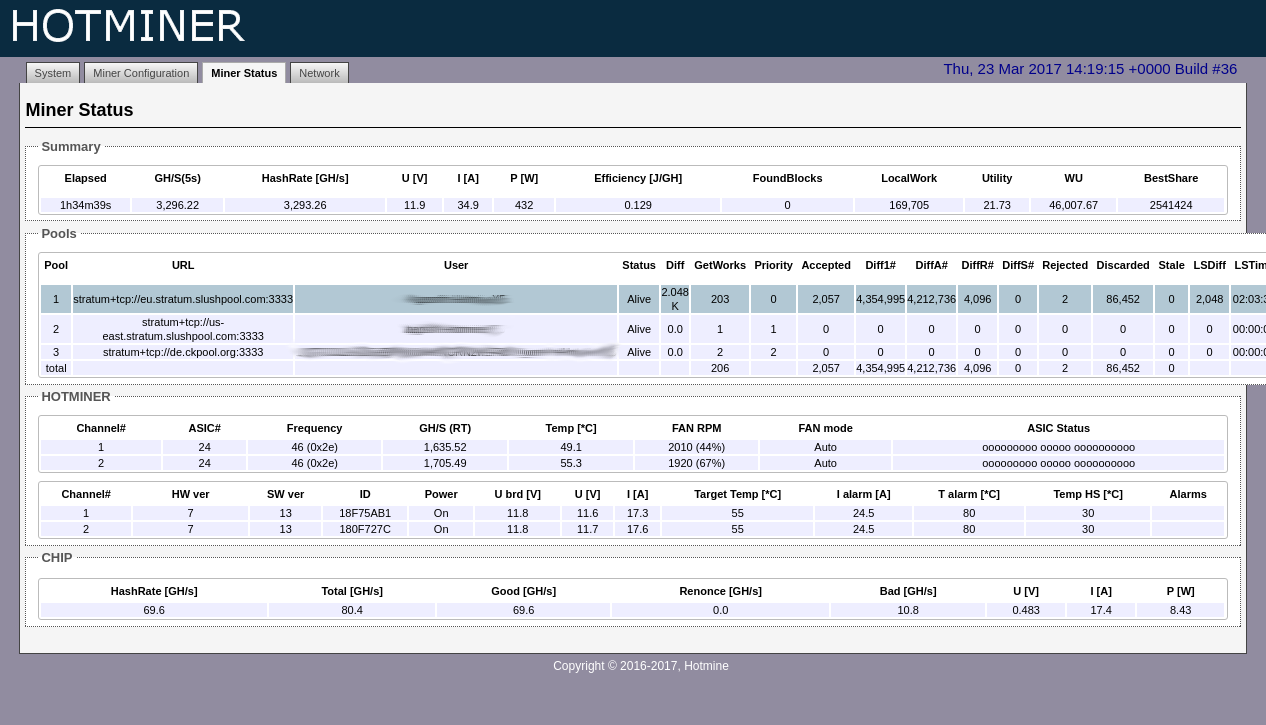
Miner status screenshot.
There is some difference in the temperature when comparing the two hash boards.
It is most likely because I used to different kind of thermal pastes in different boards and there is some performance difference.
So far I'm pretty happy with this miner and I've been wanting to do this kind of an upgrade for the good old S1 for a long time!
If you got any questions, feel free to drop them in the Bitcointalk.org forum thread or in the comments section below.
I will try to give my best answer.
6. How to order
You can make the order by contacting Hotmine using their contact form available at the website.
See more details at the website.
Hotmine:
http://hotmine.io/
Hotmine contact form:
http://hotmine.io/#contact