The Best Ice Cream I Have EVER Made! Dairy-FREE Today's Flavour = VANILLA
I have literally made THE BEST dairy-free ice cream that I have EVER made.

I've been dabbling in making my own ice cream for a few Summers now. Coconut milk based ice creams are expensive. But the non-dairy frozen desserts are the only ice cream substitutes I CAN have, because of my dairy allergy (cow milk protein allergy).
So far, every time I've made some, it's either too squishy, turn into a block of ice, or turns into a smoothie.
So this time I did something different, lots of different things. The texture was awesome AND the flavour was THE BEST. I think that comes down to the 100% pure Vanilla Extract we bought in Mexico.
Ingredients:
- 2 cans of Coconut Milk (400 ml each can) (must be full fat, non sweetened, mine has as ingredients: coconut milk, water and guar gum.)
- 1/2 Cup of Maple Syrup
- 2 tsp Vanilla Extract
- 1 tsp Arrowroot Powder Starch (a bit more than level, but not completely heaping)
Method
- In a saucepan (little pot) pour/scoop in all the Coconut Milk. I use a spoon or a buttering knife to scrape every little bit of the coconut since is typically separates from its blueish water.
- With a whisker, whisk the coconut milk until it's all smooth.
- Slowly pour in the Maple Syrup while stirring with the whisker.
- Add in the Arrowroot powder, slowly, while whisking so that it doesn't clump.
- Turn the heat on medium (for my stove that 5). Keep whisking slowly, as it slowly begins to heat.
- It will bubble, keep slowly stirring/whisking.
- At some point, perhaps 30 minutes later (it will depend on your type of stove), you will see it thicken ever so slightly.
- THAT's when you take it off the heat. If you let it go longer, it will become thick like a custard. Just a tad is fine. Keep whisking a bit after taking it off the heat.
- Set it on a counter and let it cool to room temperature. It's normal if a thin film forms at the top.
- Once room temperature, cover the pot and stick in the fridge.
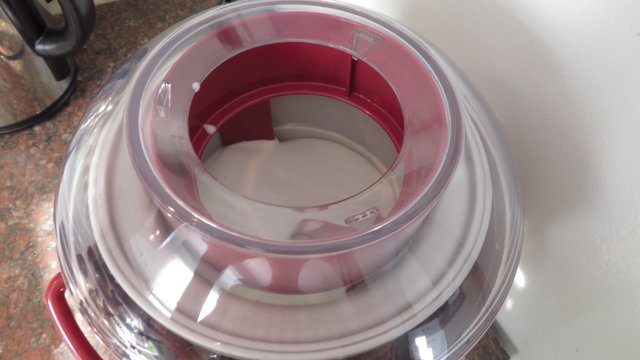
- Leave over night. ALSO, place your ice cream maker bowl in the freezer 12 to 24 hours before you use it. AND whatever container you use to place the ice cream in once it's done, place that in the freezer too.
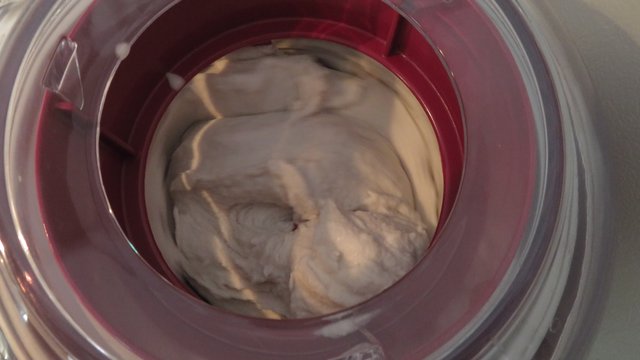
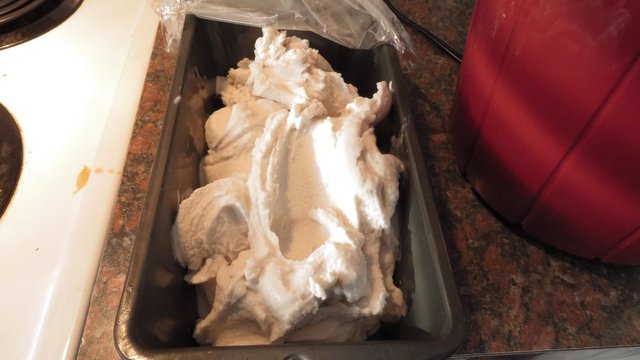
- When everything is ready and cold, prepare things as your ice cream maker's instructions say to do, and slowly pour in the ice cream batter. With mine, I need to do this before turning it on. I let it go in the ice cream machine for 30 minutes. Then I transferred the ice cream into a metal cake pan. The ice cream may be soggy-ish. That's normal.
- Cover the cake pan with saran wrap and leave it in the freezer for a few hours. It may be a bit on the hard side compared to regular ice cream, but the texture is fine, and iafter thawing for a minute, it becomes perfectly scoopable.
And voilà! Dairy-free Vanilla Ice Cream, ready to be savoured and devoured.
Honestly, I think the Mexican Vanilla and Arrowroot were a game changer, aside from the obvious method, which undoubtedly contributed to getting a really good texture.
Remember to upvote, resteem and follow! Thanks!
My wife loves nice cream yumyumyum
Congratulations @binkyprod! You have completed the following achievement on the Steem blockchain and have been rewarded with new badge(s) :
You can view your badges on your Steem Board and compare to others on the Steem Ranking
If you no longer want to receive notifications, reply to this comment with the word
STOPTo support your work, I also upvoted your post!
Oooh! Awesome! Two achievements. Noice!