My Second Realistic Drawing: Tutorial
Hello all! Finally I'm dropping a tutorial; a tutorial or let me say behind scenes of my artwork.
I only just started my realism journey few days ago and I'm ready to walk you through the process. This is going to be lengthy but fun.
This is the final output.

And this is our reference image.

SOURCE
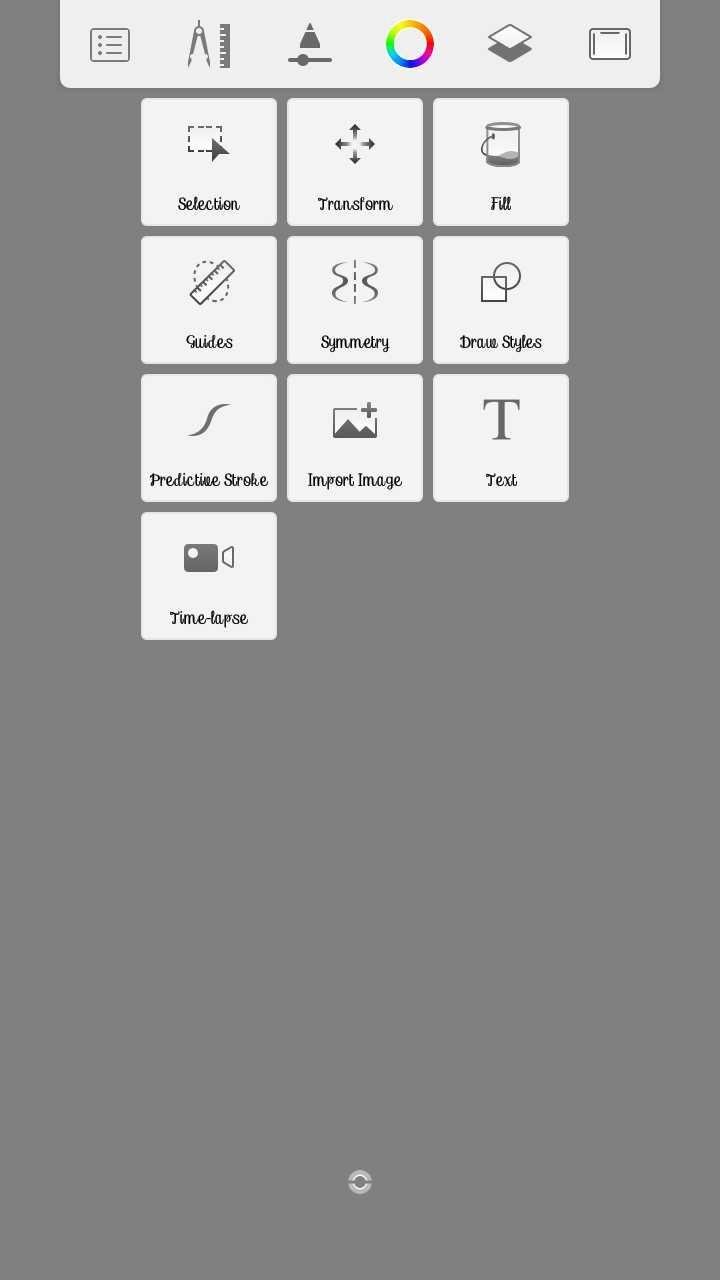
We would be making this with the Autodesk Android application. Now, this application might look simple on the outside, but it is surely fortified. It can be downloaded from the android store

Simplicity is the ultimate sophistication -Leonardo Da Vinci
GETTING STARTED
Firstly, we need to determine the resolution of the image so as to choose that of the image

So after it has been determined, head to autodesk and create a sketch with a custom resolution with the image. Then increase the slider to about 3-4.5mpx (This will increase the size and quality of the output)

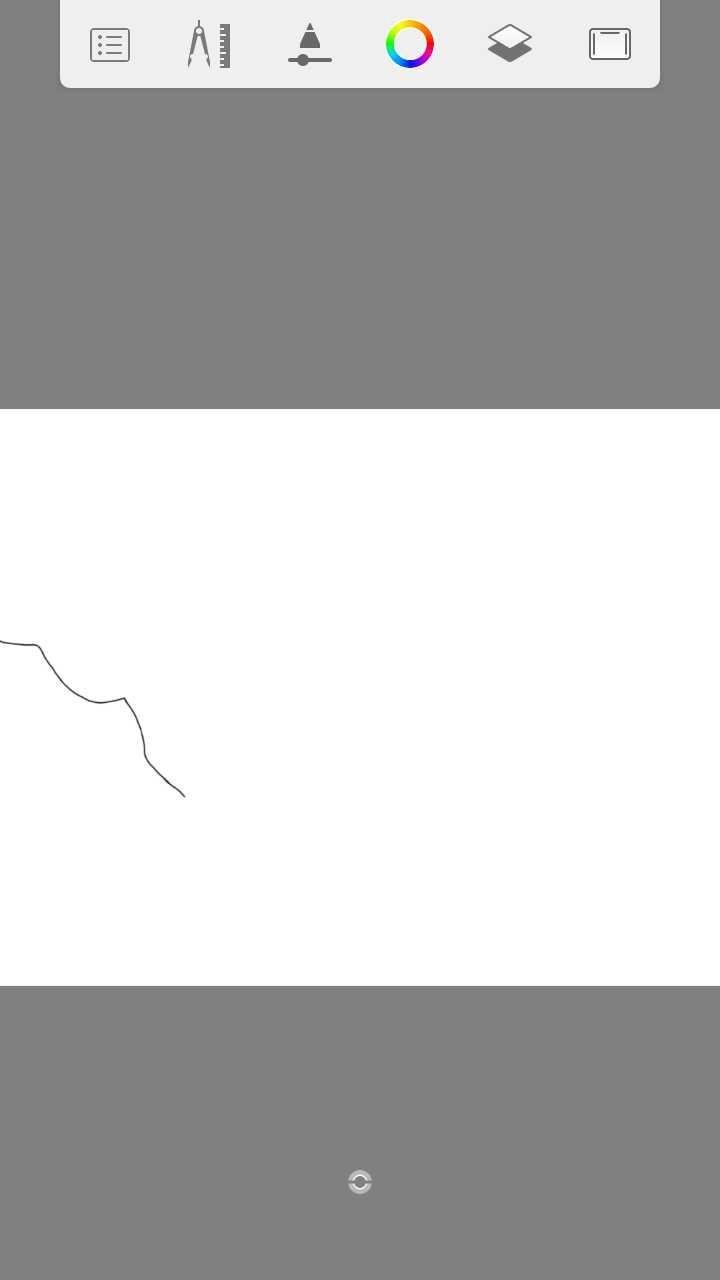
Then import the image from the gallery by doing this.
After it has been done, rescale it to perfectly fit into the empty sketch. You will want to choose a brush (Very important to get the right type of brush as there are different brushes for different functions) Each brush has its own unique function. I will be using the design pencil from here. Make sure the size is reduced to 5-6.0. I will be using 6.0

Click the layers and make sure the reference image is above the empty sketch. Then reduce the opacity to about 79%. Afterwards, click the empty layer and zoom in, then start tracing. As in
Here's a short video to for further clearance.
Reference to the source of this music was mentioned in the description of this video
Now that we are done with the basics. Let's start the shading. I've not actually tried this before so I don't know how the output will look like, but like I told @davidekpin , in one of my posts;
You gotta believe in yourself

Now the real deal is the brush. Primarily, we're going to be using two primary brushes for the shading and blending
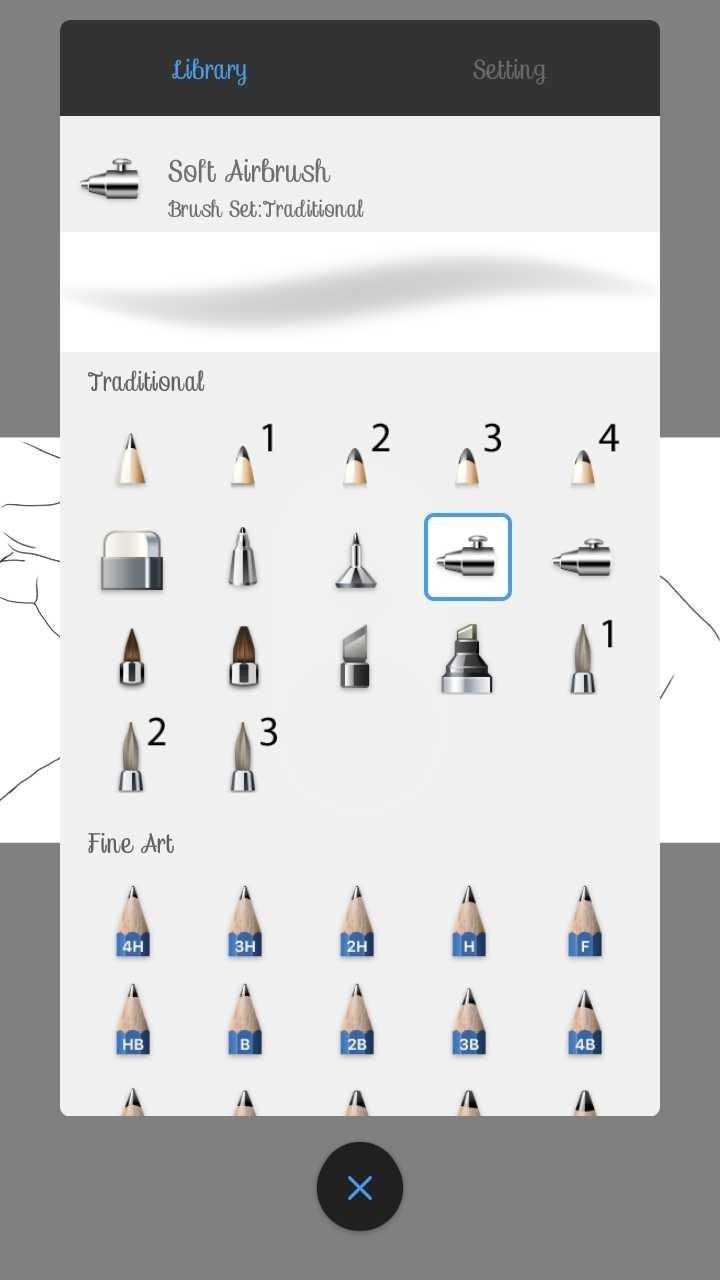
- The first one comes under the traditional category; THE SOFT AIRBRUSH
(Mainly for shading)

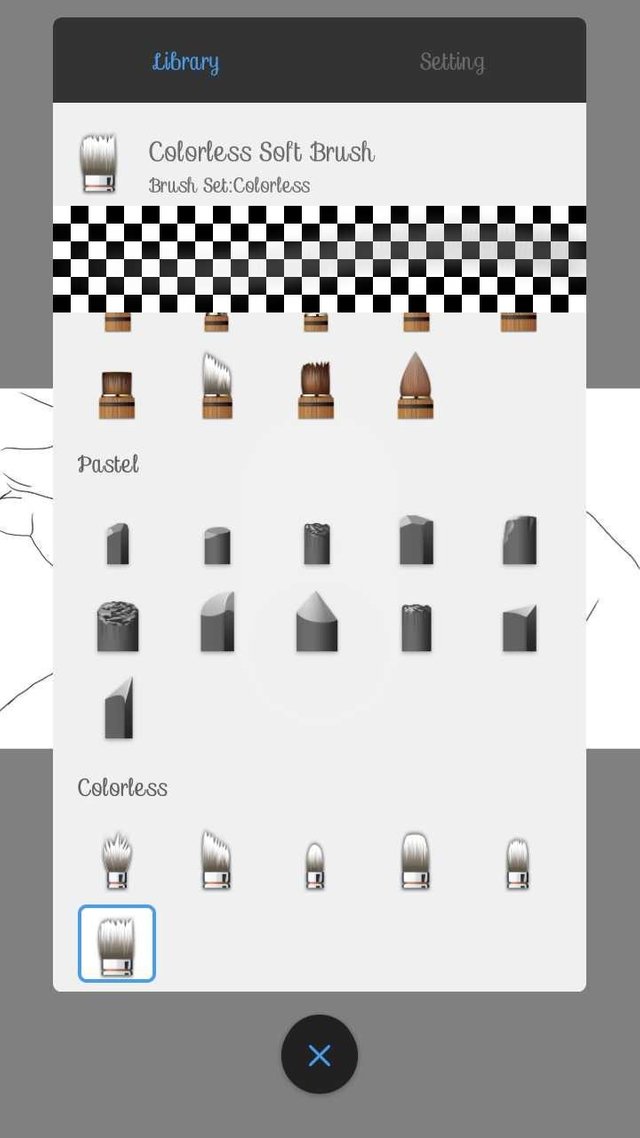
- The second one can be found under the colourless section of the brush tab; THE COLOURLESS SOFT BRUSH
Other brushes are: - The Designer Pencil
- Soft Eraser
And others that I will be mentioning during the course of the tutorial. Let's get started, shall we?

Tighten your seatbelts please...
Firstly, we need to apply the shading to all the shadows in the image with the soft airbrush.
PS: The size of the brush will depend on what you'll be doing.
In this case, I will be using size 143.
Carefully study the shadows in the image for about a minute then start the shading. But you need to note something very important, it's either you create another layer for the eye and eyebrow outlines or you carefully shade so as not to overshadow the outlines with the shades

The shadows have been applied. It looks awful, doesn't it? Well, chill. Use the colourless airbrush to smooth things out
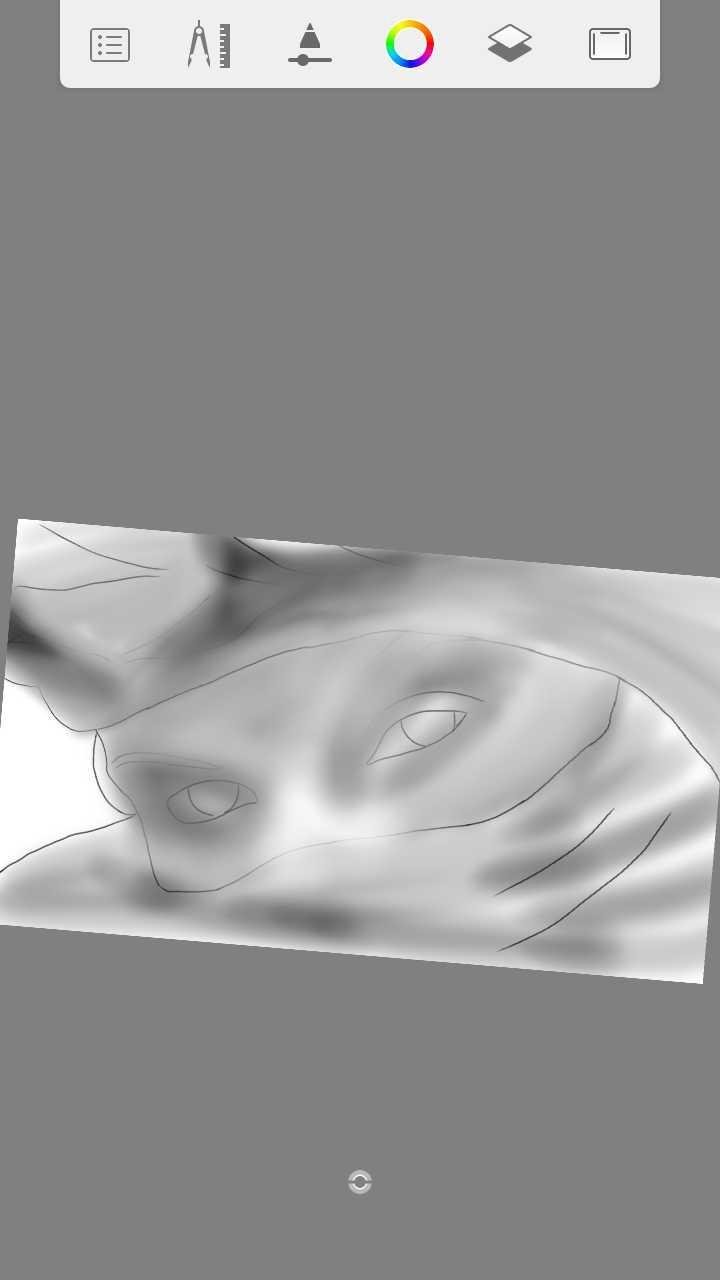
The shadows have overlayed the eyes and the eyebrows' outlines so we need to solve that. Now use the soft airbrush to clean it

You can shuffle between the black, ash, white colour, the colorless airbrush and the traditional soft airbrush until you attain your 'perfection'
Now that we are 'done' with the face shading, let's move on to the eyebrow.
We are going to use the designer pencil, let's go

It looks too sharp. Using the ash colour, we shade again

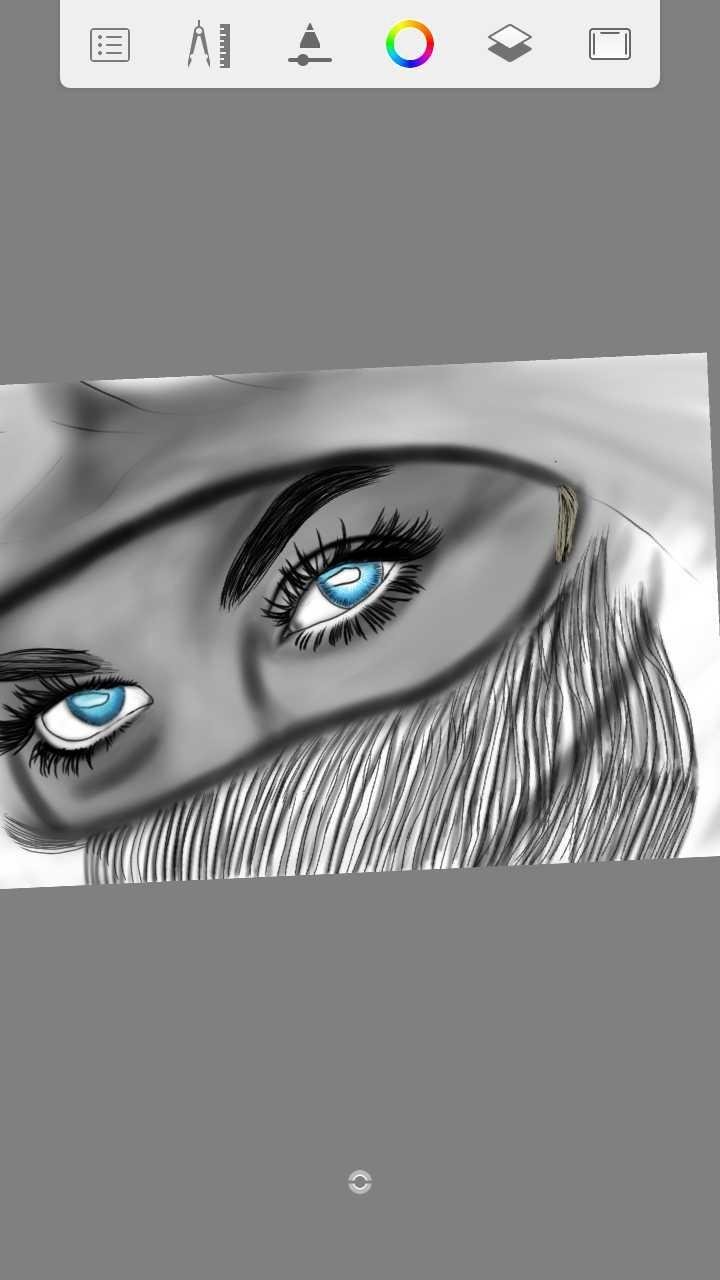
This is as far as we can go now, let's solve the eyes.
As you can see, it is filled with various patters so we only need to get this right, let's trace it once more
Now that it has been traced, create another layer and place it on top of the other layers, then start stroking with the blue colour together with the designer pencil as in;

Then stroke again with the black colour as in;

After that, select the sky blue colour and start stroking the mid part of the eye..

After that has been done, select the traditional soft airbrush and use it to soften the edges of the eye
Now it's time to add some more details.. Notice the changes

I'm using the white colour with traditional brush.
Then we are drawing the eyelashes.(Design Pencil)

It should be noted that the second eye has not been coloured, so let's stroke it as we did with eye 1. After that, we are going to perfect the shading.
Video here
Now that we are done with the face shading, let's go to the cloth. If we look closely, we should observe the texture of the cloth (Like thin lines) so we have to make that with the traditional pencil .
Carefully, and patiently though. Let's do it with another layer placed on top of others.

Now that we have done that, let's clean all the former shadows made on it by selecting the shadow layer and carefully cleaning the cloth with the soft airbrush. Then the next step is to use the traditional soft airbrush to shade the lines, all the lines drawn like

Now I've done most of the lower part. Remember, we made a new layer for the pencil shading so let's hide it and make a new layer for a clean stroking, we are going to stroke the shadows carefully and most importantly, neatly.

Then smoothing.
After smoothing, another stroke will be made horizontally just like the pattern of the cloth. Although this is not going to be hyper realistic (The cloth) it still has to represent the pattern. This has to be done carefully though, and after it has been done, the traditional soft airbrush should be use to highlight the shadows in the cloth the more and any adjustments should be made with the soft eraser.

Now that this has been done, let's also repeat the process for the upper part of the cloth. This is harder though


After it has been done, add little eye details and adjust the image as per your preference!

That is all.
Join me next time and hopefully, it will be better. Thank You!
All images are from my infinix hot 5 and videos from my YouTube channel
Keep it up
Thanks bro
You're awesome bro.... You're getting there
Thanks alot man
Beautiful
Thanks adabless
You are welcome